How To Install Joomla on CentOS 7
Version 1.0
Author: Srijan Kishore
This document describes how to install and configure Joomla on CentOS 7. Joomla is an immensely popular and award-winning open source Content Management System (CMS) that enables users to build websites and create potent online applications in an unperturbed manner. Absolute user-friendliness and flexibility make Joomla amongst the most sought-after CMS softwares. It uses a PHP application, in addition to a back-end database like MySQL. Joomla was created in 2005, and boasts of more than 10,000 add-ons for customized functionality-no wonder than that it remains the second most popular virtual content management site. This tutorial explains the process of installing Joomla on CentOS 7.0 in the form of a simple-to-follow guide.
1 Preliminary Note
This tutorial is based on CentOS 7.0 server, so you should set up a basic CentOS 7.0 server installation before you continue with this tutorial. The system should have a static IP address. I use 192.168.0.100 as my IP address in this tutorial and server1.example.com as the hostname. You must have a LAMP server installed in CentOS 7.0 as mentioned in the tutorial to continue further.
2 Database initialization
I will create the database for the Joomla as follows:
mysql -u root -p
Here we are adding database=joomladb user=joomlauser and password=joomlapassword:CREATE DATABASE joomladb;
CREATE USER joomlauser@localhost;
SET PASSWORD FOR joomlauser@localhost= PASSWORD("joomlapassword");
For Mariadb-server use:
GRANT ALL ON `joomladb`.* TO `joomlauser`@`localhost` IDENTIFIED BY 'joomlapassword';
Further moving ahead:
FLUSH PRIVILEGES;
exit
Restart services
systemctl restart httpd.service
systemctl restart mariadb.service
firewall-cmd --permanent --zone=public --add-service=http
firewall-cmd --permanent --zone=public --add-service=https
firewall-cmd --reload
3 Installation of Joomla
We will first go to the /temp directory in which I will the download the latest version of the Joomla as follows:
cd /tmp
Now install the wget and unzip packages from CentOS repository with yum
yum install wget unzip
And download the latest Joomla version.
wget http://joomlacode.org/gf/download/frsrelease/19665/160049/Joomla_3.3.3-Stable-Full_Package.zip
Now create a directory /var/www/html/joomla and unzip the Joomla zip file in the newly created folder:
mkdir -p /var/www/html/joomla
unzip -q Joomla_3.3.3-Stable-Full_Package.zip -d /var/www/html/joomla
Now give appropriate permissions in the directory
chown -R apache:apache /var/www/html/joomla
chmod -R 755 /var/www/html/joomla
Now proceed to the web installation of Joomla. Go to the URL http://192.168.0.100/joomla:
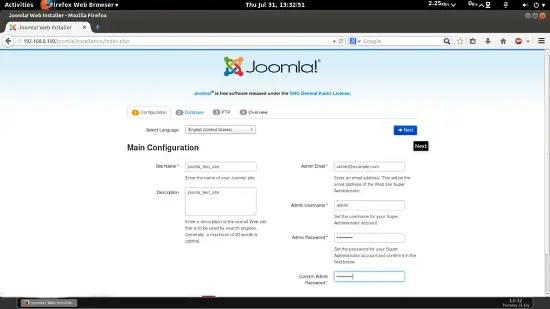
Now give the values as I gave in my case
Site Name = joomla_test_site
Description = joomla_test_site
Admin Email = [email protected]
Admin Username = admin
Admin password = howtoforge
Confirm Admin Password = howtoforge
The above values will differ in your case, you can give any values of your choice. After giving the values press Next:
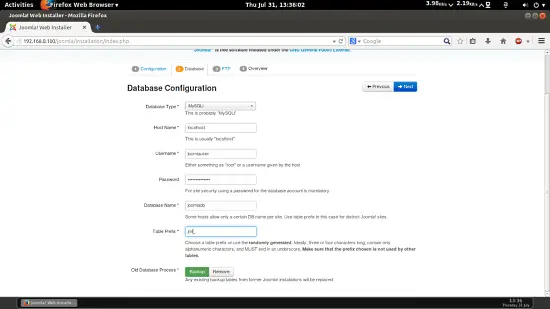
Further fill the values in next page as you mentioned wile creating the database of the joomla, as in my case I gave the values as follows:
Database Type =	MySQLi
hostname = localhost
username = joomlauser
password = joomlapassword
Database Name = joomladb
Table Prefix = jml_
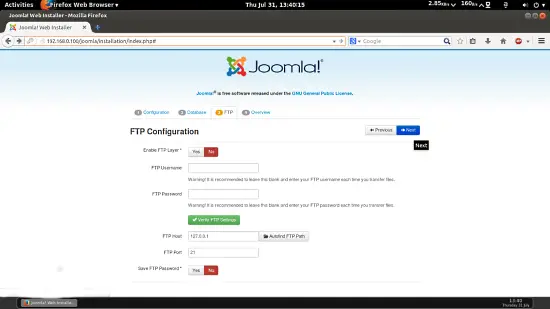
For Table Prefix you can use any character as I gave jml_ in my case. If you wish to add the FTP Configuration then you can put the values, in my case I am skipping this step as it is also recommended. Press Next:
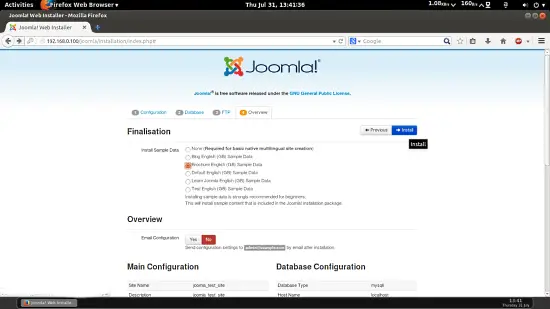
For then next tab I will select the Brochure English (GB) Sample Data and press Install:
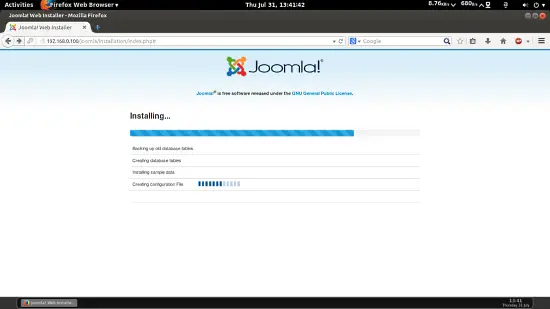
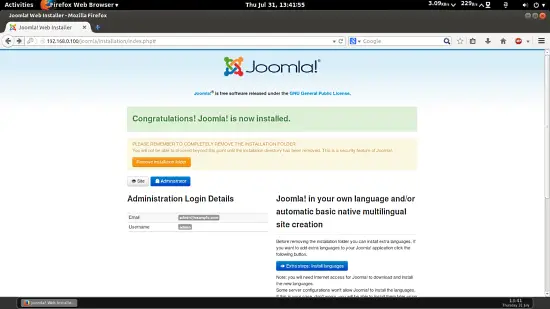
It will install Joomla. Now you need to delete the installation folder by using Remove Installation Folder if it shows any warning for deleting the folder then you can manually delete the folder as follows:
cd /var/www/html/joomla/
rm -rf installation/
Now you can access the default home page at http://192.168.0.100/joomla/:
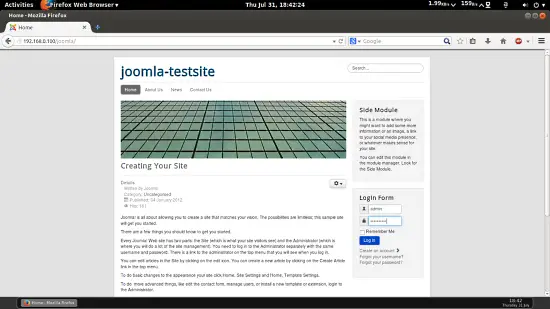
You can login with credentials here as:
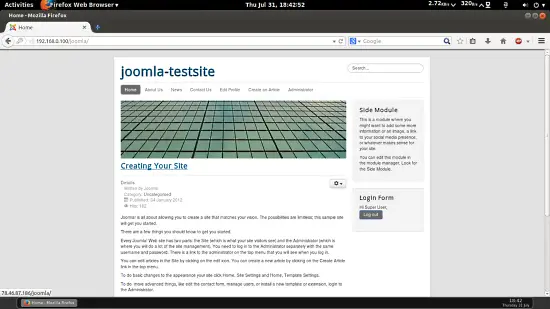
Again you can access the admin panel at http://192.168.0.100/joomla/administrator/ give the credentials as you gave at the time of Joomla installation:
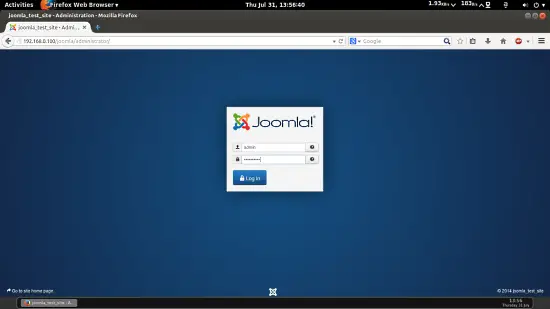
In my case values are:
username = admin
password = howtoforge
It will launch the default webpanel of Joomla.
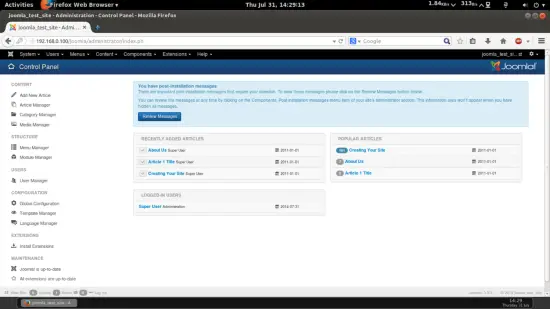
Cheers you have done with the Joomla installation in CentOS 7.0 :)
6 Links
- Joomla : http://www.joomla.org/
- CentOS : http://www.centos.org/

