This tutorial exists for these OS versions
- Ubuntu 22.04 (Jammy Jellyfish)
- Ubuntu 20.04 (Focal Fossa)
- Ubuntu 14.04 LTS (Trusty Tahr)
On this page
How to install Joomla on Ubuntu 14.04
Version 1.0
Author: Srijan Kishore
This document describes how to install and configure Joomla on Ubuntu 14.04. Joomla is an immensely popular and award-winning open source Content Management System (CMS) that enables users to build websites and create potent online applications in an unperturbed manner. Absolute user-friendliness and flexibility make Joomla amongst the most sought-after CMS softwares. It uses a PHP application, in addition to a backend database like MySQL. Joomla was created in 2005, and boasts of more than 10,000 add-ons for customized functionality-no wonder than that it remains the second most popular virtual content management site. This tutorial explains the process of installing Joomla on Ubuntu 14.04 in the form of a simple-to-follow guide.
1 Preliminary Note
This tutorial is based on Ubuntu 14.04 server, so you should set up a basic Ubuntu 14.04 server installation before you continue with this tutorial. The system should have a static IP address. I use 192.168.0.100 as my IP address in this tutorial and server1.example.com as the hostname. You must have a LAMP server installed in Ubuntu 14.04 as mentioned in the tutorial to continue further.
2 Database initialization
I will create the database for the Joomla as follows:
mysql -u root -p
Here we are adding database=joomladb user=joomlauser and password=joomlapassword:
CREATE DATABASE joomladb;
CREATE USER joomlauser@localhost;
SET PASSWORD FOR joomlauser@localhost= PASSWORD("joomlapassword");
Giving priveleges to the user, here two cases lies if the LAMP is made of Mairadb-server or Mysql-server. The command differ in both cases so I will mention the difference here:
For Mariadb-server use:
GRANT ALL ON `joomladb`.* TO `joomlauser`@`localhost` IDENTIFIED BY 'joomlapassword';
And for Mysql-server use:
GRANT ALL PRIVILEGES ON joomladb.* TO joomlauser@localhost IDENTIFIED BY 'joomlapassword';
Further moving ahead:
FLUSH PRIVILEGES;
exit
Restart services
service apache2 restart
service mysql restart
3 Installation of Joomla
We will first make a directory temp in which I will the download the latest version of the Joomla as follows:
mkdir temp
cd temp
wget http://joomlacode.org/gf/download/frsrelease/19665/160049/Joomla_3.3.3-Stable-Full_Package.zip
We need to install unzip as by default it is now installed:
apt-get install unzip
Now create a directory /var/www/html/joomla and unzip the Joomla zip file in the newly created folder:
mkdir -p /var/www/html/joomla
unzip -q Joomla_3.3.3-Stable-Full_Package.zip -d /var/www/html/joomla
Now give appropriate permissions in the directory
chown -R www-data.www-data /var/www/html/joomla
chmod -R 755 /var/www/html/joomla
Now proceed to the web installation of Joomla. Go to the URL http://192.168.0.100/joomla:
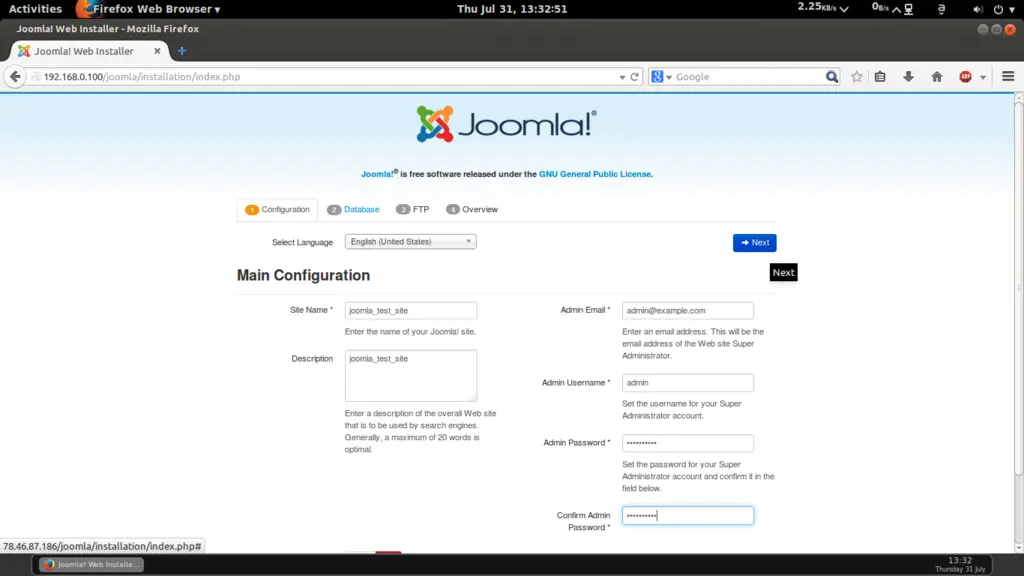
Now give the values as I gave in my case
Site Name = joomla_test_site
Description = joomla_test_site
Admin Email = [email protected]
Admin Username = admin
Admin password = howtoforge
Confirm Admin Password = howtoforge
The above values will differ in you case, you can give any values of your choice. After giving the values press Next:
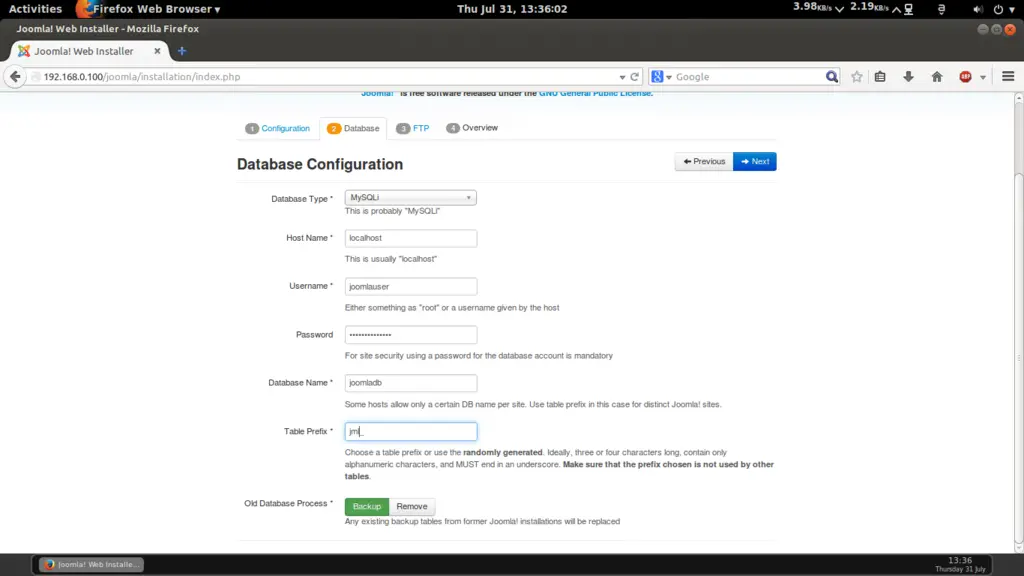
Further fill the values in next page as you mentioned wile creating the database of the joomla, as in my case I gave the values as follows:
Database Type =	MySQLi
hostname = localhost
username = joomlauser
password = joomlapassword
Database Name = joomladb
Table Prefix = jml_
For Table Prefix you can use any character as I gave jml_ in my case. If you wish to add the FTP Configuration then you can put the values, in my case I am skipping this step as it is also recommended. Press Next:

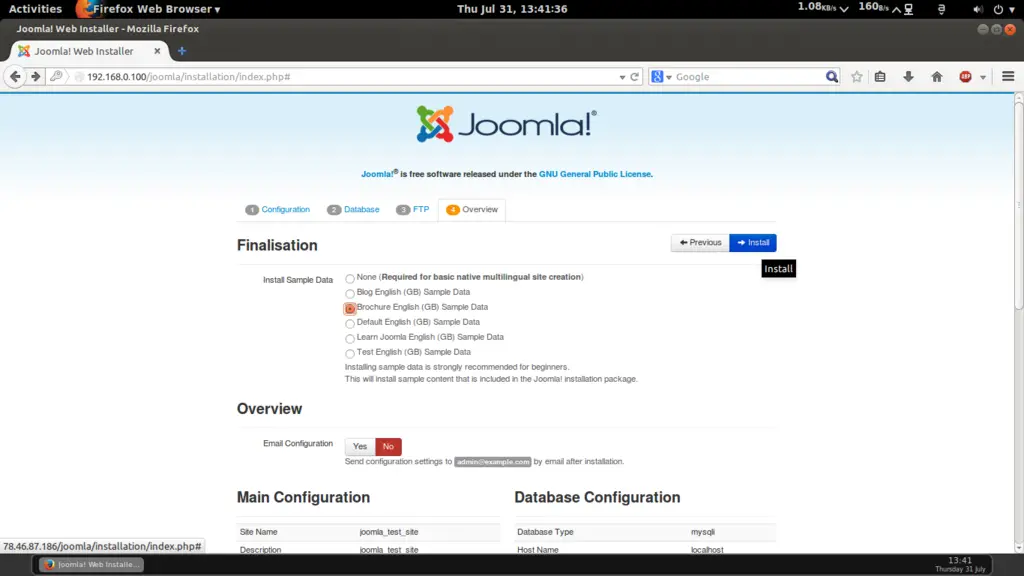
For then next tab I will select the Brochure English (GB) Sample Data and press Install:
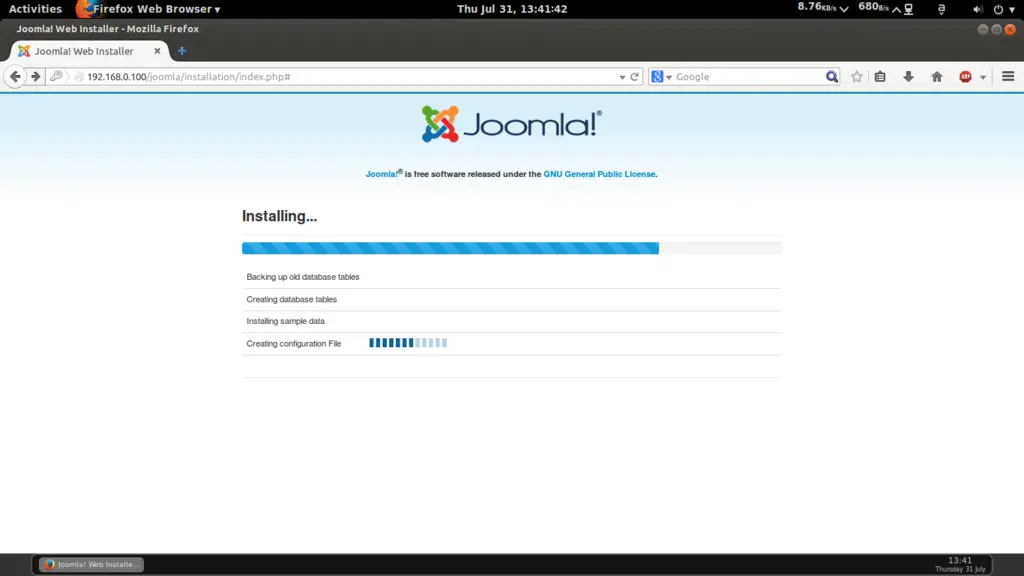
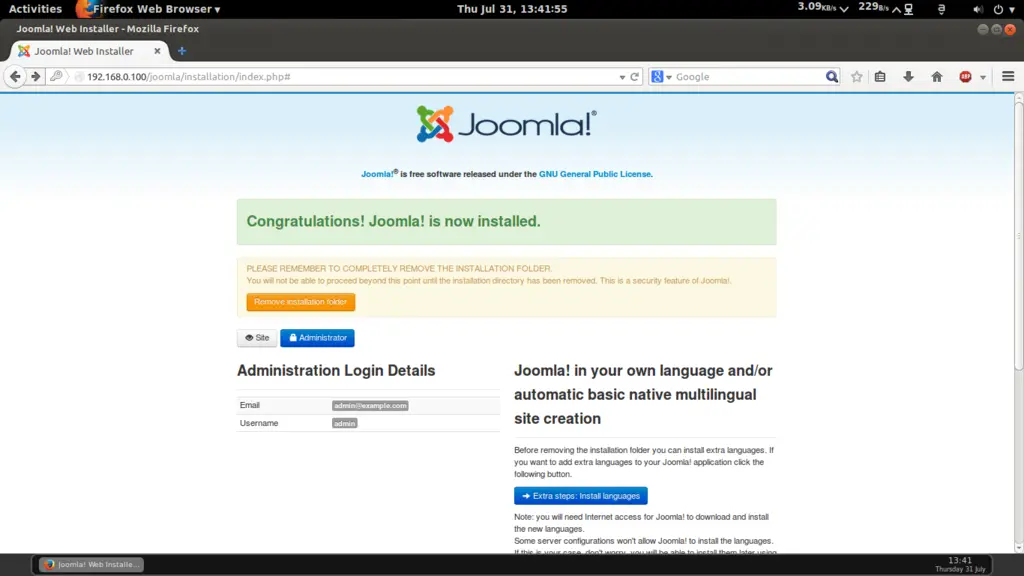
It will install Joomla. Now you need to delete the installation folder by using Remove Installation Folder:
Now you can access the admin panel at http://192.168.0.100/joomla/administrator/ give the credentials as you gave at the time of Joomla installation:
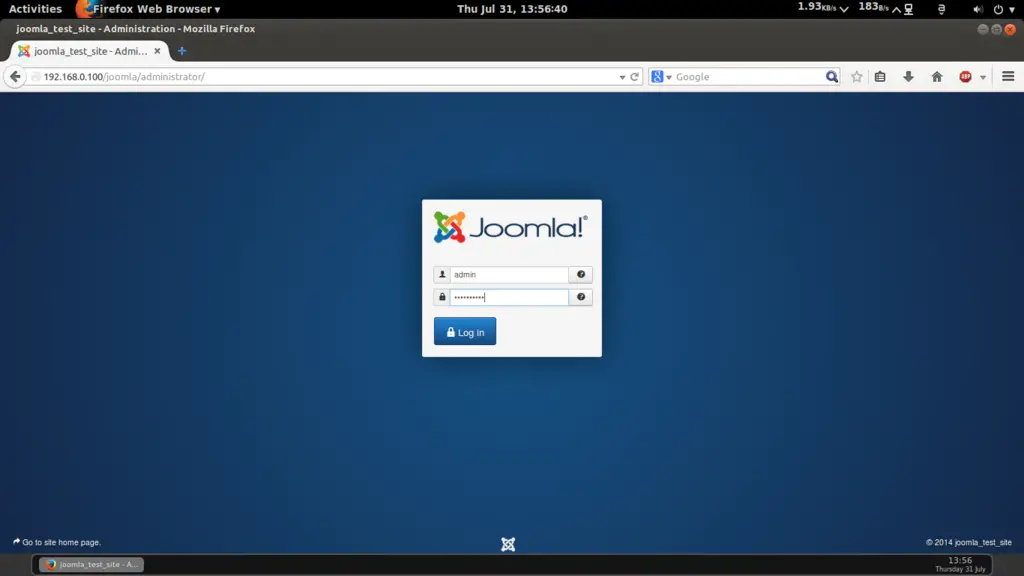
In my case values are:
username = admin
password = howtoforge
It will launch the default webpanel of Joomla.
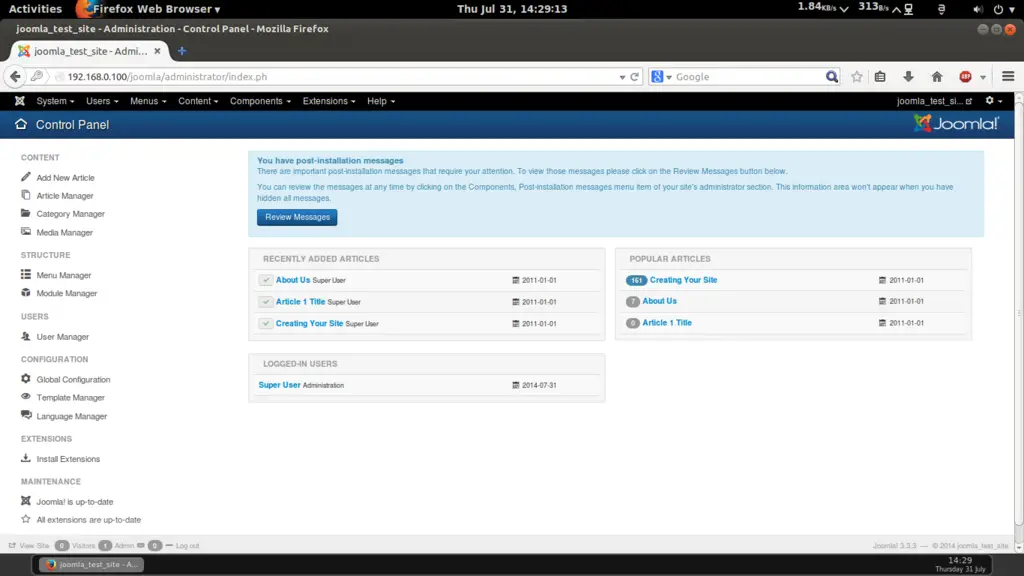
Cheers you have done with the Joomla installation in Ubuntu 14.04 :)
6 Links
- Joomla : http://www.joomla.org/
- Ubuntu : http://www.ubuntu.com/

