How to install Moodle on Ubuntu 14.04
Version 1.0
Author: Srijan Kishore <s [dot] kishore [at] ispconfig [dot] org> Follow howtoforge on Twitter
Last edited 24/Sep/2014
This document describes how to install and configure Moodle on Ubuntu 14.04. Moodle (acronym for Modular Object-Oriented Dynamic Learning Environment) (stylised in lower-case as moodle) is a free software e-learning platform, also known as a Learning Management System, or Virtual Learning Environment (VLE). As of June 2013 it had a user base of 83,008 registered and verified sites, serving 70,696,570 users in 7.5+ million courses with 1.2+ million teachers. Equipped with a horde of smart features such as virtual quizzes, assignment submission, wiki, grading, IM services, and online discussion boards, Moodle enables a seamless online learning experience for end-users. Also, by virtue of being a modular software, it is capable of enhanced functionality through customized plugins.
1 Preliminary Note
This tutorial is based on Ubuntu 14.04 server, so you should set up a basic Ubuntu 14.04 server installation before you continue with this tutorial. The system should have a static IP address. I use 192.168.0.100 as my IP address in this tutorial and server1.example.com as the hostname.
2 Install Apache/MySQL/PHP
We require Apache, MySQL and PHP before Moodle installation. I will be using root credentials, if you are doing installation with any other user just prefix sudo before all commands:
apt-get -y install apache2 mysql-client mysql-server php5
You will be asked to provide a password for the MySQL root user - this password is valid for the user root@localhost as well as [email protected], so we don't have to specify a MySQL root password manually later on:New password for the MySQL "root" user: <-- yourrootsqlpassword
Repeat password for the MySQL "root" user: <-- yourrootsqlpassword
Moodle require some more packages we will install them as follows:
apt-get -y install graphviz aspell php5-pspell php5-curl php5-gd php5-intl php5-mysql php5-xmlrpc php5-ldap git-core
I will be using git utility for downloading Moodle so I have installed git-core.
3 Download Moodle
Now we will download Moodle as follows:
cd /opt
git clone git://git.moodle.org/moodle.git
cd moodle
git branch -a
git branch --track MOODLE_27_STABLE origin/MOODLE_27_STABLE
git checkout MOODLE_27_STABLE
Next we need to copy the Moodle content to the /var/www/html as:
cp -R /opt/moodle /var/www/html/
mkdir /var/moodledata
chown -R www-data /var/moodledata
chown -R www-data /var/www/html/moodle
chmod -R 777 /var/moodledata
chmod -R 0755 /var/www/html/moodle
We need to change the default storage engine to innodb:
nano /etc/mysql/my.cnf
Give values at the end of the file as:
[...]
#Basic settings for moodle
default-storage-engine = innodb
4 Database initialization
We need a database for Moodle, I will create the database for the Moodle as follows:
mysql -u root -p
Here we are adding database=moodledb user=moodleuser and password=moodlepassword:CREATE DATABASE moodledb DEFAULT CHARACTER SET utf8 COLLATE utf8_unicode_ci;
GRANT SELECT,INSERT,UPDATE,DELETE,CREATE,CREATE TEMPORARY TABLES,DROP,INDEX,ALTER ON moodledb.* TO moodleuser@localhost IDENTIFIED BY 'moodlepassword';
Further moving ahead:
FLUSH PRIVILEGES;
exit
Restart services
service apache2 restart
service mysql restart
3 Web installation of Moodle
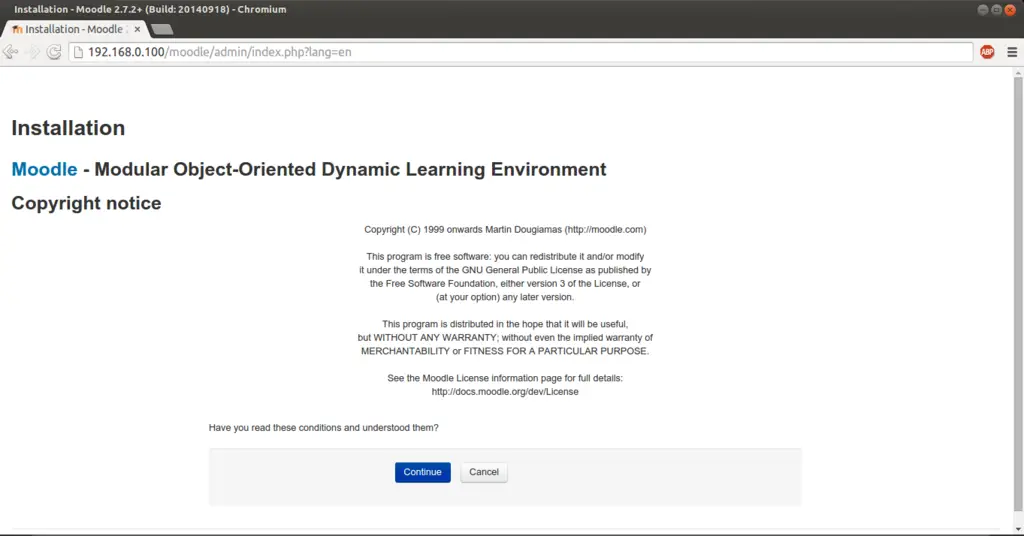
Now we will proceed with the Moodle web-installation. Open a browser of your choice and open the link http:192.168.0.100/moodle/install.php
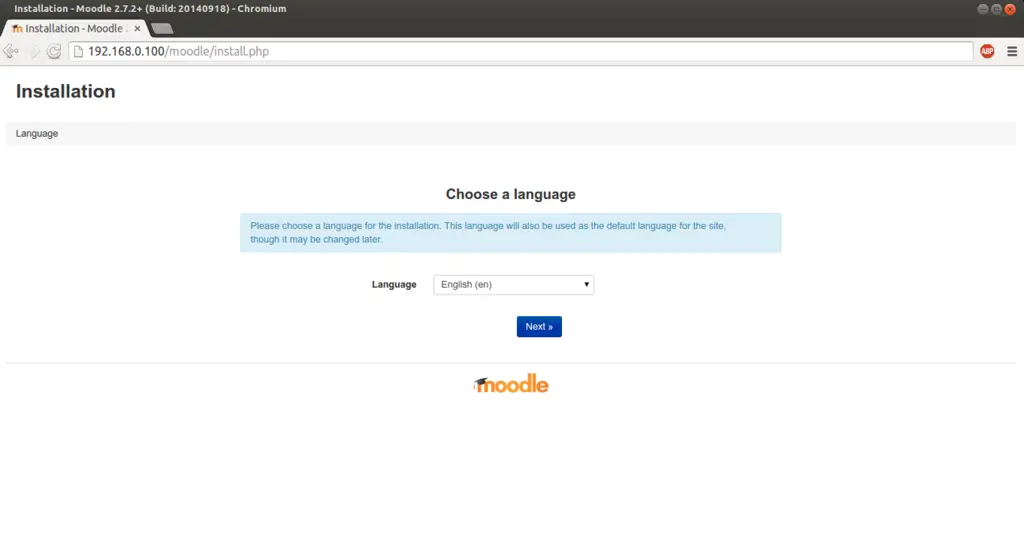
Select your language and press Next:
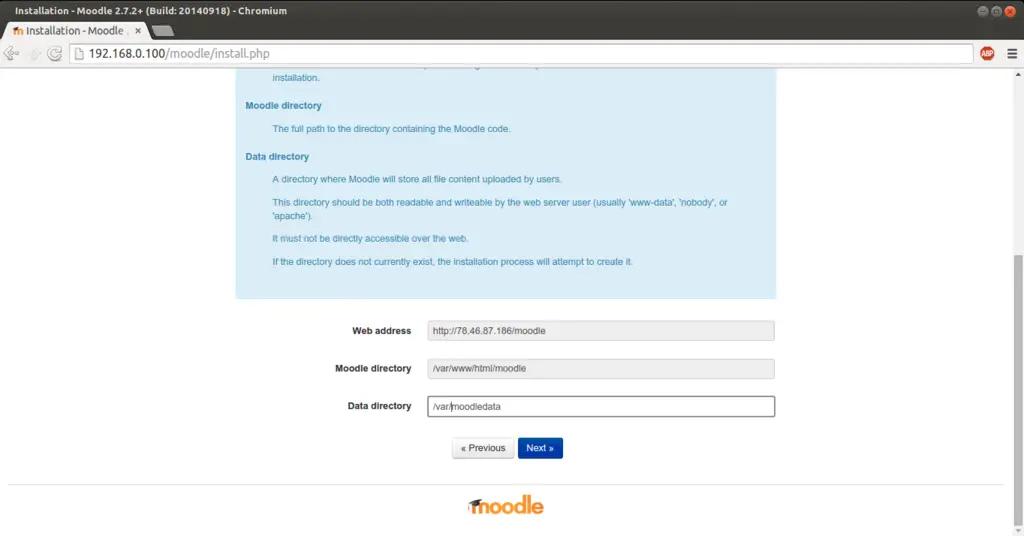
Change the value of Data directory to /var/moodledata and press Next:
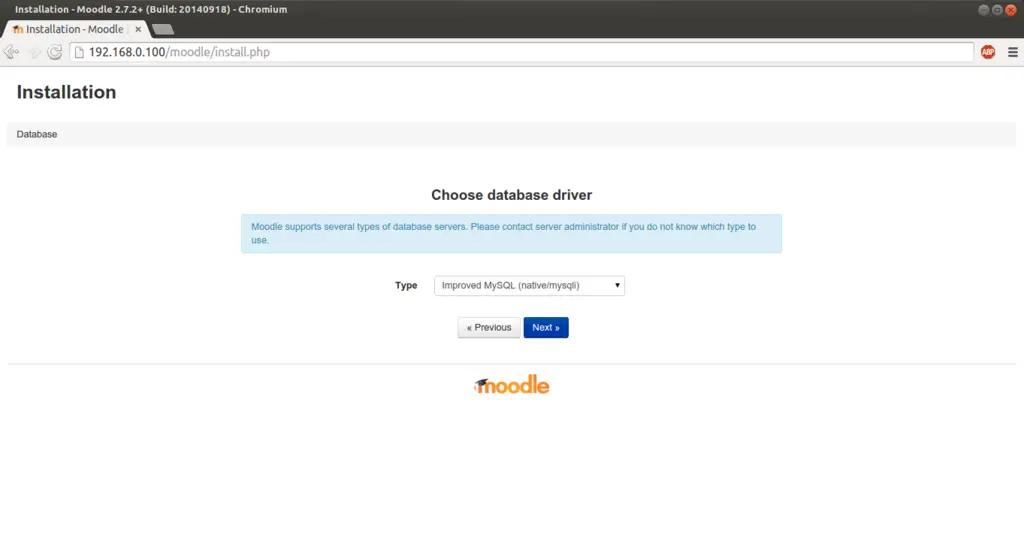
Press Next:
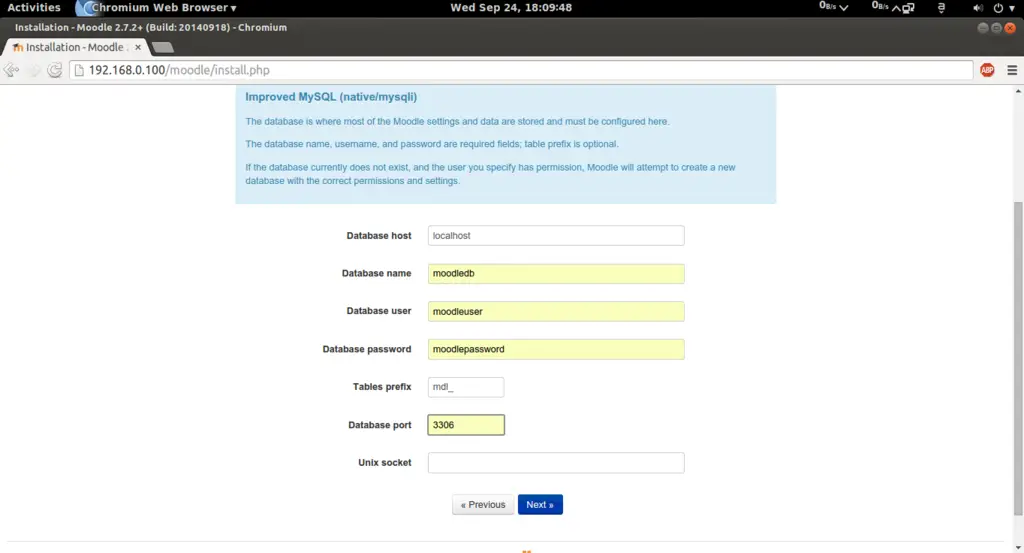
Give the values at the time of creation of the database, in my case it was as follows:
Database host : localhost
Database name : moodledb
Database user : moodleuser
Database password : moodlepassword
table prefix : mdl_ (or any valaue of your choice)
Database port : 3306
Unix socket : It will remain blank.
After giving the values press Next:
Press Continue:
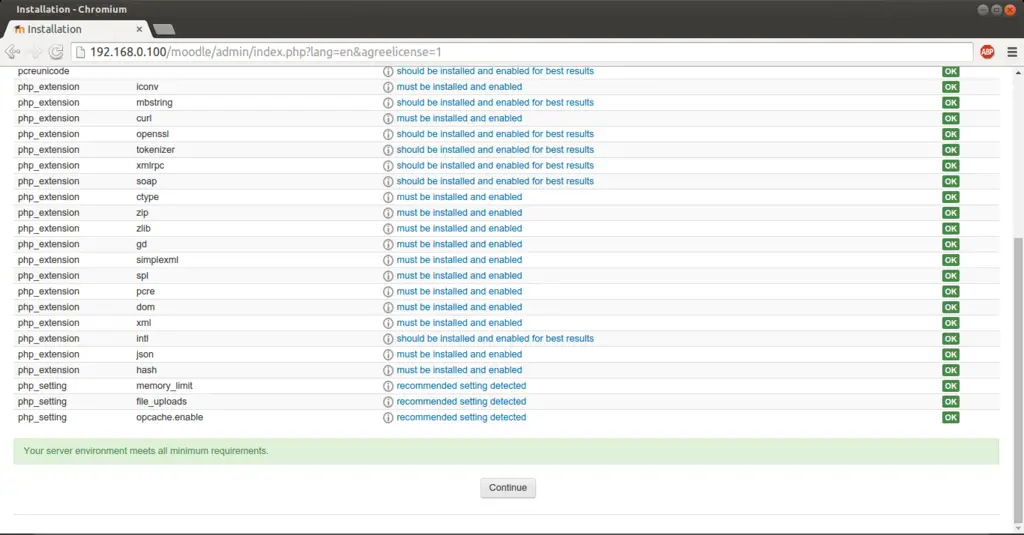
Press Continue:
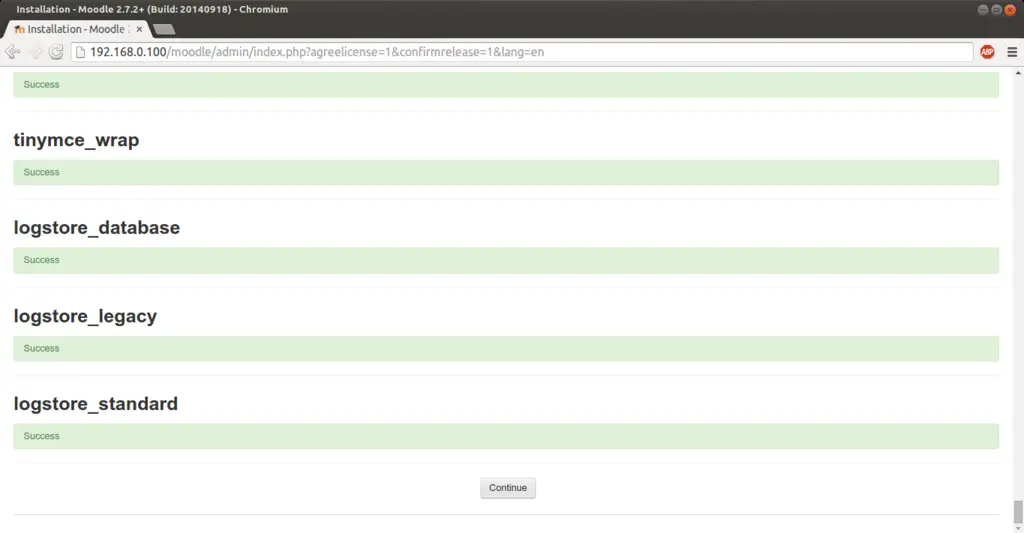
Press Continue:
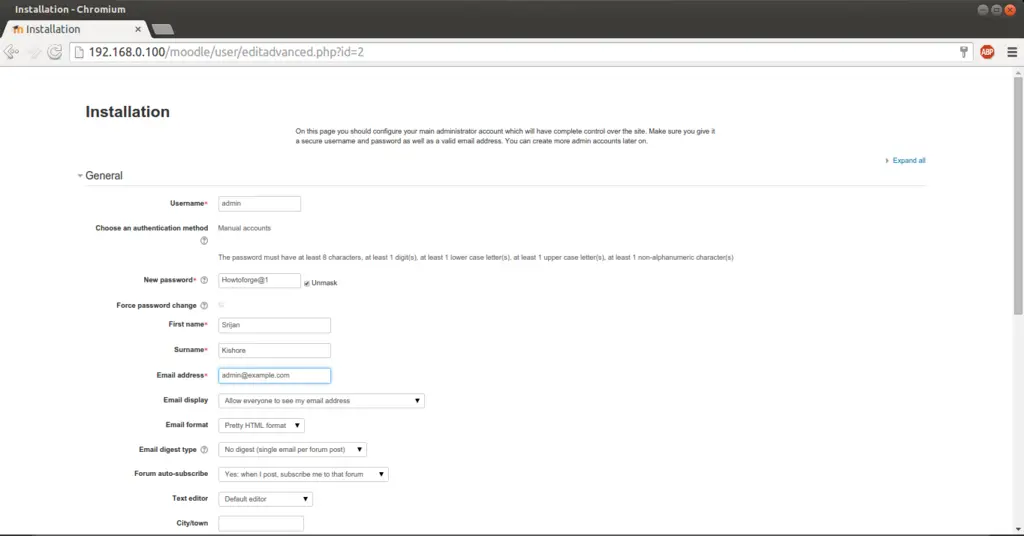
Now create an admin user for Moodle, you can use any value as per your choice. In my case I am using:
Username : admin
New password : Howtoforge@1
First name : Srijan
Surname : Kishore
EMail : [email protected]
All other field I will be using its default value, ofcourse you can change it later.
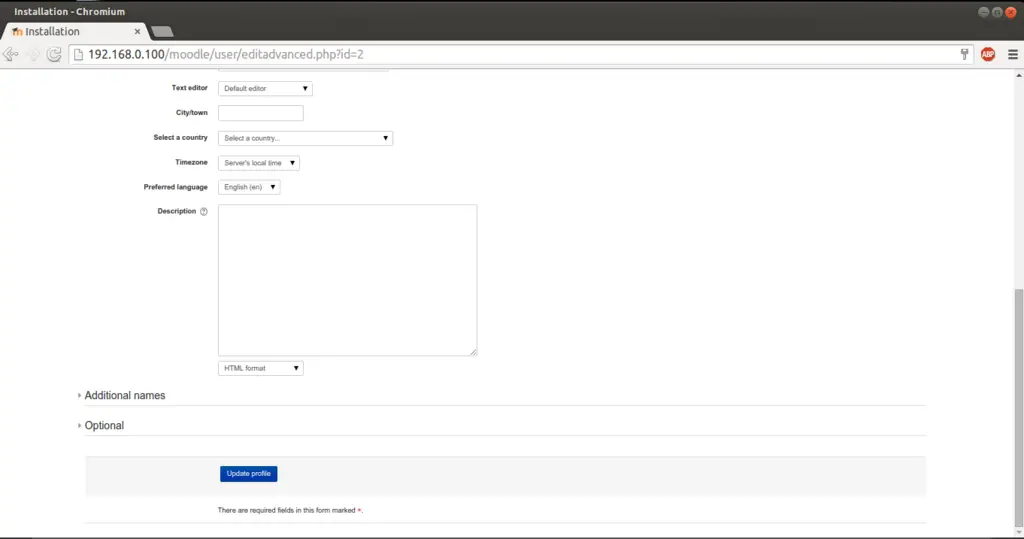
Press Update profile:
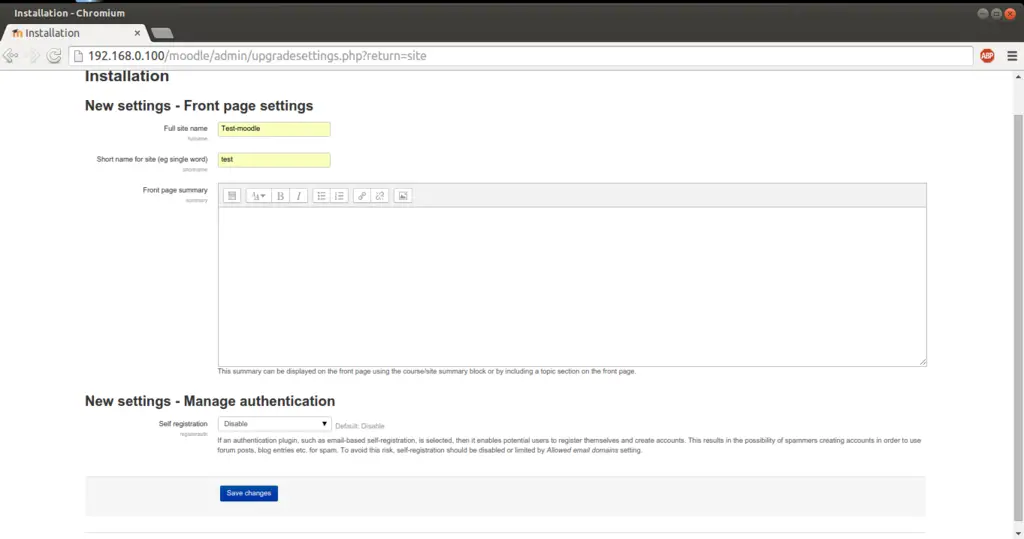
Give any name as per your choice, I am using a test name as:
Full site name : Test-moodle
Short name for site : test
Self registration : Disable
After giving the values press Save changes:
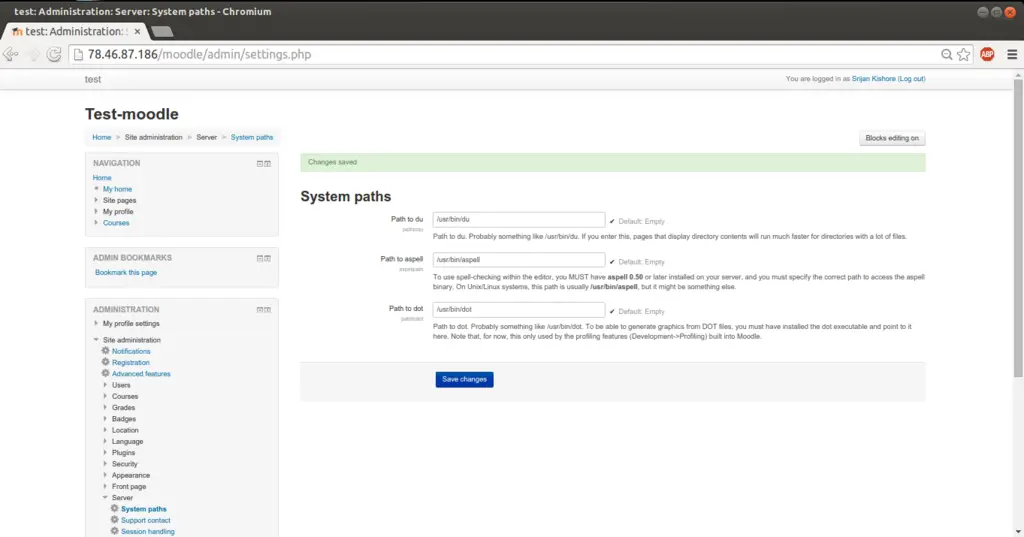
Now go to Site Administration-->Server-->System Paths and define the paths as follows:
Path to du : /usr/bin/du
Path to aspell : /usr/bin/aspell
Path to dot : /usr/bin/dot
Press Save Changes.
Now we are done with the installation part of Moodle, We can access the Moodle page at http://192.168.0100/moodle/login/index.php as follows:
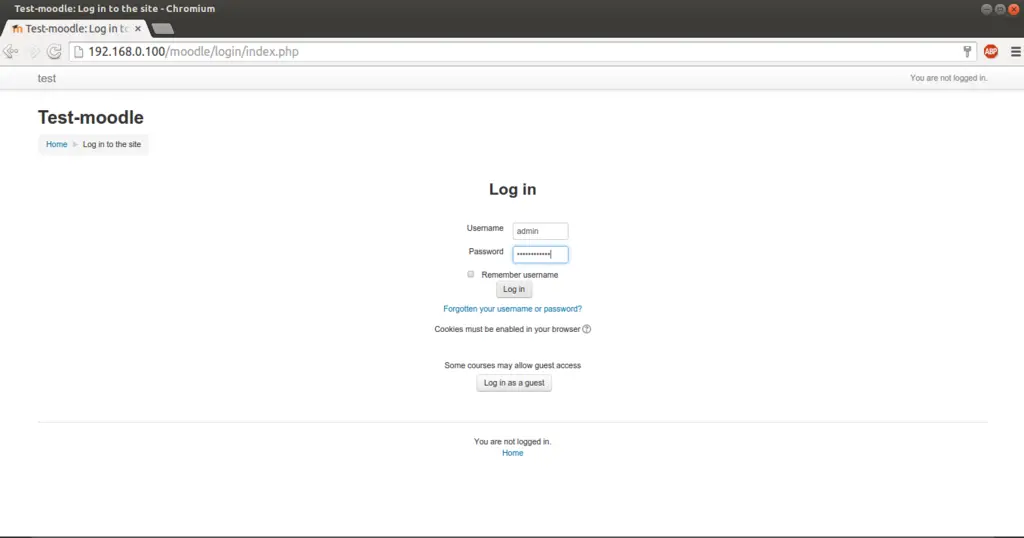
Your credentials will be Username=admin and Password=Howtoforge@1.
Next page will be the default welcome page.
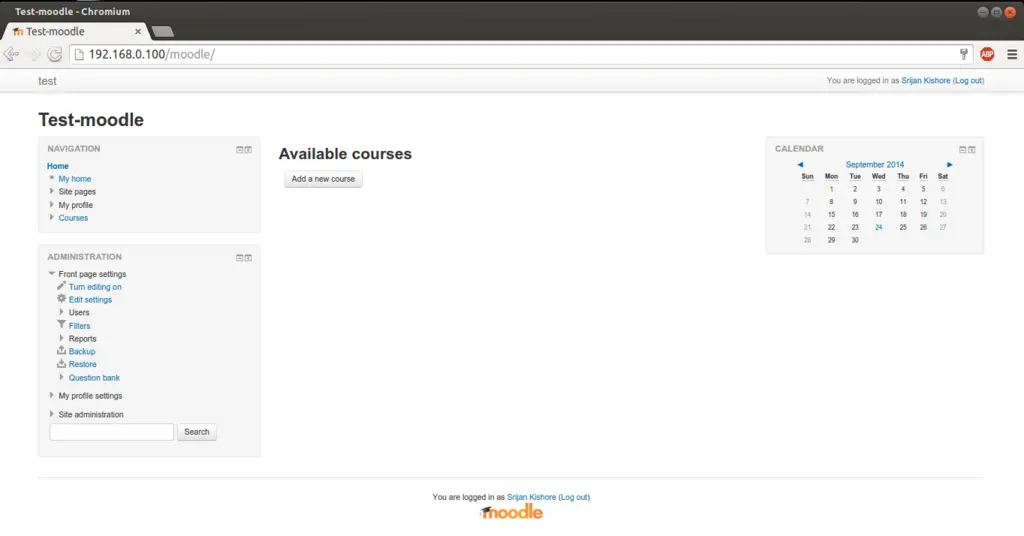
Now we can add courses and use Moodle as per our requirement. Congratulations! You now we have a fully functional Moodle instance on our Ubuntu 14.04 :)
5 Links
- Moodle : https://moodle.org/
- Ubuntu : http://www.ubuntu.com/

