How to setup Single Sign On with OTP using simpleSAMLphp and privacyIDEA

by simpleSAMLphp
This howto will deal with Single Sign On to web pages. Maybe you know OpenID. Similar to Kerberos a "Ticket" is granted to the user to authenticate at other services using the ticket and not the credentials anymore. In this howto we will use SAML (Security Assertion Markup Language) which is more sophisticated than the simple OpenID. SAML can be used to setup trust relations between several entities. This is why it is used between companies and organizations, why online service are using it.
SAML has Identity Providers and Service Providers. The Identity Provider (as the name suggests) knows the identities and is capable of verifing the identity of a user. The Identity Provider will validate the users credentials, issue the authentication token and tell a Service Provider if the user is already authenticated. The Service Provider does not know the users credentials and it probably does not even know the user list! The Service Provider will ask the Identity Provider "Hey, a user called fred, who I do not know anything about, wants to use my service. What should I do?".
Therefore assertions - pieces of digitally signed information - are transferred between the Identity Provider and the Service Provider. Such assertions can be requests to authenticate, to logout and can also contain user attributes. I.e. the Identity Provider can tell the Service Provider additional user attributes of the user, who wants to use the service, and the Service Provider can make its decision (authorization) based on those attributes. We will see this in the example we are going to set up.
The scenario
In this example we set up three machines:
- privacyidea: This is the OTP authentication machine, where privacyIDEA is installed, a system to manage a bunch of different OTP devices. privacyIDEA is a python based web service, which may run on different type of webservers.
- ubuntu: This is the Identity Provider using simpleSAMLphp. simpleSAMLphp is a SAML implementation under active development. It can act as Identity Provider and Service Provider. simpleSAMLphp is a PHP application, thus it will run on any system providing an Apache web server and PHP. For ease of use we assume that this machine is running Ubuntu 14.04 LTS - configurations on other machines are similar.
- wordpress: This our service. Of course you can use any service and as much different services as you like (which is the sense of SSO), but again for ease of use I choose wordpress as my service.
Install privacyIDEA
I already provided several Howtos to install privacyIDEA. In this scenario I would recommend running privacyIDEA on a Ubuntu 14.04, as described here. Version 1.4 of privacyIDEA provides an even easier way to setup your first user connection. It will realize, that you have not configured any users, yet and ask you to automatically create the first user definition.
The howto also explains how you can enroll or assign a token to the user. So at this point we assume that you have a running privacyIDEA system with a user and token.
Install simpleSAMLphp
On the plain Ubuntu 14.04 machine install simpleSAMLphp as easy like this:
apt-get install simplesamlphp php-5mcrypt
You need an additional plugin to authenticate with OTP, which is provided in a PPA repository:
apt-get install software-properties-common
add-apt-repository ppa:privacyidea/privacyidea
apt-get update
apt-get install privacyidea-simplesamlphp
We need to activate the mcrypt module, otherwise we will get signing errors. Run the command:
php5enmod mcrypt
Now we start configuring the Identity Provider. You may also take a look at the quick start at simplesamlphp.
Enable Identity Provider
In the file /etc/simplesamlphp/config.php set
'enable.saml20-idp' => true,
Enable authentication module
To enable the privacyidea module you need to create a file:
touch /usr/share/simplesamlphp/modules/privacyidea/enable
authsources
The file /etc/simplesamlphp/authsources.php holds the definition of the way the Service Provider authenticates the users. The authentication methods are hold in an array called $config.
So we add an entry to the array that looks like this:
  'example-privacyidea' => array(
        'privacyidea:privacyidea',
        'privacyideaserver' => 'https://privacyidea',
        'sslverifyhost' => False,
        'sslverifypeer' => False,
        'realm' => '',
        'attributemap' => array(
                                        'username' => 'samlLoginName',
                                        'surname' => 'surName',
                                        'givenname' => 'givenName',
                                        'email' => 'emailAddress',
                                        'phone' => 'telePhone',
                                        'mobile' => 'mobilePhone',
                                        'realm' => 'memberOf',
                                        'resolver' => 'resolver'
                                        ),
    ),
The privacyIDEA system can be reached via https://privacyidea. The attribute mapping is interesting when we login to wordpress, later.
Create self signed certificate
simpleSAMLphp needs a certificate to sign the assertions. Run:
openssl req -newkey rsa:2048 -new -x509 -days 3652 -nodes -out /etc/ssl/certs/simplesamlphp.crt -keyout /etc/ssl/certs/simplesamlphp.pem
Note: You probably want to place the certificate somewhere else and especially protect the private key. You can change the certificate location in the file /etc/simplesamlphp/config.php by adapting the entry:
'certdir' => '/etc/ssl/certs/',
Configure Identity Provider
Finally you need to tell simpleSAMLphp, which certificate to use and which should be the default authentication module.
You define this in the file /etc/simplesamlphp/metadata/saml20-idp-hosted.php, which should look like this:
<?php
$metadata['__DYNAMIC:1__'] = array(
    /*
     * The hostname for this IdP. This makes it possible to run multiple
     * IdPs from the same configuration. '__DEFAULT__' means that this one
     * should be used by default.
     */
    'host' => '__DEFAULT__',

    /*
     * The private key and certificate to use when signing responses.
     * These are stored in the cert-directory.
     */
    'privatekey' => 'simplesamlphp.pem',
    'certificate' => 'simplesamlphp.crt',

    /*
     * The authentication source which should be used to authenticate the
     * user. This must match one of the entries in config/authsources.php.
     */
    'auth' => 'example-privacyidea',
);
Now you need to restart the Apache server:
service apache2 restart
Testing the Identity Provider
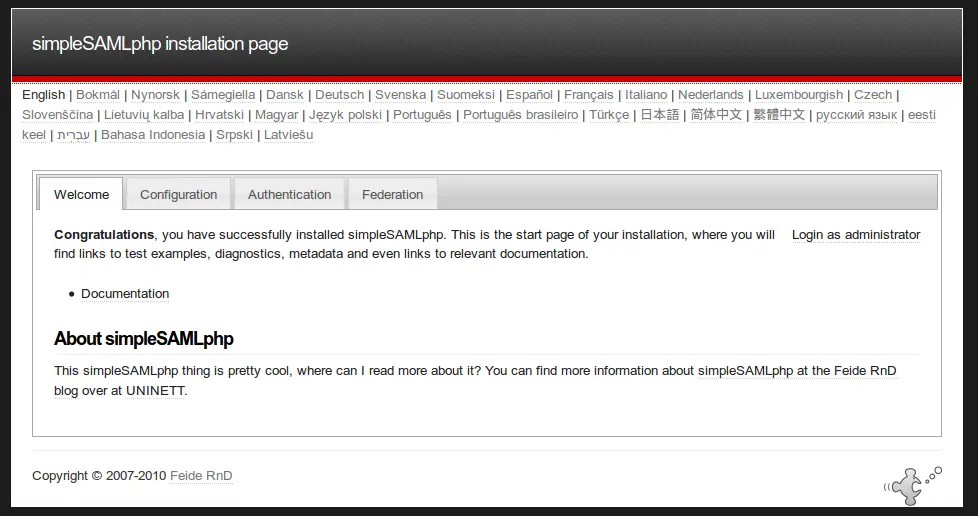
Now you are already done with the Identity Provider and ready to test authentication. Go to the webpage http://ubuntu/simplesaml.
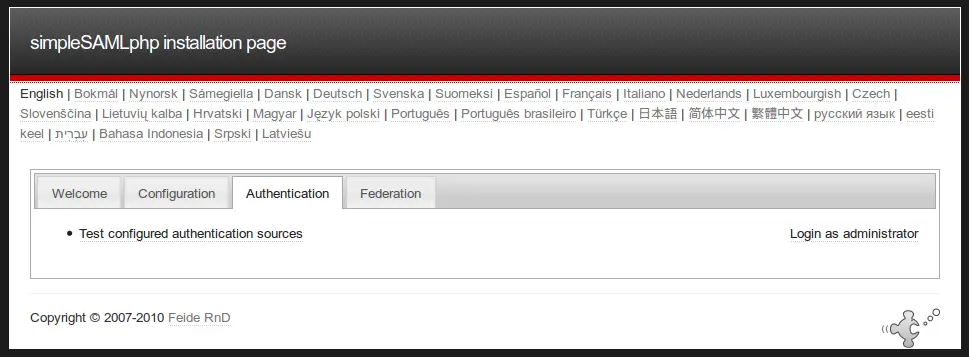
Click on the tab "Authentication".
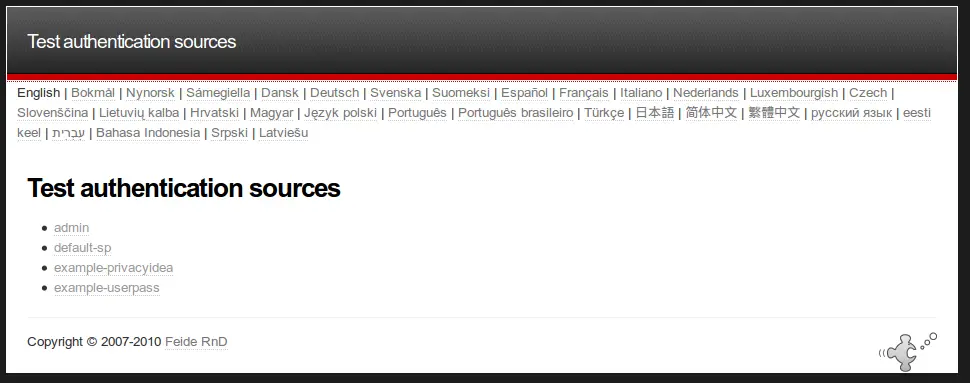
There you will see all the authentication sources, you defined in the authsources.php file. Select "example-privacyidea".
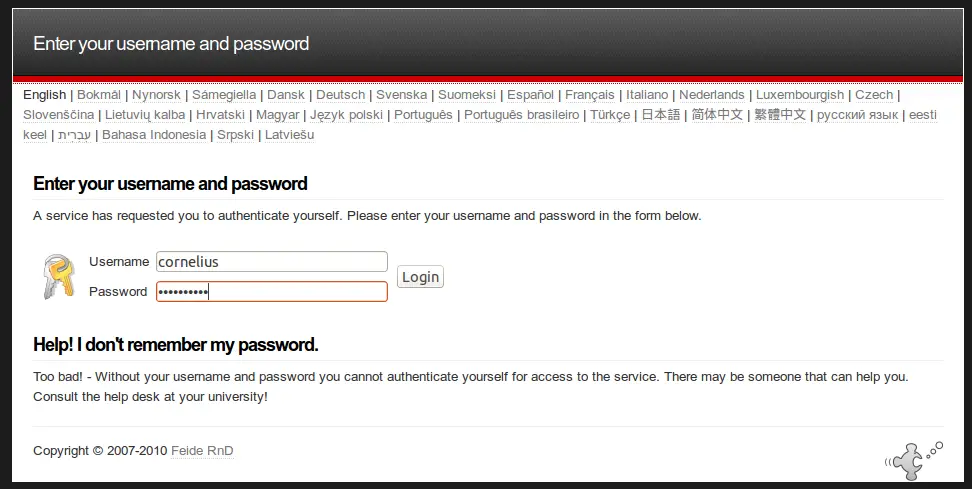
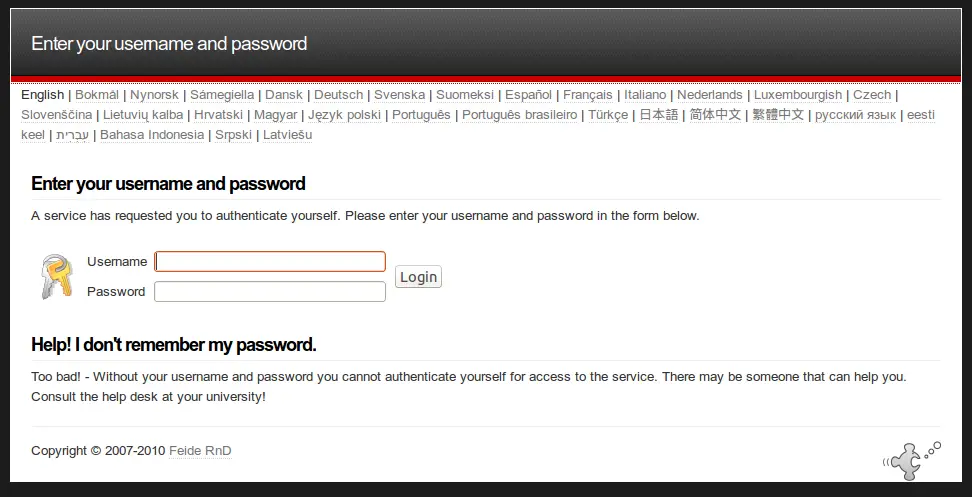
Now you are asked to enter your username and password. These data will be sent to the privacyIDEA server. I.e. the password must contain the fixed OTP PIN and the OTP value created by your OTP device.
If authentication was successful you get something like the following screen:

Here you see, that the Identity Provider does not only tell us, that the authentication was successful but it also gives us additional information about the user, like his email, phone number or group (memberOf), which is the privacyIDEA realm, the user is located in. We will use it in the following Service Provider.
At this point you have a fully working SAML Identity Provider and you can start to add Service Provider around the globe to your own system.
Setting up Wordpress as the Service Provider
On our machine wordpress we install Wordpress. Please refer to their install instructions to do so.
To authenticate with SAML to this new Wordpress installation, we need to install the plugin SAML 2.0 single sign on.
Under Settings ? Single Sign On we can configure the SAML plugin.
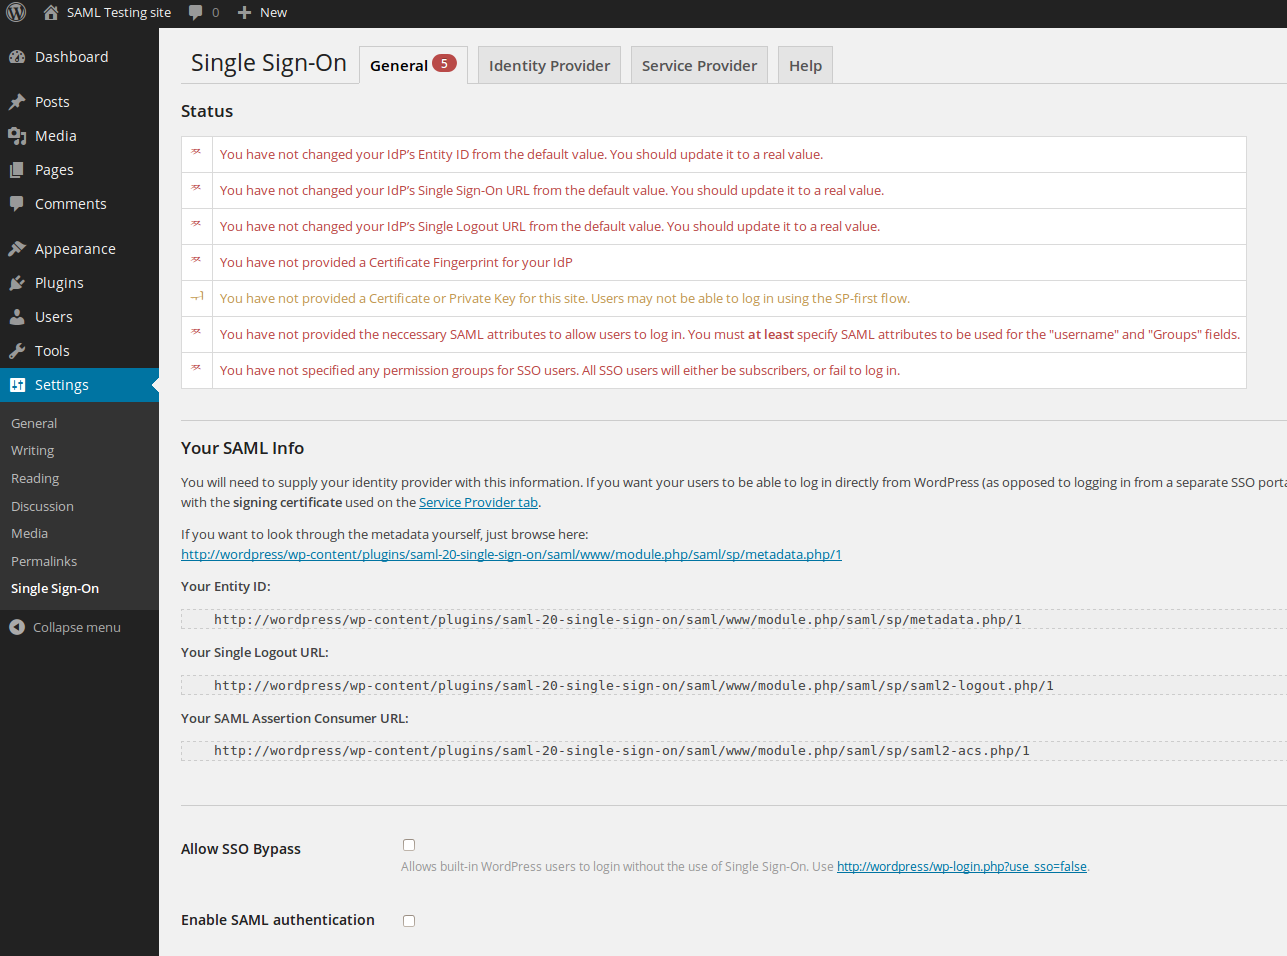
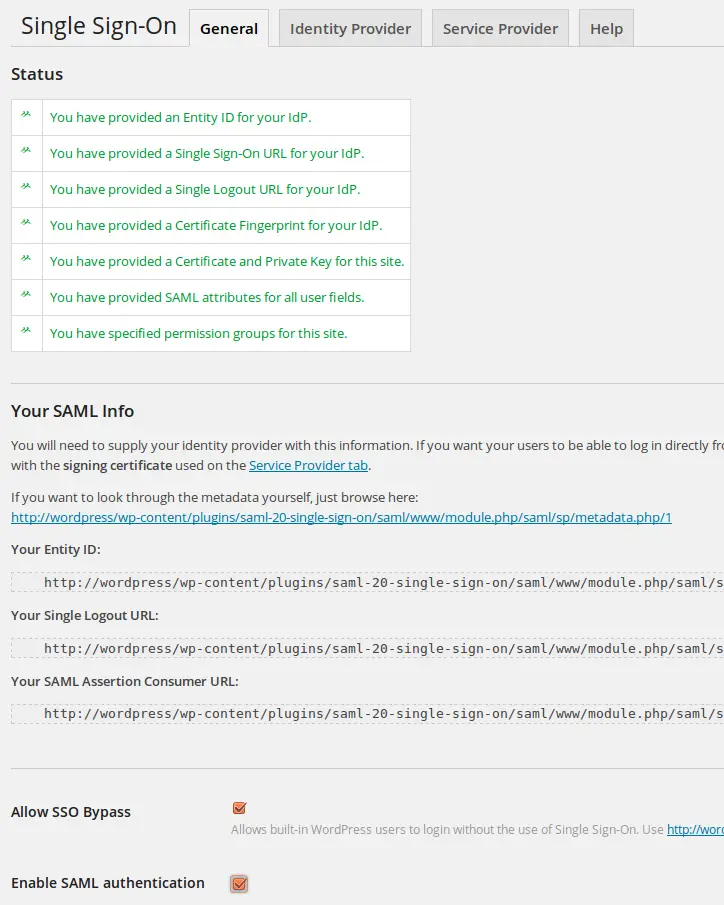
The "General" tab shows us, what remains to be done. The red warnings inform you, what you need to configure.
First we go to the tab "Identity Provider".
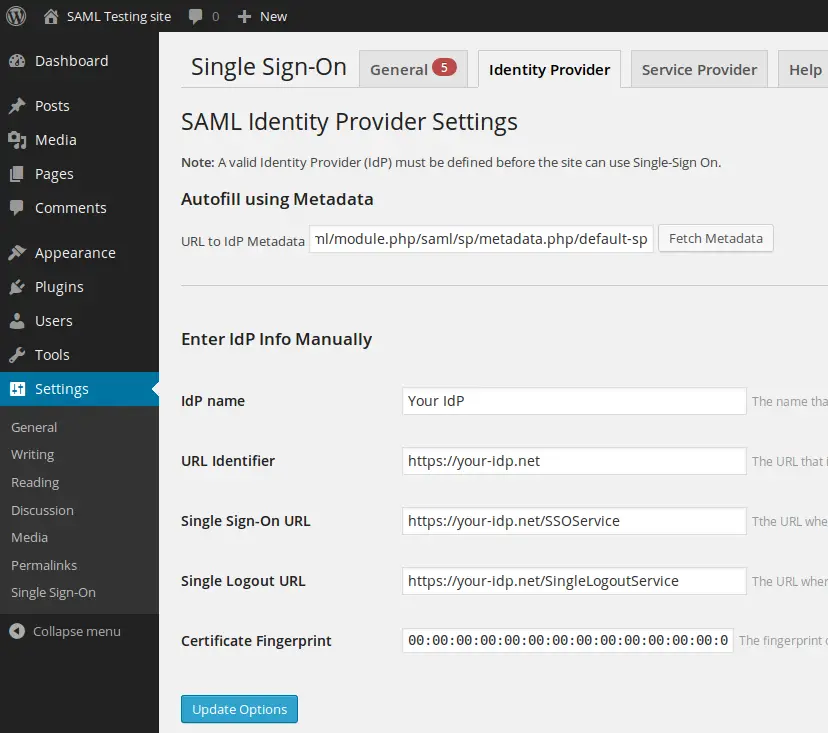
You can enter the metadata URL of your Identity Provider at "URL to IdP metadata" and click fetch data. Anyway - at the end you should have the following data configured:
- IdP name: ubuntu
- URL Identifier: http://ubuntu/simplesaml/saml2/idp/metadata.php
- Single Sign-On URL: http://ubuntu/simplesaml/saml2/idp/SSOService.php
- Single Logout URL: http://ubuntu/simplesaml/saml2/idp/SingleLogoutService.php
- Certificate Fingerprint: AF:80:02:D6:F2:DE:17:BA:38:87:77:3B:FE:B6:BD:97:4A:78:FA:43
The fingerprint is not filled in automatically. This is the fingerprint of the Identity Provider signing certificate you created earlier. You can calculate the fingerprint on the Identity Provider like this:
openssl x509 -noout -fingerprint -in /etc/ssl/certs/simplesamlphp.crt
Note: You can leave the Single Logout URL empty. In this case logging out from Wordpress does not log you out from the Identity Provider. If you provide this URL, logging out from Wordpress will also log you out from the Identity Provider and thus from all other services.
Now change to the "Service Provider" tab.
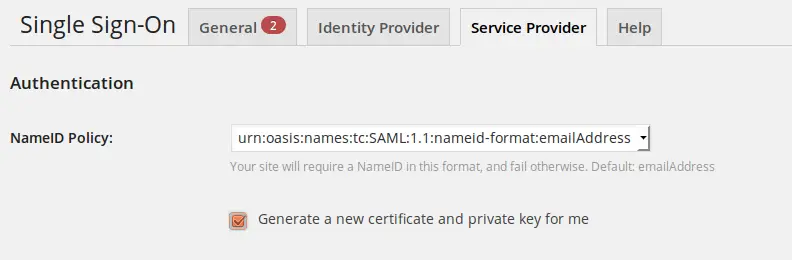
Just like the Identity Provider signs the assertions the Service Provider (the Wordpress plugin) also signs its assertions. Thus we need to generate a new certificate and privata key.
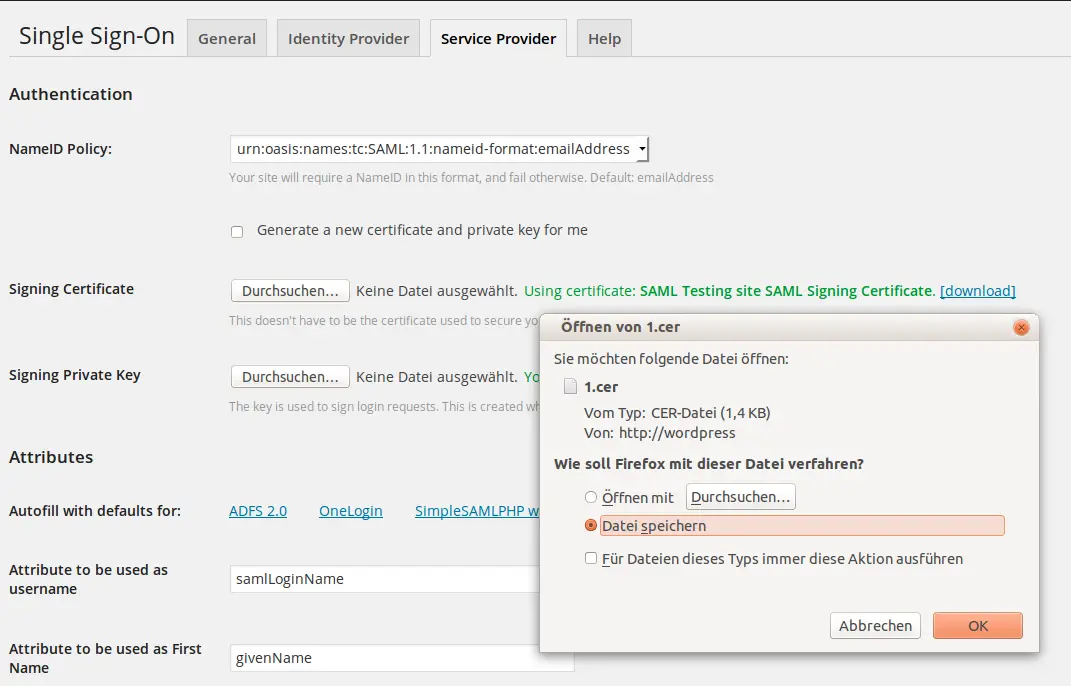
Then download the certificate for later use.
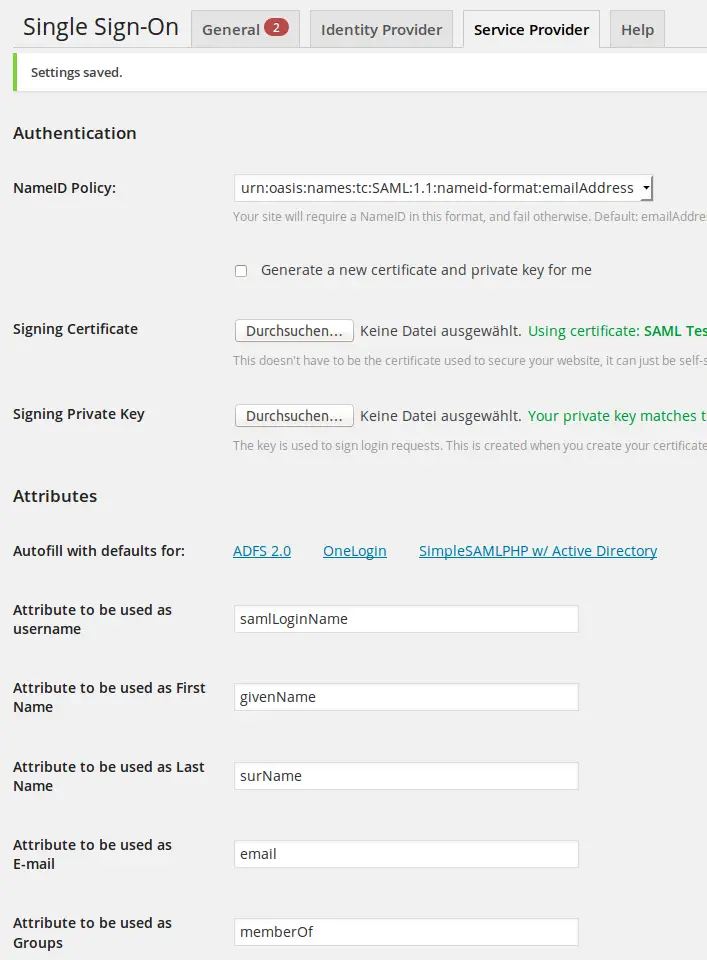
On the same tab you need to enter the attributes, that are returned by the Identity Provider.
Now you may assign the realms of privacyidea.
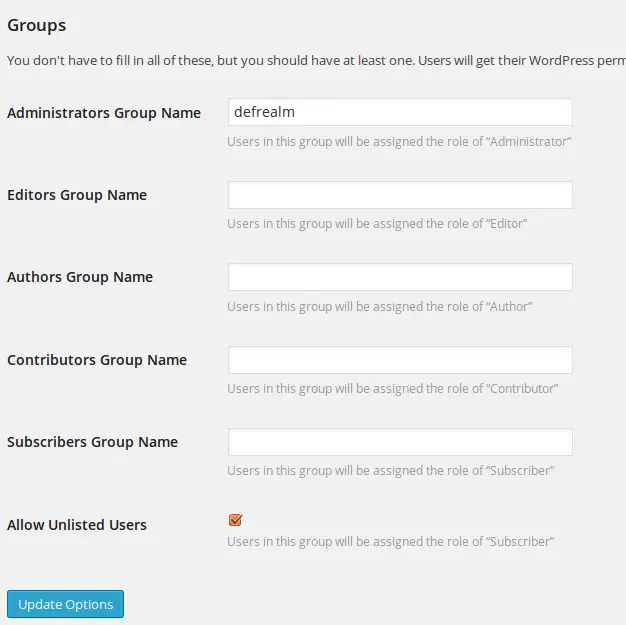
In this scenario all users in the privacyidea realm "defrealm" will be granted administrator rights in Wordpress. User who are not located in listed realms will be logged in as subscribers.
You now may activate the SAML plugin:
Configure the Service Provider on the Identity Provider side
As last step we need to tell the Identity Provider, that the Service Provider is allowed to authenticate users. We need to create a file /etc/simplesamlphp/metadata/saml20-sp-remote.php like this:
<?php
$metadata['http://wordpress/wp-content/plugins/saml-20-single-sign-on/saml/www/module.php/saml/sp/metadata.php/1']  = array(
    'AssertionConsumerService' => 'http://wordpress/wp-content/plugins/saml-20-single-sign-on/saml/www/module.php/saml/sp/saml2-acs.php/1',
    'SingleLogoutService'      => 'http://wordpress/wp-content/plugins/saml-20-single-sign-on/saml/www/module.php/saml/sp/saml2-logout.php/1',
    'assertion.encryption' => TRUE,
    'redirect.validate' => TRUE,
    'certData' => 'MIIEEzCCAvugAwIBAgIBADANBgkqhkiG9w0BAQQFADCBozELMAkGA1UEBhMCVVMx
GjAYBgNVBAoMEVNBTUwgVGVzdGluZyBzaXRlMTMwMQYDVQQDDCpTQU1MIFRlc3Rp
bmcgc2l0ZSBTQU1MIFNpZ25pbmcgQ2VydGlmaWNhdGUxLjAsBgkqhkiG9w0BCQEW
H2Nvcm5lbGl1cy5rb2VsYmVsQG5ldGtuaWdodHMuaXQxEzARBgNVBAgMClNvbWUt
U3RhdGUwHhcNMTQxMDA2MDgxMDQyWhcNMTkxMDA1MDgxMDQyWjCBozELMAkGA1UE
BhMCVVMxGjAYBgNVBAoMEVNBTUwgVGVzdGluZyBzaXRlMTMwMQYDVQQDDCpTQU1M
IFRlc3Rpbmcgc2l0ZSBTQU1MIFNpZ25pbmcgQ2VydGlmaWNhdGUxLjAsBgkqhkiG
9w0BCQEWH2Nvcm5lbGl1cy5rb2VsYmVsQG5ldGtuaWdodHMuaXQxEzARBgNVBAgM
ClNvbWUtU3RhdGUwggEiMA0GCSqGSIb3DQEBAQUAA4IBDwAwggEKAoIBAQCs1wE4
EZculzCdI9eUbLBGjyzQZYmsociqyGSauwe1jcK96dNcb3uvZdF4Y0N12uGxo4Bk
Ek0WCc5uHgoIvb1Jo9kavbzlhHbM7OYf2X5usPD/gkxqzC48BtlWX6pEkxcO5eGx
bA4oFdfTGq7jxzAbfAwJzIITiS6yY7cYTeSrtzli8Fnr88iXeh8xkRfom2nlXCkZ
DkG7PQIAghgVmn6XL1SefCTXRRzlT8kZHad31NkP3Yr6N7NmNcweMbsJ3FcUvFZv
jze39B/NivNS4JW2Q6Yn++CwXlTAM6WUGMzuGNU9ICQAOOn8sLiNdiQmaFGzqulu
azgLRXegYyhehfhvAgMBAAGjUDBOMB0GA1UdDgQWBBSzFA+msOn/ynSpCej5YGYA
3dP5UDAfBgNVHSMEGDAWgBSzFA+msOn/ynSpCej5YGYA3dP5UDAMBgNVHRMEBTAD
AQH/MA0GCSqGSIb3DQEBBAUAA4IBAQCCdzmWgvMZxwOG6YyUthBhSNoq6cJ61Ni8
om+RVkWu0Hf0w7GbcKEgtxm8Ch2GSA1UJ7tUWitgzSksrE1g1PAC6FfEI2VXNaXJ
XwQ4fG0Ju/hHKF5FDRDyoMHcb9hazo5trdwnzkko7iDLR2X0oK/LyCwZpTRaWypB
xcb+QILQMVuDeiSzolRCmvFA5nCdntKsekfM0qThg7K79CHIcQ2oW5Ru6bEXjcgE
AadVeK6KTbf3gKJjO/zal+2Cwt7pjz5AyXLGnPoVj9xu1b8lq73E8rDXzOcgJLyY
QYBKYDOjunfGiOTYV06Qx27oMYQnMAMQSapDCsMDEXAe4AcxXj74'
);
certData being the certificate you downloaded from Wordpress without the lines BEGIN CERTIFICATE and END CERTIFICATE.
Login
When you now try to login to your Wordpress installation via http://wordpress/wp-login.php you are redirected to the Identity Provider login page...
...there you enter the credentials which are validated by the privacyidea server and you are logged in. In fact you are in a logged in state, so that you will be able to use any other Service Provider configured against your simpleSAMLphp Identity Provider.
Have fun and authenticate!
Only Once!

