How to install Pydio on CentOS 7.0
Version 1.0
Author: Srijan Kishore <s [dot] kishore [at] ispconfig [dot] org>
Follow howtoforge on Twitter
Last edited 11/Jan/2015
This guide explains the installation and configuration of the Pydio web ftp client in CentOS 7.0. Pydio (formerly AjaXplorer) is a mature open source software solution for file sharing and synchronization. With intuitive user interfaces (web / mobile / desktop), Pydio provides enterprise-grade features to gain back control and privacy of your data: user directory connectors, legacy filesystems drivers, comprehensive admin interface, and much more.
1 Preliminary Note
I have fresh installed CentOS 7.0 server, on which I am going to install the NFS server. My CentOS server have hostname server1.example.com and IP as 192.168.0.100
You must have LAMP server installed in CentOS 7.0 as mentioned in the tutorial.
2 Install Pydio
Now we will install these packages at the CentOS 7.0 server end as:
rpm -Uvh http://dl.ajaxplorer.info/repos/pydio-release-1-1.noarch.rpm
Then refresh the repository and install Pydio as follows:
yum update
yum install pydio
Next we need to modify the Pydio configuration file as follows:
vi /etc/httpd/conf.d/pydio.conf
#<Directory "/usr/share/pydio">
#        Options FollowSymLinks
#        AllowOverride Limit FileInfo
#        Order allow,deny
#        Allow from all
#       php_value error_reporting 2
#</Directory>


<Directory /usr/share/pydio>
    Options FollowSymlinks
    AllowOverride none
    Require all granted
</Directory>
Additionally we need to get the override from SELINUX for Pydio as follows:
chcon -R -t httpd_sys_content_t /usr/share/pydio/
Finally restart the apache service.
systemctl restart httpd
3 Database Initialization
Next we will create a database for Pydio as:
mysql -u root -p
Here we are adding database=pydiodb user=pydiouser and password=pydiopassword :
create database pydiodb;
create user pydiouser@localhost identified by 'pydiopassword';
grant all on pydiodb.* to pydiouser@localhost;
FLUSH PRIVILEGES;
exit
4 Web Configuration
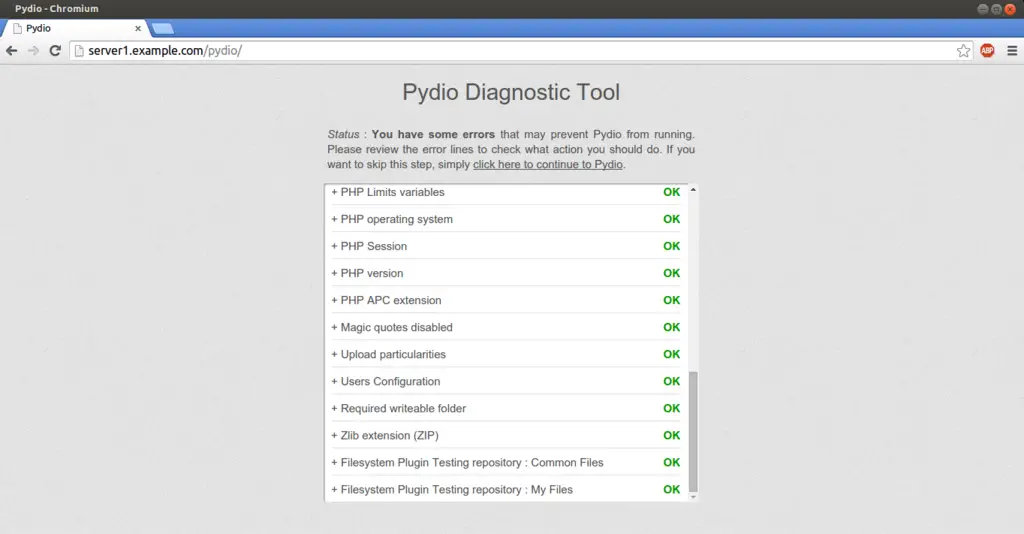
Now open the URL http://server1.example.com/pydio Or http://192.168.0.100/pydio
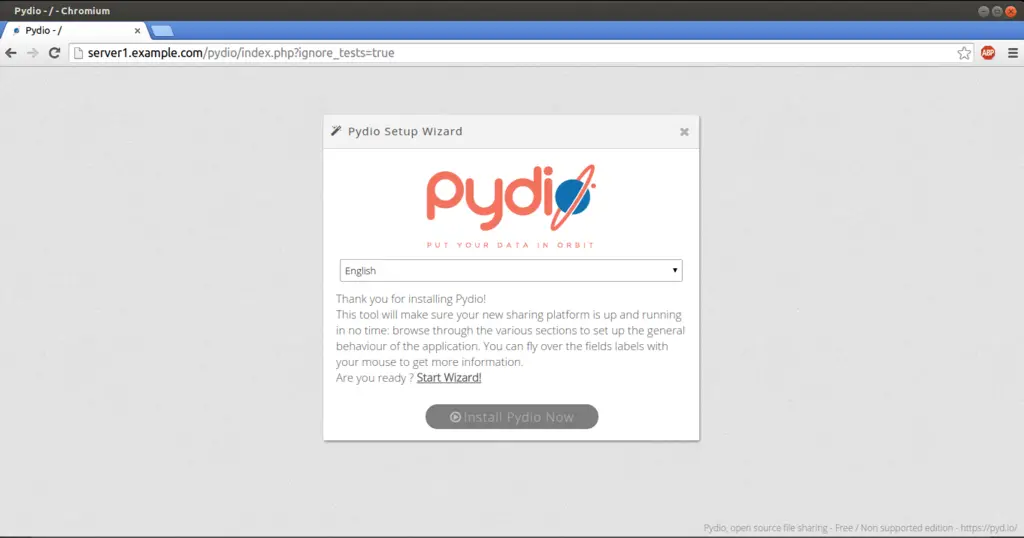
Click on Start wizard
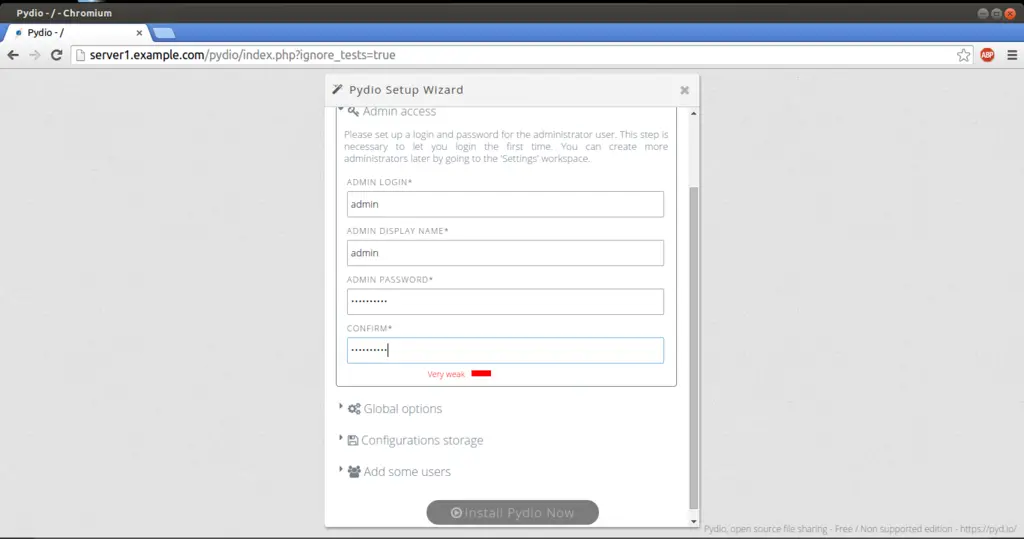
Create an user of your choice, I created user=admin and password=howtoforge:
Select storage type as Database system, and put the Database=pydiodb user=pydiouser and password=pydiopassword OR in case if your database values are different then match them accordingly.
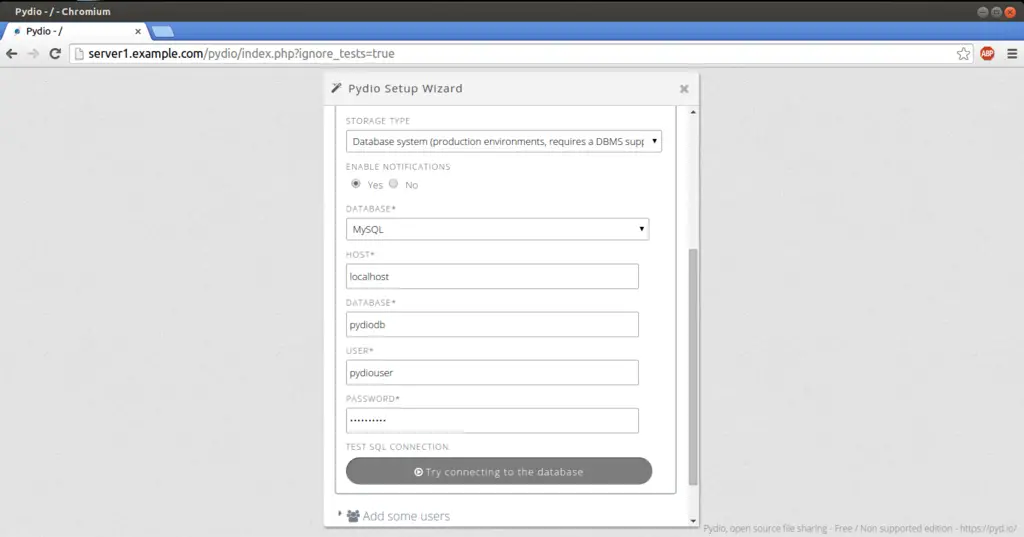
Check the connectivity with the database by clicking over Try connecting to database: 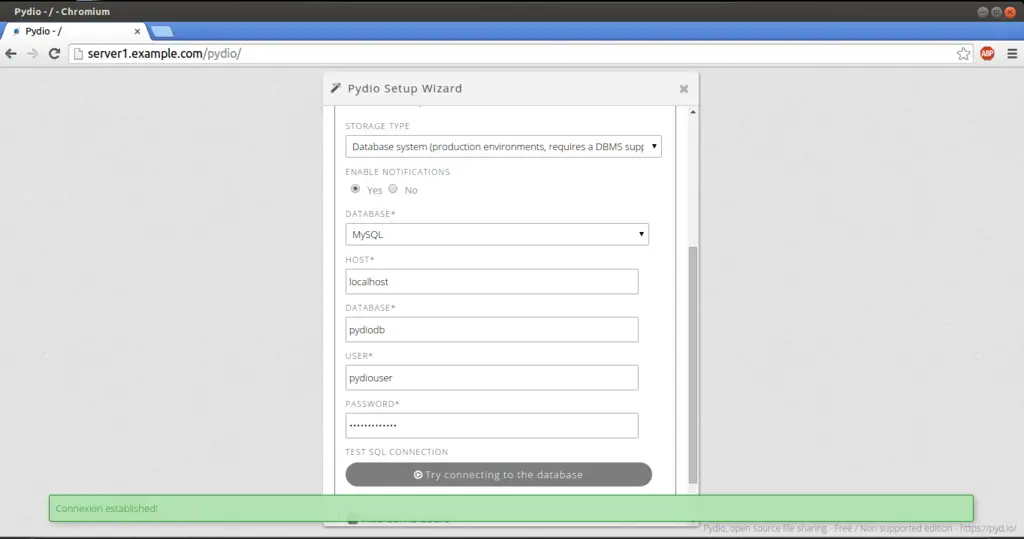
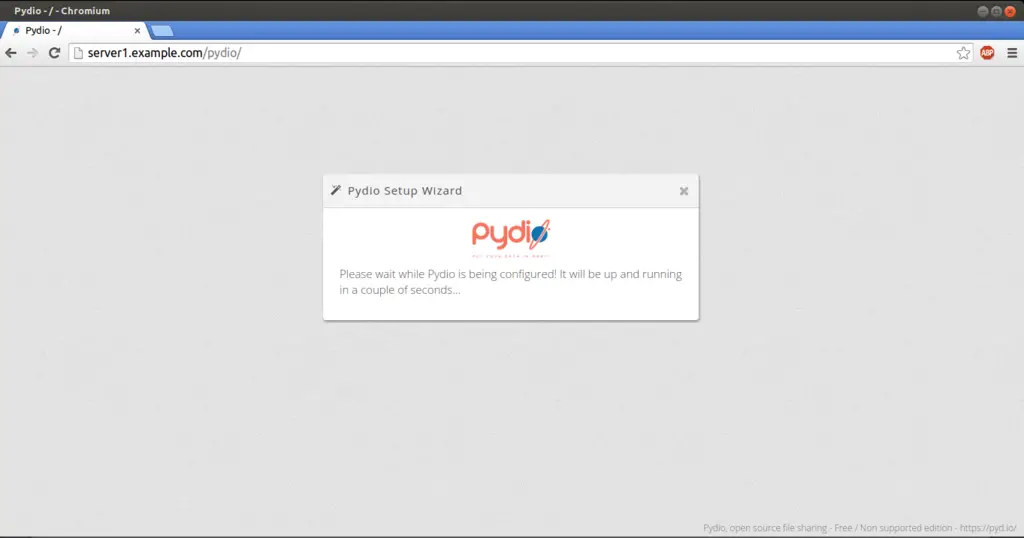
Now we are ready for the installation, if you wish you cane create more users. Press Install Pydio Now.

It will take some time for initialization.
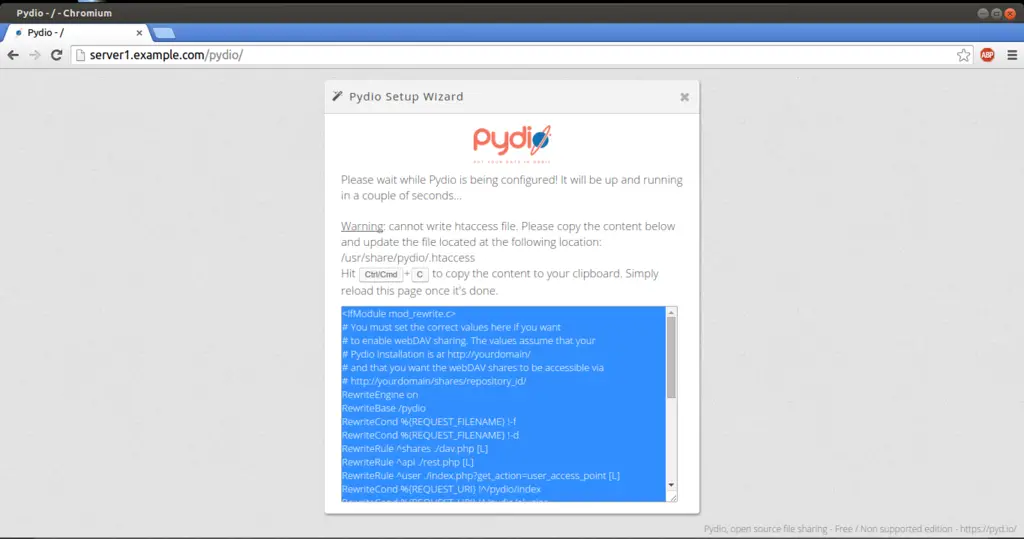
Now installation is completed copy the contents of the .htaccess file and paste it there at /usr/share/pydio/.htaccess:
Now we are ready for the show, refresh the browser and login as per the credentials created above.
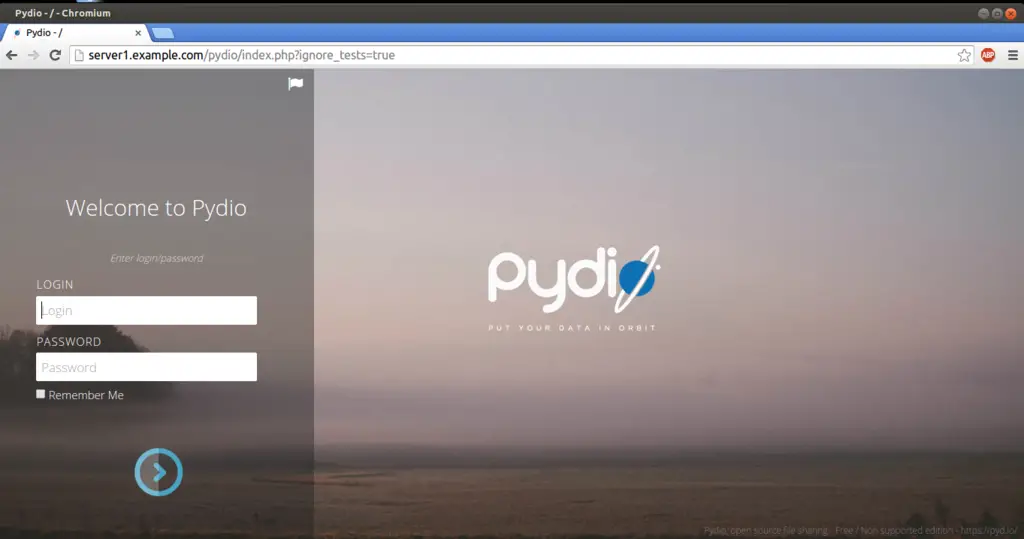
In my case it user=admin and password=howtoforge
This will be your default welcome page.
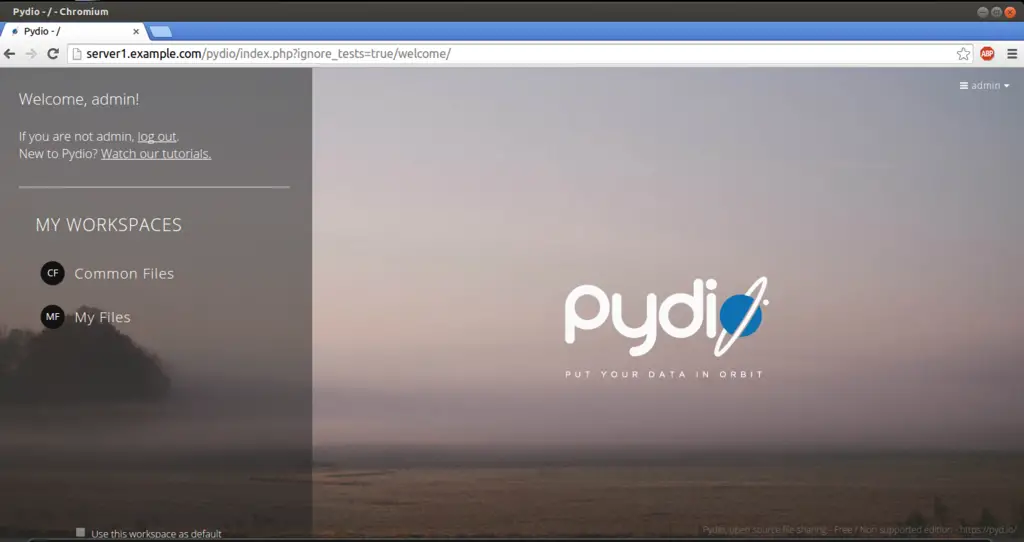
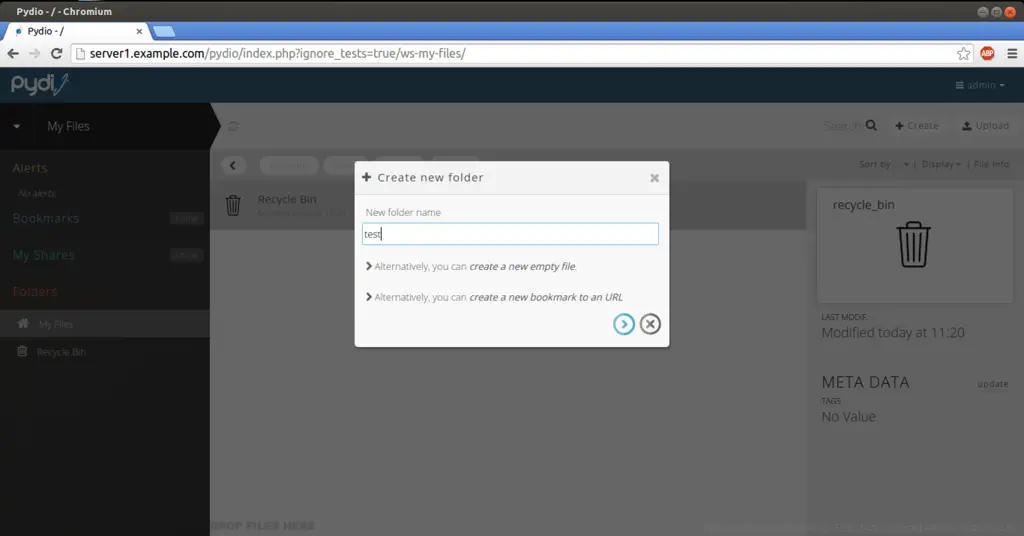
Now you can add files and folders and share it over the network.
Cheers now we have a successfully configured Pydio over CentOS 7.0 :)
5 Links
- CentOS : http://www.centos.org/
- Pydio : https://pyd.io/

