How to install Arch Linux with XFCE Desktop
On this page
This tutorial will give you the detailed step by step instructions to install the leightweight OS Arch Linux with XFCE Desktop on your computer. I have skipped all the optional content making it as short and simple as possible. I didn't use "cdisk" beacuse it has its own complications so i preferred using "fdisk" instead. Any queries feel free to commment I'll sort it out.
Download Arch Linux
You can download the Arch Linux installation iso from here. After the download mount the .iso file within your machine or burn it to media as you wish. Start your machine after the mount and you will have this screen.
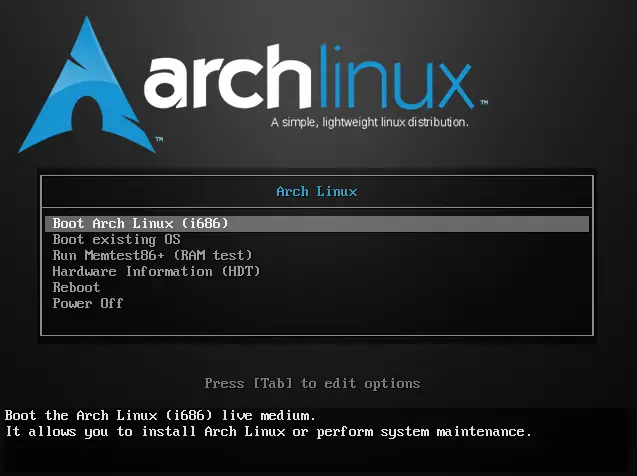
Select the first option and hit ENTER. And it will start the live boot from the .iso or your media. You will be logged in as root by default.
root@archiso ~ #
After being logged in as root you will have to check your internet conection.
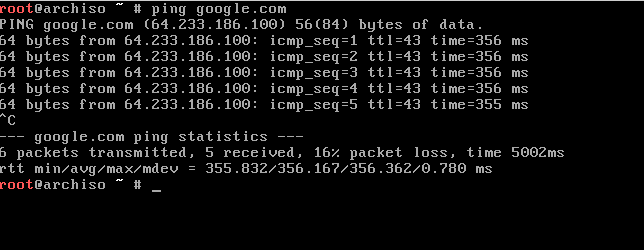
ping google.com
If you get a reply back its fine, or else type in:
dhcpcd
After typing the above command you will see something like this:
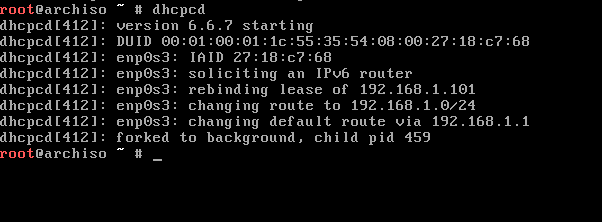
Now go ahead and ping once again. You should be able to get back a relpy from your ping and make sure to press "CTRL + C" to stop your ping or it will go on.
Assuming you have eshtabblished your internet connection, we will proceed with the disk partioning. I'm using "fdisk" for partioning you can use anything you like. Basically fdisk is used to create DOS partitions, you might use cgdisk to create GPT partitions and others as per your wish. Type in the following command :
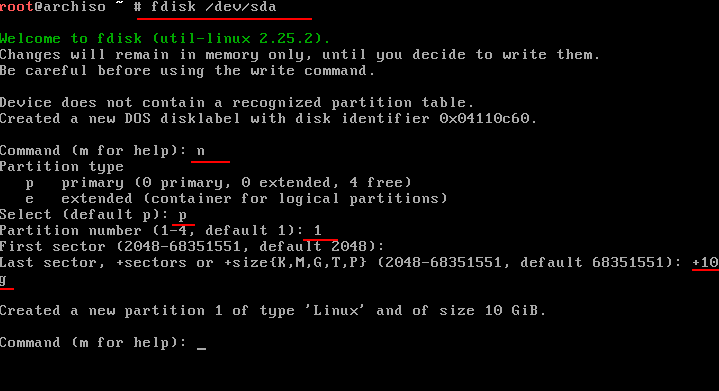
fdisk /dev/sda
Hit ENTER and you will get a screen like this:
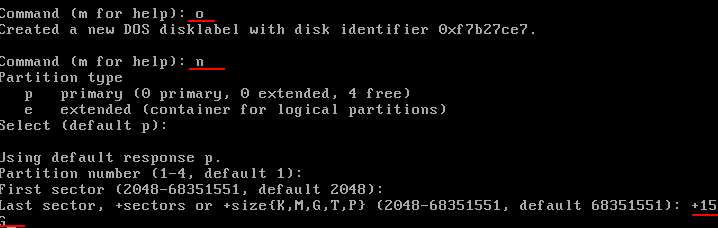
As you see in the above image we used fdisk to create a MBR partion on the drive. Type o, hit ENTER then. Type n - this will create a new partition and p is for making it the primary prartition. Followed by chosing the partition number and setting the partition size +xG where "G = gigabyte". Then format. To create a non MBR partition check the following image.
Now after creating the partitions successfully, we are going to create filesystem:
mkfs.ext4 /dev/sda1
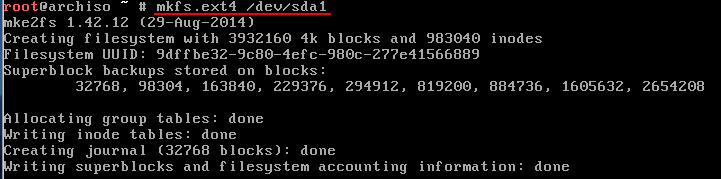
Do the same thing on your other partitions too. Just change the last number to the number of your drive.
Preparing for the base install.
We will be mounting all partions to the directories. So type in the following commands:
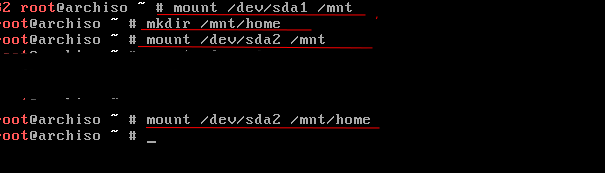
Now you have mounted your patitions, now its time to install your base system. Type in the following:
pacstrap /mnt base base-devel
In the above command the base will insall base and base-devel will install other utilities. Hit ENTER and there you go. Your installation will look like this at some point. Even if it doesn't, don't worry. This is how it could look like: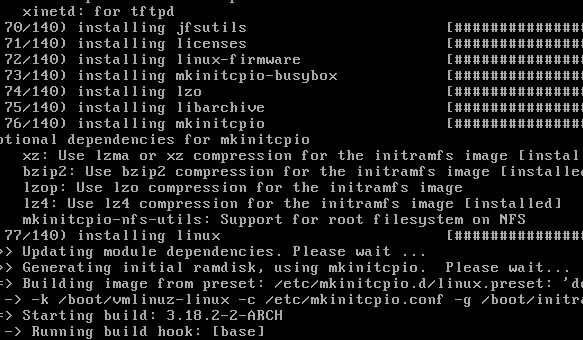
After completing the download, we are going to create the fstab file:
genfstab /mnt >> /mnt/etc/fstab
Now to verify your file just type in:
nano /mnt/etc/fstab
It will look like this
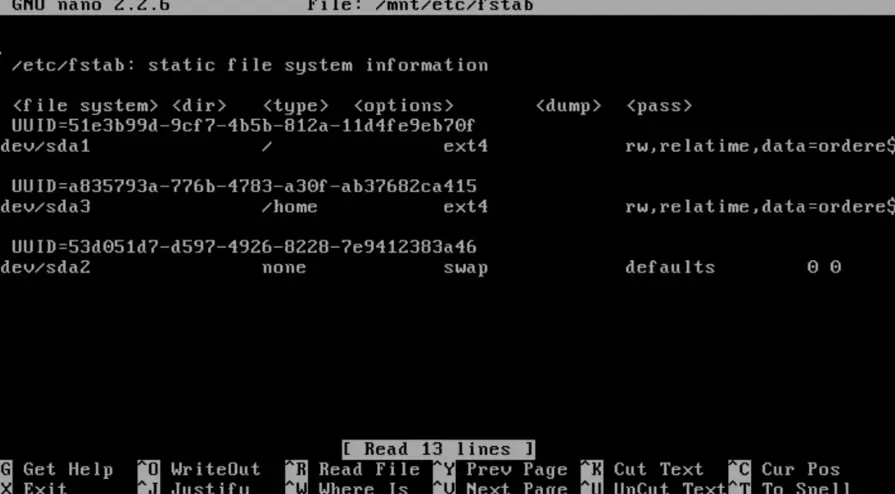
Make sure you got the read and write permission of the partitions. Then going into the system type in:
arch-chroot /mnt
After getting to this point, set the password for root and install BIOS.
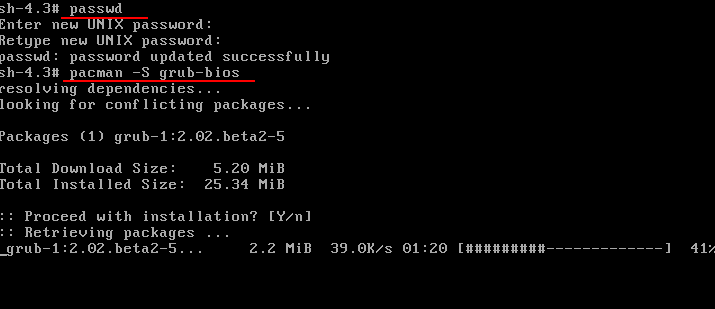
Type in the above underlined commands will update your passsword and install BIOS. Then go ahead and install grub on to your HDD.
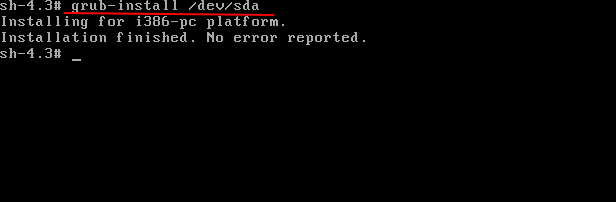
grub-install /dev/sda
It should be like this :
mkconfig -o /boot/grub/grub.cfg
Type the above to update your GRUB. Change your hostname by typing:
echo vbox > /etc/hostname
Now do the following to unmount the partitions 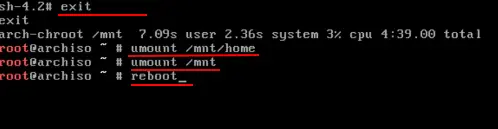
So basically you have installed your Arch Linux system now. Restart your system - go ahead and select the option Boot from Existing OS from your live iso boot menu.
Start with enabling the inernet connection by default, by which it will start with the system startup.
systemctl enable dhcpcd
shutdown -P -h now
The above commands will enable dhcpcd and shut down your system.
Befor restarting again, make sure you remove all the installation media this time. Log in with your root user and ENTER the password you created earlier. Just go ahead and ping to make sure dhcpcd services are working.

