How to install ownCloud Client on Ubuntu 14.04 Desktop
This tutorial describes how to connect an Ubuntu 14.04 Desktop with an ownCloud server by using the ownCloud desktop client. If you don't have an ownCloud server yet, take a look at our server tutorials for Ubuntu 14.04, Centos 7 or Debian 8.
Open a Terminal window in Ubuntu and execute these commands.
Download the Release.key of the download.opensuse.org Ubuntu repository into the /tmp directory.
cd /tmp
wget http://download.opensuse.org/repositories/isv:ownCloud:desktop/xUbuntu_14.04/Release.key
Then import the key into the apt key store.
sudo apt-key add - < Release.key
Add the software repository in Debian and update the repository list.
sudo sh -c "echo 'deb http://download.opensuse.org/repositories/isv:/ownCloud:/desktop/xUbuntu_14.04/ /' >> /etc/apt/sources.list.d/owncloud-client.list"
sudo apt-get update
Finally install the ownCloud client with apt.
sudo apt-get install owncloud-client
Type "ownCloud" in the search field on your desktop to find the newly installed client app and open the ownCloud-client.

Enter the URL of the ownCloud server in the "Server Address" field, in my case http://192.168.0.100/owncloud and enter the login details (username and password) when requested by the app.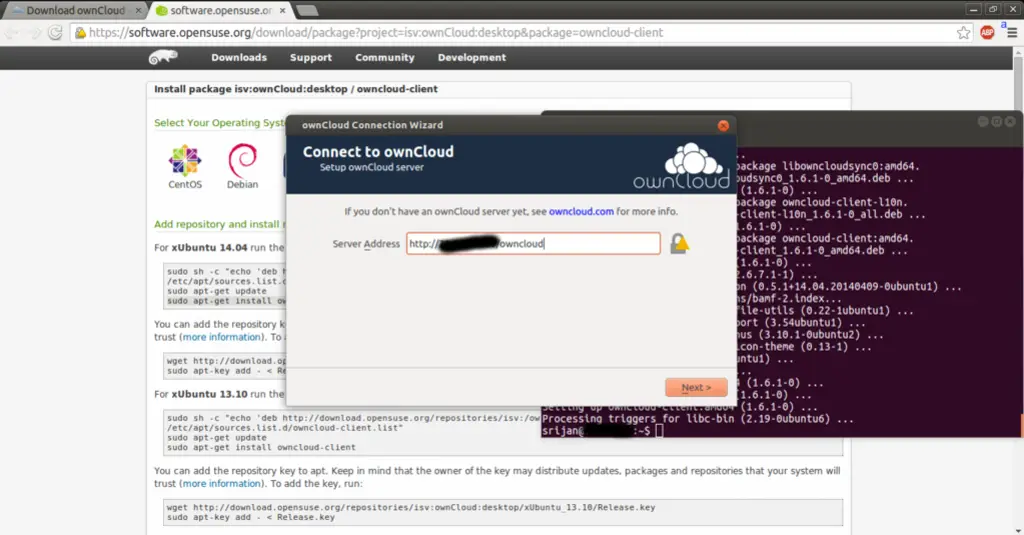
When you are using it without https then you can ignore the error and move ahead: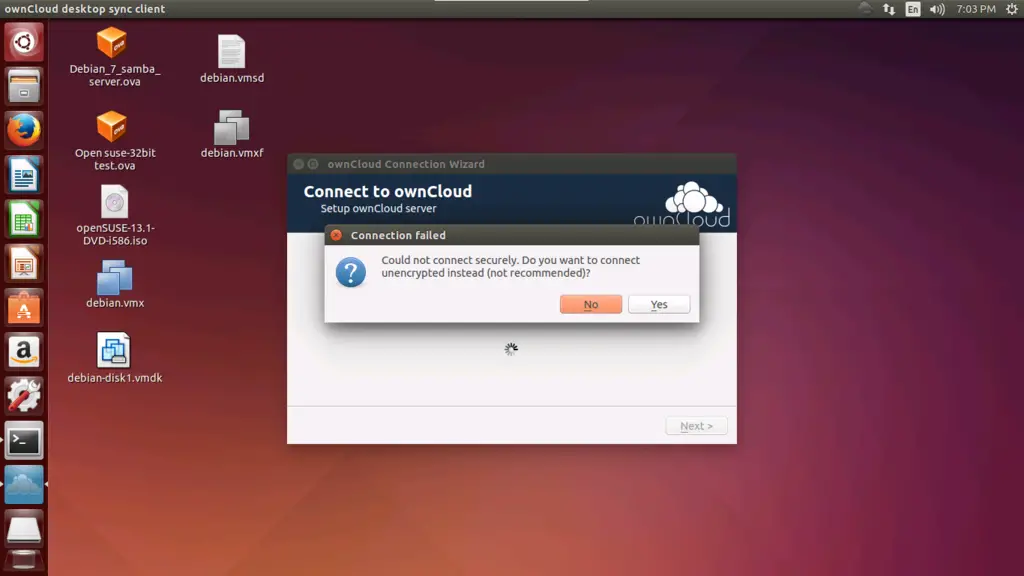
And enter the details.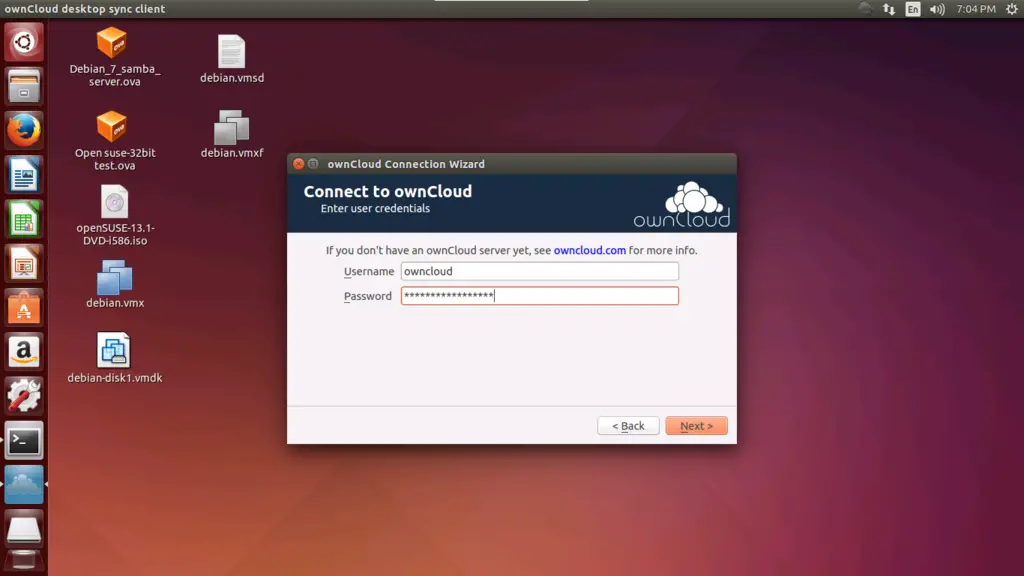
The ownCloud client will map the shared remote folders to your Desktop: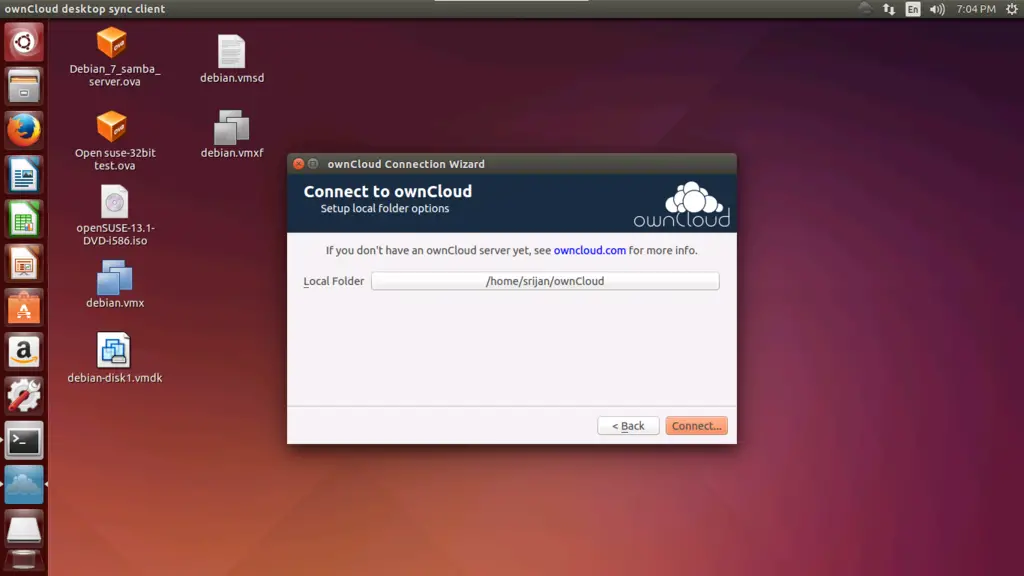
And starts to sync the data: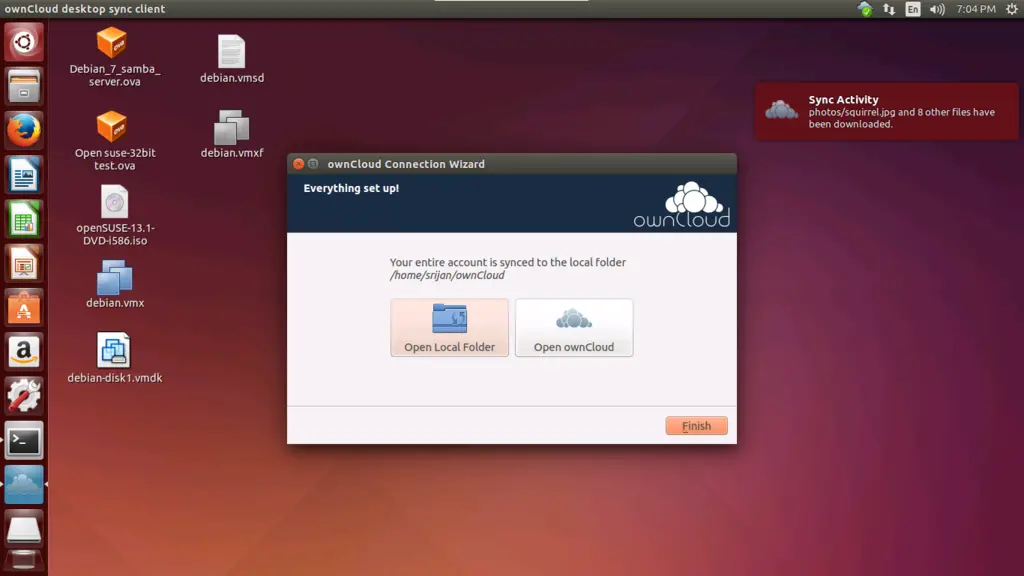
I hope this howto will help you to connect your Desktop with the ownCloud Server easily.

