How to scan for viruses with ClamAV on Ubuntu 22.04
There aren't many viruses made for Linux distributions and as such, most people who use such systems don't even bother using antivirus software. Those however who do want to be able to scan their system or other Windows-based systems that are connected to a Linux PC through a network can use ClamAV. ClamAV is an open-source anti-virus engine that is built to detect viruses, trojans, malware, and other threats. It supports multiple file formats (documents, executables, or archives), utilizes multi-thread scanner features, and receives updates for its signature database at least 3-4 times a day.
ClamAV Antivirus
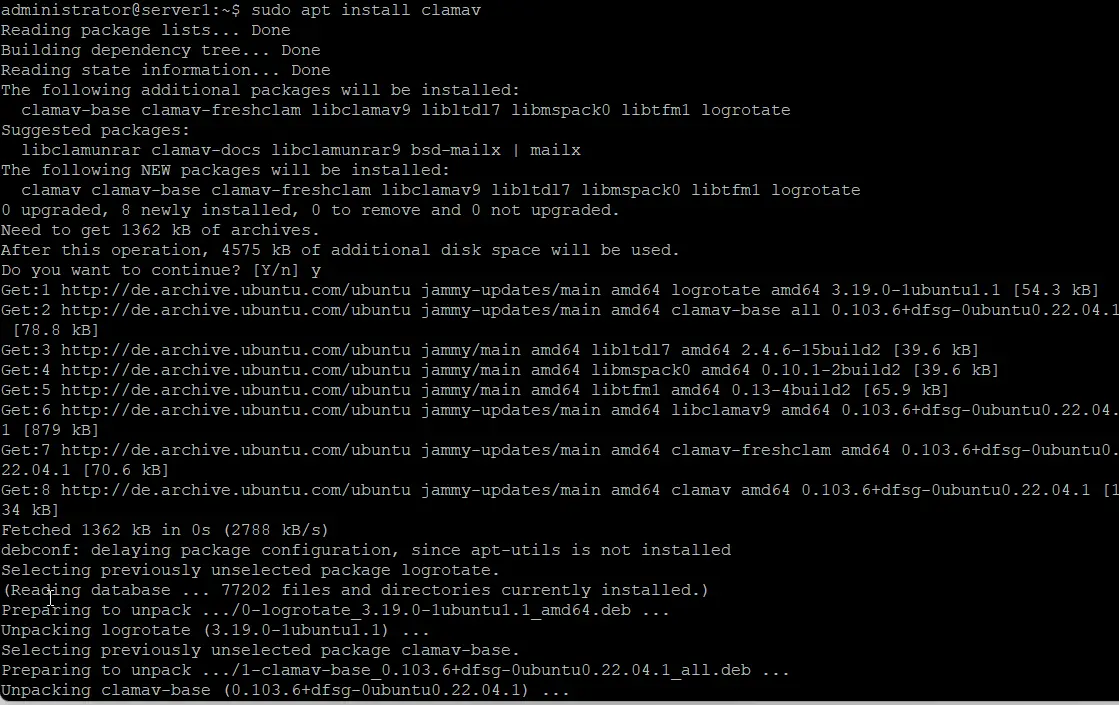
The first step is to install and get the latest signature updates. To do this on Ubuntu, you can open a terminal and insert “sudo apt-get install clamav” and press enter.
sudo apt install clamav
You may also build ClamAV from sources to benefit from better scanning performance. To update the signatures, you type “sudo freshclam” on a terminal session and press enter.
sudo freshclam
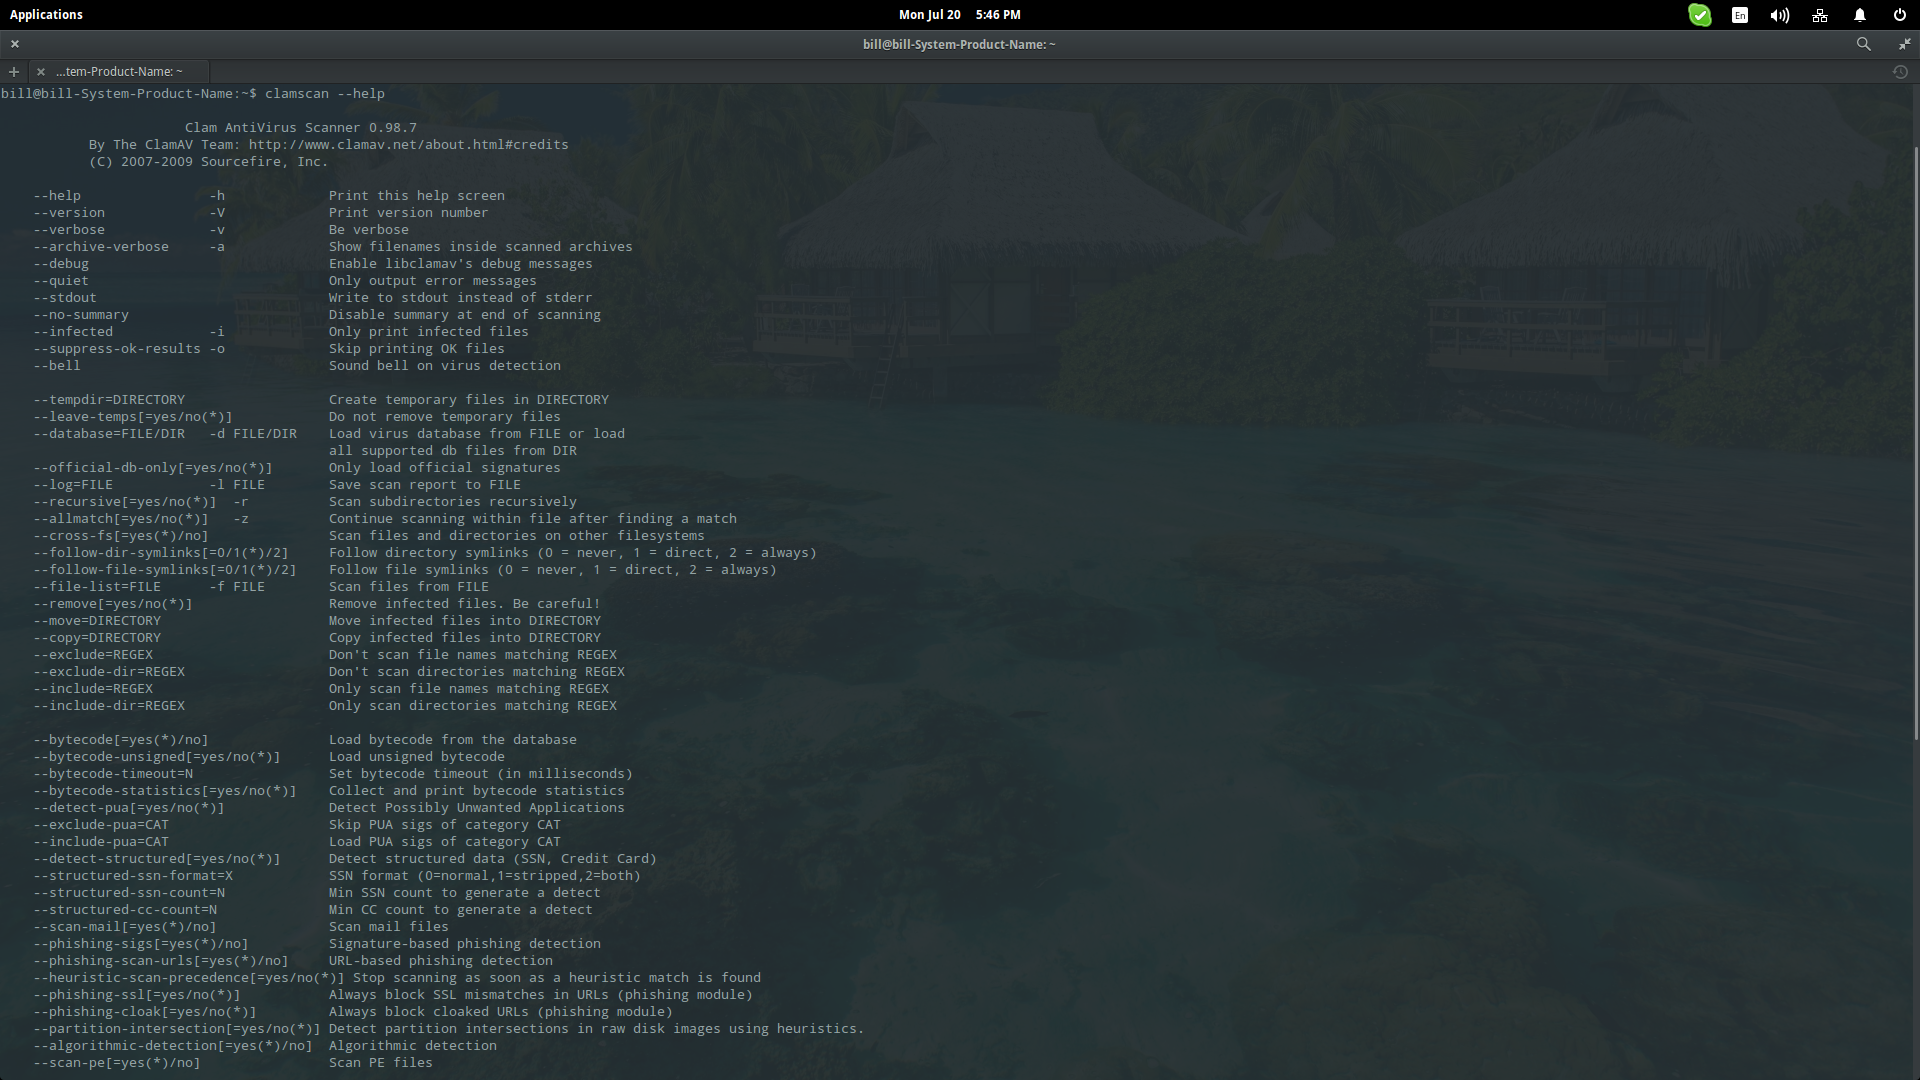
Now we are ready to scan our system. To do this, you can use the “clamscan” command. This is a rich command that can work with many different parameters so you'd better insert “clamscan –-help” on the terminal first and see the various things that what you can do with it.
clamscan –-help
Scan Files for Viruses with ClamAV
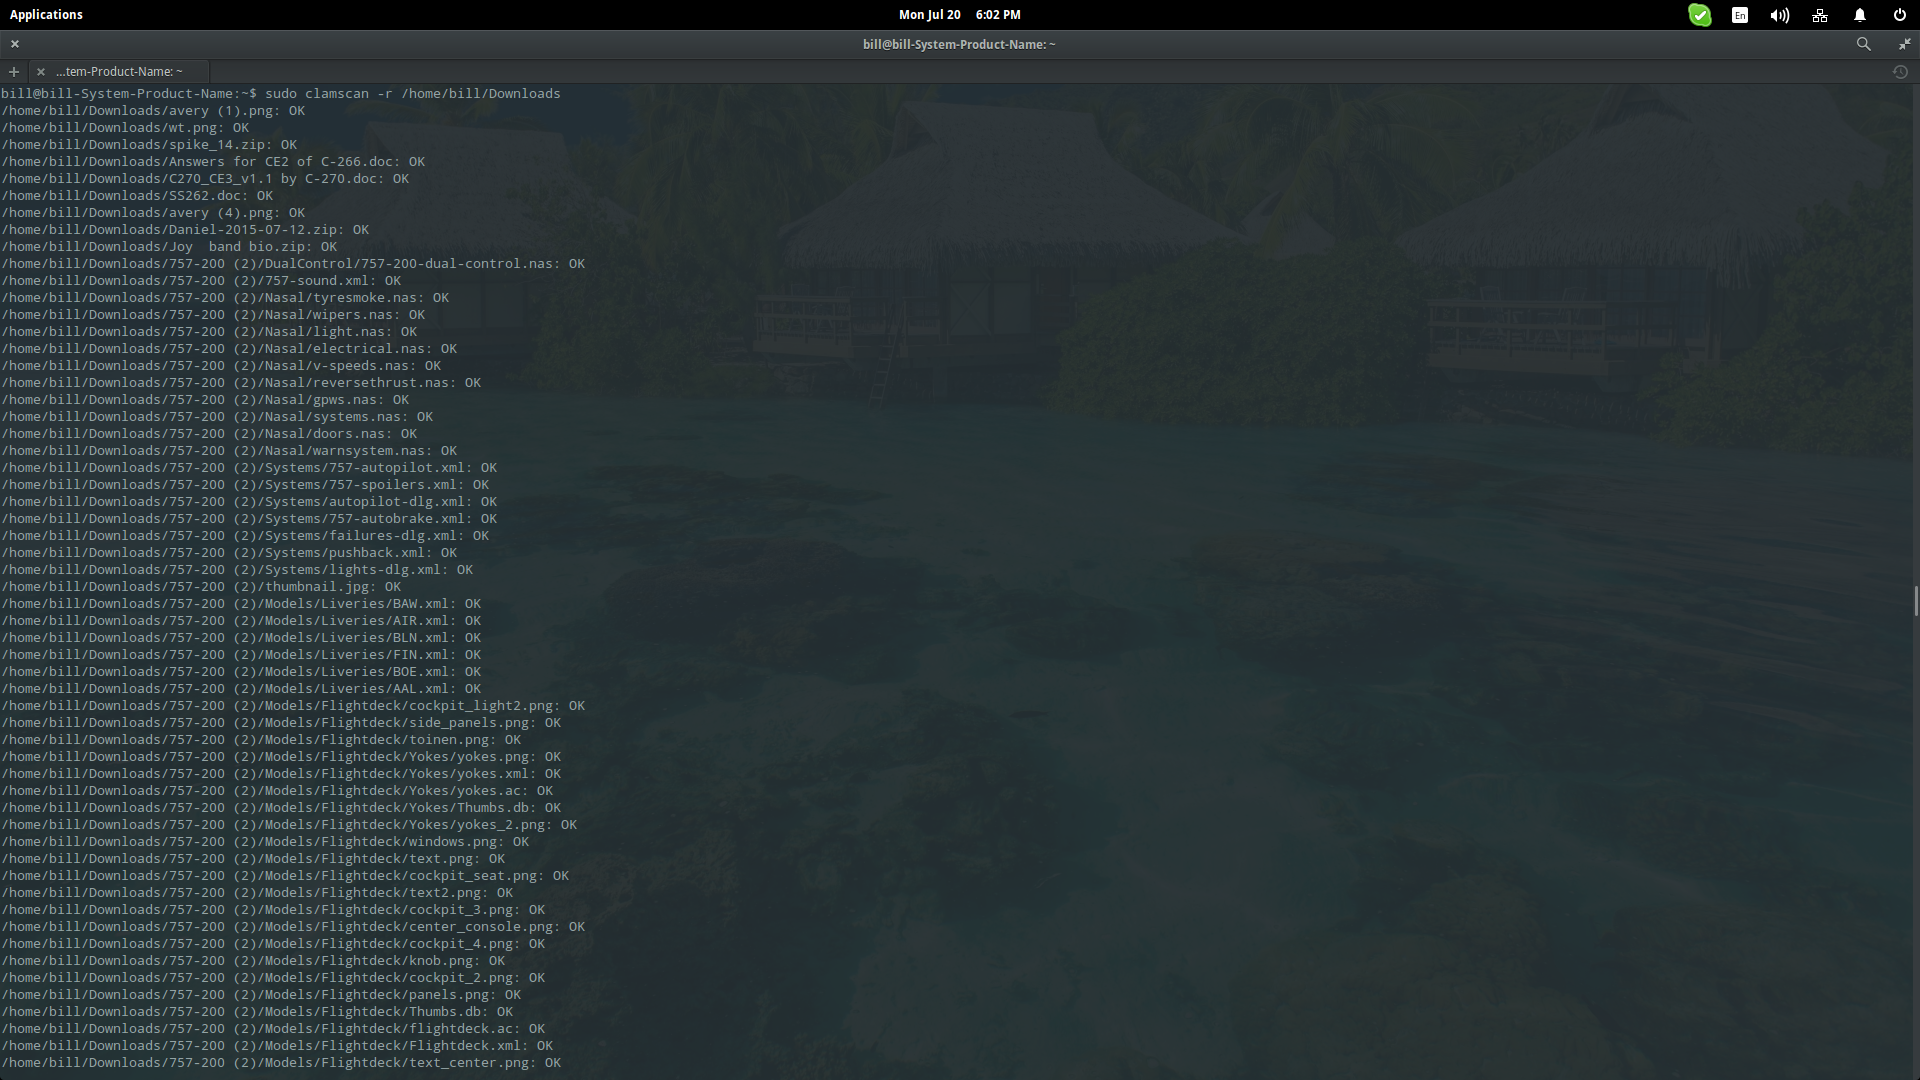
So, I will demonstrate a scan on my “Downloads” folder located under the home directory and I will choose to output only infected files and ring a bell when (and if) they are found. This translates to the following command on the terminal: “clamscan -r --bell -i /home/bill/Downloads”.
clamscan -r --bell -i /home/bill/Downloads
To scan the whole system (it may take a while) and remove all infected files in the process, you can use the command in the following form: “clamscan -r --remove /”.
clamscan -r --remove /
Sometimes, simply removing infected files can cause even more problems or breakages. I suggest that you should always check the output first and then take manual action. Alternatively, you may also use the “move” command integrated as a parameter in the form of” “--move=/home/bill/my_virus_collection” (example directory).
ClamTK - a GUI for ClamAV
If all this console stuff is simply too much for you, you can also install an additional package called “clamtk” that is basically a gtk-2 GUI for ClamAV.
sudo apt install clamtk
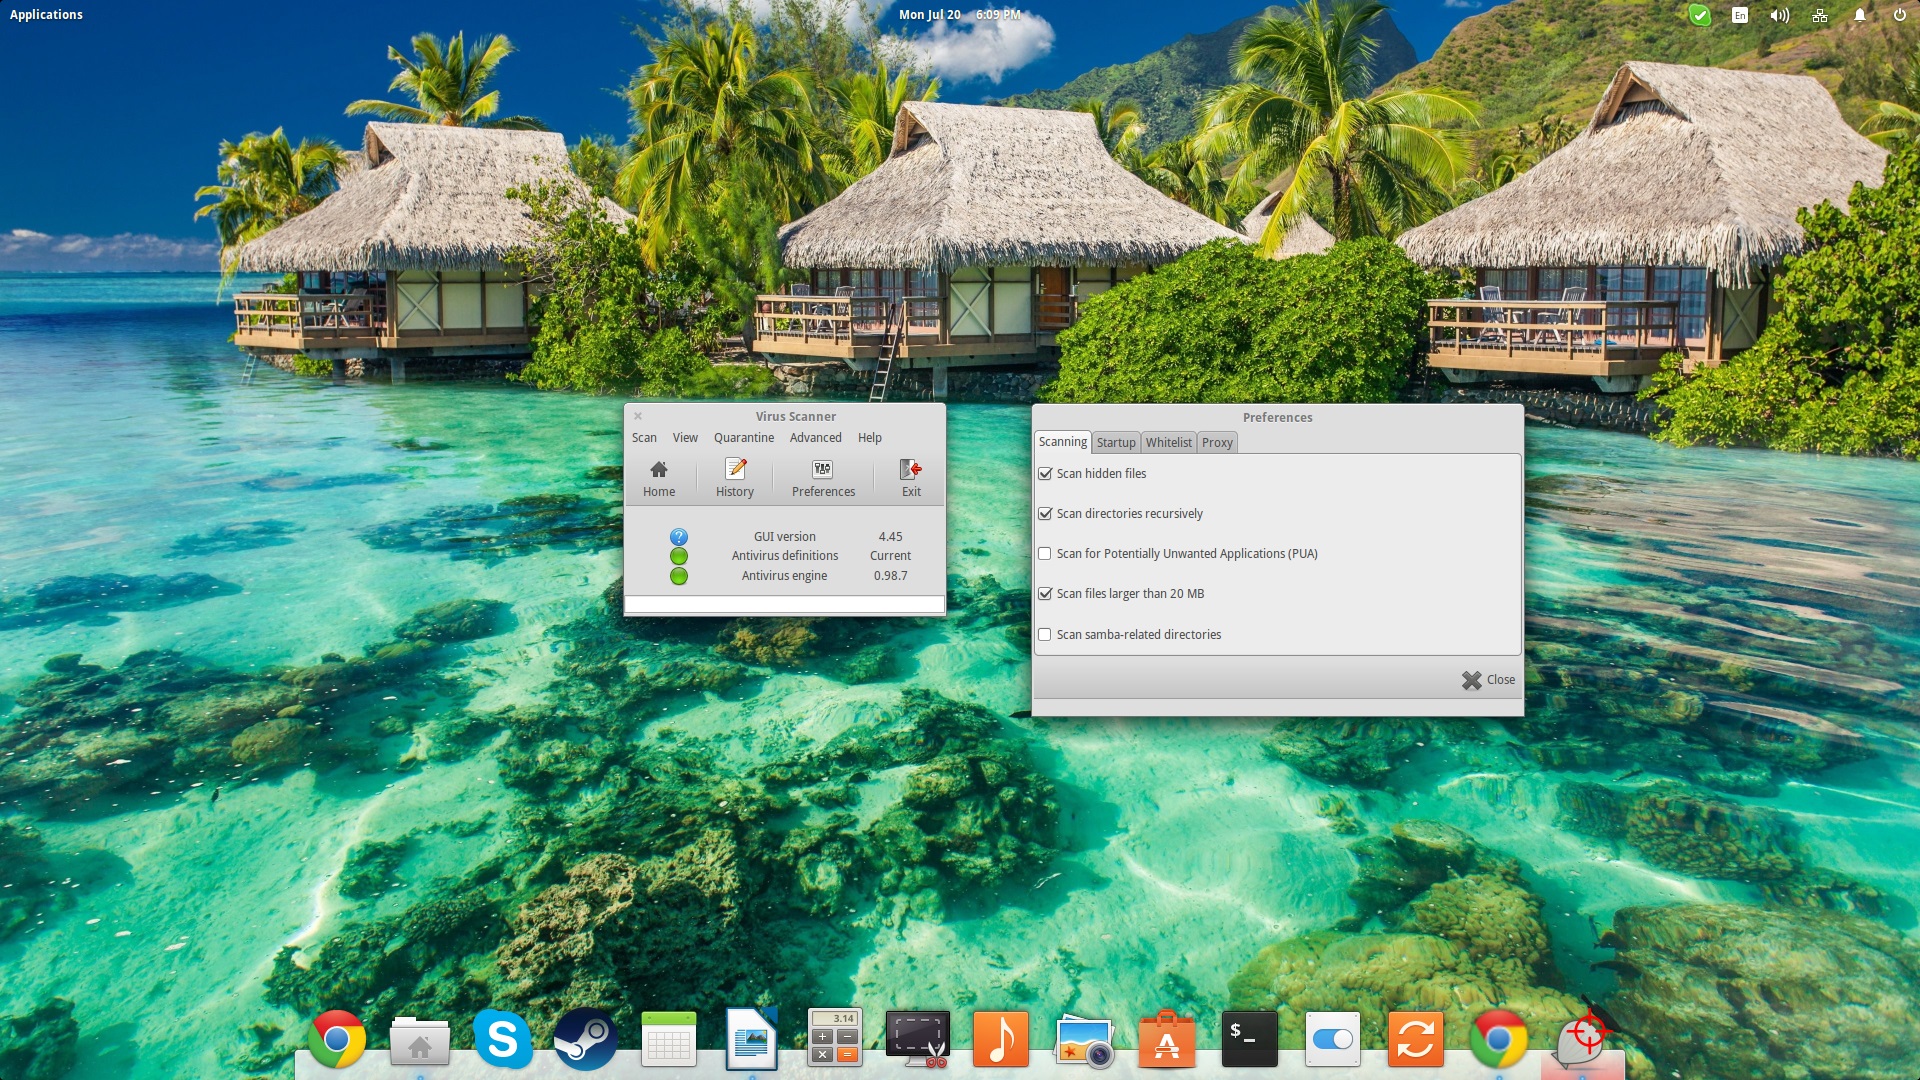
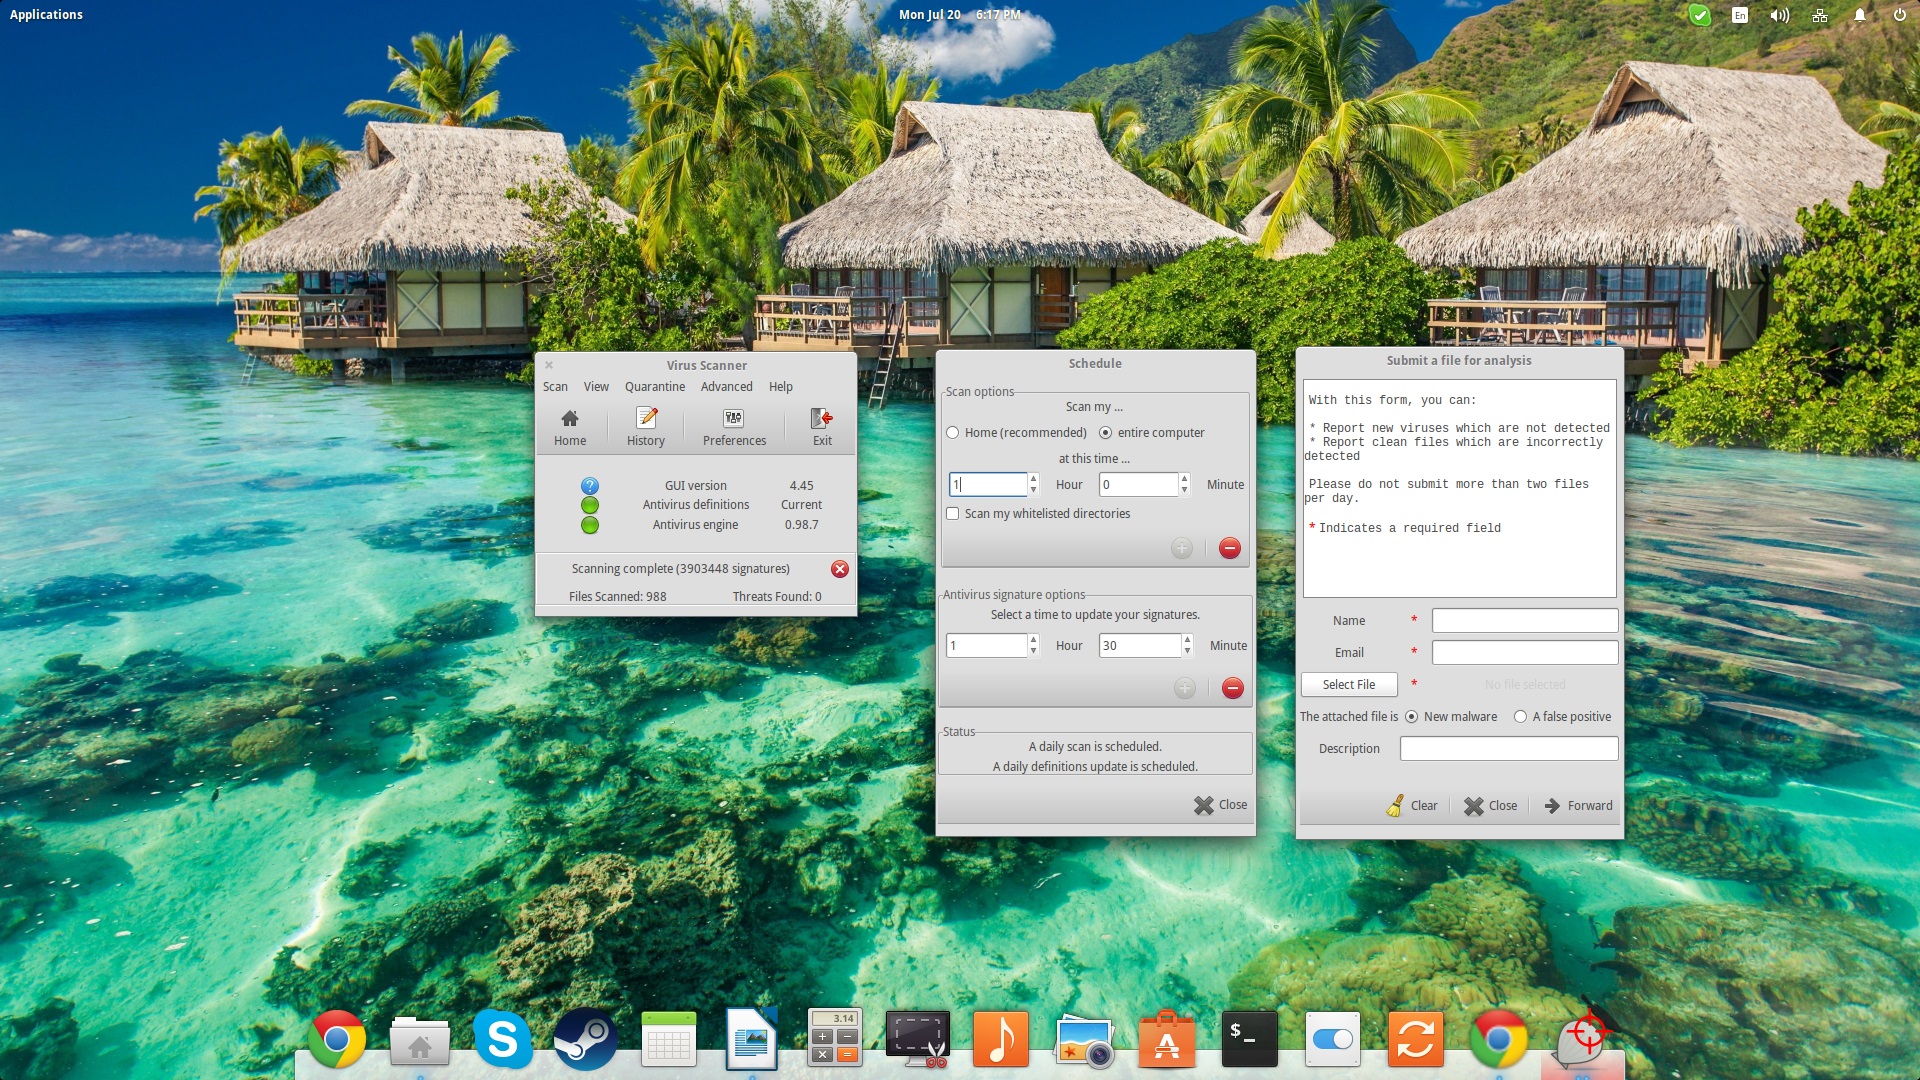
From the ClamTK top panel options menu, you can choose any directory or file to scan, specify whitelisted directories and manage quarantined files. You may also elect to perform quick or recursive scans, or even check a device such as a USB stick.
ClamTK's scheduler also allows for the easy setting up of scheduled scans as well as scheduled antivirus signature database updates (you'd better set the latter before the former). Moreover, if you find a file that is falsely marked as a threat, you can submit it for further analysis to the ClamAV team, directly from the ClamTK interface.
While I didn't perform speed comparison tests between the console and GUI scans, I didn't notice any significant difference in scan time. ClamTK is definitely simplifying the process, so I suggest that you install it along with ClamAV as well.

