How to Install and Configure mod_pagespeed Module with Apache on Ubuntu 20.04 LTS
This tutorial exists for these OS versions
- Ubuntu 20.04 (Focal Fossa)
- Ubuntu 16.04 (Xenial Xerus)
- Ubuntu 15.10 (Wily Werewolf)
- Ubuntu 15.04 (Vivid Vervet)
On this page
A slow website is a major issue faced by most webmasters. You can speed up your website with the help of the mod_pagespeed module. mod_pagespeed is an open-source Apache module created by Google that is used to automatically optimize web pages. This module will compress javascript, CSS, JPEG, PNG and other resources, and also optimize the length of those files. Currently, this module is used by many hosting provides including, GoDaddy, EdgeCast, DreamHost, and many more.
In this tutorial, we will explain how to install mod_pagespeed module for Apache on Ubuntu 20.04 server.
Prerequisites
- A server running Ubuntu 20.04 with a minimum 4 GB of RAM.
- A root password is configured on your server.
Install Apache Webserver
First, you will need to install the Apache webserver in your system. You can install it using the following command:
apt-get install apache2 -y
Once the Apache is installed, you can proceed to the next step.
Install Apache Mod_pagespeed Module
You can download the latest version of mod_pagespeed module by running the following command:
wget https://dl-ssl.google.com/dl/linux/direct/mod-pagespeed-stable_current_amd64.deb
Once downloaded, install the downloaded file by running the following command:
dpkg -i mod-pagespeed-stable_current_amd64.deb
After installing the mod_pagespeed module, restart the Apache service to apply the changes:
You can now verify the mod_pagespeed module installation with the following command:
curl -D- http://localhost | head
You should see that mod_pagespeed module is enabled in the following output:
  % Total    % Received % Xferd  Average Speed   Time    Time     Time  Current
                                 Dload  Upload   Total   Spent    Left  Speed
  0     0    0     0    0     0      0      0 --:--:-- --:--:-- --:--:--     0HTTP/1.1 200 OK
Date: Thu, 25 Jun 2020 09:44:02 GMT
Server: Apache/2.4.41 (Ubuntu)
Accept-Ranges: bytes
X-Mod-Pagespeed: 1.13.35.2-0
Vary: Accept-Encoding
Cache-Control: max-age=0, no-cache, s-maxage=10
Content-Length: 10117
Content-Type: text/html; charset=UTF-8

100 10117  100 10117    0     0  1975k      0 --:--:-- --:--:-- --:--:-- 2469k
If you want to disable the mod_pagespeed module, edit the pagespeed.conf file:
nano /etc/apache2/mods-available/pagespeed.conf
Change the following line:
ModPagespeed off #To turn off mod_pagespeed
Save and close the file then restart the Apache service to apply the changes.
systemctl restart apache2
Configure Mod_pagespeed Admin Interface
Apache Mod_pagespeed module provides a web-based admin interface to view the server state. By default, it is accessible only from the localhost. So you will need to configure to access from the remote host. You can do it by editing the file /etc/apache2/mods-available/pagespeed.conf:
nano /etc/apache2/mods-available/pagespeed.conf
Add the "Allow from all" line inside <Location /pagespeed_admin> and <Location /pagespeed_global_admin> section:
<Location /pagespeed_admin>
    Order allow,deny
    Allow from localhost
    Allow from 127.0.0.1
    Allow from all
    SetHandler pagespeed_admin
</Location>

<Location /pagespeed_global_admin>
    Order allow,deny
    Allow from localhost
    Allow from 127.0.0.1
    Allow from all
    SetHandler pagespeed_global_admin
</Location>
Save and close the file then restart the Apache service to apply the changes:
systemctl restart apache2
Access Mod_pagespeed Web Interface
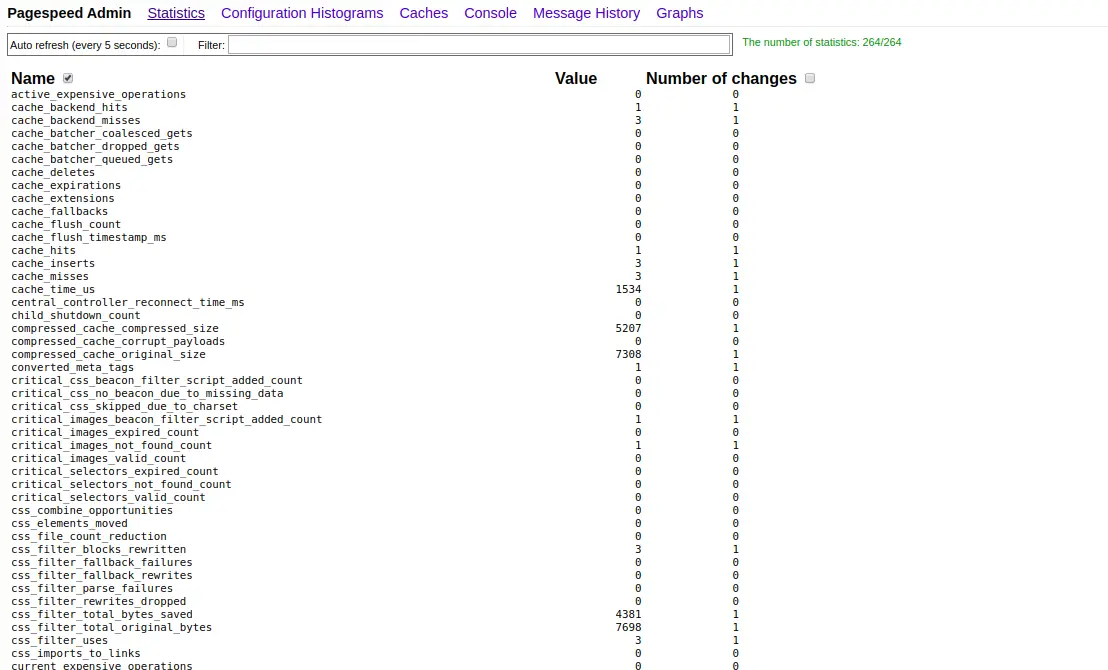
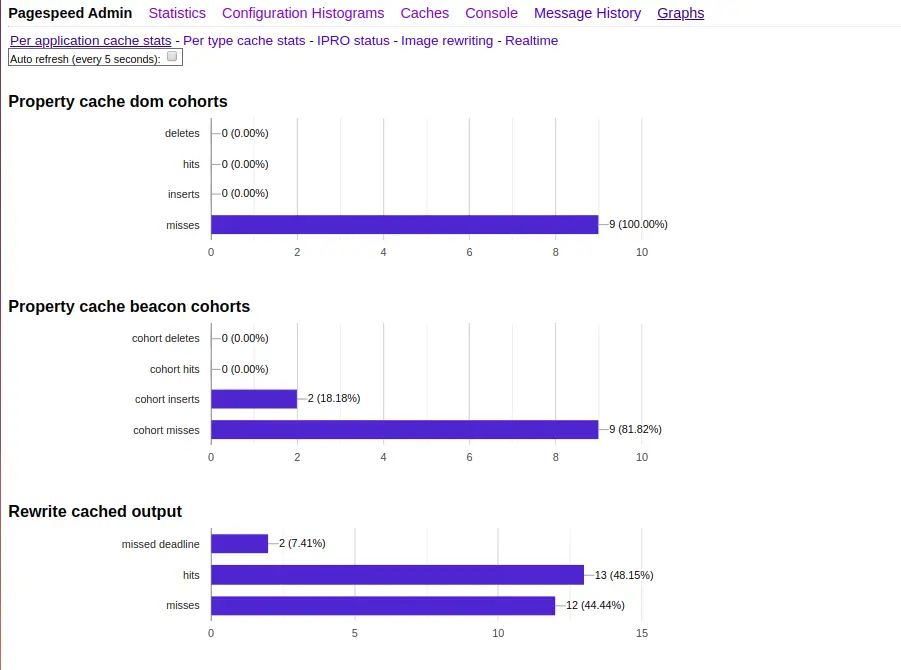
Now, open your web browser and type the URL http://your-server-ip/pagespeed_admin. You should see the Mod_pagespeed dashboard in the following screen:
Graphs
Statistics
Conclusion
In the above tutorial, you learned how to install the Apache mod_pagespeed module on Ubuntu 20.04 server. Now, your website loads 40%-50% faster. For more information, visit the mod_pagespeed documentation.

