How to Install PostgreSQL 9.5 on Ubuntu (12.04 - 15.10)
PostgreSQL is a relational database management system, it is a fully ACID compliant enterprise-class database system with support for stored procedures in many programming languages such as Python, Java, C/C++, Ruby, Perl, or even with its own language PL/pgSQL. The language PL/pgSQL is very similar to PL/SQL in Oracle. Postgres supports several operating systems like Linux, UNIX (AIX, BSD, HP-UX, SGI IRIX, Mac OS X, Solaris, Tru64), and Windows.
This tutorial shows the installation of the latest PostgreSQL 9.5 version on Ubuntu. We will use the official repository from postgresql.org, so you can update your server easily in future and get direct updates and patches from the database vendor. The steps have been tested with Ubuntu versions from 12.04 until 15.10.
Add the PostgreSQL repository
An additional Ubuntu repository can be added by appending a new line to the file /etc/apt/sources.list or by adding a new file in the directory /etc/apt/sources.list.d/. We will use the second option here as it is the cleaner solution. The PostgreSQL version provided in the Ubuntu base repository is a bit older, so we will not use that here. The following commandwill add the new repository configuration file.
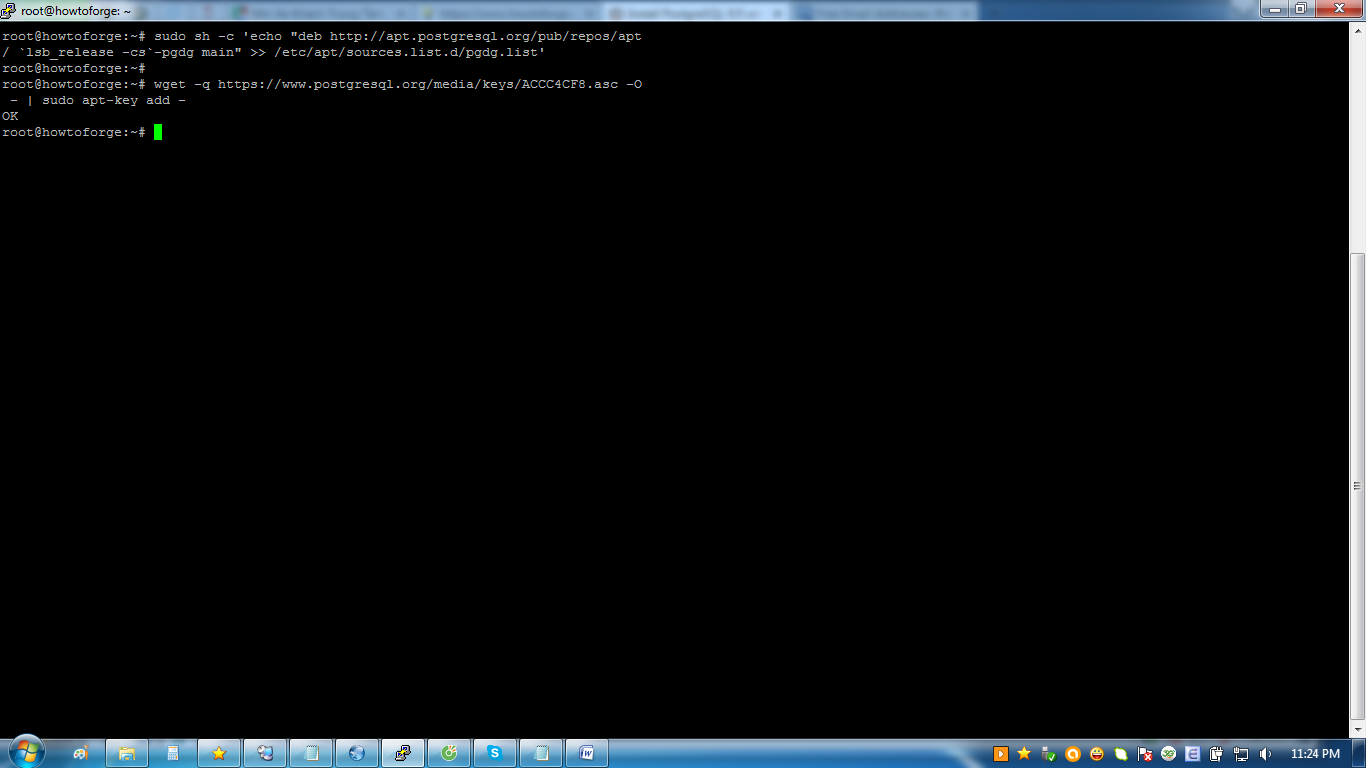
sudo sh -c 'echo "deb http://apt.postgresql.org/pub/repos/apt/ `lsb_release -cs`-pgdg main" >> /etc/apt/sources.list.d/pgdg.list'
Then we will import the GPG key of the repository so apt can check the validity of the packages.
wget -q https://www.postgresql.org/media/keys/ACCC4CF8.asc -O - | sudo apt-key add -
Sample output:
Update the package list
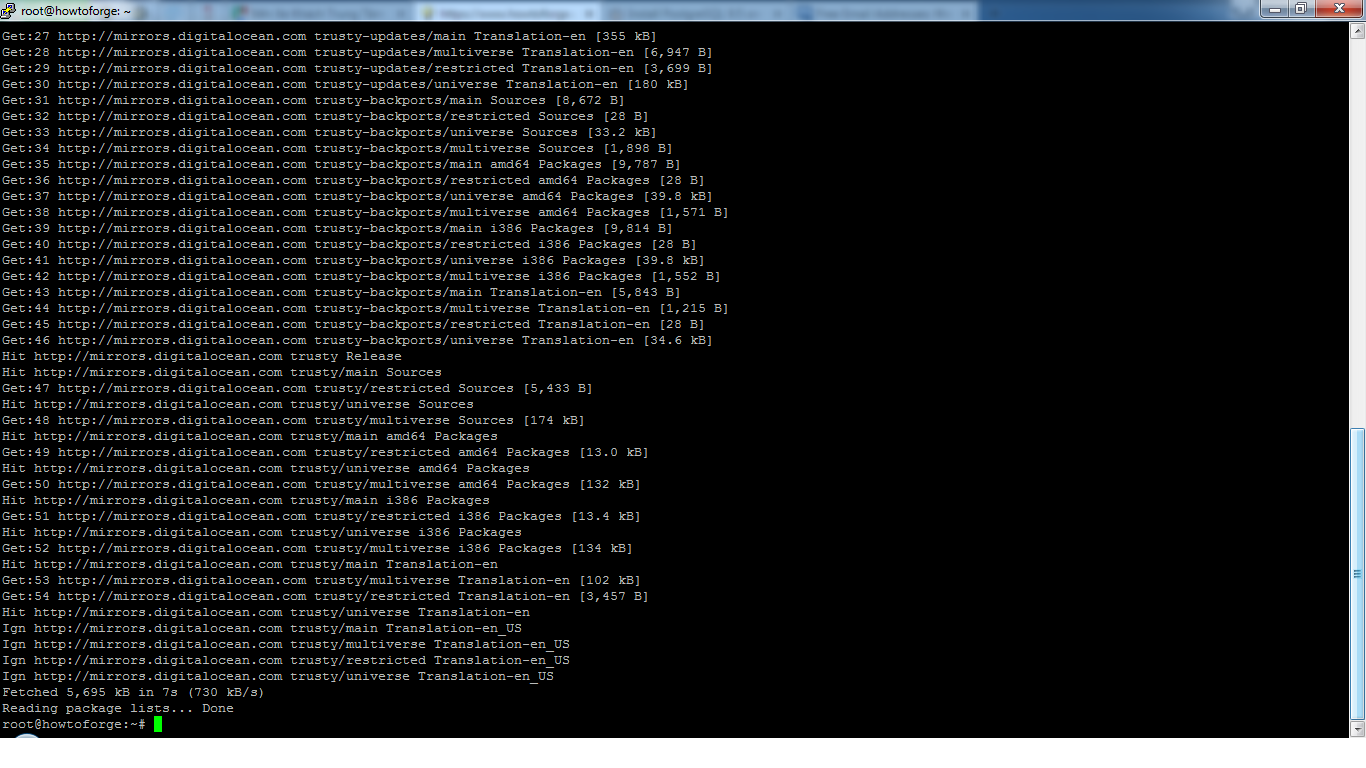
After adding the repository, we will have to update the package list. Run the apt-get update command to load the list of available packages from postgresql.org.
sudo apt-get update
Sample output:
PostgreSQL Installation
The following command installs the latest PostgreSQL version on Ubuntu:
sudo apt-get install postgresql postgresql-contrib
Sample output:


Connecting to the Postgres Server
The successful installation of PostgreSQL will create a user and role named 'postgres' in the database and a Linux system user with the same name. This system user has administrative privileges in the database. Hence, in order to connect to the PostgreSQL server, you should log in as "postgres" and then proceed to connect the appropriate database.
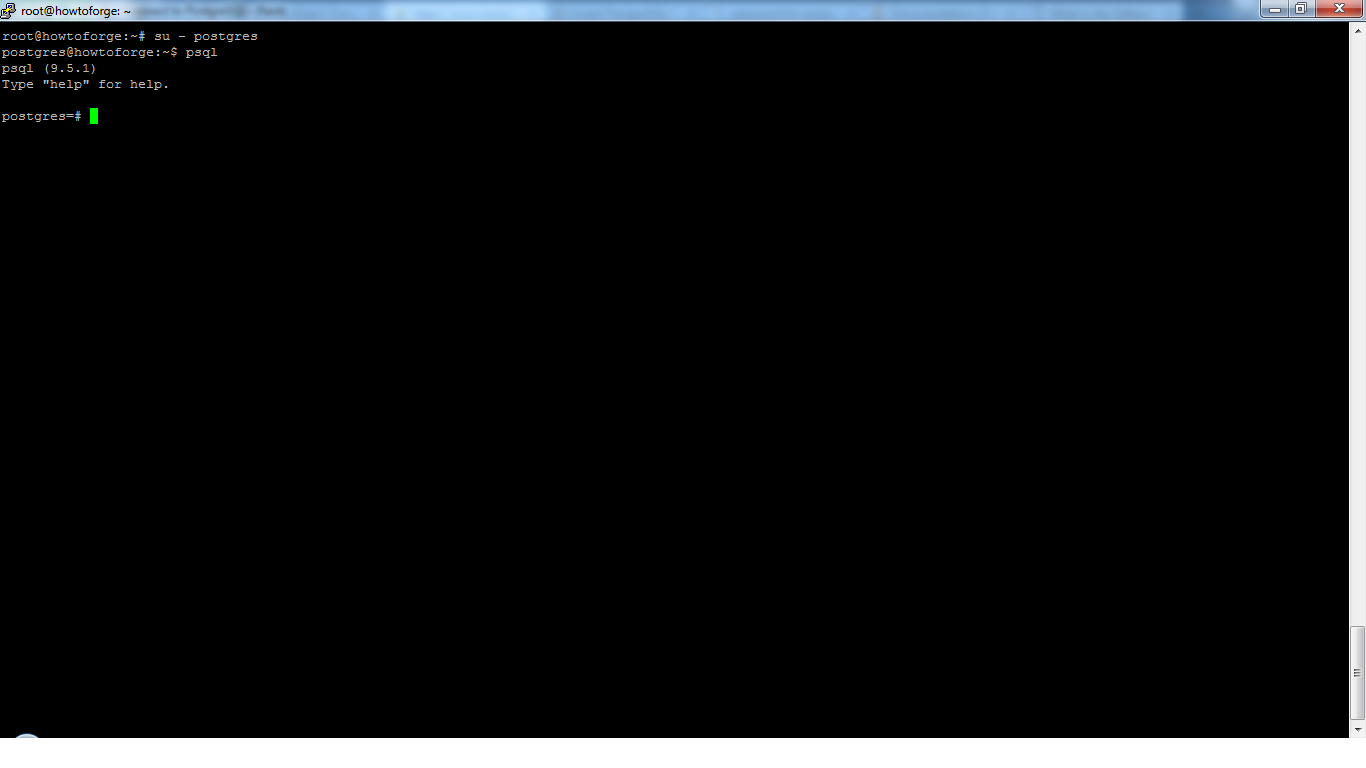
Become the "postgres" Linux user:
sudo su - postgres
Start the psql shell to login to the database server.
psql
Sample output:
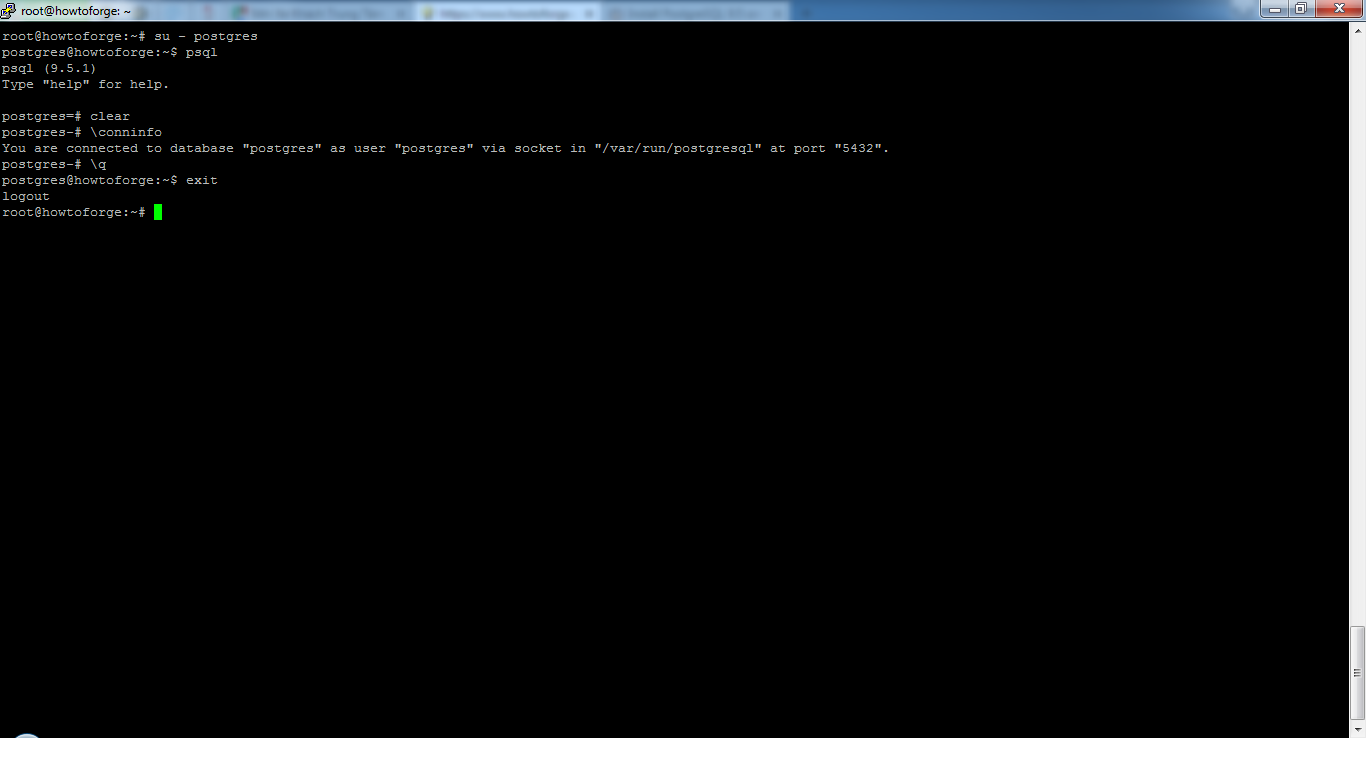
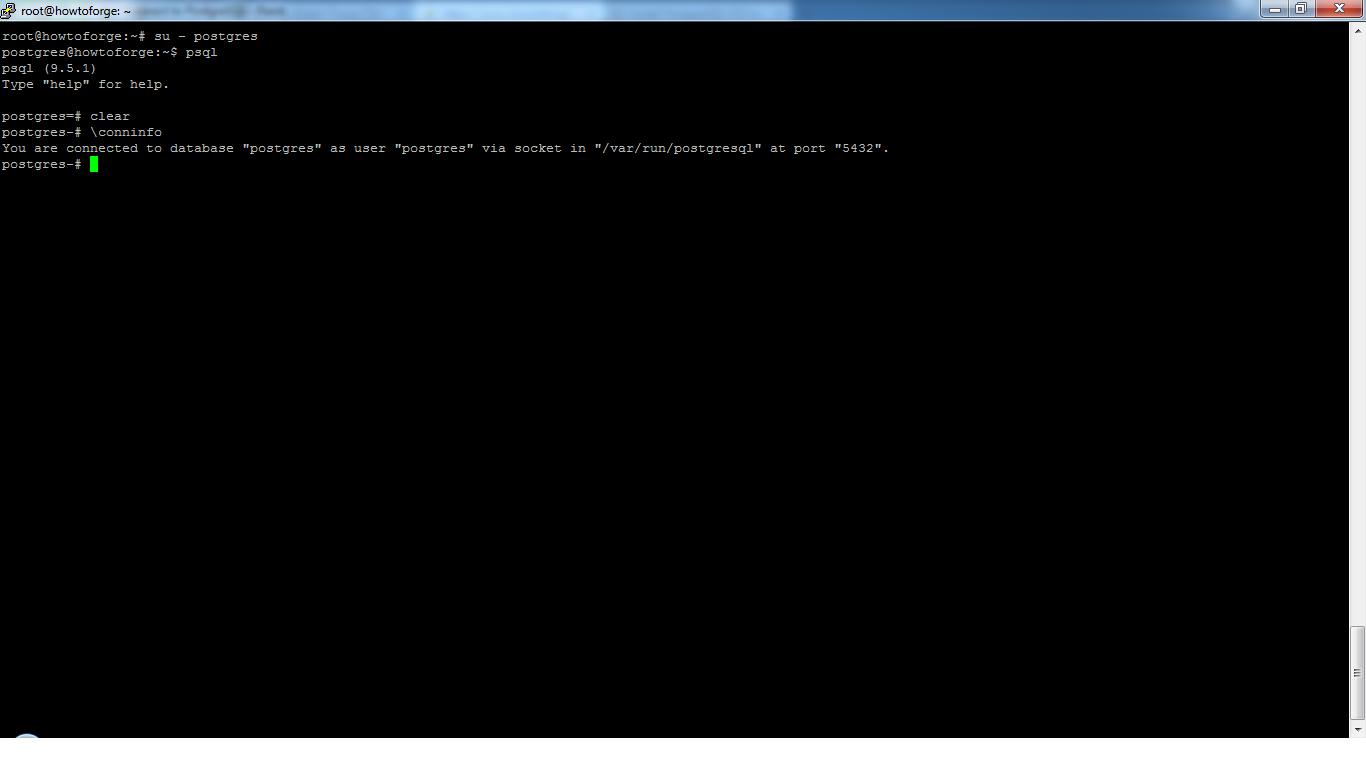
Once you are logged into the PostgreSQL database server, check the connection and PostgreSQL version with the following command from your database prompt.
postgres-# \conninfo
Sample output:
Disconnect from Postgres
The command to disconnect from PostgreSQL database is "\q", the char q stands for quit here.
postgres-# \q
Now you are back on the Linux shell, but you are still the user "postgres", to become your "normal" Linux user again, enter the word "exit".
exit
Sample output: