How to install TYPO3 7 with Nginx and MariaDB on Debian 8 (Jessie)
This tutorial shows how to install and configure a TYPO3 (version 7) web site on a Debian 8 (Jessie) server that has Nginx installed as web server and MariaDB as the database server. Nginx is a fast web server which replaces the standard web server "Apache" in this setup, MariaDB is a MySQl fork which is faster than MySQL and developed by the original MySQL inventor Monty Widenius.
Typo3 is an enterprise class CMS system written in PHP which has a large user and developer community.
Preliminary Note
I want to install TYPO3 in a vhost called www.example.com here with the document root /var/www/www.example.com/web. My server uses the IP address 192.168.1.100, please replace this IP in all config files and commands with the IP address of your server.
The tutorial assumes that you have already a working Nginx installation, if not, then please follow this guide first to install Nginx, PHP, and MariaDB.
Login as root user on the server and proceed to the next step.
Installing APCu
APCu is a free and open PHP opcode cacher for caching and optimizing PHP intermediate code, it adds the functions formerly provided by APC to the now integrated PHP opcache. It's similar to other PHP opcode cachers, such as eAccelerator and XCache. It is strongly recommended to have one of these installed to speed up your PHP page.
APC can be installed as follows:
apt-get install php5-apcu
If you use PHP-FPM as your FastCGI daemon, restart it as follows:
systemctl restart php5-fpm.service
Installing TYPO3
The document root of my www.example.com web site is /var/www/www.example.com/web - if it doesn't exist, create it as follows:
mkdir -p /var/www/www.example.com/web
Next we download TYPO3 7.6.4 as a .tar.gz file from https://typo3.org/download/ and place it in our document root:
cd /tmp
wget http://downloads.sourceforge.net/project/typo3/TYPO3%20Source%20and%20Dummy/TYPO3%207.6.4/typo3_src-7.6.4.tar.gz
tar xfz typo3_src-7.6.4.tar.gz
mv typo3_src-7.6.4 /var/www/www.example.com/
cd /var/www/www.example.com/web
ln -s ../typo3_src-7.6.4 typo3_src
ln -s typo3_src/index.php
ln -s typo3_src/typo3
It is recommended to make the document root and the TYPO3 files in it writable by the nginx daemon which is running as user www-data and group www-data:
chown -R www-data:www-data /var/www/www.example.com/web
If you haven't already created a MySQL database for TYPO3 (including a MySQL TYPO3 user), you can do that as follows (I name the database typo3 in this example, and the user is called typo3_admin, and his password is typo3_admin_password):
mysqladmin --defaults-file=/etc/mysql/debian.cnf create typo3
mysql --defaults-file=/etc/mysql/debian.cnf
GRANT ALL PRIVILEGES ON typo3.* TO 'typo3_admin'@'localhost' IDENTIFIED BY 'typo3_admin_password';
GRANT ALL PRIVILEGES ON typo3.* TO 'typo3_admin'@'localhost.localdomain' IDENTIFIED BY 'typo3_admin_password';
FLUSH PRIVILEGES;
quit;
Next we create an nginx vhost configuration for our www.example.com vhost in the /etc/nginx/sites-available/ directory as follows:
nano /etc/nginx/sites-available/www.example.com.vhost
server {
       listen 80;
       server_name www.example.com example.com;
       root /var/www/www.example.com/web;

       if ($http_host != "www.example.com") {
                 rewrite ^ http://www.example.com$request_uri permanent;
       }

       index index.php index.html;

       location = /favicon.ico {
                log_not_found off;
                access_log off;
       }

       location = /robots.txt {
                allow all;
                log_not_found off;
                access_log off;
       }

       # Deny all attempts to access hidden files such as .htaccess, .htpasswd, .DS_Store (Mac).
       location ~ /\. {
                deny all;
                access_log off;
                log_not_found off;
       }

        location ~ \.php$ {
                        try_files $uri =404;
                        include /etc/nginx/fastcgi_params;
                        fastcgi_pass unix:/var/run/php5-fpm.sock;
                        fastcgi_index index.php;
                        fastcgi_param SCRIPT_FILENAME $document_root$fastcgi_script_name;
                        fastcgi_intercept_errors on;
                        fastcgi_buffer_size 128k;
                        fastcgi_buffers 256 16k;
                        fastcgi_busy_buffers_size 256k;
                        fastcgi_temp_file_write_size 256k;
                        fastcgi_read_timeout 1200;
        }

        client_max_body_size 100M;

        location ~ /\.(js|css)$ {
                expires 604800s;
        }

        if (!-e $request_filename){
                rewrite ^/(.+)\.(\d+)\.(php|js|css|png|jpg|gif|gzip)$ /$1.$3 last;
        }

        location ~* ^/fileadmin/(.*/)?_recycler_/ {
                deny all;
        }
        location ~* ^/fileadmin/templates/.*(\.txt|\.ts)$ {
                deny all;
        }
        location ~* ^/typo3conf/ext/[^/]+/Resources/Private/ {
                deny all;
        }
        location ~* ^/(typo3/|fileadmin/|typo3conf/|typo3temp/|uploads/|favicon\.ico) {
        }

        location / {
                        if ($query_string ~ ".+") {
                                return 405;
                        }
                        if ($http_cookie ~ 'nc_staticfilecache|be_typo_user|fe_typo_user' ) {
                                return 405;
                        } # pass POST requests to PHP
                        if ($request_method !~ ^(GET|HEAD)$ ) {
                                return 405;
                        }
                        if ($http_pragma = 'no-cache') {
                                return 405;
                        }
                        if ($http_cache_control = 'no-cache') {
                                return 405;
                        }
                        error_page 405 = @nocache;

                        try_files /typo3temp/tx_ncstaticfilecache/$host${request_uri}index.html @nocache;
        }

        location @nocache {
                        try_files $uri $uri/ /index.php$is_args$args;
        }

}
This configuration already contains everything that is needed for clean URLs (because of the try_files $uri $uri/ /index.php$is_args$args; line in the @nocache location).
Next, make sure you have the following line in /etc/nginx/mime.types:
nano /etc/nginx/mime.types
[...]
        text/x-component                        htc;
[...]
To enable the vhost, we create a symlink to it from the /etc/nginx/sites-enabled/ directory:
cd /etc/nginx/sites-enabled/
ln -s /etc/nginx/sites-available/www.example.com.vhost www.example.com.vhost
Reload nginx for the changes to take effect:
systemctl reload nginx.service
Then adjust some values in the php.ini file for TYPO3. I use php-fpm on this server, so the file is /etc/php5/fpm/php.ini. Open the file with an editor:
nano /etc/php5/fpm/php.ini
and adjust the following settings.
[...]
always_populate_raw_post_data=-1
[...]
max_execution_time=240
[...]
post_max_size = 20M
[...]
upload_max_filesize = 20M
[...]
max_input_vars=2000
[...]
Apply the changes with:
systemctl reload php5-fpm.service
Now we can launch the web-based TYPO3 installer by going to http://www.example.com/ - you will be prompted to create the file FIRST_INSTALL in the document root first so that the installation can proceed:
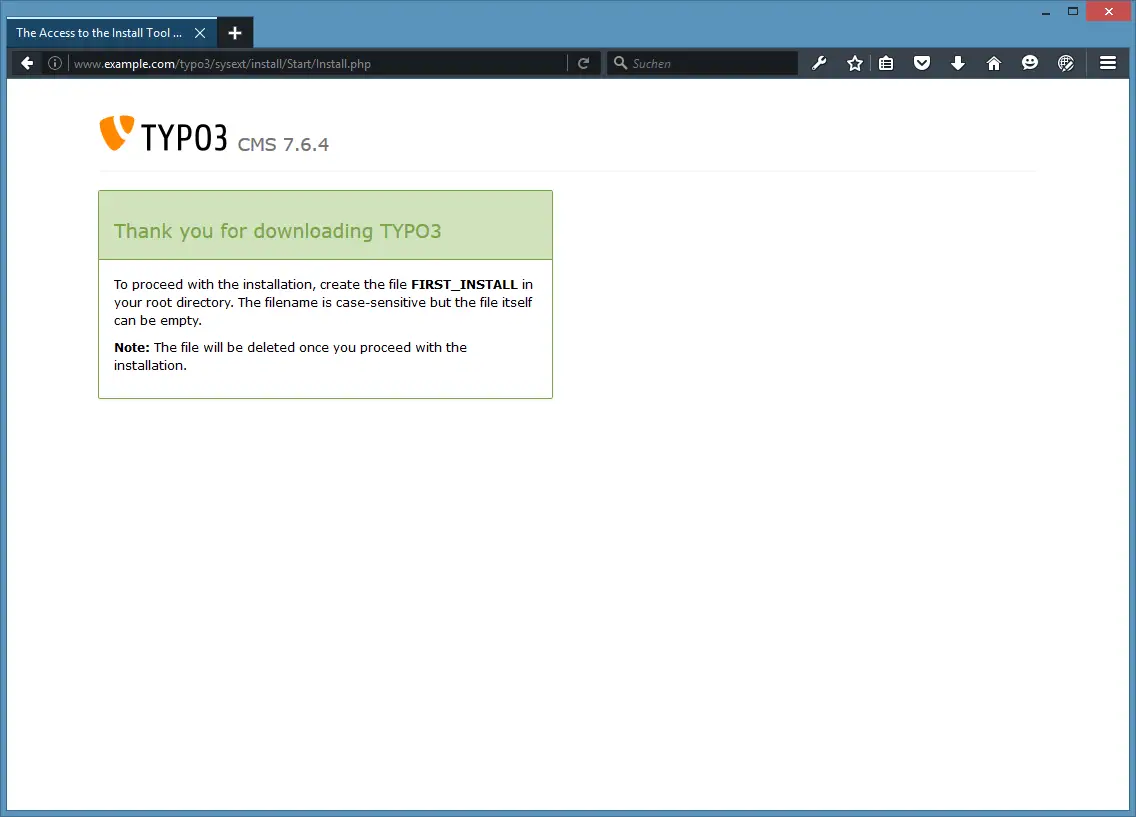
cd /var/www/www.example.com/web/
touch FIRST_INSTALL
chown www-data:www-data FIRST_INSTALL
Now reload the page. The installer checks if all prerequisites are fulfilled - if there are other warnings, you should try to fix them now:
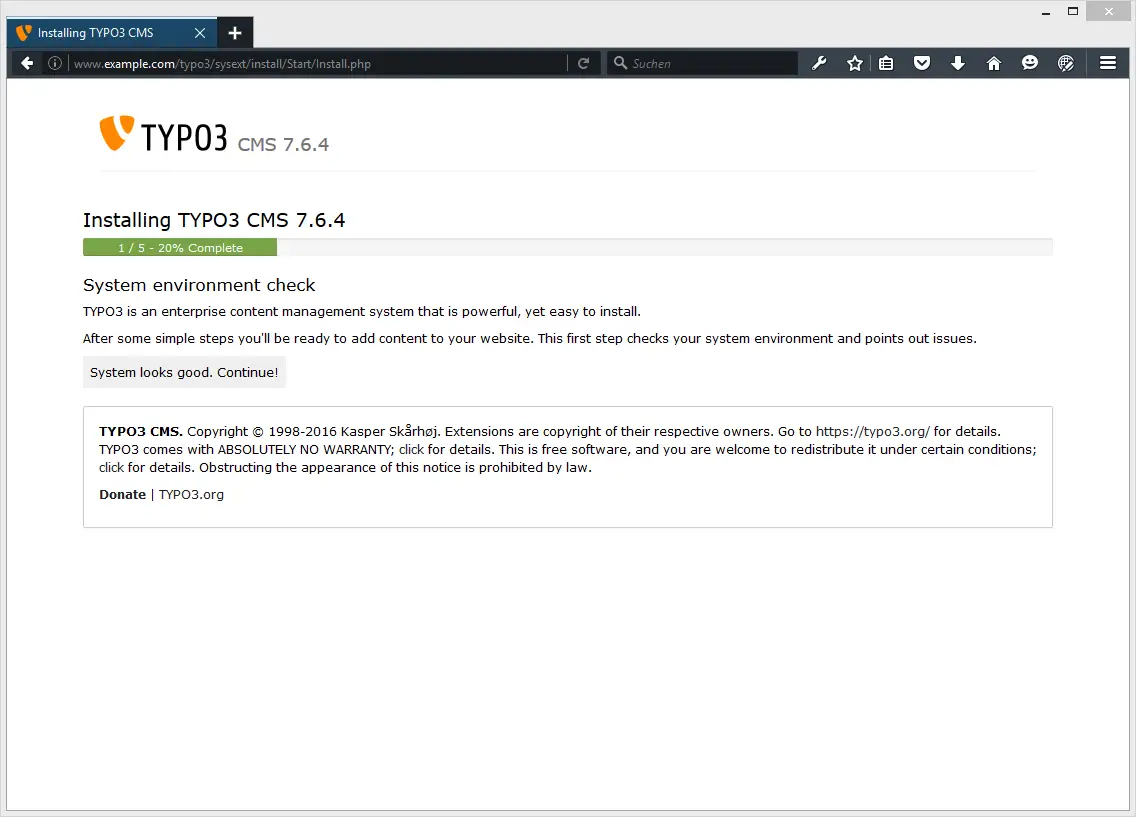
Click on Continue.
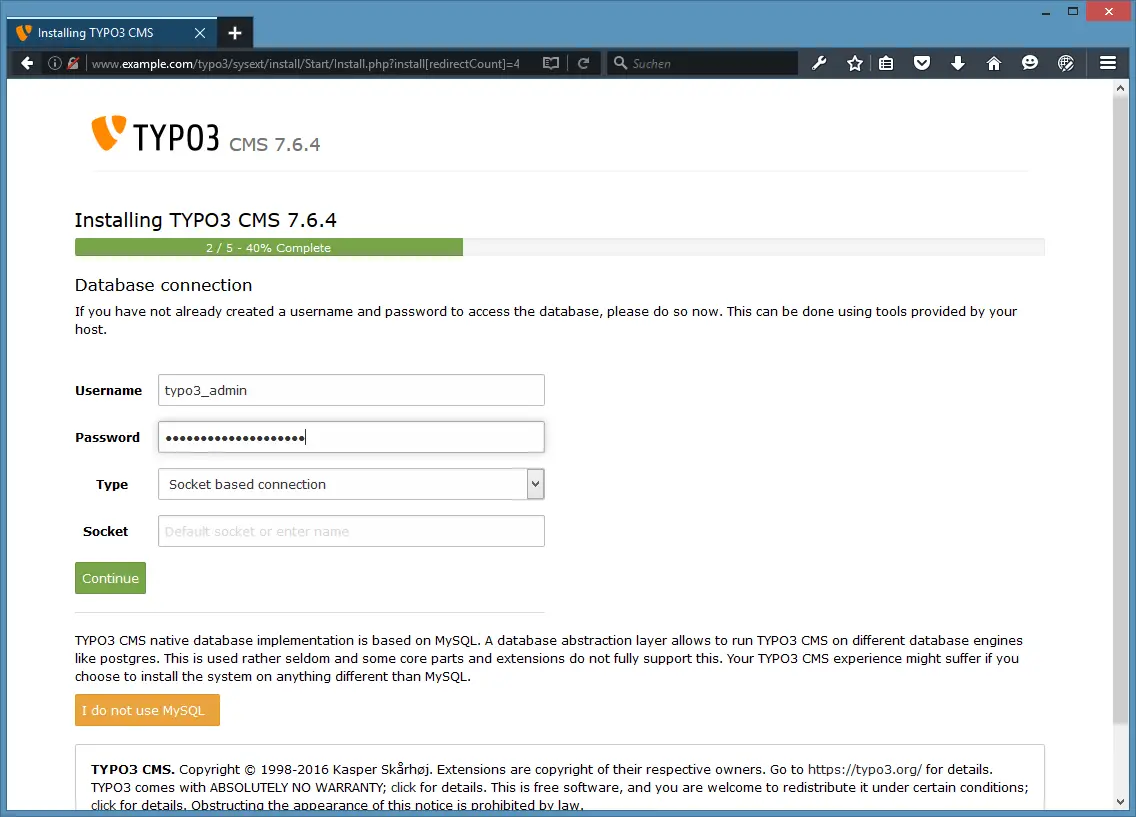
Next fill in the database details (user: typo3_admin; password: typo3_admin_password from when we created the typo3 database) and click on Continue:
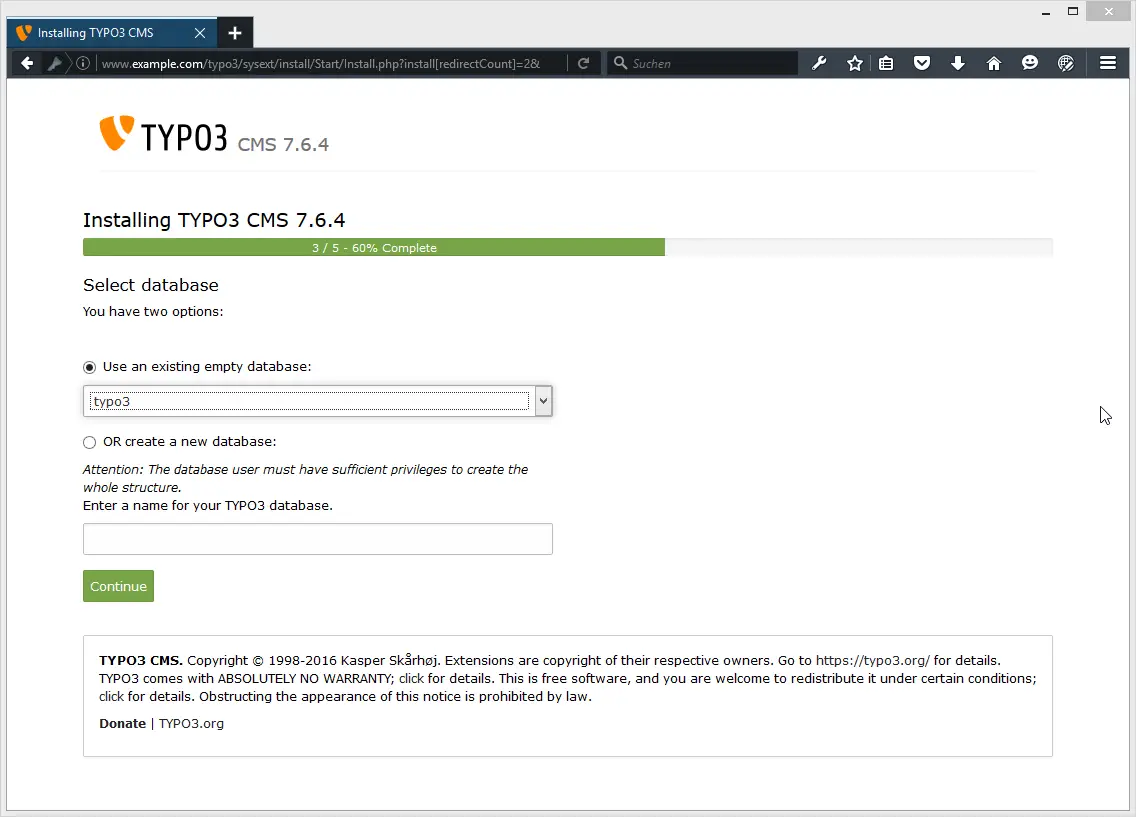
On the next page choose Use an existing empty database and pick typo3 from the drop-down menu. Then click on Continue:
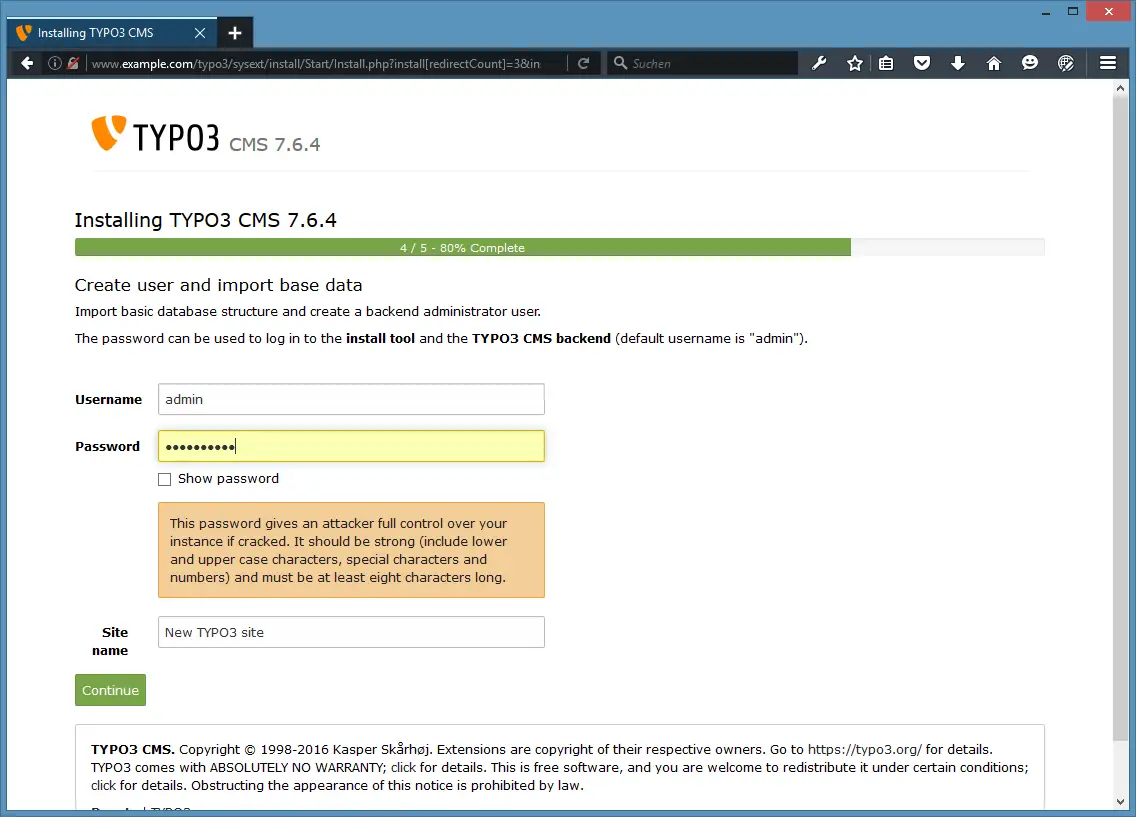
Next, provide a username and password for the TYPO3 admin user and a name for your site. Click on Continue afterwards:
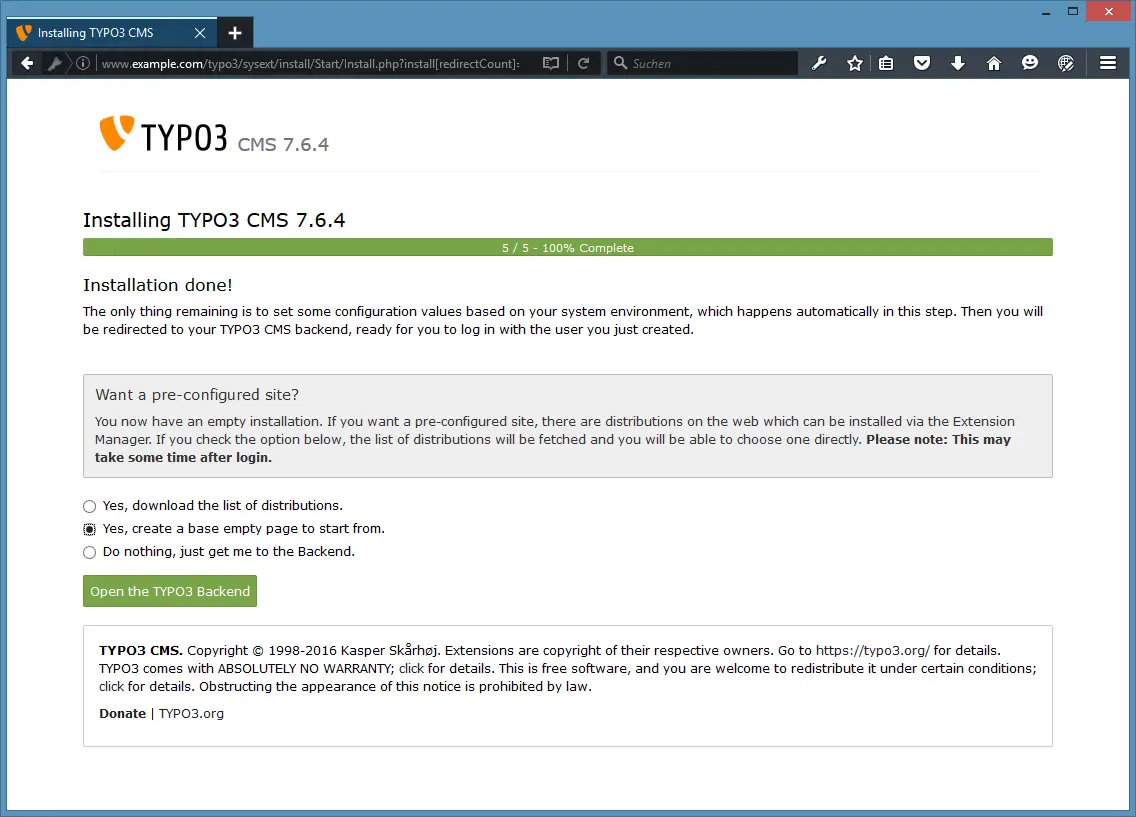
The installation is now finished. If you want to start with a demo website instead of a completely empty system, leave the Yes, download the list of distributions checkbox checked (this will not install demo data immediately, but just make a demo website available in the backend from where you can choose to install it). I'll choose to start with an empty page instead so I can built a custom website. Then click on Open the backend:
The admin area can be found under http://www.example.com/typo3/. Log in with the username admin and the password you defined during installation:
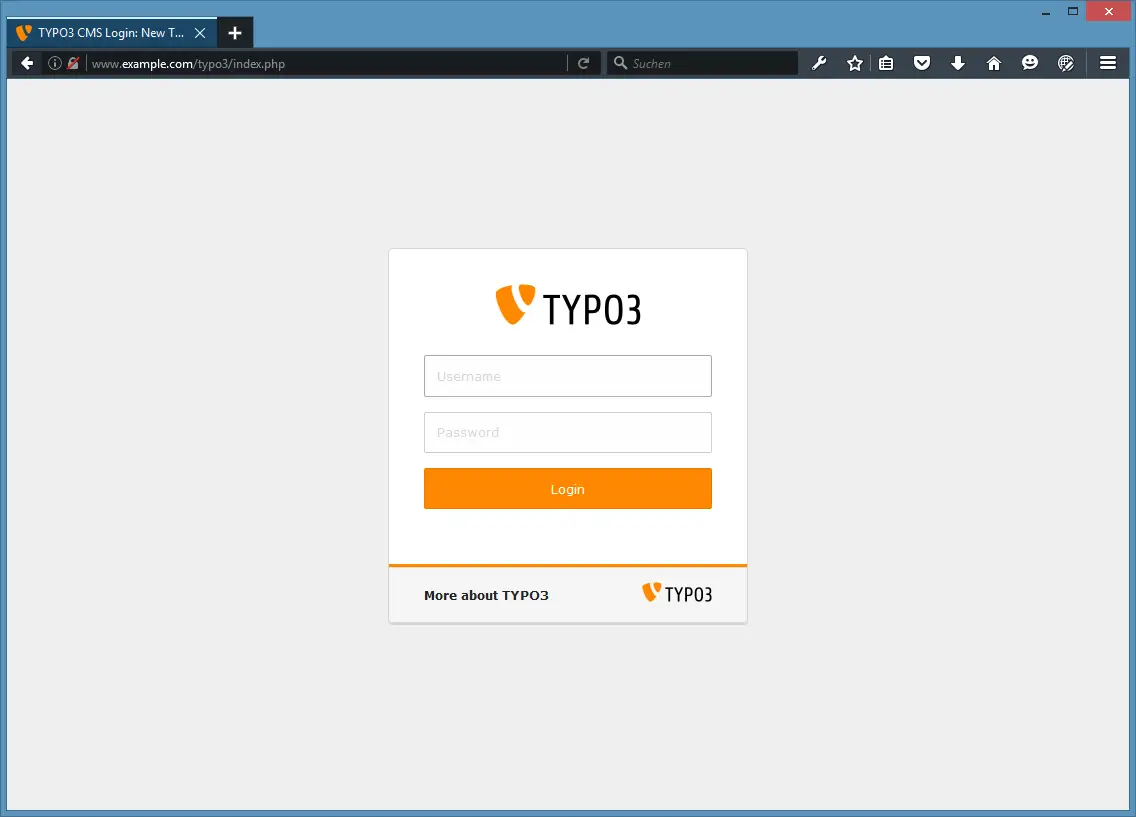
Now login with the username and password that you have chosen during Typo3 setup.
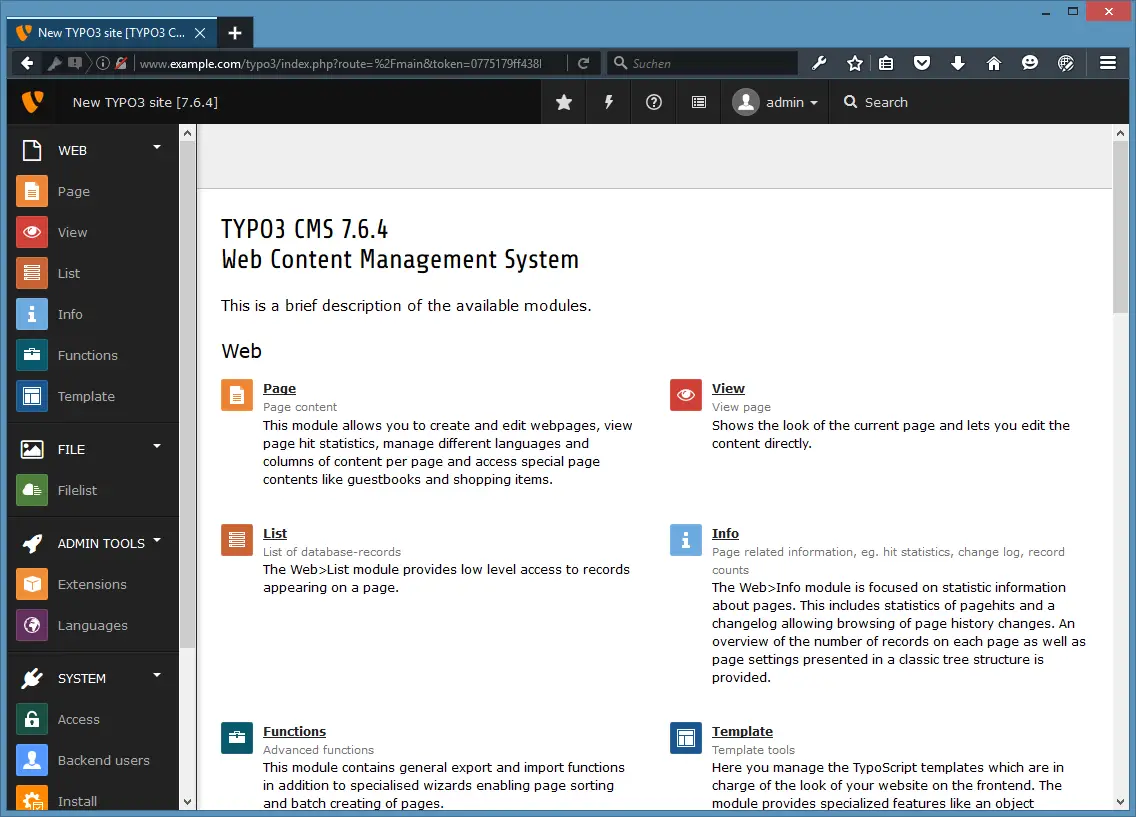
Typo3 has been installed successfully. Now you can start to build your Typo3 website.
Virtual Machine image
This tutorial is available as ready to use virtual machine in OVA / OVF format for Howtoforge subscribers. The VM format is compatible with VMWare and Virtualbox and other tools that can import this format. You can find the download link in the right menu on the top. Click on the file name to start the download.
The login details of the VM are:
Typo3 Login
Username: admin
Password: howtoforge
SSH Login
Username: root
Password: howtoforge
MariaDB Login
Username: root
Password: howtoforge
Please change the passwords after the first boot.
The VM is configured for the static IP 192.168.1.100, the IP can be changed in the file /etc/network/interfaces.
Links
- TYPO3: http://typo3.org/
- nginx: http://nginx.org/
- nginx Wiki: http://wiki.nginx.org/
- Debian: http://www.debian.org/

