Performance monitoring with Monitorix on Ubuntu 16.04
This tutorial exists for these OS versions
- Ubuntu 16.04 (Xenial Xerus)
- Ubuntu 15.10 (Wily Werewolf)
On this page
This tutorial shows the installation and configuration of Monitorix on Ubuntu 16.04 (Xenial Xerus). Monitorix is a free, lightweight, open source monitoring tool designed to monitor as many services and system resources as possible on servers and desktops. It consists mainly of two programs: a collector, called Monitorix, which is a Perl daemon that is started automatically as a system service, and a CGI script called monitorix.cgi. Since 3.0 version Monitorix includes its own HTTP server built in, so you aren't forced to install a third-party web server to use it.
You can download it on www.monitorix.com
Step 1: Add the Monitorix Repository
In this step, we will add the Monitorix Ubuntu repository to the /etc/apt/sources.list file.
First we make a backup of the original sources.list:
cp -pf /etc/apt/sources.list /etc/apt/sources.list_bak
Then open the sources.list file in an editor. I'll use nano here:
sudo nano /etc/apt/sources.list
Note: It´s strongly recommended to backup the original file prior to making any change.
This will open a window like this:
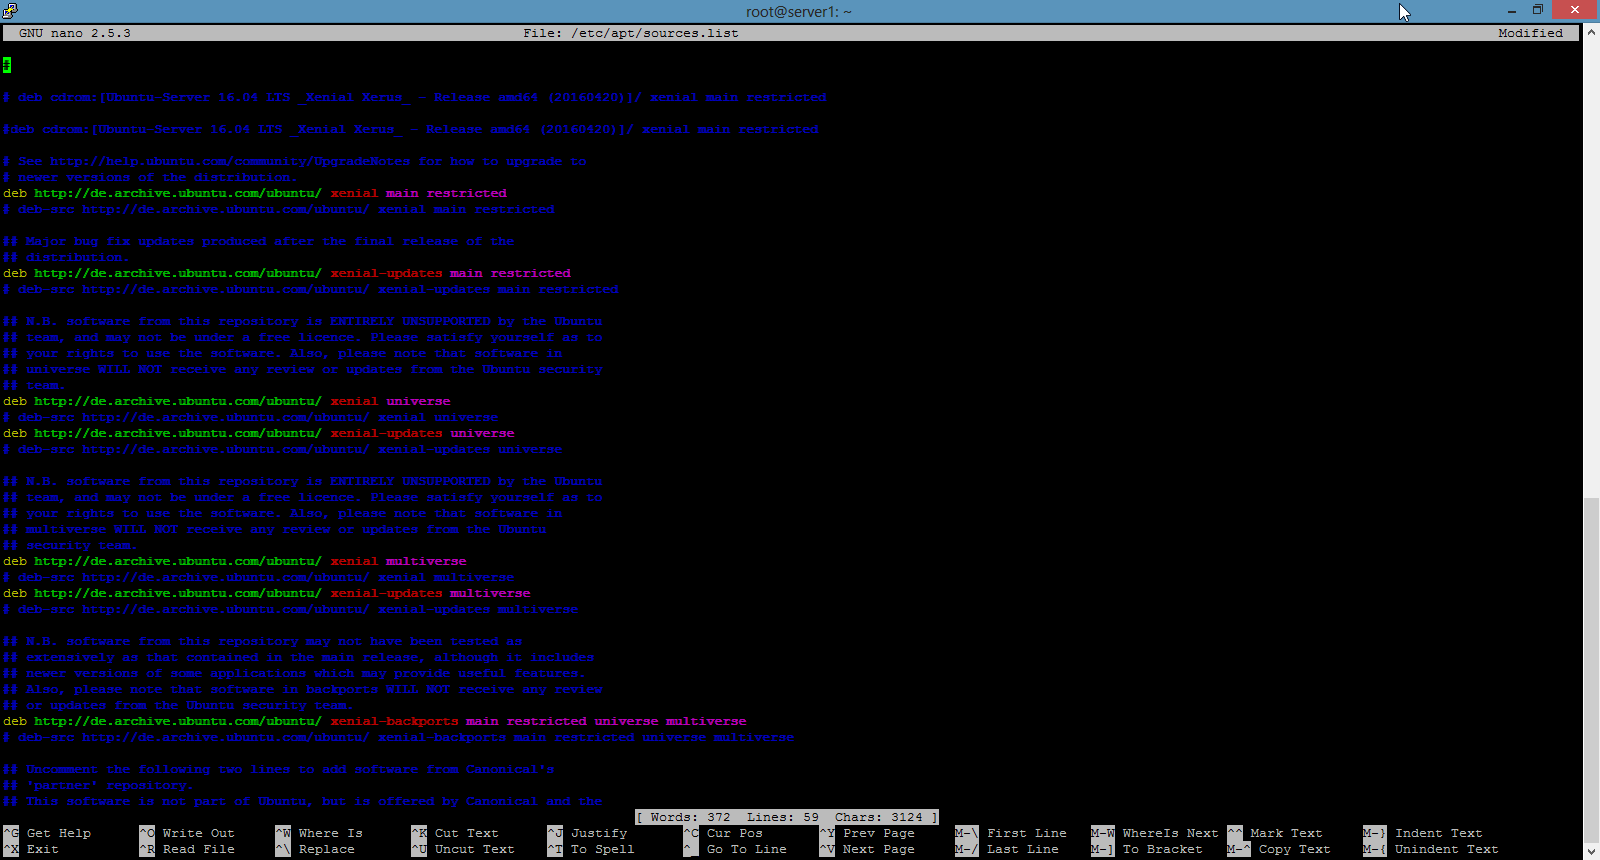
Place the cursor to the end of the file and add this line:
deb http://apt.izzysoft.de/ubuntu generic universe
This repository is only for debian and its derivatives like ubuntu.
Step 2: Add the PGP Key
Once the repository is added, we have to download (or add) the PGP key and "install" it into the system. You can download the key directly from http://apt.izzysoft.de/izzysoft.asc with wget.
sudo apt-get -y install wget
cd /tmp
wget http://apt.izzysoft.de/izzysoft.asc
Now, we must go to the directory where we saved the .asc file and open a terminal window, to run the following command:
sudo apt-key add izzysoft.asc
and then update the repository with:
sudo apt-get update
Step 3: Installing Monitorix
Now install the "monitorix" package. Apt will install the dependencies automatically.
sudo apt-get -y install monitorix apache2-utils
Step 4: Configuring Monitorix
We have the option to configure the monitorix.conf located at /etc/monitorix/monitorix.conf:
sudo nano /etc/monitorix/monitorix.conf
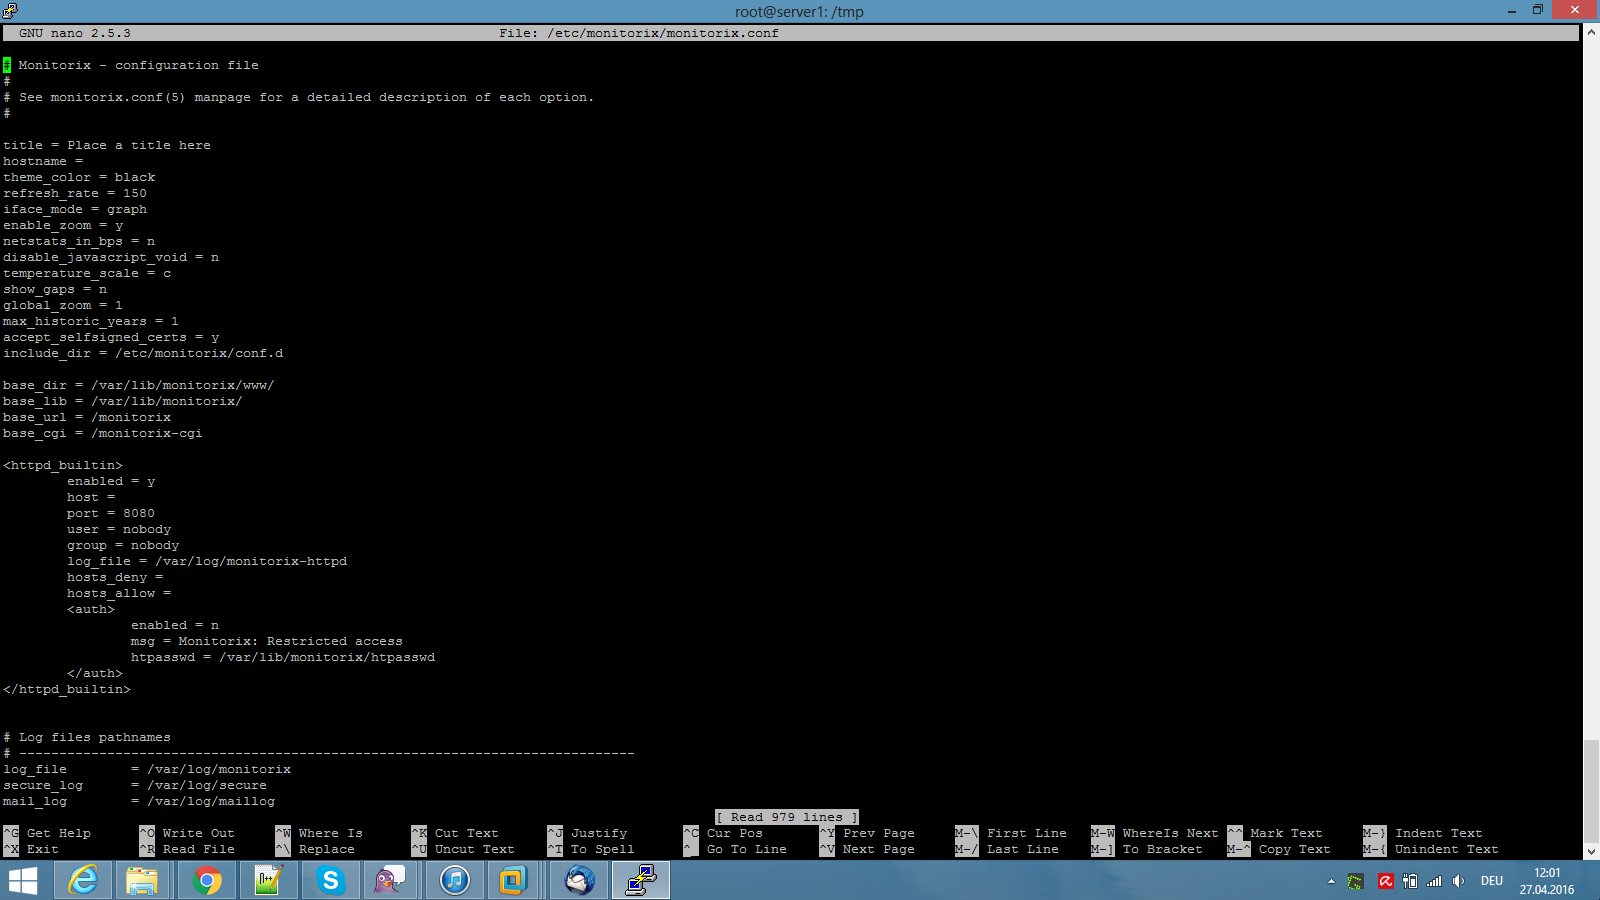
A window like this will be open:
Note: I'll strongly recommend to backup this file prior any change.
Search for the lines:
<auth>
 enabled = n
 msg = Monitorix: Restricted access
 htpasswd = /var/lib/monitorix/htpasswd
 </auth>
and enable authentication by changing enabled to "y":
<auth>
 enabled = y
 msg = Monitorix: Restricted access
 htpasswd = /var/lib/monitorix/htpasswd
 </auth>
Once configured, we have to restart the monitorix service:
sudo service monitorix restart
Add a username and password for the Monitorix login. I will use the username "admin" with password "howtoforge" in the example below. Please choose a more secure password on your system :)
sudo htpasswd -d -c /var/lib/monitorix/htpasswd admin
We use the -d parameter to encrypt the password with crypt() as required by Monitorix. The dialog of the htpasswd command will be like this.
david@desktop:/tmp# sudo htpasswd -d -c /var/lib/monitorix/htpasswd admin
New password:
Re-type new password:
Adding password for user admin
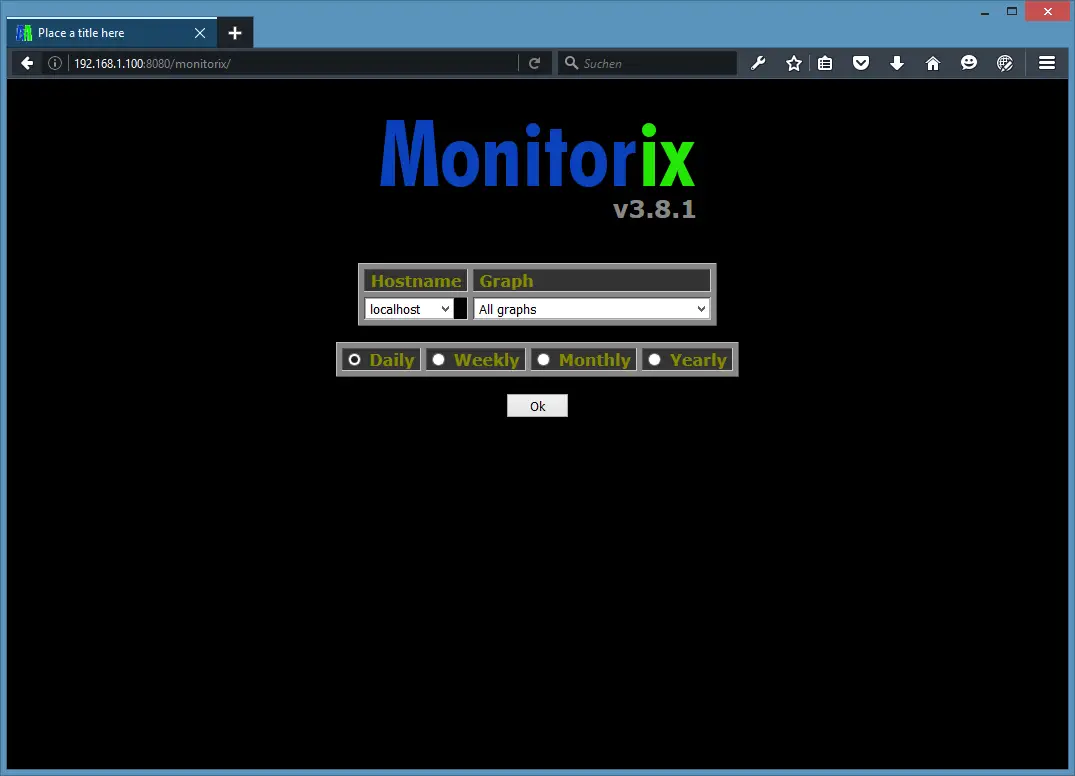
Step 5: Starting Monitorix
Point the browser to http://192.168.1.100:8080/monitorix/ (replace the IP with the IP of your server) and you will see:
Interface
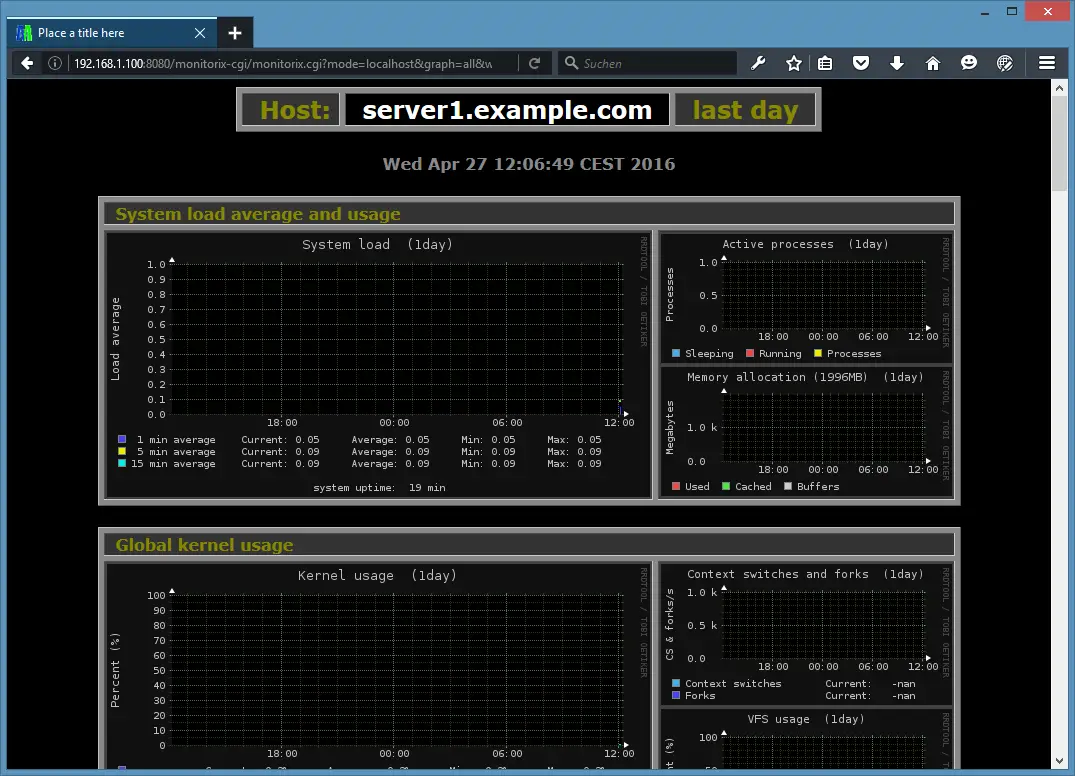
Enjoy this cool and useful software!.

