How to record your terminal session on Linux
On this page
Recording a terminal session may be important in helping someone learn a process, sharing information in an understandable way, and also presenting a series of commands in a proper manner. Whatever the purpose, there are many times when copy-pasting text from the terminal won't be very helpful while capturing a video of the process is quite far-fetched and may not be always possible. In this quick guide, we will take a look at the easiest way to record and share a terminal session in .gif format.
Prerequisites
If you just want to record your terminal sessions and be able to play the recording in your terminal, or share them with people who will use a terminal for playback, then the only tool that you'll need is called “ttyrec”. Ubuntu users may install it by inserting the following command on a terminal:
sudo apt-get install ttyrec
If you want to produce a .gif file from the recording and be able to share it with people who don't use the terminal, publish it on websites, or simply keep a .gif handy for when you'll need it instead of written commands, you will have to install two additional packages. The first one is “imagemagick” which you can install with:
sudo apt-get install imagemagick
and the second one is “tty2gif” which can be downloaded from here. The latter has a dependency that can be satisfied with:
sudo apt-get install python-opster
Capturing
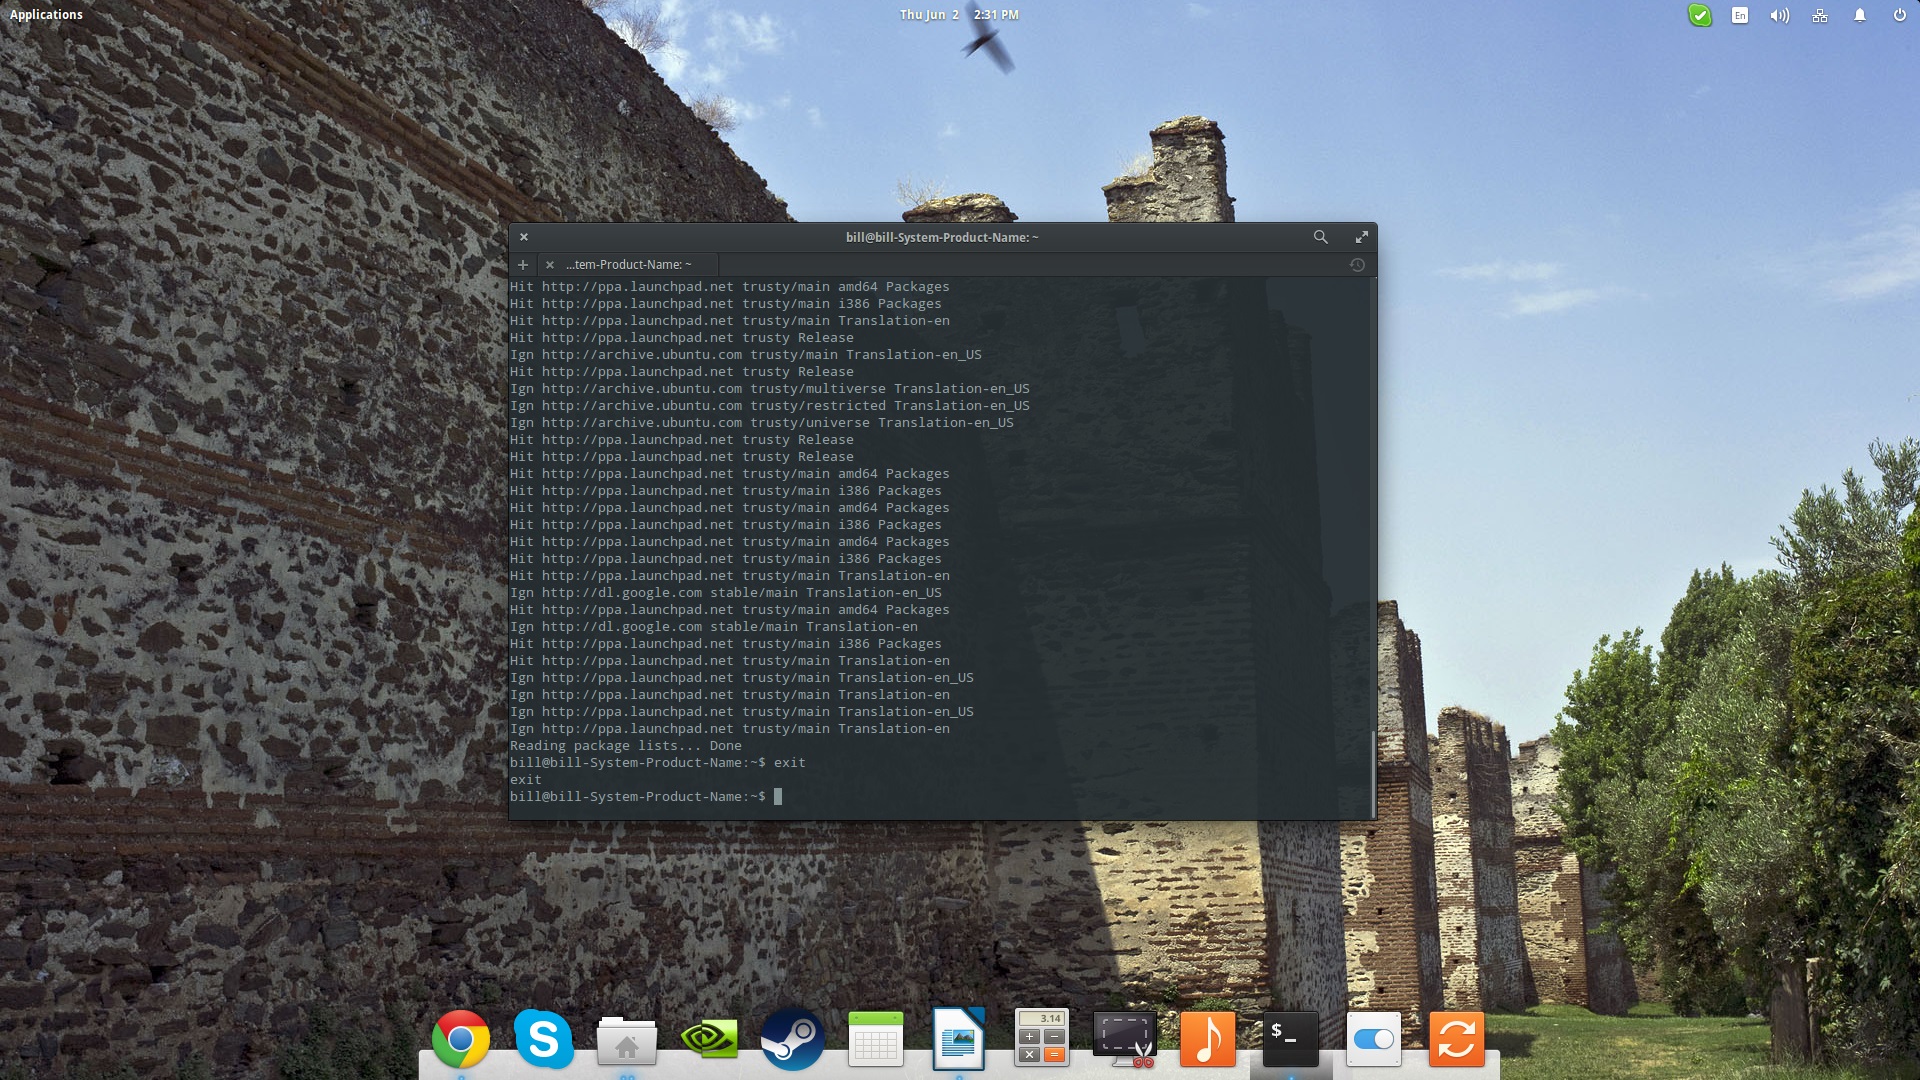
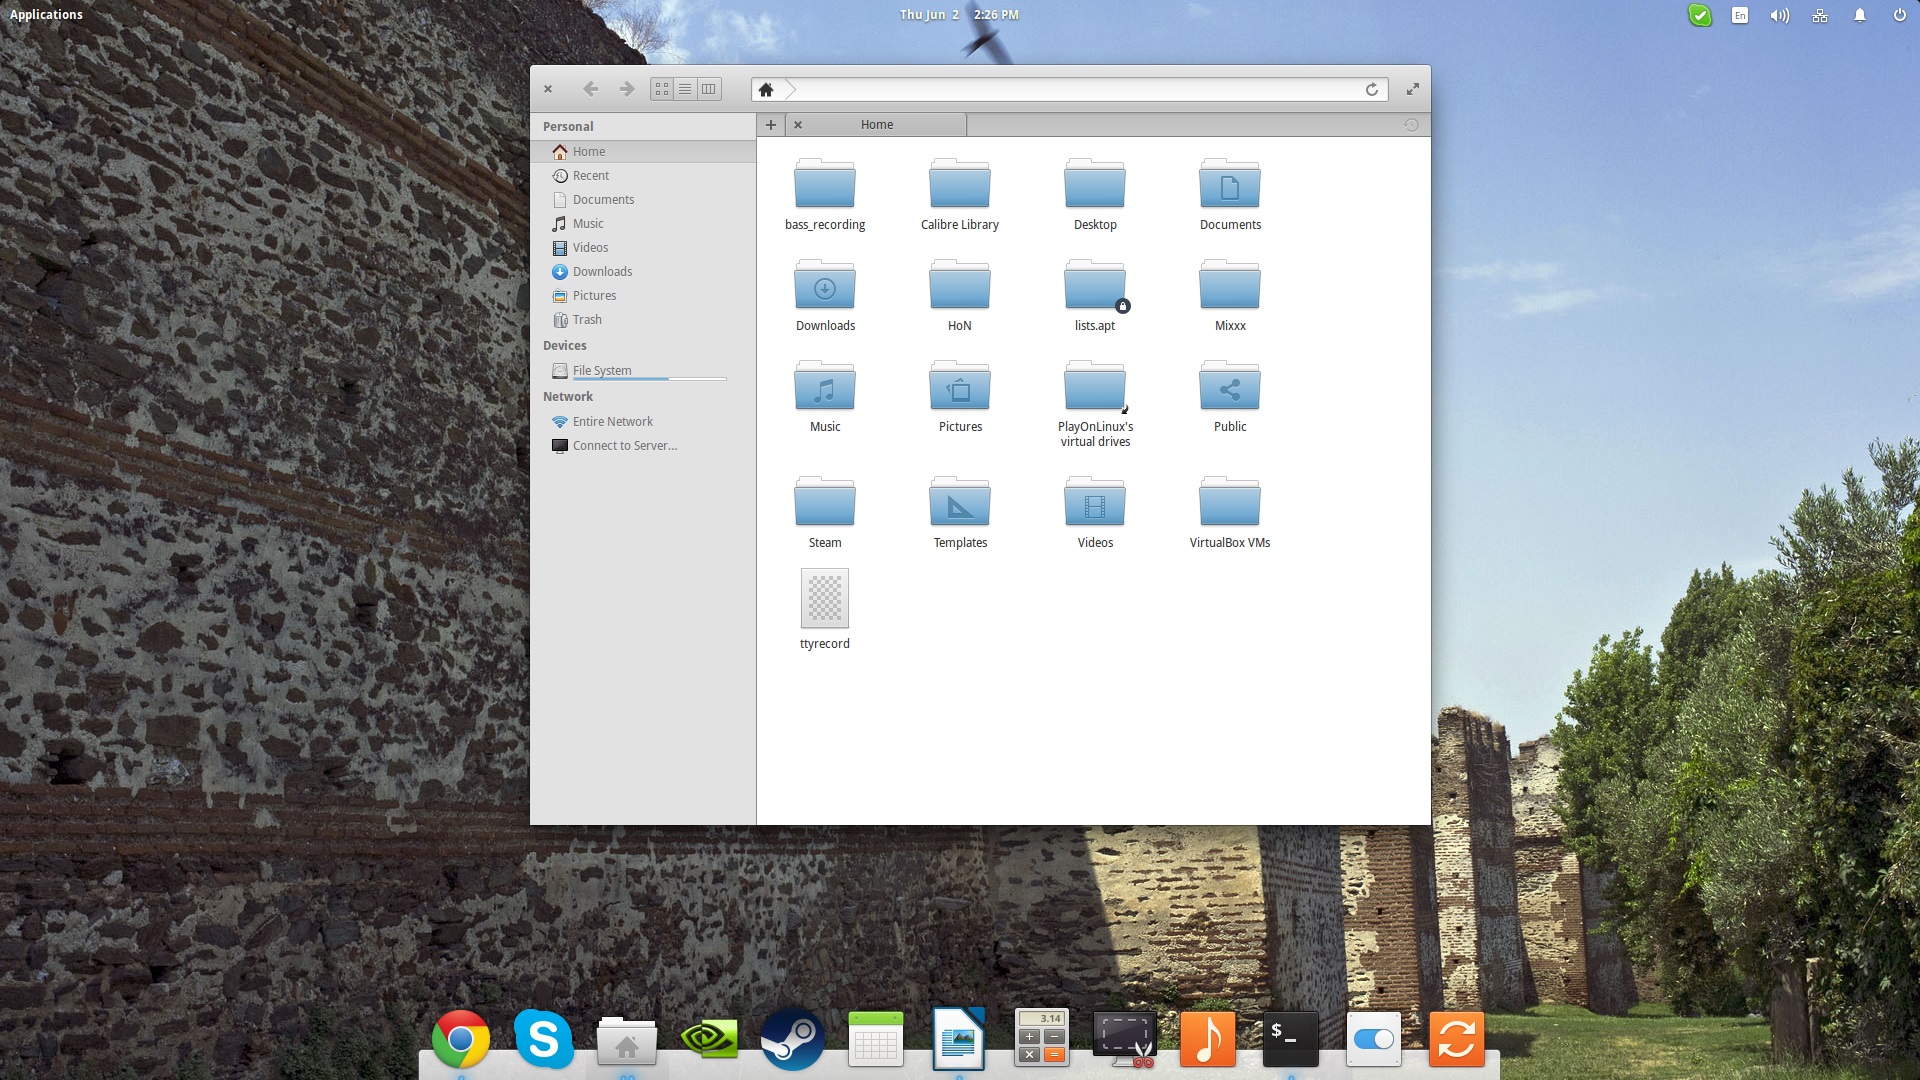
To start capturing the terminal session, all you need to do is simply start with “ttyrec” + enter. This will launch the real-time recording tool which will run in the background until we enter “exit” or we press “Ctrl+D”. By default, ttyrec creates a file named “ttyrecord” on the destination of the terminal session which by default is “Home”.

Playing
Playing the file is as simple as opening a terminal on the destination of the “ttyrecord” file and using the “ttyplay” command followed by the name of the recording (in our case it's ttyrecord but you may change this into whatever you want).
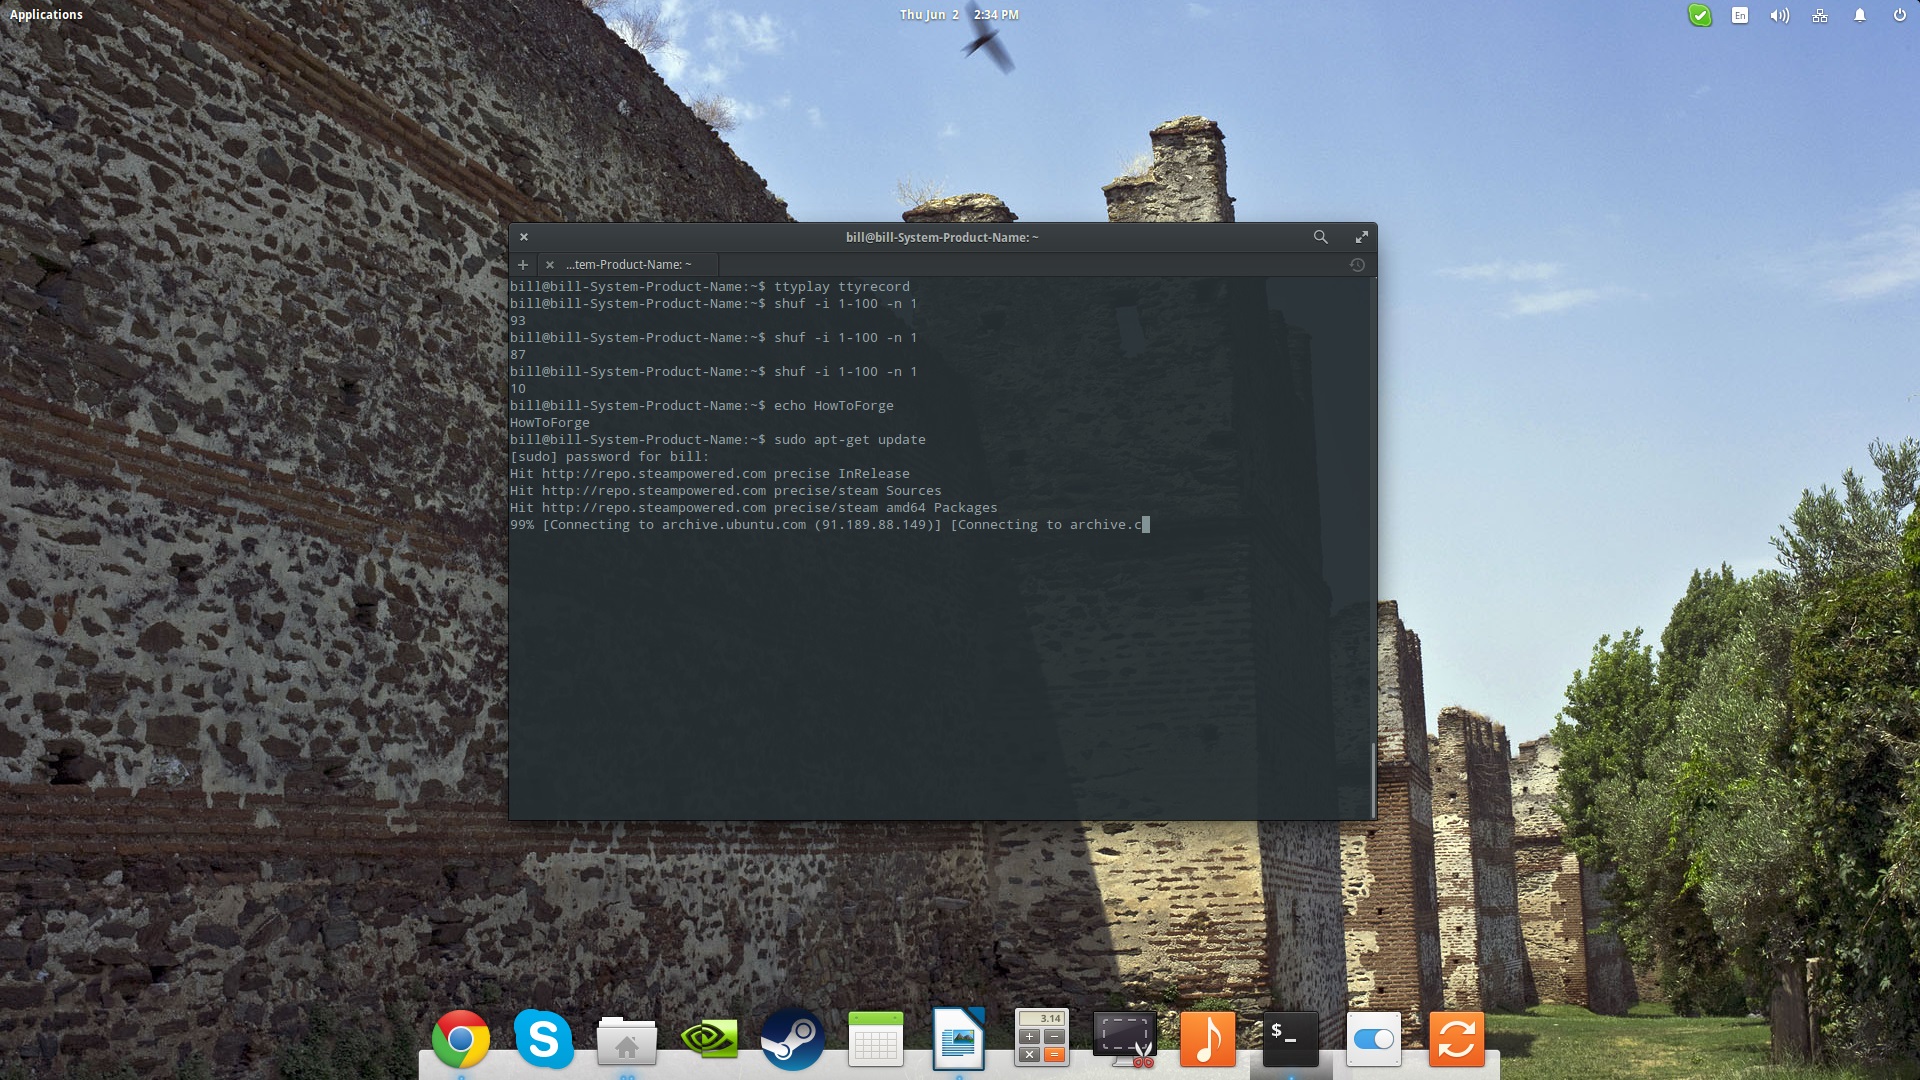
This will result in the playback of the recorded session, in real-time, and with typing corrections included (all actions are recorded). This will look like a completely normal automated terminal session, but the commands and their apparent execution are obviously not really applied to the system, as they are only reproduced as a recording.
It is also important to note that the playback of the terminal session recording is completely controllable. You may double the playback speed by hitting the “+” button, slow it down with the “-” button, pause it with “0”, and resume it in normal speed with “1”.
Converting into a .gif
For reasons of convenience, many of us would like to convert the recorded session into a .gif file, and that is very easy to do. Here's how:
First, untar the downloaded “tty2gif.tar.bz2” by opening a terminal in the download location and entering the following command:
tar xvfj tty2gif.tar.bz2
Next, copy the resulting “tty2gif.py file onto the destination of the “ttyrecord” file (or whatever the name you've specified is), and then open a terminal on that destination and type the command:
python tty2gif.py typing ttyrecord
If you are getting errors in this step, check that you have installed the “python-opster” package. If errors persist, give the following two commands consecutively:
sudo apt-get install xdotool
export WINDOWID=$(xdotool getwindowfocus)
then repeat the “python tty2gif.py typing ttyrecord ” and you should now see a number of gif files that were created on the location of the “ttyrecord”
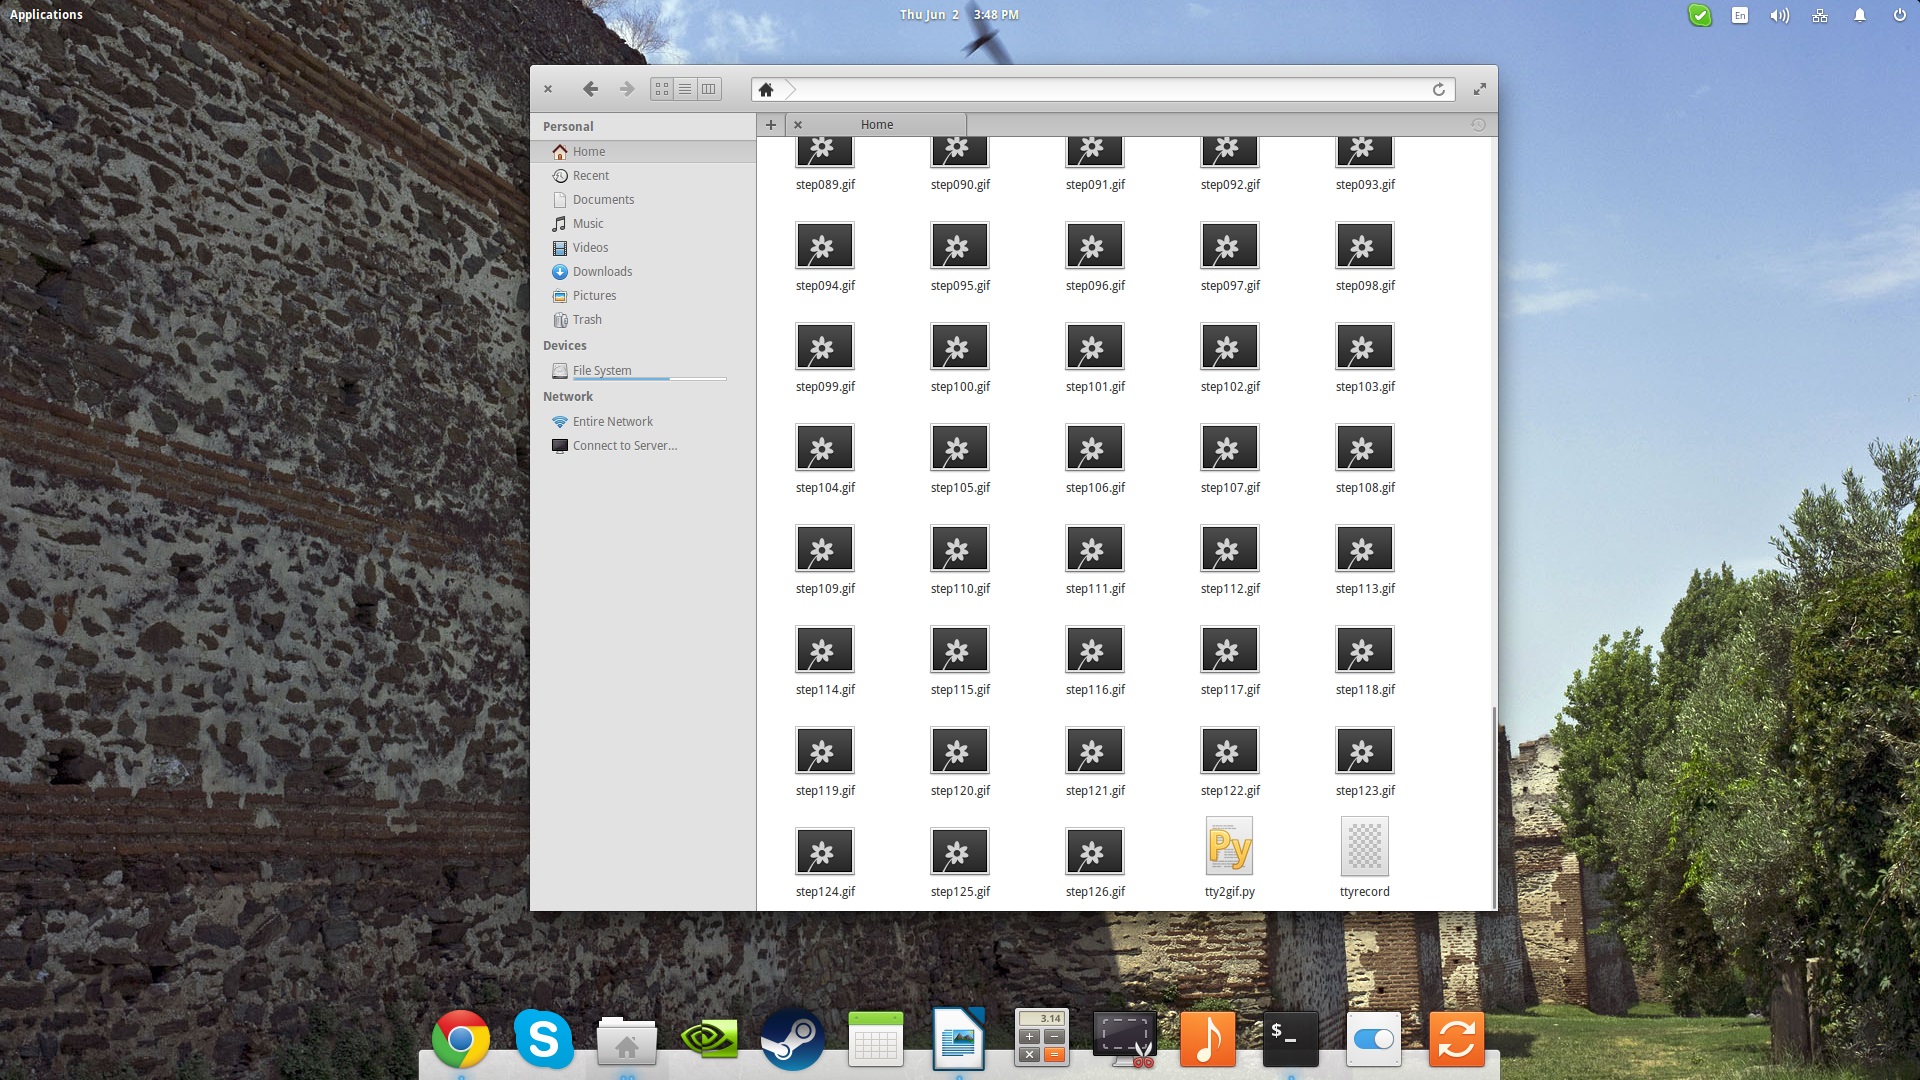
The next step is to unify all these gifs that correspond to individual terminal session actions into one final .gif file using the imagemagick utility. To do this, open a terminal on the destination and insert the following command:
convert -delay 25 -loop 0 *.gif example.gif
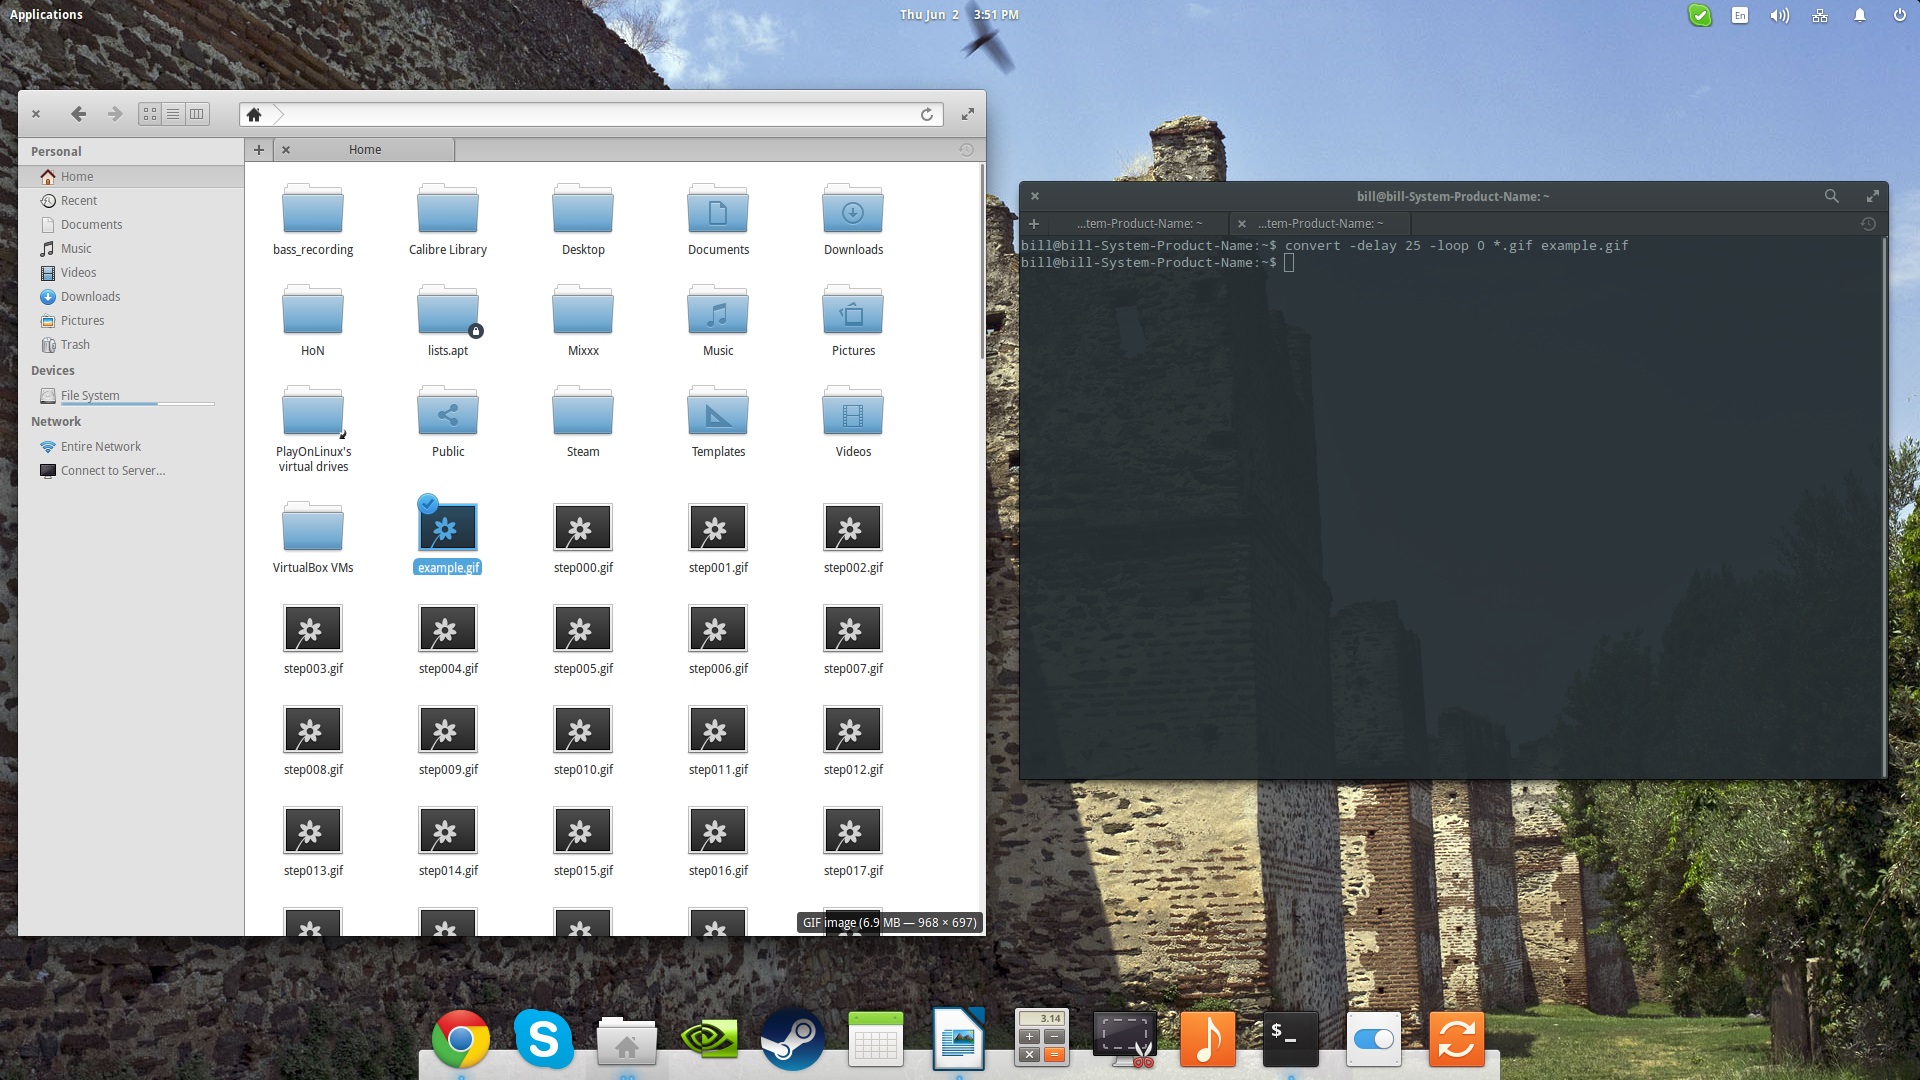
You may name the resulting file as you like (I used “example.gif”), and you may change the delay and loop settings as needed. Here is the resulting file of this quick tutorial: