VBoxHeadless - Running Virtual Machines with VirtualBox 5.1 on a headless Ubuntu 16.04 LTS Server
This tutorial exists for these OS versions
- Ubuntu 16.04 (Xenial Xerus)
- Ubuntu 14.04 LTS (Trusty Tahr)
On this page
This guide explains how you can run virtual machines with VirtualBox 5.1 on a headless Ubuntu 16.04 server. Normally you use the VirtualBox GUI to manage your virtual machines, but a server does not have a desktop environment. Fortunately, VirtualBox comes with a tool called VBoxHeadless that allows you to connect to the virtual machines over a remote desktop connection, so there's no need for the VirtualBox GUI.
1 Preliminary Note
I have tested this on an Ubuntu 16.04 server (host system) with the IP address 192.168.1.100 where I'm logged in as a normal user (user name administrator in this example) instead of as root.
2 Installing VirtualBox
To install VirtualBox 5.1 on our Ubuntu 16.04 server, we open /etc/apt/sources.list...
sudo nano /etc/apt/sources.list
... and add the following line to it:
deb http://download.virtualbox.org/virtualbox/debian xenial contrib
Then we download the VirtualBox public key...
wget -q https://www.virtualbox.org/download/oracle_vbox_2016.asc -O- | sudo apt-key add -
... and update our package database:
sudo apt-get update
Afterwards, we install VirtualBox 5.1 as follows:
sudo apt-get install linux-headers-$(uname -r) build-essential virtualbox-5.1 dkms
(The dkms package ensures that the VirtualBox host kernel modules are properly updated if the Linux kernel version changes.)
Starting with version 4.0, VirtualBox has introduced so called "extension packs" and has outsourced some functionality like remote desktop connection support (VRDP) that was part of VirtualBox packages before version 4.0 into these extension packs. Because we need remote desktop connections to control our virtual machines, we need to install the appropriate extension pack now. Go to http://www.virtualbox.org/wiki/Downloads, and you will find a link to the following extension pack:
VirtualBox 5.1 Oracle VM VirtualBox Extension Pack
Download and install the extension pack as follows:
cd /tmp
wget http://download.virtualbox.org/virtualbox/5.1.0/Oracle_VM_VirtualBox_Extension_Pack-5.1.0-108711.vbox-extpack
sudo VBoxManage extpack install Oracle_VM_VirtualBox_Extension_Pack-5.1.0-108711.vbox-extpack
(Make sure you grab the latest version from the VirtualBox website and to use sudo to install the extpack file with VBoxManage.)
Now we must add the user that will run VirtualBox (administrator in this example) to the vboxusers group:
sudo adduser administrator vboxusers
VirtualBox is now installed and ready to be used.
3 Using VirtualBox on the Command Line
3.1 Creating A VM
To create a VM on the command line, we can use the VBoxManage command. See
VBoxManage --help
for a list of available switches and (highly recommended!) take a look at http://www.virtualbox.org/manual/ch08.html.
I will now create an Ubuntu 16.04 Server VM with 2048MB memory and a 10GB hard drive from the Ubuntu 16.04 Server iso image (which I have stored in /home/administrator/iso/ubuntu-16.04-server-amd64.iso):
VBoxManage createvm --name "Ubuntu 16.04 Server" --register
VBoxManage modifyvm "Ubuntu 16.04 Server" --memory 2048 --acpi on --boot1 dvd --nic1 bridged --bridgeadapter1 ens33
VBoxManage createhd --filename /home/administrator/Ubuntu_16_04_Server.vdi --size 10000
VBoxManage storagectl "Ubuntu 16.04 Server" --name "IDE Controller" --add ide
VBoxManage storageattach "Ubuntu 16.04 Server" --storagectl "IDE Controller" --port 0 --device 0 --type hdd --medium /home/administrator/Ubuntu_16_04_Server.vdi
VBoxManage storageattach "Ubuntu 16.04 Server" --storagectl "IDE Controller" --port 1 --device 0 --type dvddrive --medium /home/administrator/iso/ubuntu-16.04-server-amd64.iso
VBoxManage modifyvm "Ubuntu 16.04 Server" --vrde on
Now proceed with chapter 3.3 to start the vm and then connect to the VM with a remote desktop client as described in chapter 4.
3.2 Importing an Existing VM
Let's assume you have a VM called examplevm that you want to reuse on this host. On the old host, you should have a directory Machines/examplevm in the VirtualBox directory; Machines/examplevm should contain the examplevm.xml file. Copy the examplevm directory (including the examplevm.xml file) to your new Machines directory (if your user name is administrator, this is /home/administrator/.VirtualBox/Machines - the result should be /home/administrator/.VirtualBox/Machines/examplevm/examplevm.xml).
In addition to that copy the examplevm.vdi file from the old VDI directory to the new one (e.g. /home/administrator/.VirtualBox/VDI/examplevm.vdi).
Afterwards, you must register the imported VM:
VBoxManage registervm Machines/examplevm/examplevm.xml
3.3 Starting a VM with VBoxHeadless
Regardless of if you create a new VM or import an old one, you can start it with the command:
VBoxHeadless --startvm "Ubuntu 16.04 Server"
(Replace Ubuntu 16.04 Server with the name of your VM.)
VBoxHeadless will start the VM and a VRDP (VirtualBox Remote Desktop Protocol) server which allows you to see the VM's output remotely on another machine.
To stop a VM, run
VBoxManage controlvm "Ubuntu 16.04 Server" poweroff
To pause a VM, run
VBoxManage controlvm "Ubuntu 16.04 Server" pause
To reset a VM, run
VBoxManage controlvm "Ubuntu 16.04 Server" reset
To learn more about VBoxHeadless, take a look at
VBoxHeadless --help
and at http://www.virtualbox.org/manual/ch07.html#vboxheadless.
4 Connecting to a VM from a Remote Desktop
4.1 Windows
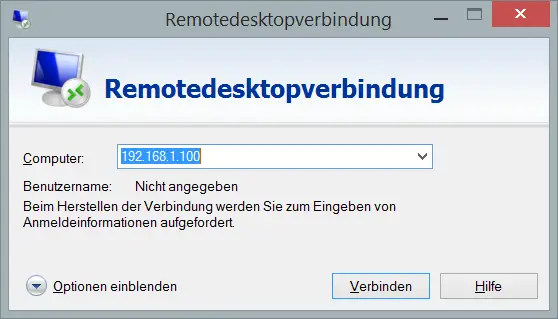
You can use the built-in Remote Desktop Connection utility to connect to the VM.
Type in the hostname or IP address of the host (not the guest!):
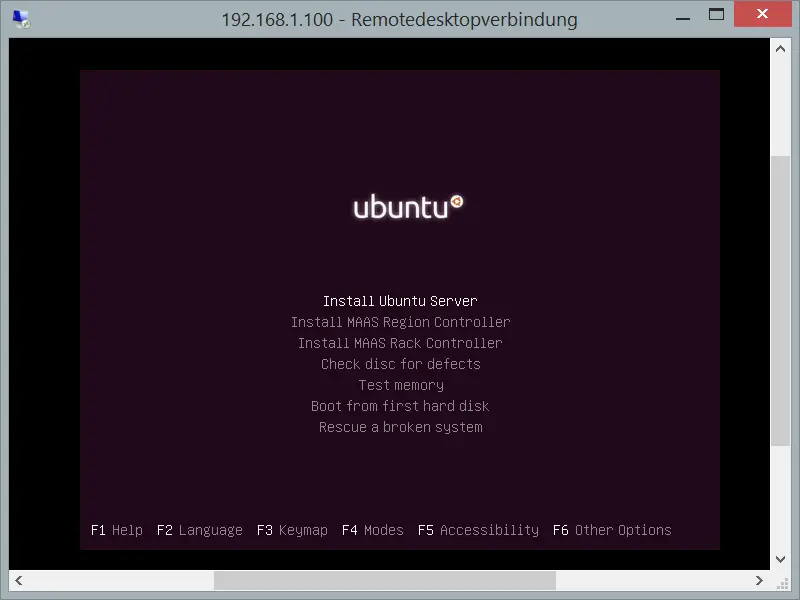
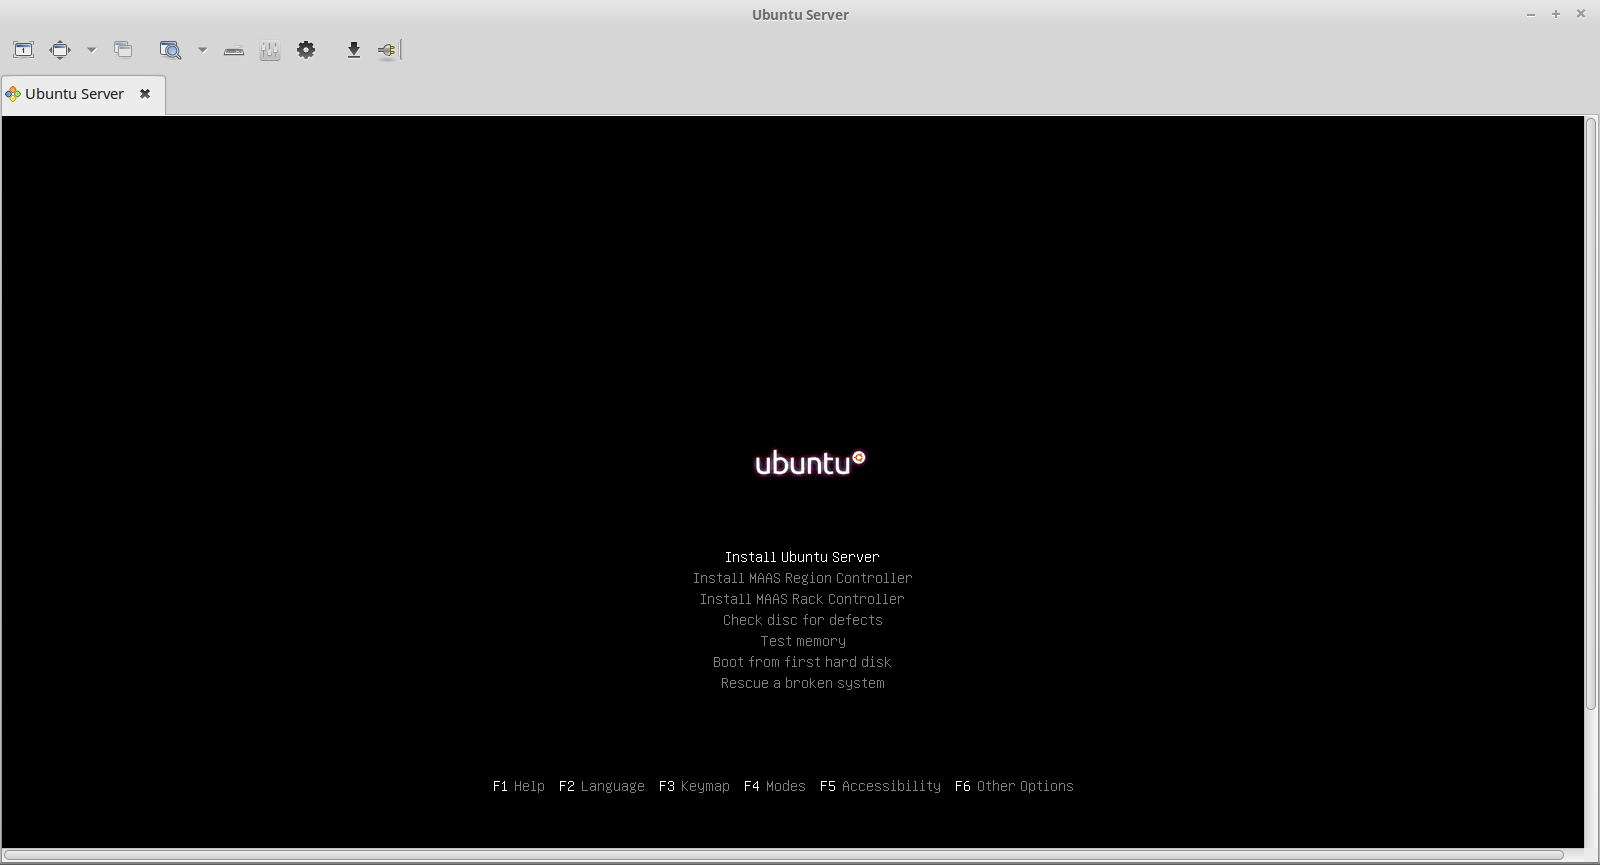
And voilà, you should be connected to the VM:
4.2 Ubuntu Desktop
On Ubuntu desktops, you can use the Remmina Remote Desktop Client or gnome-rdp to connect to the VM.
Install the client with apt:
sudo apt-get install remmina remmina-plugin-rdp
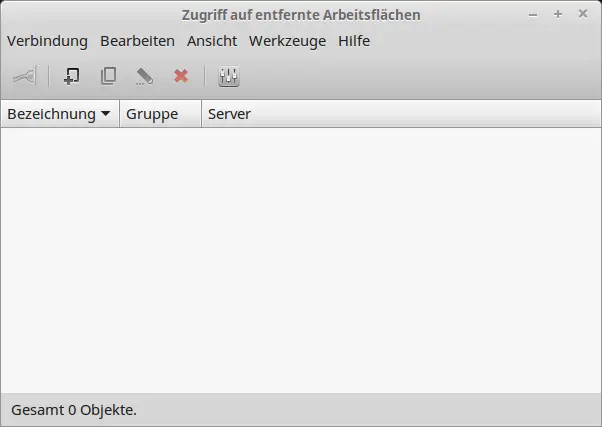
Just search for remmina and then double-click the Remmina Client icon to start the RDP application.
In the Remmina Remote Desktop Client, click on the plus icon to add a new remote desktop connection:
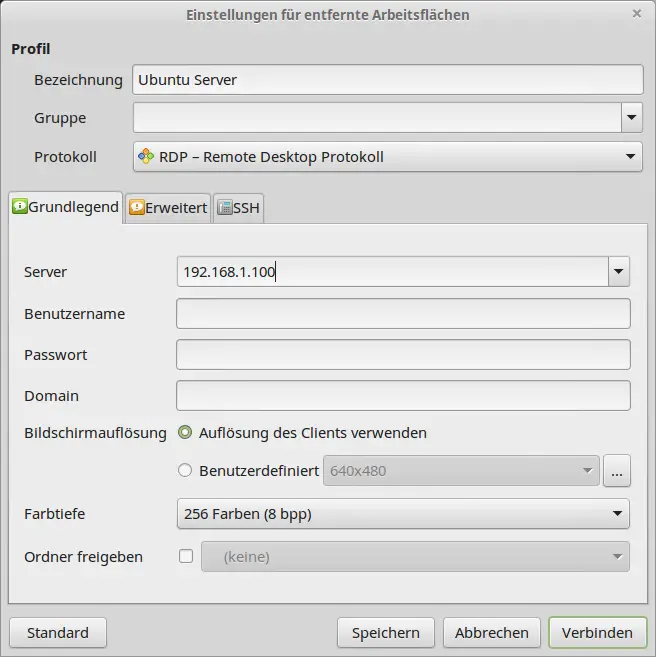
In the Remote Desktop Preference window, fill in a name for the profile (like Ubuntu 16.04 Server), make sure that RDP is selected as the protocol (it should be selected by default), then fill in the host IP address - not the IP of the VirtualBox guest! - in the Server field, and select a higher Color depth than the default of 8bpp - 16bpp is ok. Then click on Connect:
And voilà, you should be connected to the VM:
4.3 If the Remote Desktop Connection doesn't work...
If the remote desktop connection doesn't work, you've probably missed the step where I install the VirtualBox extension pack in chapter 2. Please install the extension pack now, stop your virtual machine (see chapter 3.3), and modify your virtual machine to accept remote desktop connections:
VBoxManage modifyvm "Ubuntu 16.04 Server" --vrde on
(If the extension pack is already installed when you create your virtual machine, remote desktop connections are automatically enabled.)
Then start your virtual machine again.
5 Links
- VirtualBox: http://www.virtualbox.org/
- Ubuntu: http://www.ubuntu.com/

