How to install Odoo ERP Software on Ubuntu 16.04
This tutorial exists for these OS versions
- Ubuntu 22.04 (Jammy Jellyfish)
- Ubuntu 20.04 (Focal Fossa)
- Ubuntu 15.04 (Vivid Vervet)
- Ubuntu 15.04 (Vivid Vervet)
On this page
Odoo is a web-based OpenSource enterprise resource planning and customer relationship software that can help you to organize and grow your business. Odoo was formerly named openERP and therefore TinyERP. There are many apps available to extend Odoo, for example: billing, accounting, manufacturing, purchasing, warehouse management, and project management.
Odoo is created by Fabien Pinckaers/Odoo S.A and written in python. It is available for many operating systems, including Linux, Windows and Mac OS X. I will use Ubuntu 16.04 for the server installation. Odoo has released version 9 of their ERP software at October 1, 2015.
Prerequisites
- Ubuntu 16.04 - 64bit
- 2GB memory
What we will do in this tutorial:
- Add the Odoo repository
- Configure a user
- Install and Configure Postgresql
- Install dependencies needed by Odoo
- Install Odoo
- Configure Odoo
Step 1 - Add the Odoo repository
First you will have to add the Odoo apt repository to your repository database file /etc/apt/sources.list. First, add the Odoo key with this apt command:
wget -O - https://nightly.odoo.com/odoo.key | apt-key add -
Then add the Odoo repository with the echo command:
echo "deb http://nightly.odoo.com/8.0/nightly/deb/ ./" >> /etc/apt/sources.list
Note: >> = add the Odoo repository to the last line in sources.list file.
and update the Ubuntu package lists:
apt-get update
Step 2 - Configure a Linux user for Odoo
Create a new user called odoo with home directory /opt/odoo and the group odoo. You can do it with this command:
sudo adduser --system --home=/opt/odoo --group odoo
and create a new directory for Odoo in the /var/lib/ directory.
mkdir -p /var/lib/odoo
Step 3 - Install and Configure PostgreSQL
Install postgreSQL with this apt-get command:
sudo apt-get install postgresql
and log into the PostgreSQL shell:
su - postgres
Now create a role for Odoo. This will allow Odoo to access/connect to the PostgreSQL server and to create, delete or modify the database. You will have to enter the password to ensure the security and keep it private.
createuser --createdb --username postgres --no-createrole --no-superuser --pwprompt odoo
  TYPE YOUR PASSWORD HERE
Finally type exit to log out from the PostgreSQL shell.
Step 4 - Install dependencies needed
Odoo needs many python modules, just install all package below to fullfill its prerequisites:
sudo apt-get install python-cups python-dateutil python-decorator python-docutils python-feedparser \
python-gdata python-geoip python-gevent python-imaging python-jinja2 python-ldap python-libxslt1 \
python-lxml python-mako python-mock python-openid python-passlib python-psutil python-psycopg2 \
python-pybabel python-pychart python-pydot python-pyparsing python-pypdf python-reportlab python-requests \
python-simplejson python-tz python-unicodecsv python-unittest2 python-vatnumber python-vobject \
python-werkzeug python-xlwt python-yaml wkhtmltopdf
Step 5 - Install Odoo
Now you can install Odoo with apt:
sudo apt-get install odoo
When the installation is complete, Odoo will be running on port 8069. You can check it with the command:
netstat -plntu
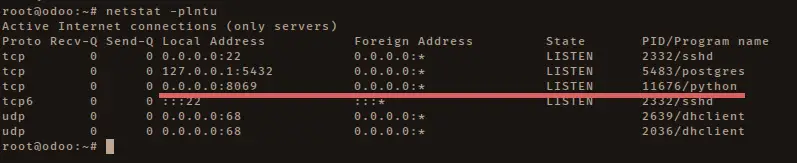
Odoo is installed and running on port 8069. We will run odoo on local IP, because we will use an nginx web server as reverse proxy for odoo.
Edit the Odoo configuration file with vim:
vim /etc/odoo/openerp-server.conf
At the end of the file, paste configuration below:
xmlrpc_interface = 127.0.0.1
xmlrpc_port = 8069
Save and exit.
Step 6 - Install and Configure Nginx
Nginx is a lightweight web server and proxy with low memory andCPUu usage. In this step, we will install nginx and configure it as reverse proxy for Odoo.
Install nginx with apt:
sudo apt-get install nginx
Go to the nginx virtual host directory and create a new configuration file:
cd /etc/nginx/sites-available/
vim odoo
Paste the configuration below:
## Odoo Backend ##
upstream odooerp {
    server 127.0.0.1:8069;
}

## https site##
server {
    listen      443 default_server;
    server_name odoo.mysite.co;
    root        /usr/share/nginx/html;
    index       index.html index.htm;

    # log files
    access_log  /var/log/nginx/odoo.access.log;
    error_log   /var/log/nginx/odoo.error.log;

    # ssl files
    ssl on;
    ssl_ciphers                 ALL:!ADH:!MD5:!EXPORT:!SSLv2:RC4+RSA:+HIGH:+MEDIUM;
    ssl_protocols               TLSv1 TLSv1.1 TLSv1.2;
    ssl_prefer_server_ciphers   on;
    ssl_certificate             /etc/nginx/ssl/odoo.crt;
    ssl_certificate_key         /etc/nginx/ssl/odoo.key;

    # proxy buffers
    proxy_buffers 16 64k;
    proxy_buffer_size 128k;

    ## odoo proxypass with https ##
    location / {
        proxy_pass  http://odooerp;
        # force timeouts if the backend dies
        proxy_next_upstream error timeout invalid_header http_500 http_502 http_503 http_504;
        proxy_redirect off;

        # set headers
        proxy_set_header    Host            $host;
        proxy_set_header    X-Real-IP       $remote_addr;
        proxy_set_header    X-Forwarded-For $proxy_add_x_forwarded_for;
        proxy_set_header    X-Forwarded-Proto https;
    }

    # cache some static data in memory for 60mins
    location ~* /web/static/ {
        proxy_cache_valid 200 60m;
        proxy_buffering on;
        expires 864000;
        proxy_pass http://odooerp;
    }
}

## http redirects to https ##
server {
    listen      80;
    server_name odoo.mysite.co;

    # Strict Transport Security
    add_header Strict-Transport-Security max-age=2592000;
    rewrite ^/.*$ https://$host$request_uri? permanent;
}
Save and exit.
I will run odoo under nginx with the domain name odoo.mysite.co and use a secure https connection.
Next, we need to create a new ssl certificate file for odoo with openssl.
Create the SSL directory:
mkdir -p /etc/nginx/ssl
cd /etc/nginx/ssl
Generate a new self-signed certificate file with the openssl command below:
openssl req -x509 -nodes -days 365 -newkey rsa:2048 -keyout /etc/nginx/ssl/odoo.key -out /etc/nginx/ssl/odoo.crt
Change the permission of the certificate file:
chmod 600 odoo.key
Enable new odoo virtual host and test the nginx configuration:
ln -s /etc/nginx/sites/available/odoo /etc/nginx/sites-enabled/odoo
nginx -t
Make sure there is no error on nginx configuration and then restart nginx web server:
systemctl restart nginx
Step 7 - Configure Odoo
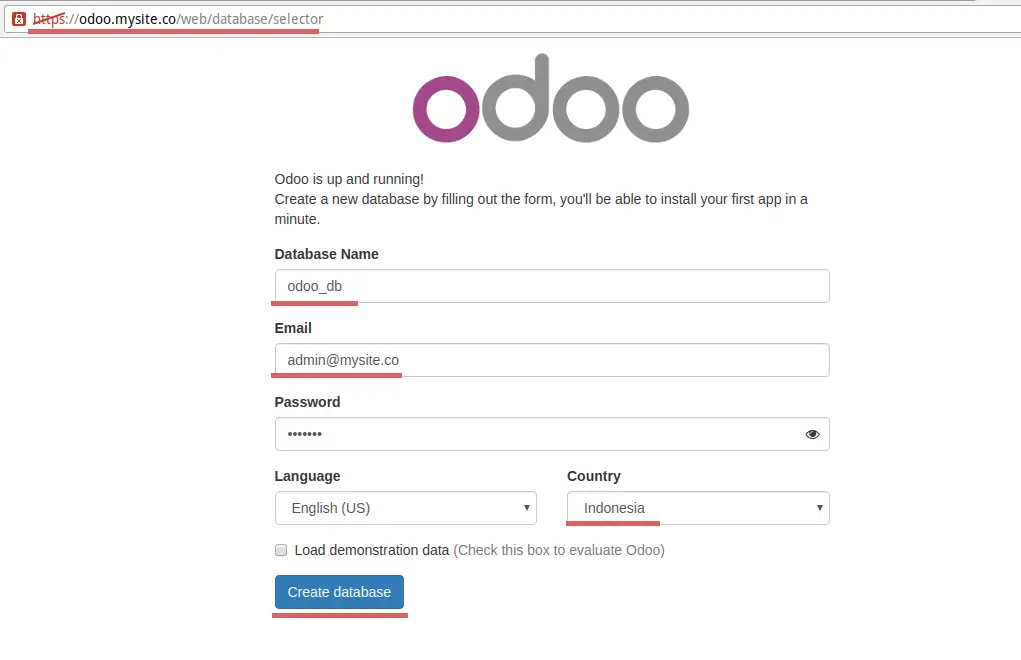
Odoo and nginx are installed, open a web browser and type in the odoo URL, in my case: https://odoo.mysite.co
You will be prompted to create a new database and to configure the email address and password for the admin account.
Enter the details for your installation and click on 'Create database'.
wait a minute for the odoo installation to finish.
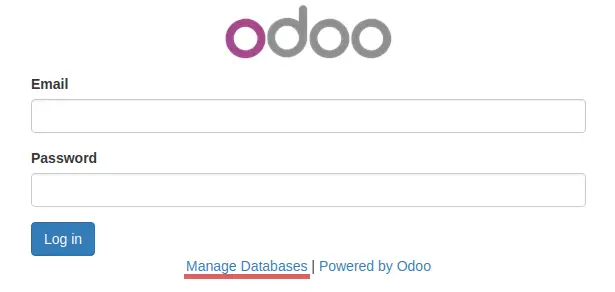
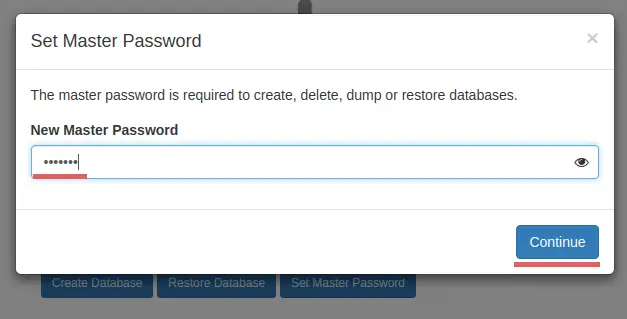
After odoo created the database, we can login to the odoo admin dashboard. But for the security reason, we need to setup a master password for the odoo database manager.
Click on 'Manage Databases'
Clik on 'Set Master Password'.
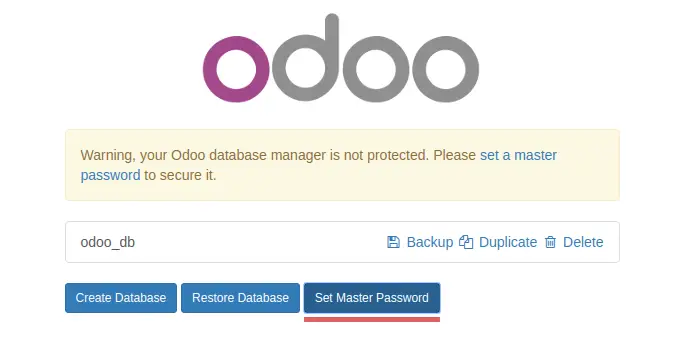
Type your password and click 'Continue'.
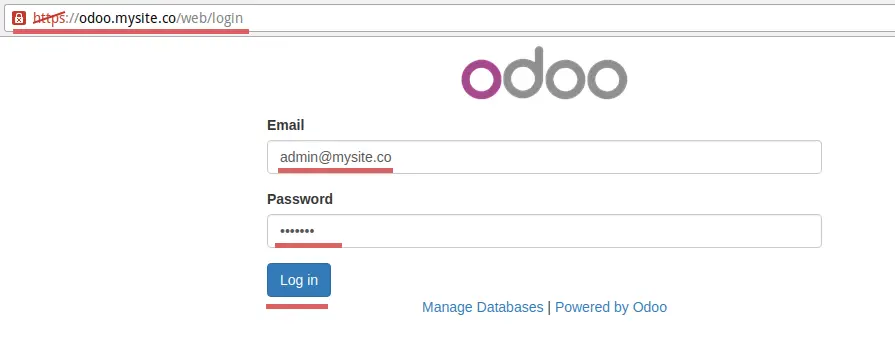
Master password has been setup, and now back to the odoo url 'https://odoo.mysite.co/'.
Type your email and password and click 'Login'.
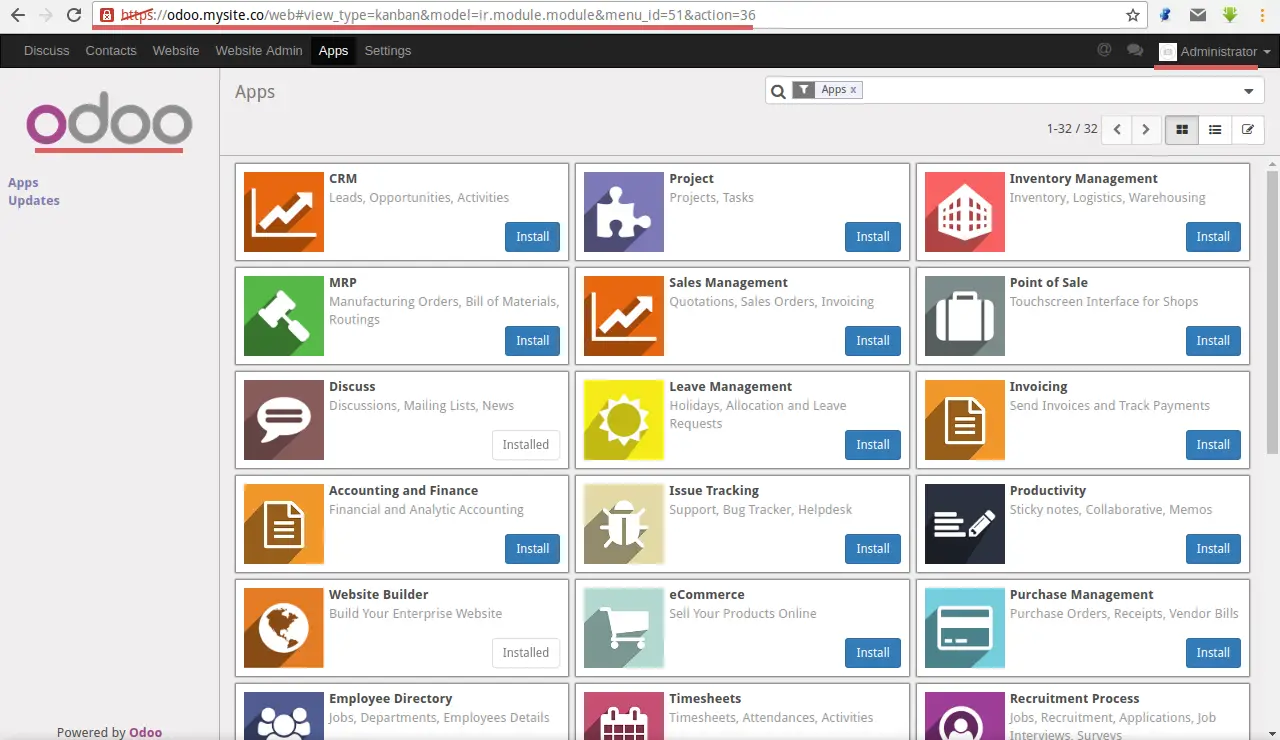
Odoo admin dashboard.
Odoo home page after install new app 'Forum'.
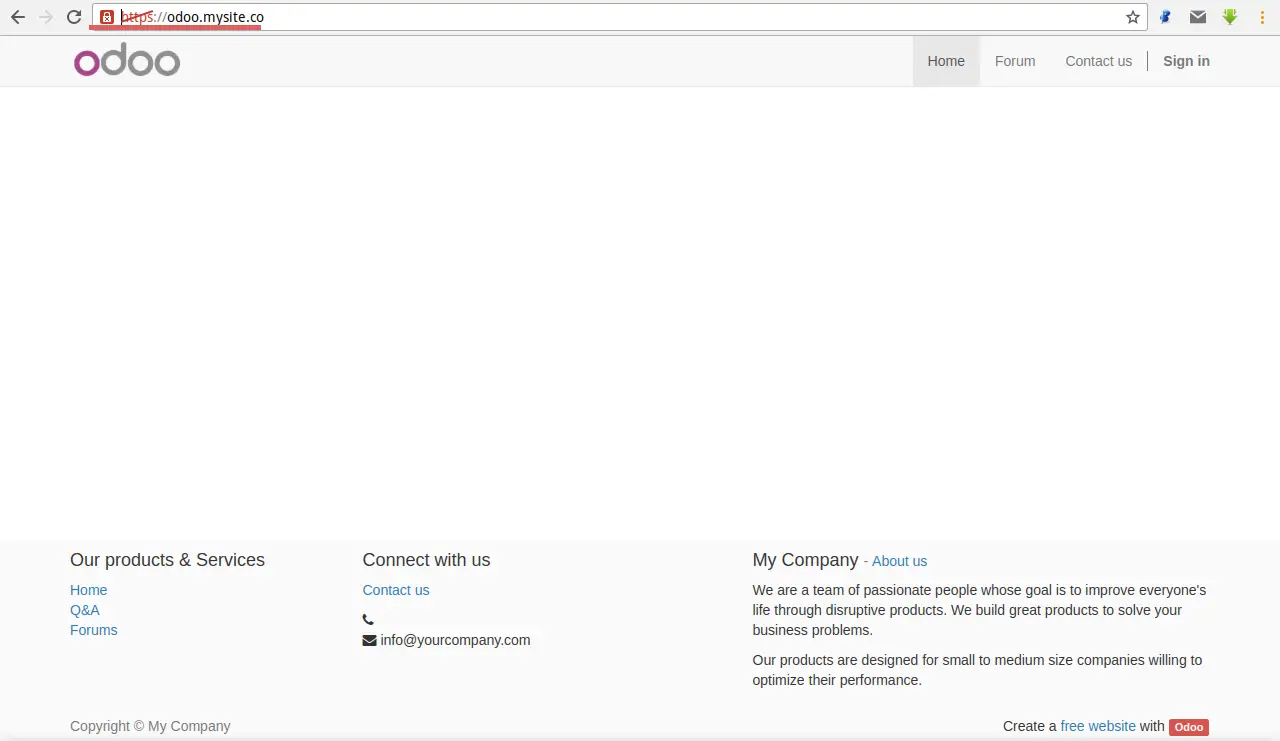
Odoo 9 with nginx has been successfully installed on ubuntu 16.04.
Conclusion
Odoo is an open source application that helps you to manage your business. Odoo / OpenERP is easy to install and configure and supports multiple operating systems. In Odoo, there are many applications available such as billing, accounting, manufacturing, purchasing, warehouse management, and project management. These apps can help you to manage and grow your business.

