How to Install Nagios Monitoring Tool on Ubuntu 22.04
This tutorial exists for these OS versions
- Ubuntu 22.04 (Jammy Jellyfish)
- Ubuntu 20.04 (Focal Fossa)
- Ubuntu 18.04 (Bionic Beaver)
- Ubuntu 16.04 (Xenial Xerus)
- Ubuntu 15.04 (Vivid Vervet)
- Ubuntu 14.04 LTS (Trusty Tahr)
On this page
Nagios is a powerful free, open-source monitoring tool used for monitoring Linux and Windows servers and networks and infrastructure. With Nagios, you can monitor CPU usage, disk usage, and several services including HTTP, SSH, FTP, SMTP, and more. It has a simple and user-friendly web interface that helps you monitor all servers from the central location. It can be easily integrated with third-party applications with multiple APIs. Nagios works by continuously monitoring hosts and services that you specify and alerting you when things go bad.
This tutorial will show you how to install Nagios Core on Ubuntu 22.04 server.
Prerequisites
- A server running Ubuntu 22.04.
- A root password is configured on the server.
Install Required Dependency
Before starting, you will need to update your system package and install other required dependencies on your server:
apt-get update -y
apt-get install wget unzip vim curl openssl build-essential libgd-dev libssl-dev libapache2-mod-php php-gd php apache2 -y
Once all the packages are installed, you can proceed to the next step.
Install Nagios Core from Source
By default, the latest Nagios Core version is unavailable in the 22.04 default repository. So it is recommended to compile Nagios from the source.
First, download the latest version of Nagios Core from the Git repository with the following command:
wget https://assets.nagios.com/downloads/nagioscore/releases/nagios-4.4.7.tar.gz
Once downloaded, extract the downloaded file with the following command:
tar -xvzf nagios-4.4.7.tar.gz
Next, change the directory to the extracted directory and configure the Nagios Core with the following command:
cd nagios-4.4.7
./configure --with-httpd-conf=/etc/apache2/sites-enabled
You should get the following output:
*** Configuration summary for nagios 4.4.7 2022-04-14 ***:

 General Options:
 -------------------------
        Nagios executable:  nagios
        Nagios user/group:  nagios,nagios
       Command user/group:  nagios,nagios
             Event Broker:  yes
        Install ${prefix}:  /usr/local/nagios
    Install ${includedir}:  /usr/local/nagios/include/nagios
                Lock file:  /run/nagios.lock
   Check result directory:  /usr/local/nagios/var/spool/checkresults
           Init directory:  /lib/systemd/system
  Apache conf.d directory:  /etc/apache2/sites-enabled
             Mail program:  /bin/mail
                  Host OS:  linux-gnu
          IOBroker Method:  epoll

 Web Interface Options:
 ------------------------
                 HTML URL:  http://localhost/nagios/
                  CGI URL:  http://localhost/nagios/cgi-bin/
 Traceroute (used by WAP):


Review the options above for accuracy.  If they look okay,
type 'make all' to compile the main program and CGIs.
Next, run the following command to compile the Nagios:
make all
Next, create the required user and group, and add Nagios user to the www-data group with the following command:
make install-groups-users
usermod -a -G nagios www-data
Next, install the Nagios Core using the following command:
make install
You should see the following output:
*** Main program, CGIs and HTML files installed ***

You can continue with installing Nagios as follows (type 'make'
without any arguments for a list of all possible options):

  make install-init
     - This installs the init script in /lib/systemd/system

  make install-commandmode
     - This installs and configures permissions on the
       directory for holding the external command file

  make install-config
     - This installs sample config files in /usr/local/nagios/etc

make[1]: Leaving directory '/root/nagios-4.4.7'
Once the Nagios Core is installed, you will need to create a systemd service file to manage the Nagios service. You can create the systemd init script with the following command:
make install-daemoninit
Next, set the proper permission on the Nagios installation directory with the following command:
make install-commandmode
Next, create a sample Nagios configuration file with the following command:
make install-config
Next, install the Nagios web interface with the following command:
make install-webconf
a2enmod rewrite cgi
Next, restart the Apache service to apply the changes:
systemctl restart apache2
Next, install the theme for the Nagios web interface.
make install-exfoliation
Create Nagios Admin User
Next, you will need to create an admin user to access the Nagios web interface. You can create it with the following command:
htpasswd -c /usr/local/nagios/etc/htpasswd.users nagiosadmin
Set your desired password as shown below:
New password:
Re-type new password:
Adding password for user nagiosadmin
Install Nagios Plugins
Next, you will need to download the Nagios plugins to monitor the system services. You can download it from the Git repository with the following command:
wget https://github.com/nagios-plugins/nagios-plugins/releases/download/release-2.4.0/nagios-plugins-2.4.0.tar.gz
Once downloaded, extract the downloaded file with the following command:
tar -xvzf nagios-plugins-2.4.0.tar.gz
Next, change the directory to extracted directory and configure it with the following command:
cd nagios-plugins-2.4.0
./configure --with-nagios-user=nagios --with-nagios-group=nagios
Next, install it with the following command:
make
make install
Next, verify the sample Nagios configuration files before starting it with the following command:
/usr/local/nagios/bin/nagios -v /usr/local/nagios/etc/nagios.cfg
If everything is fine, you should get the following output:
Running pre-flight check on configuration data...

Checking objects...
	Checked 8 services.
	Checked 1 hosts.
	Checked 1 host groups.
	Checked 0 service groups.
	Checked 1 contacts.
	Checked 1 contact groups.
	Checked 24 commands.
	Checked 5 time periods.
	Checked 0 host escalations.
	Checked 0 service escalations.
Checking for circular paths...
	Checked 1 hosts
	Checked 0 service dependencies
	Checked 0 host dependencies
	Checked 5 timeperiods
Checking global event handlers...
Checking obsessive compulsive processor commands...
Checking misc settings...

Total Warnings: 0
Total Errors:   0

Things look okay - No serious problems were detected during the pre-flight check
Start Nagios Service
Now, start the Nagios service and enable it to start at system reboot with the following command:
systemctl start nagios
systemctl enable nagios
You can also check the status of the Nagios service with the following command:
systemctl status nagios
You should get the following output:
? nagios.service - Nagios Core 4.4.7
     Loaded: loaded (/lib/systemd/system/nagios.service; enabled; vendor preset: enabled)
     Active: active (running) since Wed 2022-05-04 17:18:52 UTC; 1s ago
       Docs: https://www.nagios.org/documentation
    Process: 15854 ExecStartPre=/usr/local/nagios/bin/nagios -v /usr/local/nagios/etc/nagios.cfg (code=exited, status=0/SUCCESS)
    Process: 15855 ExecStart=/usr/local/nagios/bin/nagios -d /usr/local/nagios/etc/nagios.cfg (code=exited, status=0/SUCCESS)
   Main PID: 15856 (nagios)
      Tasks: 6 (limit: 2241)
     Memory: 5.2M
        CPU: 355ms
     CGroup: /system.slice/nagios.service
             ??15856 /usr/local/nagios/bin/nagios -d /usr/local/nagios/etc/nagios.cfg
             ??15857 /usr/local/nagios/bin/nagios --worker /usr/local/nagios/var/rw/nagios.qh
             ??15858 /usr/local/nagios/bin/nagios --worker /usr/local/nagios/var/rw/nagios.qh
             ??15859 /usr/local/nagios/bin/nagios --worker /usr/local/nagios/var/rw/nagios.qh
             ??15860 /usr/local/nagios/bin/nagios --worker /usr/local/nagios/var/rw/nagios.qh
             ??15861 /usr/local/nagios/bin/nagios -d /usr/local/nagios/etc/nagios.cfg

June 12 06:10:52 jellyfish nagios[15856]: qh: core query handler registered
June 12 06:10:52 jellyfish nagios[15856]: qh: echo service query handler registered
June 12 06:10:52 jellyfish nagios[15856]: qh: help for the query handler registered
June 12 06:10:52 jellyfish nagios[15856]: wproc: Successfully registered manager as @wproc with query handler
June 12 06:10:52 jellyfish nagios[15856]: wproc: Registry request: name=Core Worker 15858;pid=15858
June 12 06:10:52 jellyfish nagios[15856]: wproc: Registry request: name=Core Worker 15857;pid=15857
June 12 06:10:52 jellyfish nagios[15856]: wproc: Registry request: name=Core Worker 15860;pid=15860
June 12 06:10:52 jellyfish nagios[15856]: wproc: Registry request: name=Core Worker 15859;pid=15859
June 12 06:10:53 jellyfish nagios[15856]: Successfully launched command file worker with pid 15861
June 12 06:10:53 jellyfish nagios[15856]: HOST ALERT: localhost;DOWN;SOFT;1;(No output on stdout)
Access Nagios Web Interface
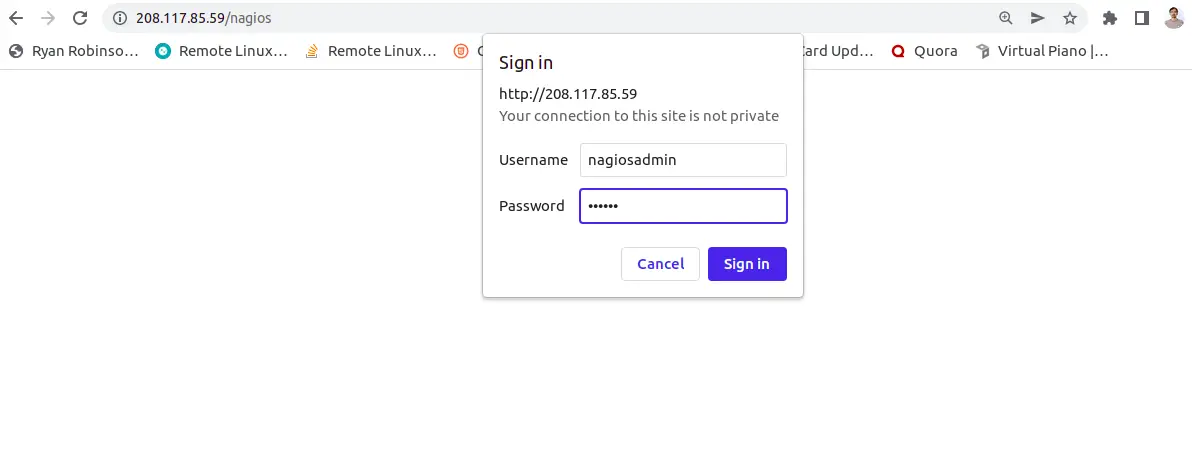
Now, open your web browser and type the URL http://your-server-ip/nagios. You will be redirected to the Nagios login screen:
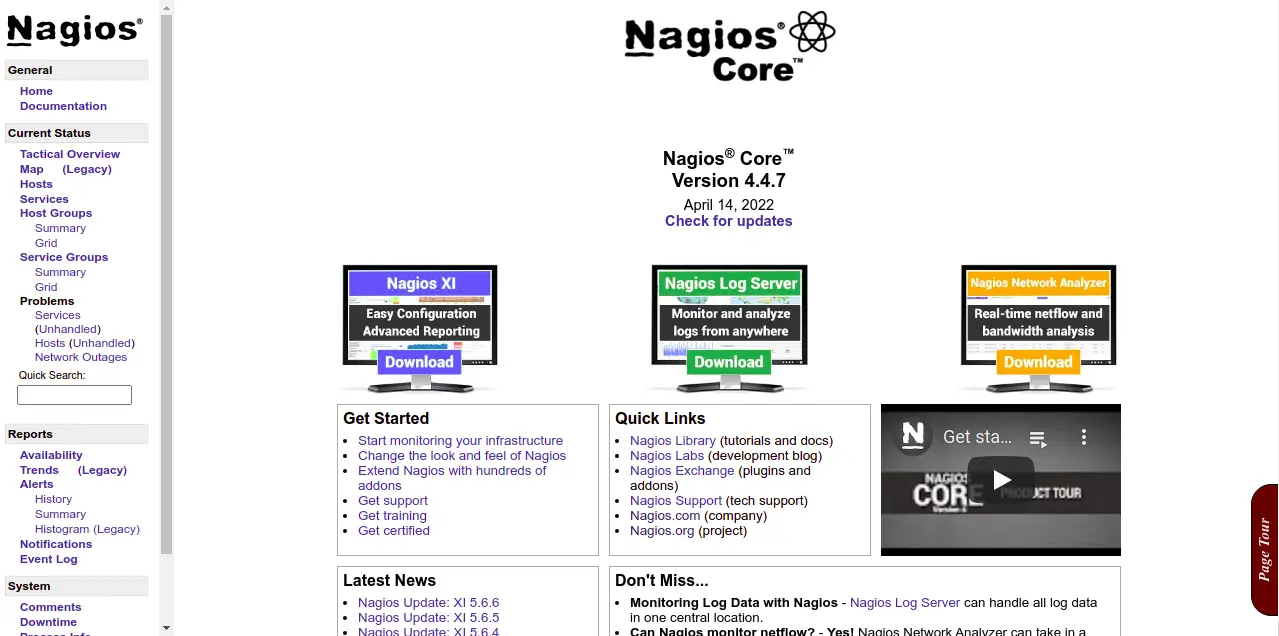
Provide your Nagios admin username, password and click on the OK button. You should see the Nagios default dashboard on the following screen:
Conclusion
Congratulations! you have successfully installed the latest version of Nagios Core on Ubuntu 22.04 server. You can now implement Nagios in your infrastructure, add your monitoring hosts and start monitoring them via a web browser. Feel free to ask me if you have any questions.

