How to share files locally on Linux by using NitroShare
NitroShare is a cross-platform file transfer application that can help Linux users move files from one device to another as long as it is installed in all of them. While there are many ways to do this, and some are more secure than NitroShare, this one is one of the simplest and easiest to use for everyday common file sharing tasks. In the following quick guide, I will showcase how to transfer a sample file from an Ubuntu system onto an Arch system.
First, we need to get NitroShare installed in both systems. NitroShare is already available in Ubuntu’s default repositories, so you may install it by opening a terminal and typing
sudo apt-get install nitroshare
However, if you want the absolute latest version of the software, there’s an official repo offered by the developers of the app which you can add by entering the following commands:
sudo apt-add-repository ppa:george-edison55/nitroshare
..followed by:
sudo apt-get update and then
and then
sudo apt-get install nitroshare
to install the latest version.
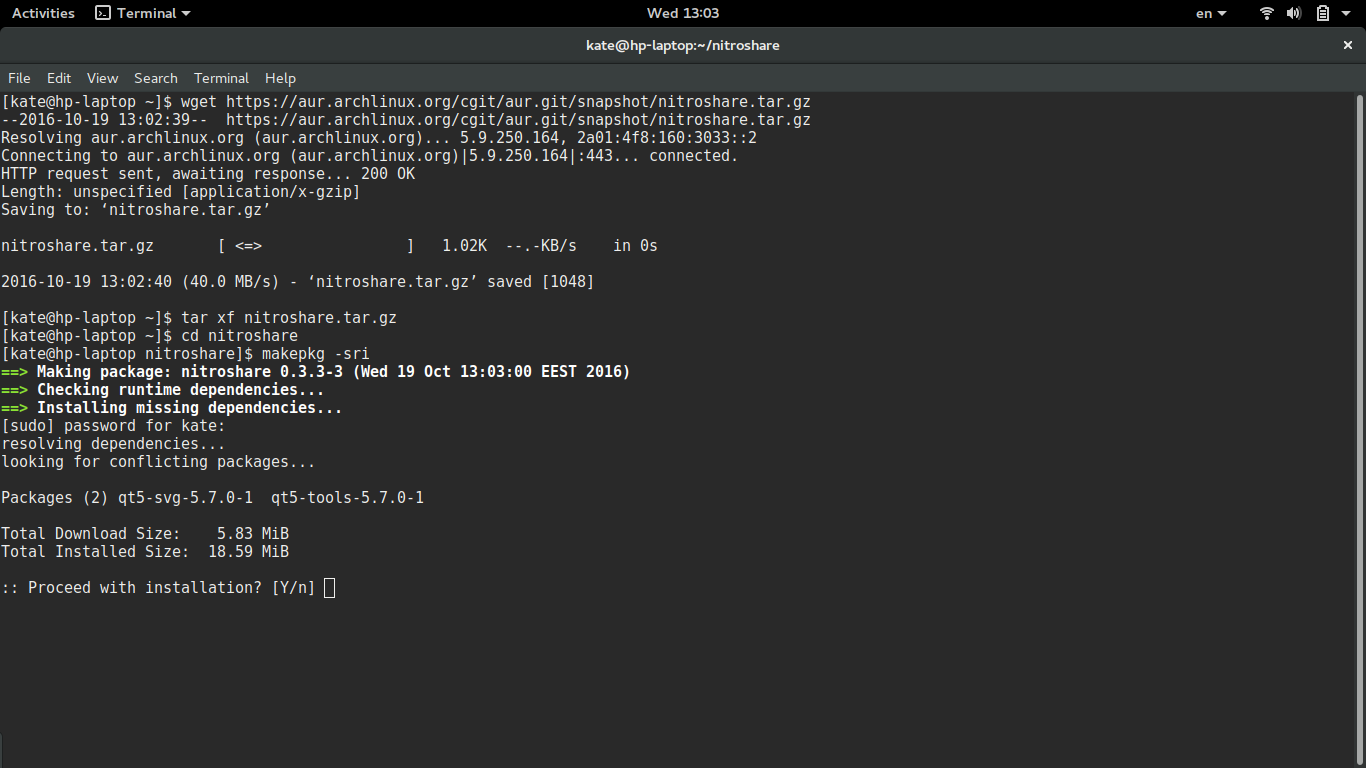
On Arch, the package in located in the AUR repository. If you’re having trouble installing it from the “pacman” tool, just open a terminal and type the following commands:
wget https://aur.archlinux.org/cgit/aur.git/snapshot/nitroshare.tar.gz
to download the package, then
tar xf nitroshare.tar.gz
to untar the downloaded file, then
cd nitroshare
to enter the newly created directory, and finally
makepkg -sri
to install NitroShare.
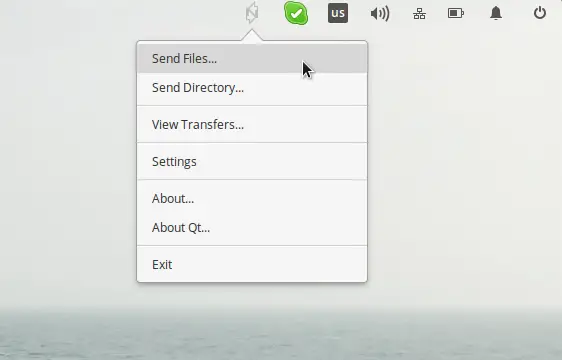
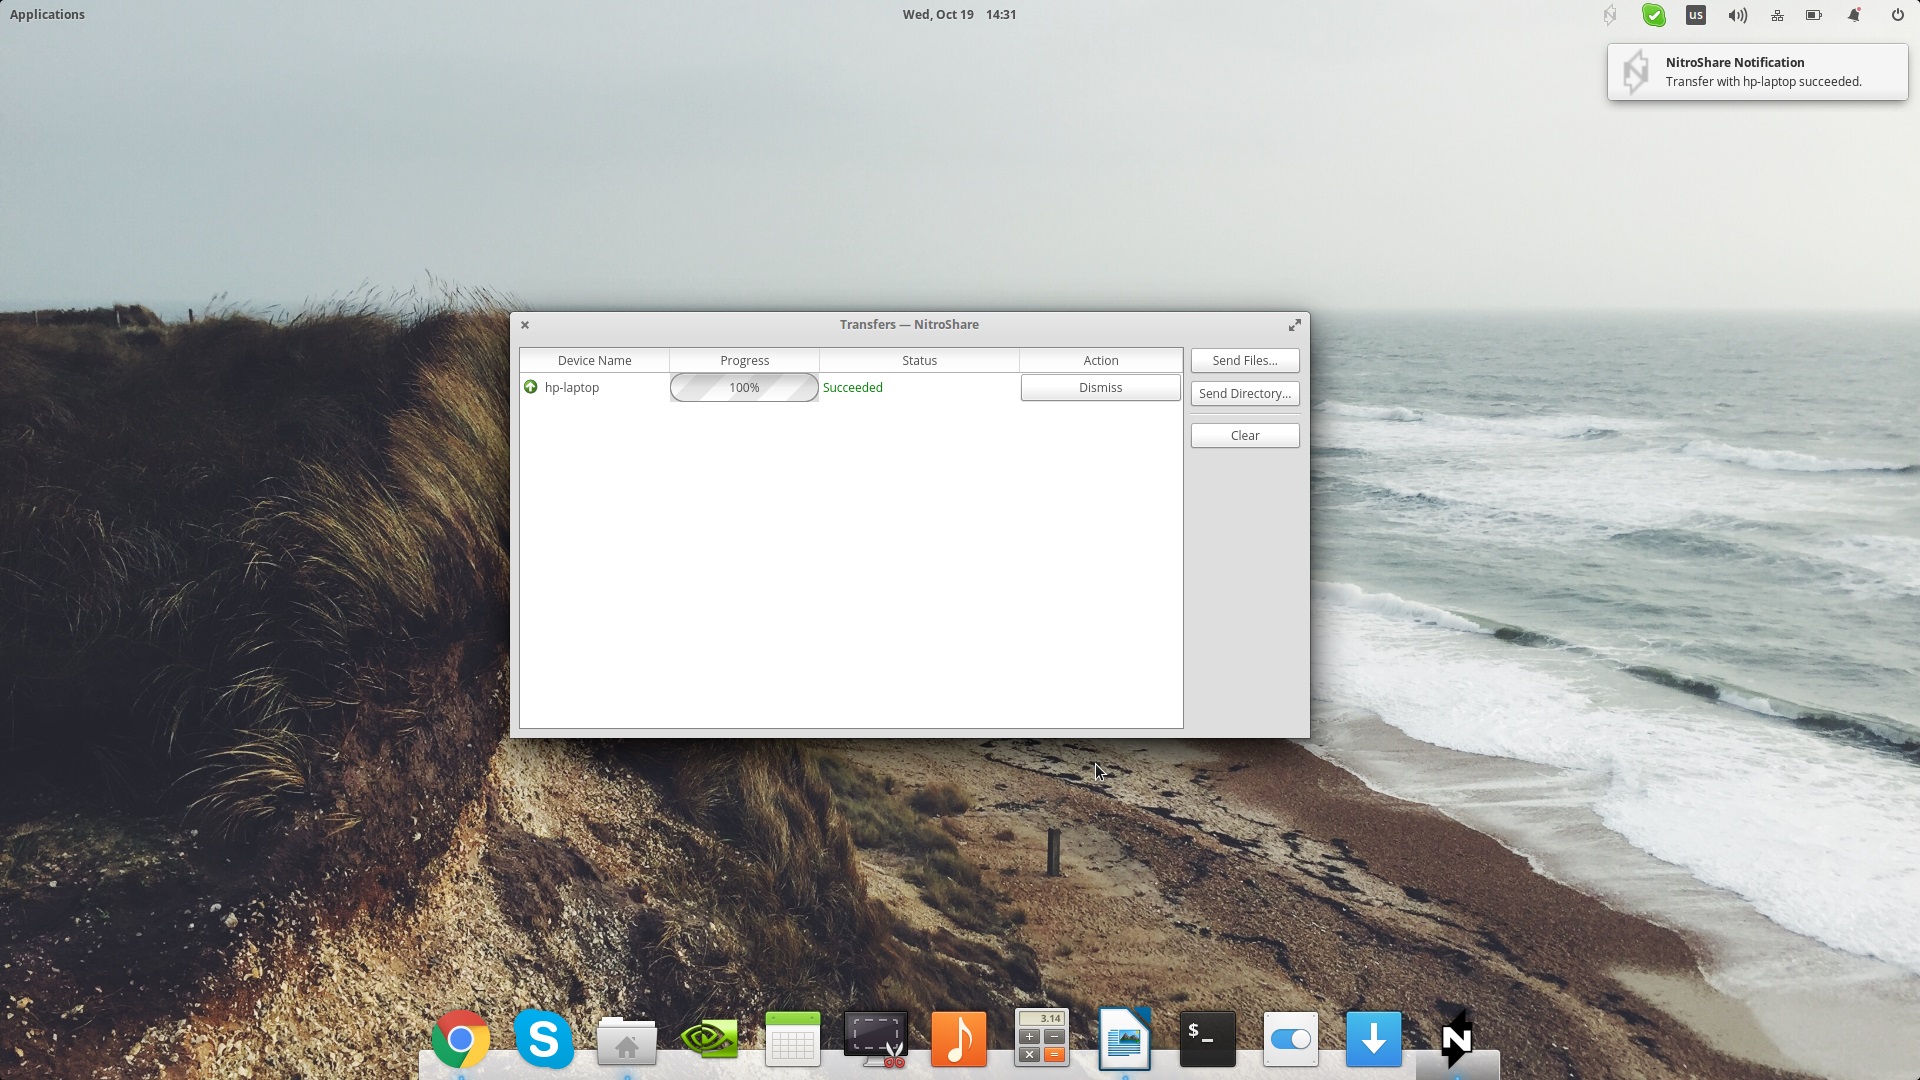
After having installed the application on both systems, launch it from the menu and a new icon will appear on your tray. Sending a file to the devices that share the same network connection is as simple as left/right clicking on the tray icon and selecting the “Send Files...” option.
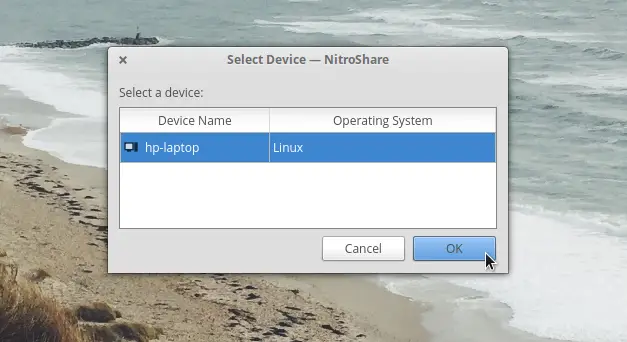
This will open a file manager window that will let you select the files that you want to send. You may send one or multiple files, or even a whole directory. The next step is to choose the device where the files are intended to be sent (only one in my case anyway).
And then a dialog will show the progress of the transfer. You may close this progress window and NitroShare will keep working in the background. Once the transfer is completed, you will get notified by the notifications system.
The settings of the application are accessed by clicking on the application icon on the tray and selecting the “Settings” option. There you will find three tabs concerning different aspects of the app’s functionality. On the “General” tab, you can set a device name which will be broadcasted on the network, set auto-start options, and also set the “reception behavior”.

On the “Advanced” tab you will see the port and broadcast settings. The default should work just fine, but if you’re having trouble with a particular port number you may change it. Also, the timeout and broadcast interval settings can potentially make your device more easily-frequently discoverable but note that there will be a slight drawback in the traffic load due to constant communication.

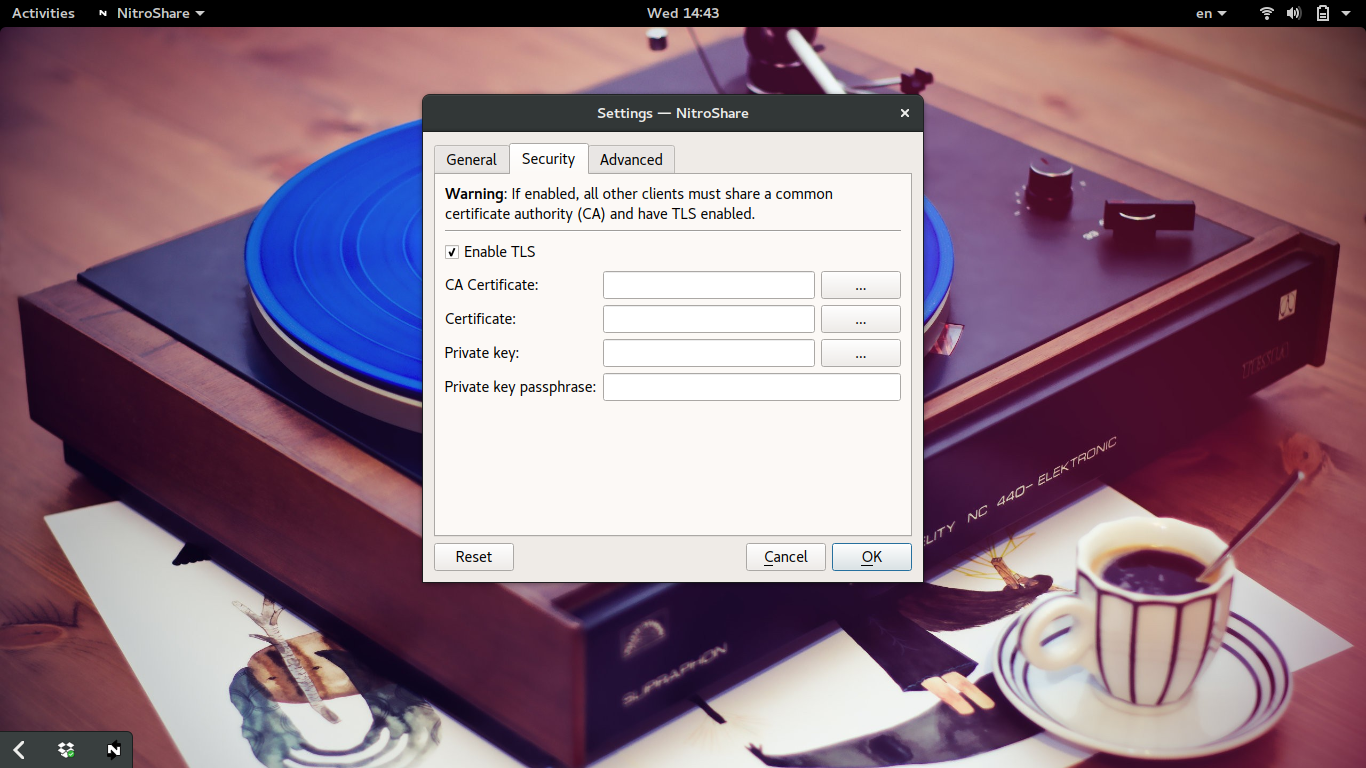
If all that simplicity in the sending and reception files makes you feel somewhat nervous and want to add a security layer to the app, go to the “Security” section and click on the “Enable TLS” box. There you may add CA certificates, private key pass-phrases, etc.
For the creation of a private key, open a terminal and type
openssl genrsa -des3 -out rootCA.key 2048
If you want higher a key size you should replace “2048” with “4096”. One more detail is the “-des3” parameter that adds a password protection to the key. If you don’t want that step, remove the particular parameter from the previous command.
Next, type:
openssl req -x509 -new -nodes -key rootCA.key -sha256 -days 2048 -out rootCA.pem
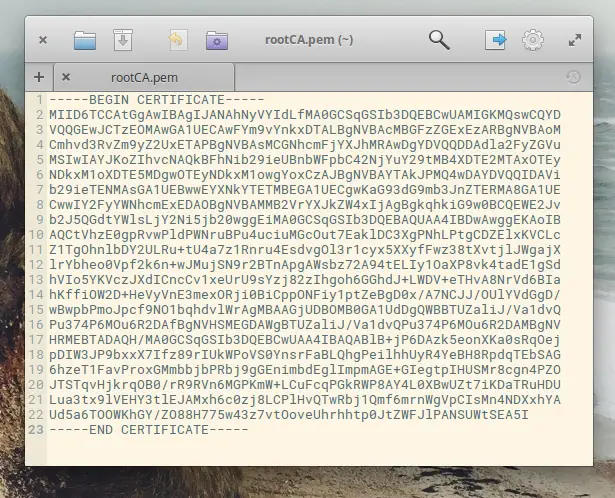
and you will be prompt to self-sign the certificate by adding some personal details which is done by answering to a series of questions. The “-days” parameter defines the time period before the expiry of the key, so change its value to whatever you want. The final form of the file should be something like this: