How to design and add your own font on Linux with Glyphr
LibreOffice already offers a galore of fonts, and users can always download and add more. However, if you want to create your own custom font, you can do it easily by using Glyphr. Glyphr is a new open source vector font designer with an intuitive and easy to use graphical interface and a rich set of features that will take care every aspect of the font design. Although the application is still in early development, it is already pretty good. Here’s a quick guide showing how to design your own custom fonts on Glyphr, and how to add them on LibreOffice once you’re done.
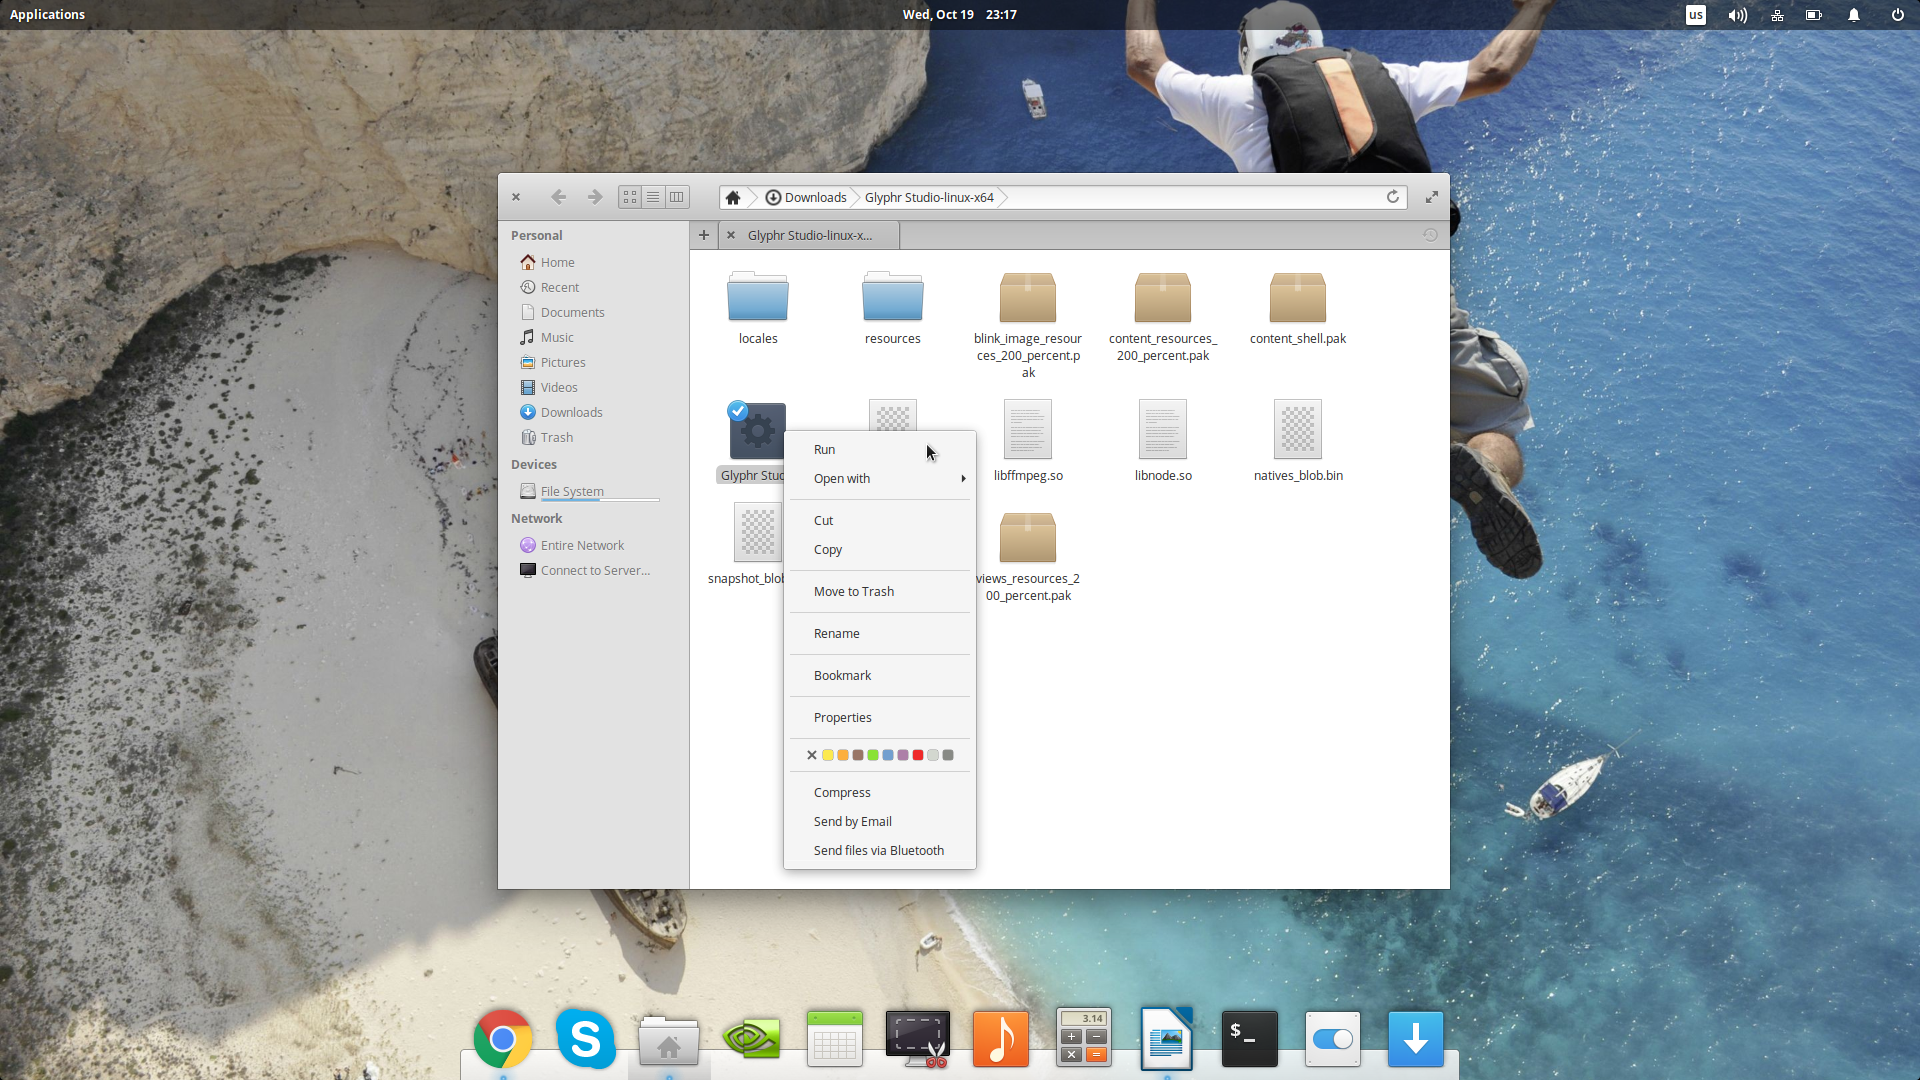
First of all, we need to download Glyphr from the official git repository (https://github.com/glyphr-studio/Glyphr-Studio-Desktop). It is available in binary form, in both 32 and 64 bits. Once the file is downloaded, navigate to the destination, unzip the file, enter the newly created folder, right click on the “Glyphr Studio” binary file and select “Run”.
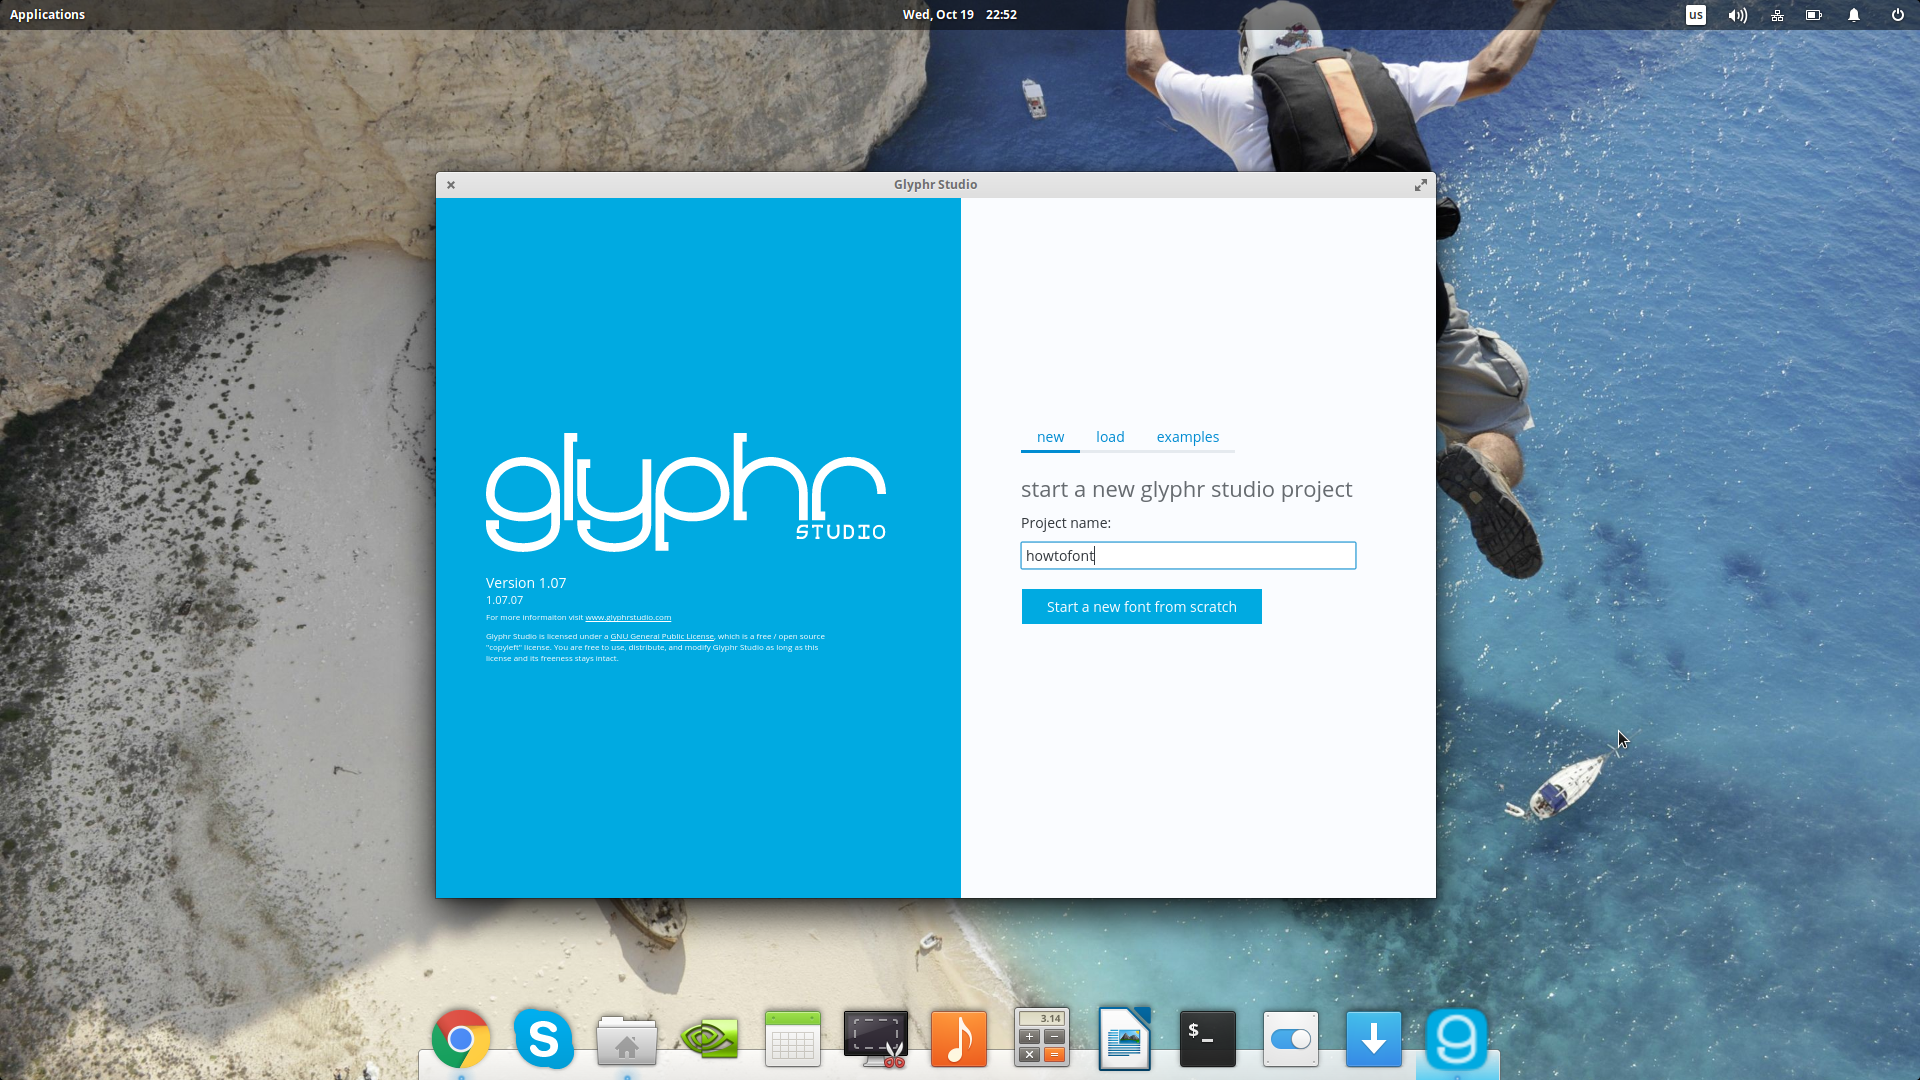
This will launch the application giving you three options. One is to create a new font set from scratch. The second is to load an existing project that can be of a Glyphr Studio Project form, and Open or True Type font, or an SVG font. The third is to load one of the two example sets so that you can modify these instead of working on a new set from the ground up. I will select the first option to showcase a few basic design concepts.
Once you enter the editor screen, you may select the letter that you want to design from the panel on the left side of the screen, and then indulge in the design work on the drawing area that is on the right. I will start with the letter “A” by clicking on its icon.
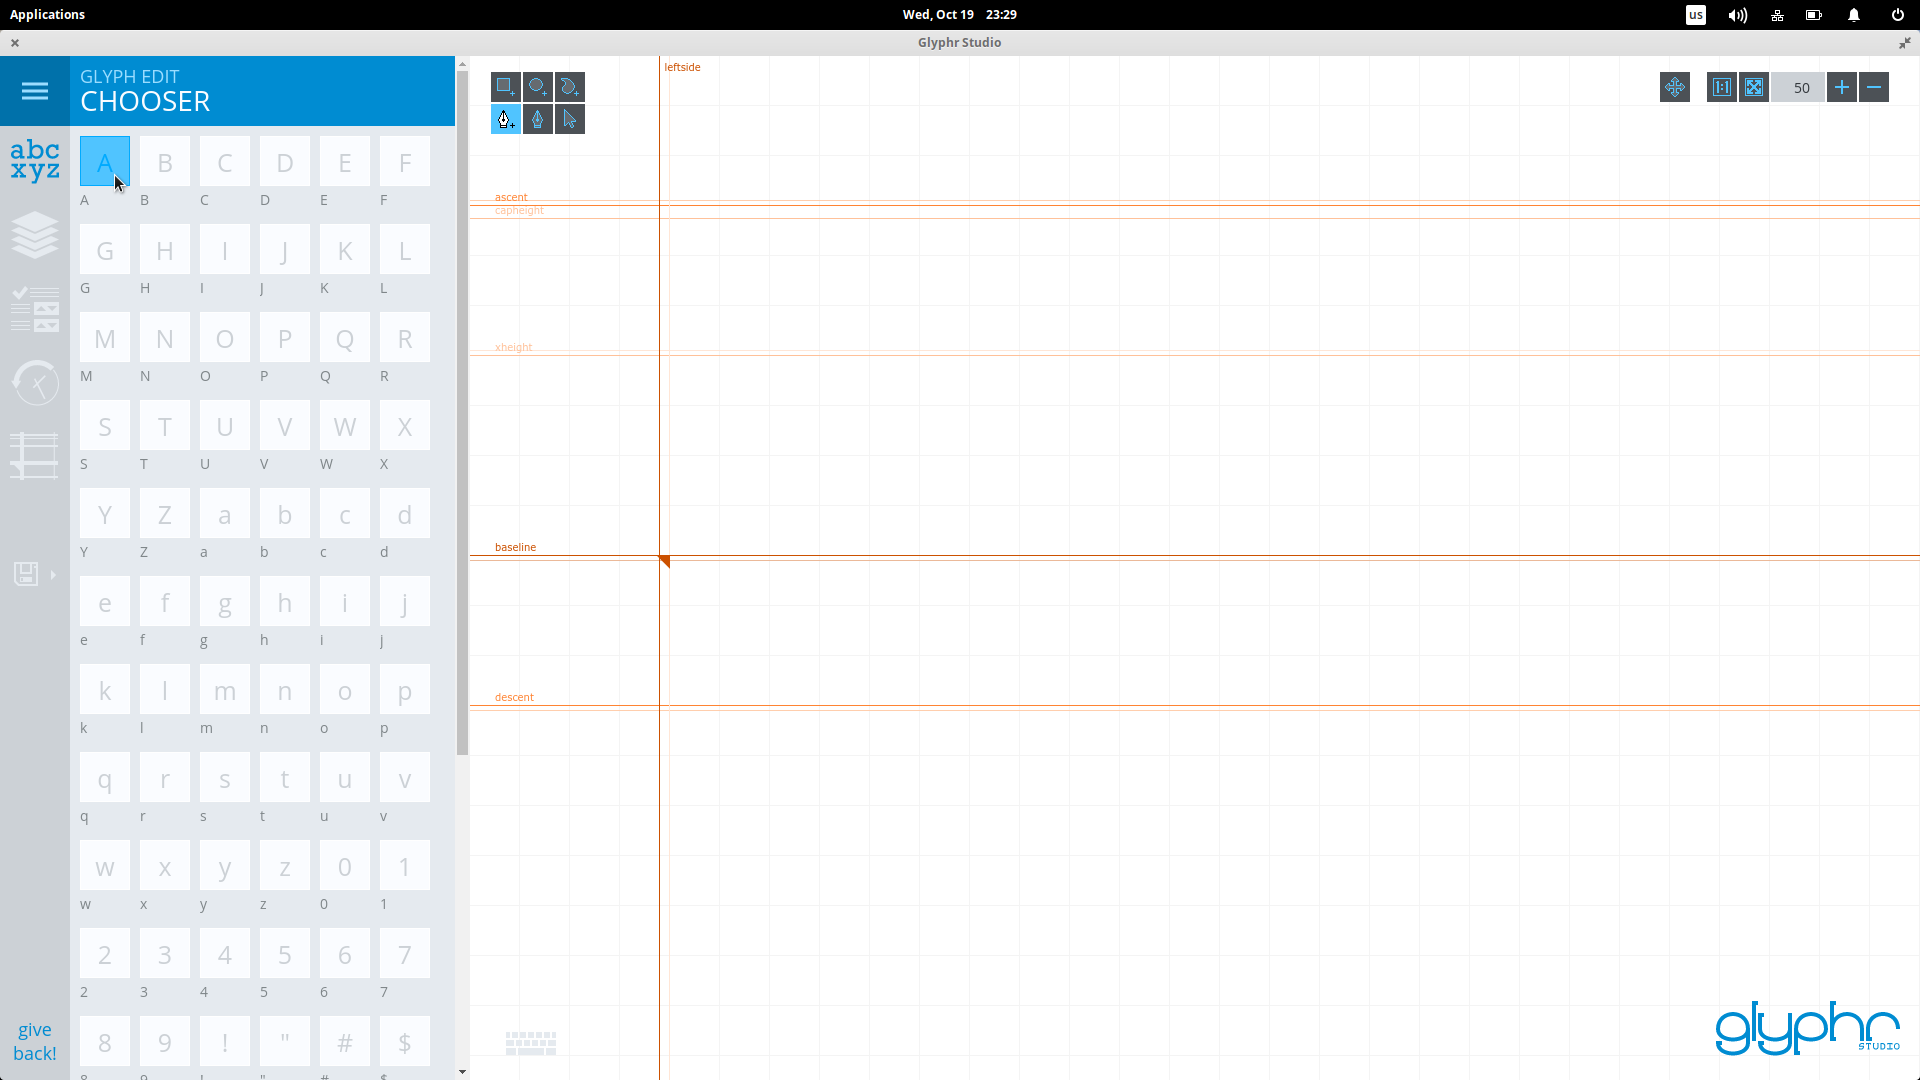
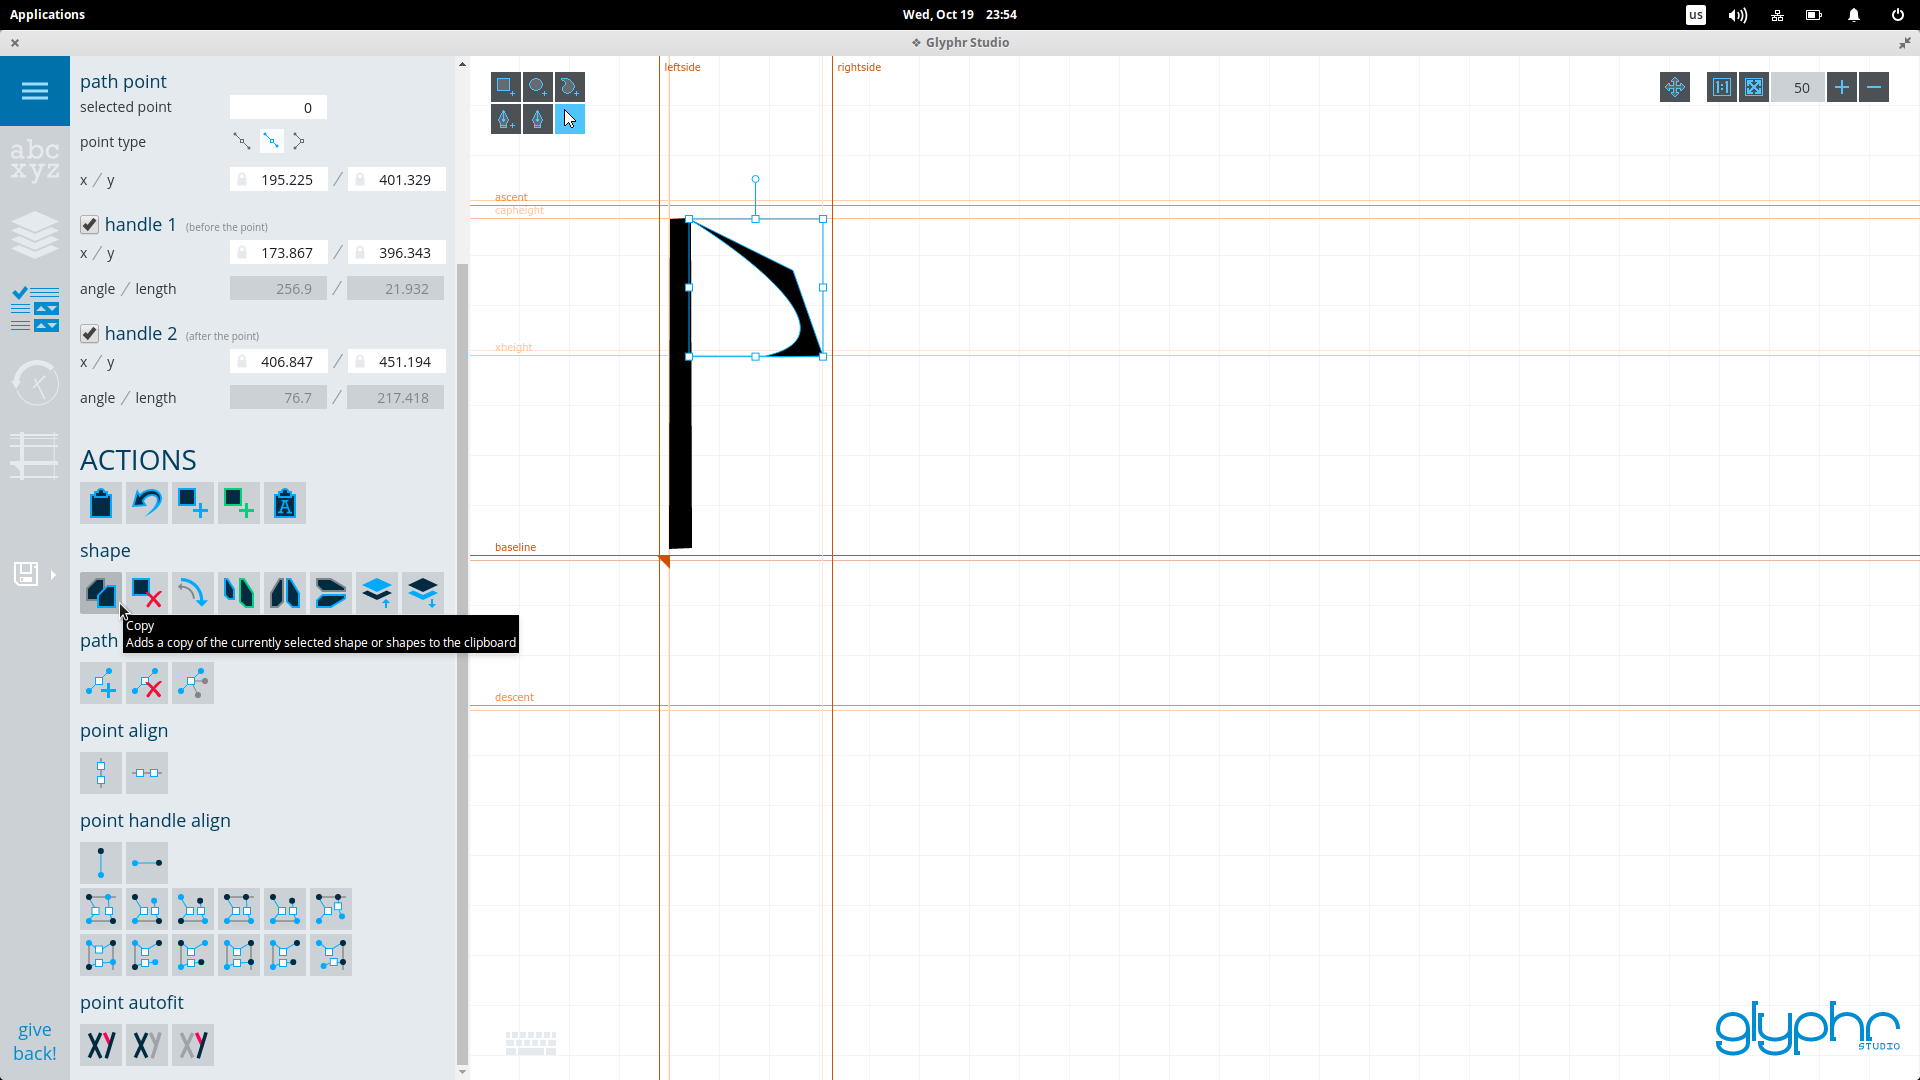
To design something on the drawing board, we can select either the “shapes” tools from the top left of the board which are a rectangle, an oval, and a path share, or use the first item of the second row of the tools that is the path editing tool. Click on that and start putting points on the board to create shapes. The more points you add, the greater the shaping options that you’ll have on the next step.
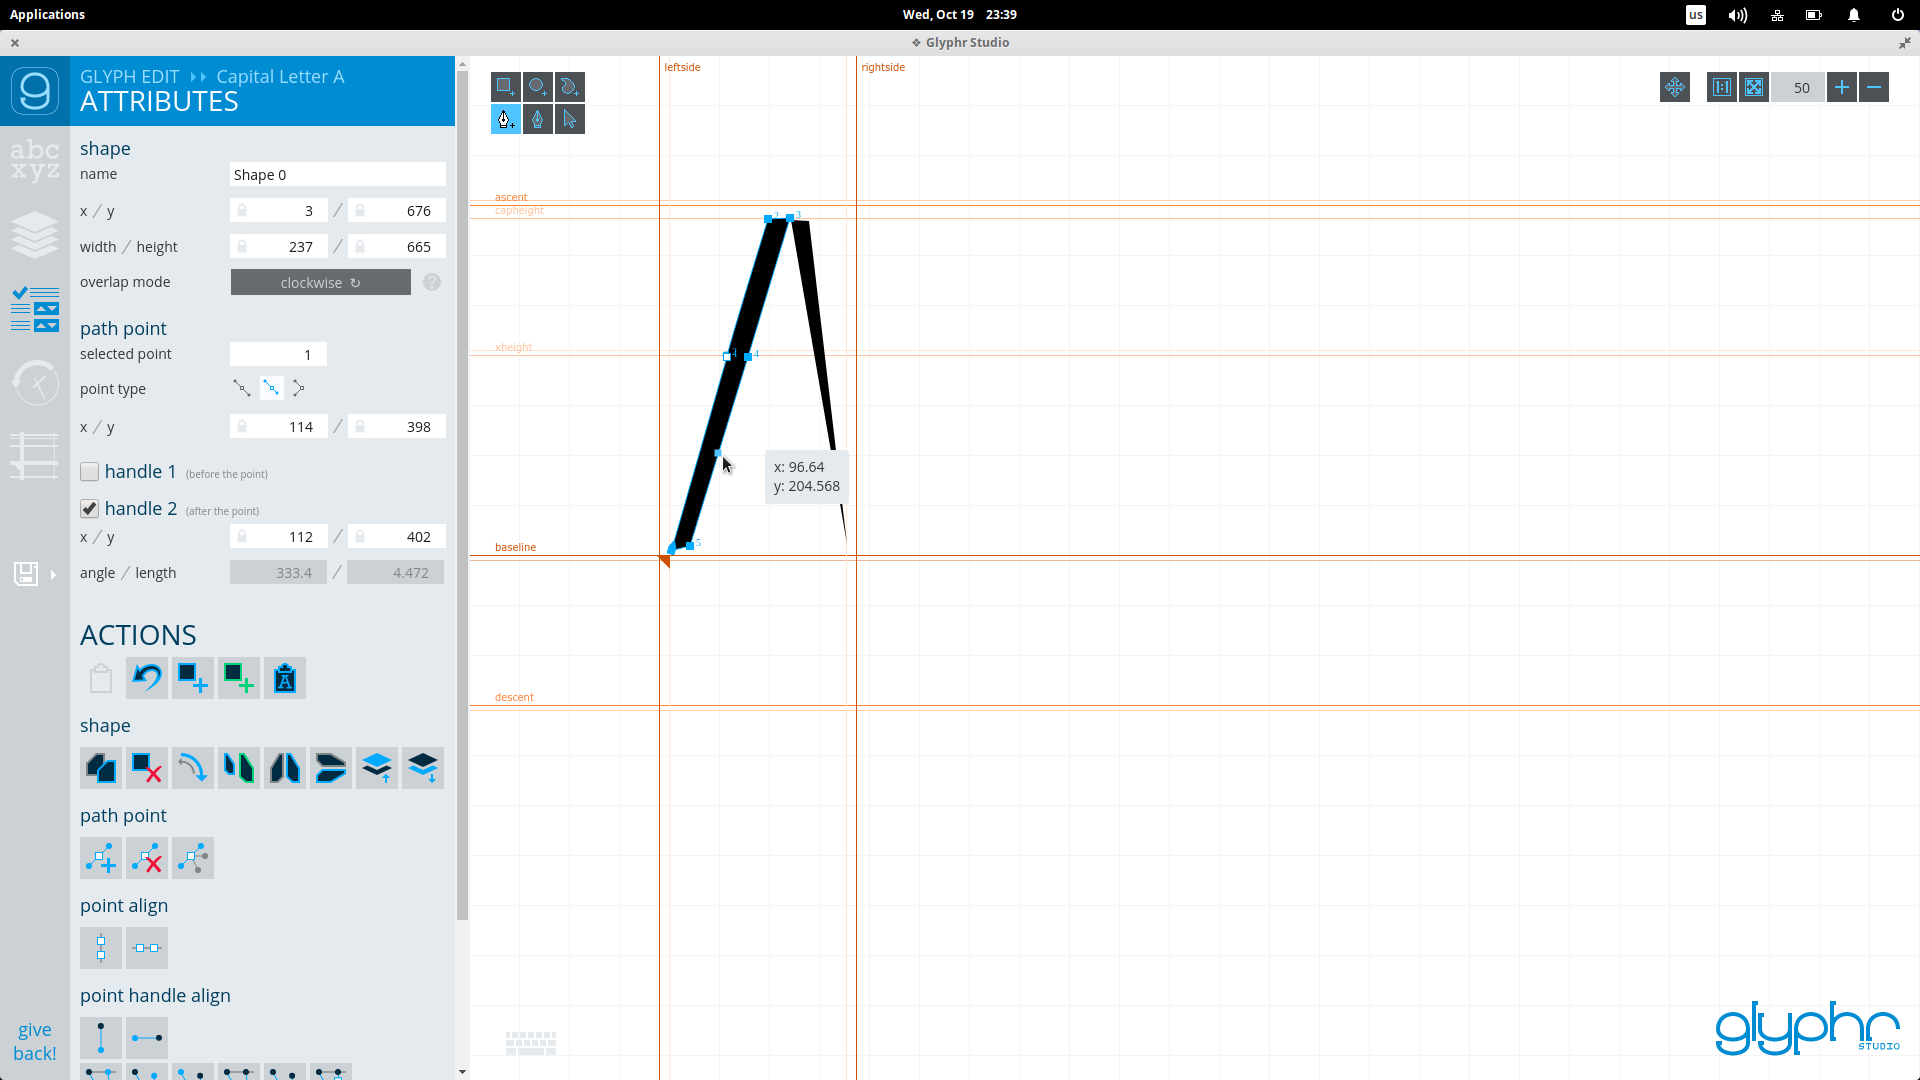
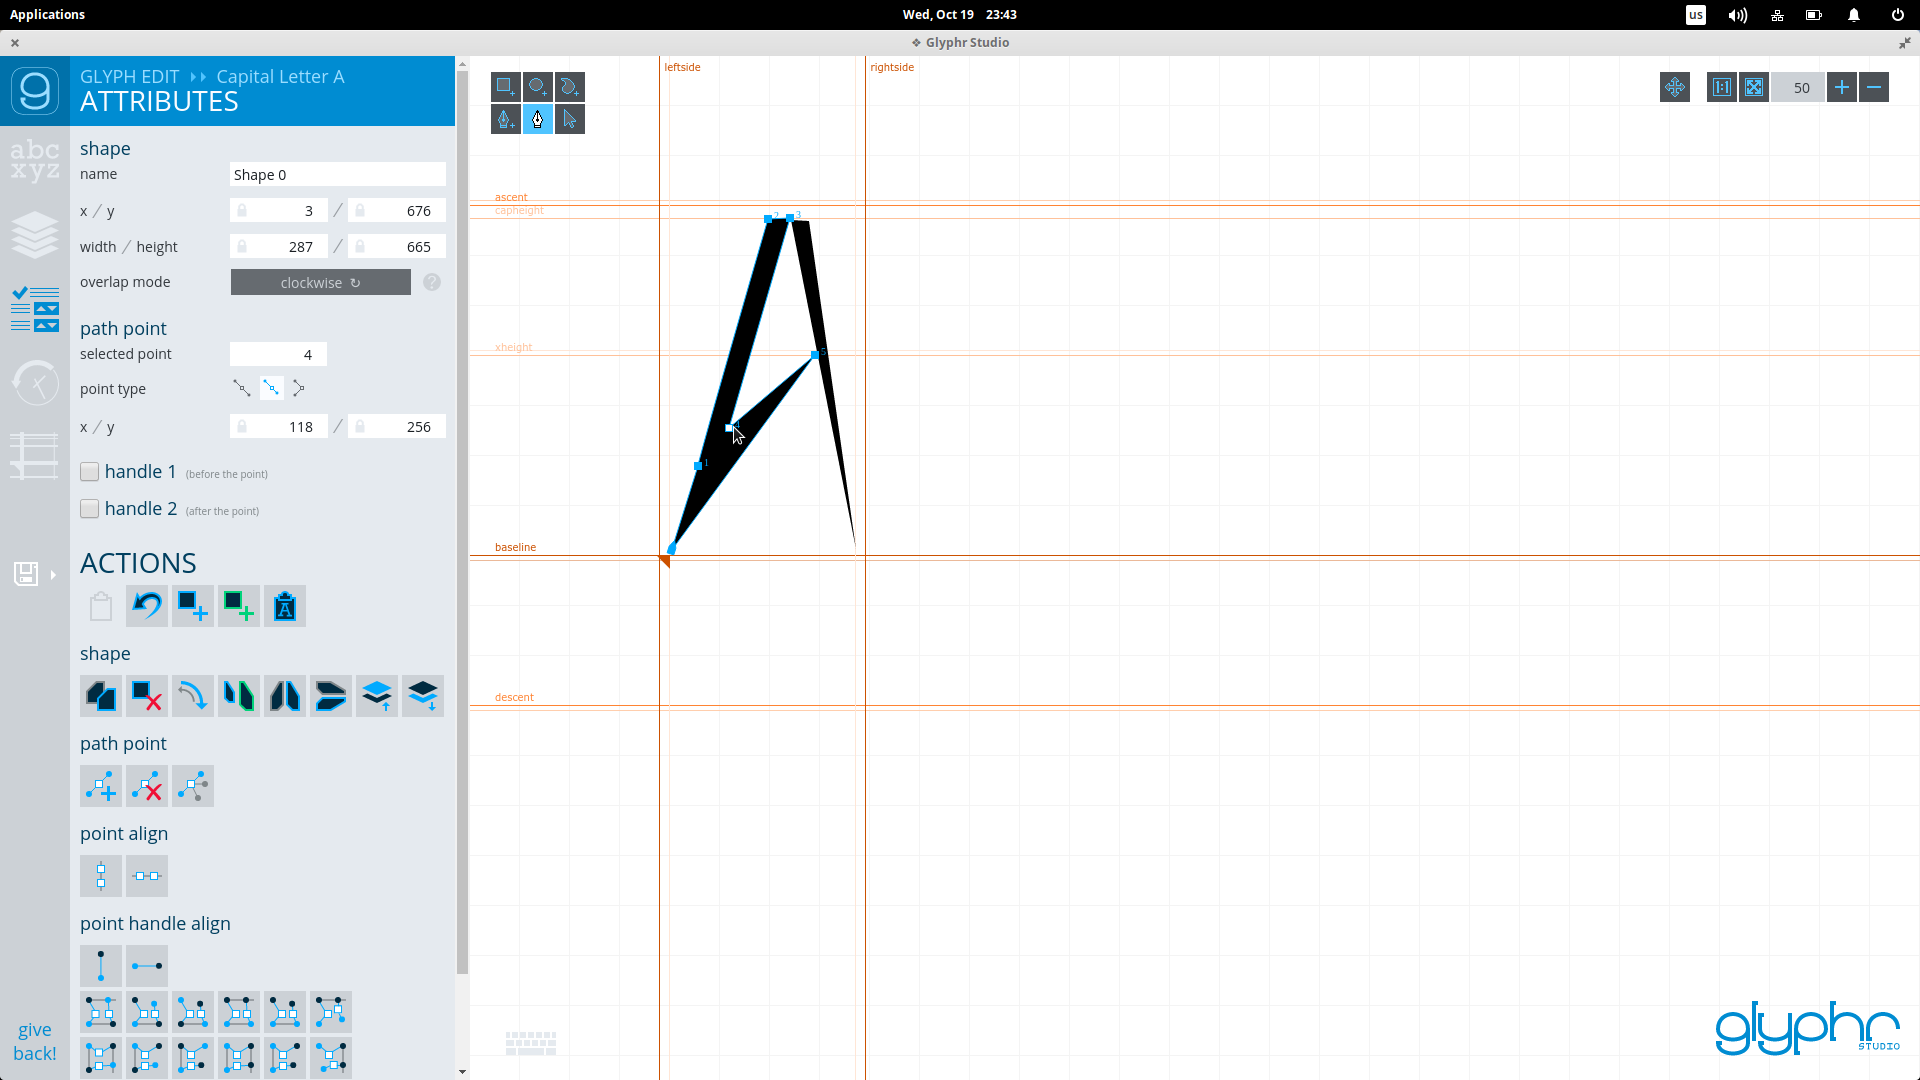
To move the points and thus share the path differently, you will need to select the path edit tool that is to the right of the path editing tool and click on the shape to reveal the points. Then you may drag them into position as you like.
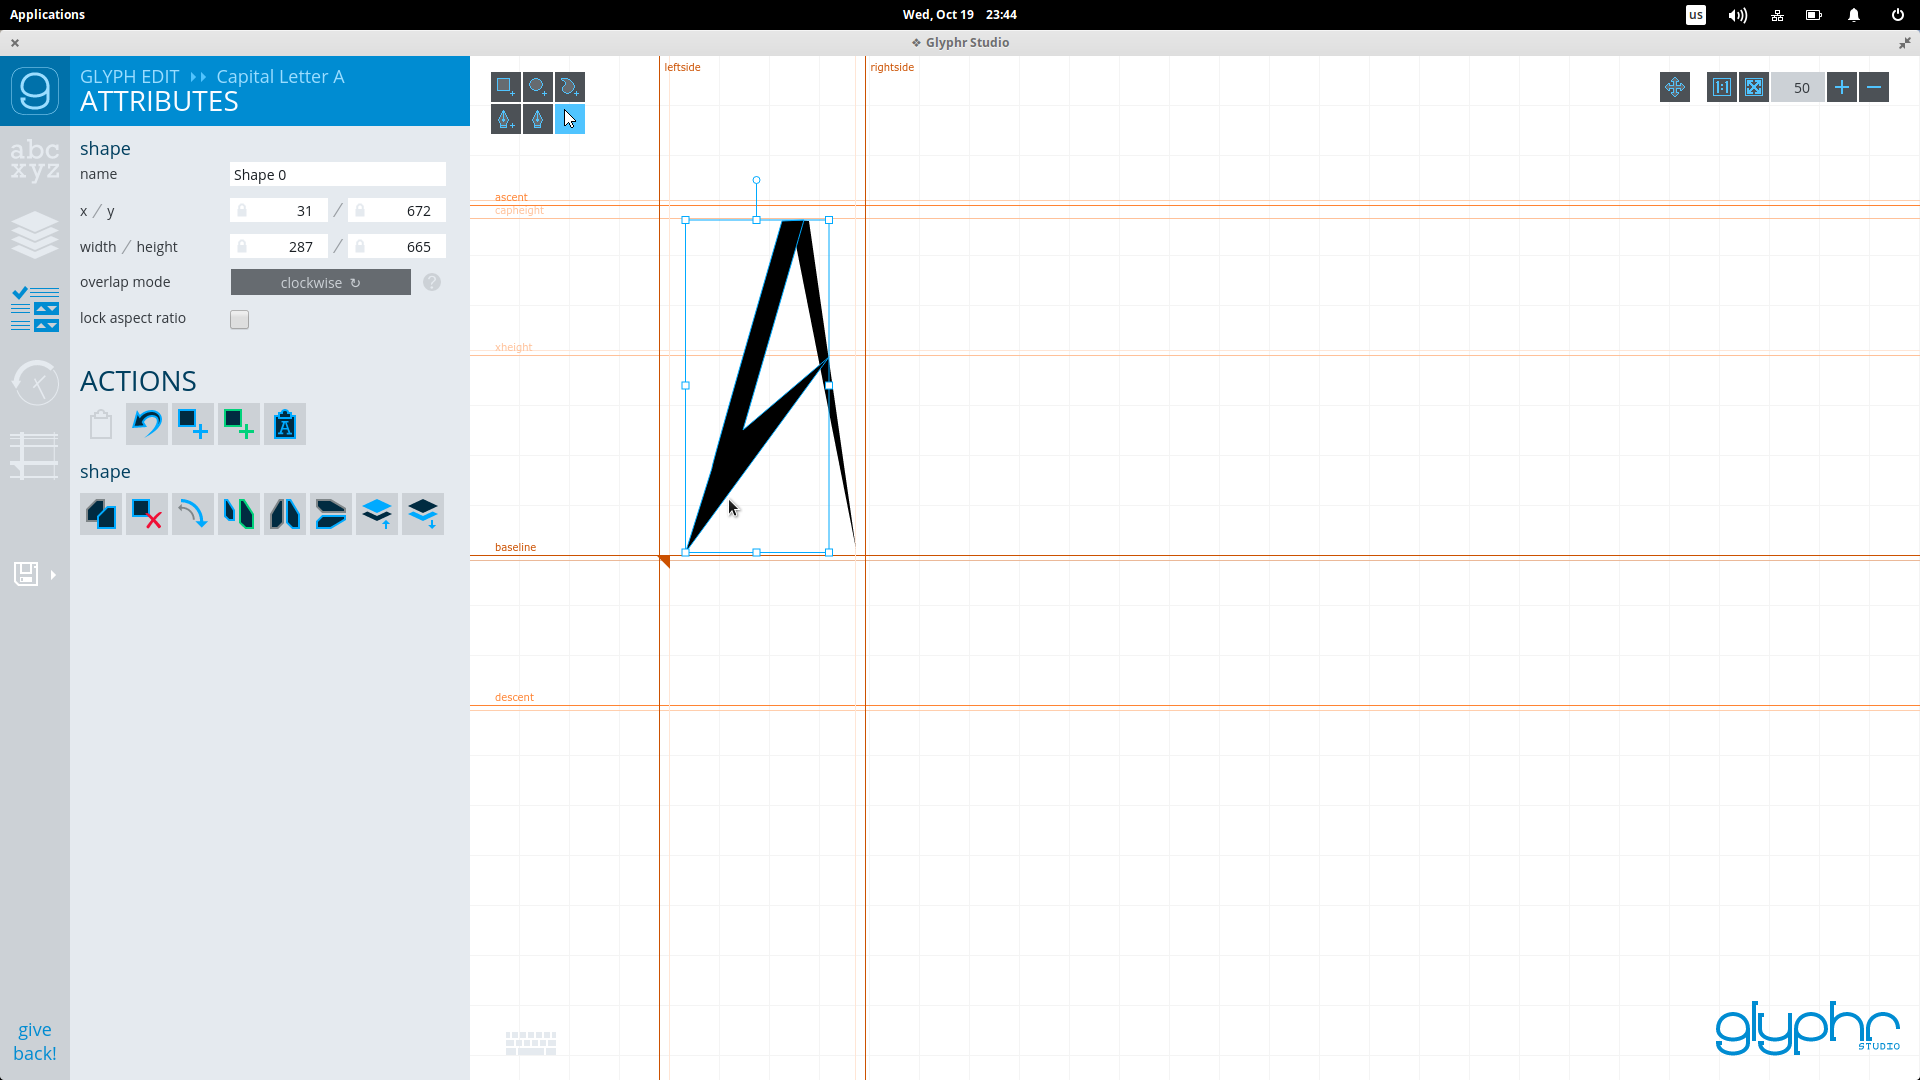
Finally, the shape edit tool lets you select a shape and drag it into position, change its dimension or even rotate it.
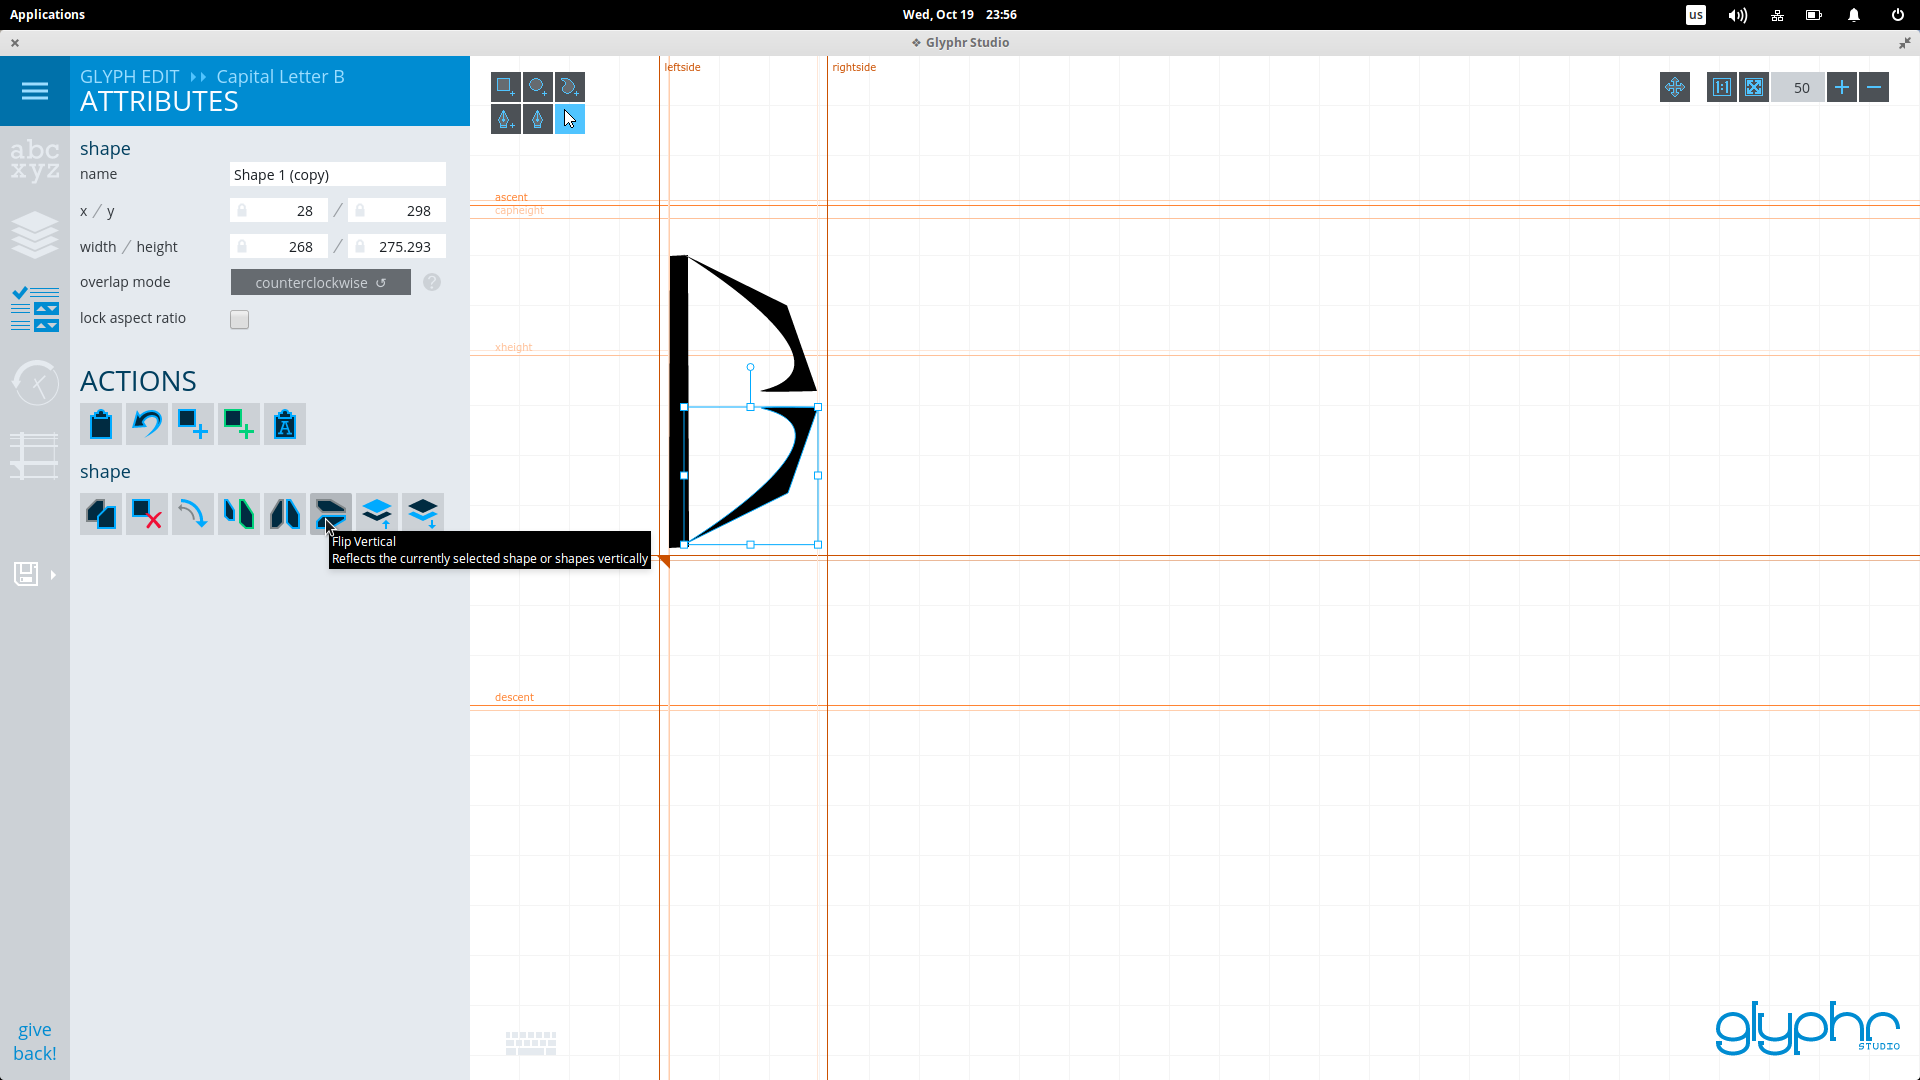
Another useful set of design actions are the copy-paste, flip-rotate options that are offered on the left panel after you enter the letter design phase. For example, let’s suppose that I am creating the “B” letter of my font set, and that I want to mirror the upper side of what I’ve done to the bottom so as to keep a good level of coherence in the design.
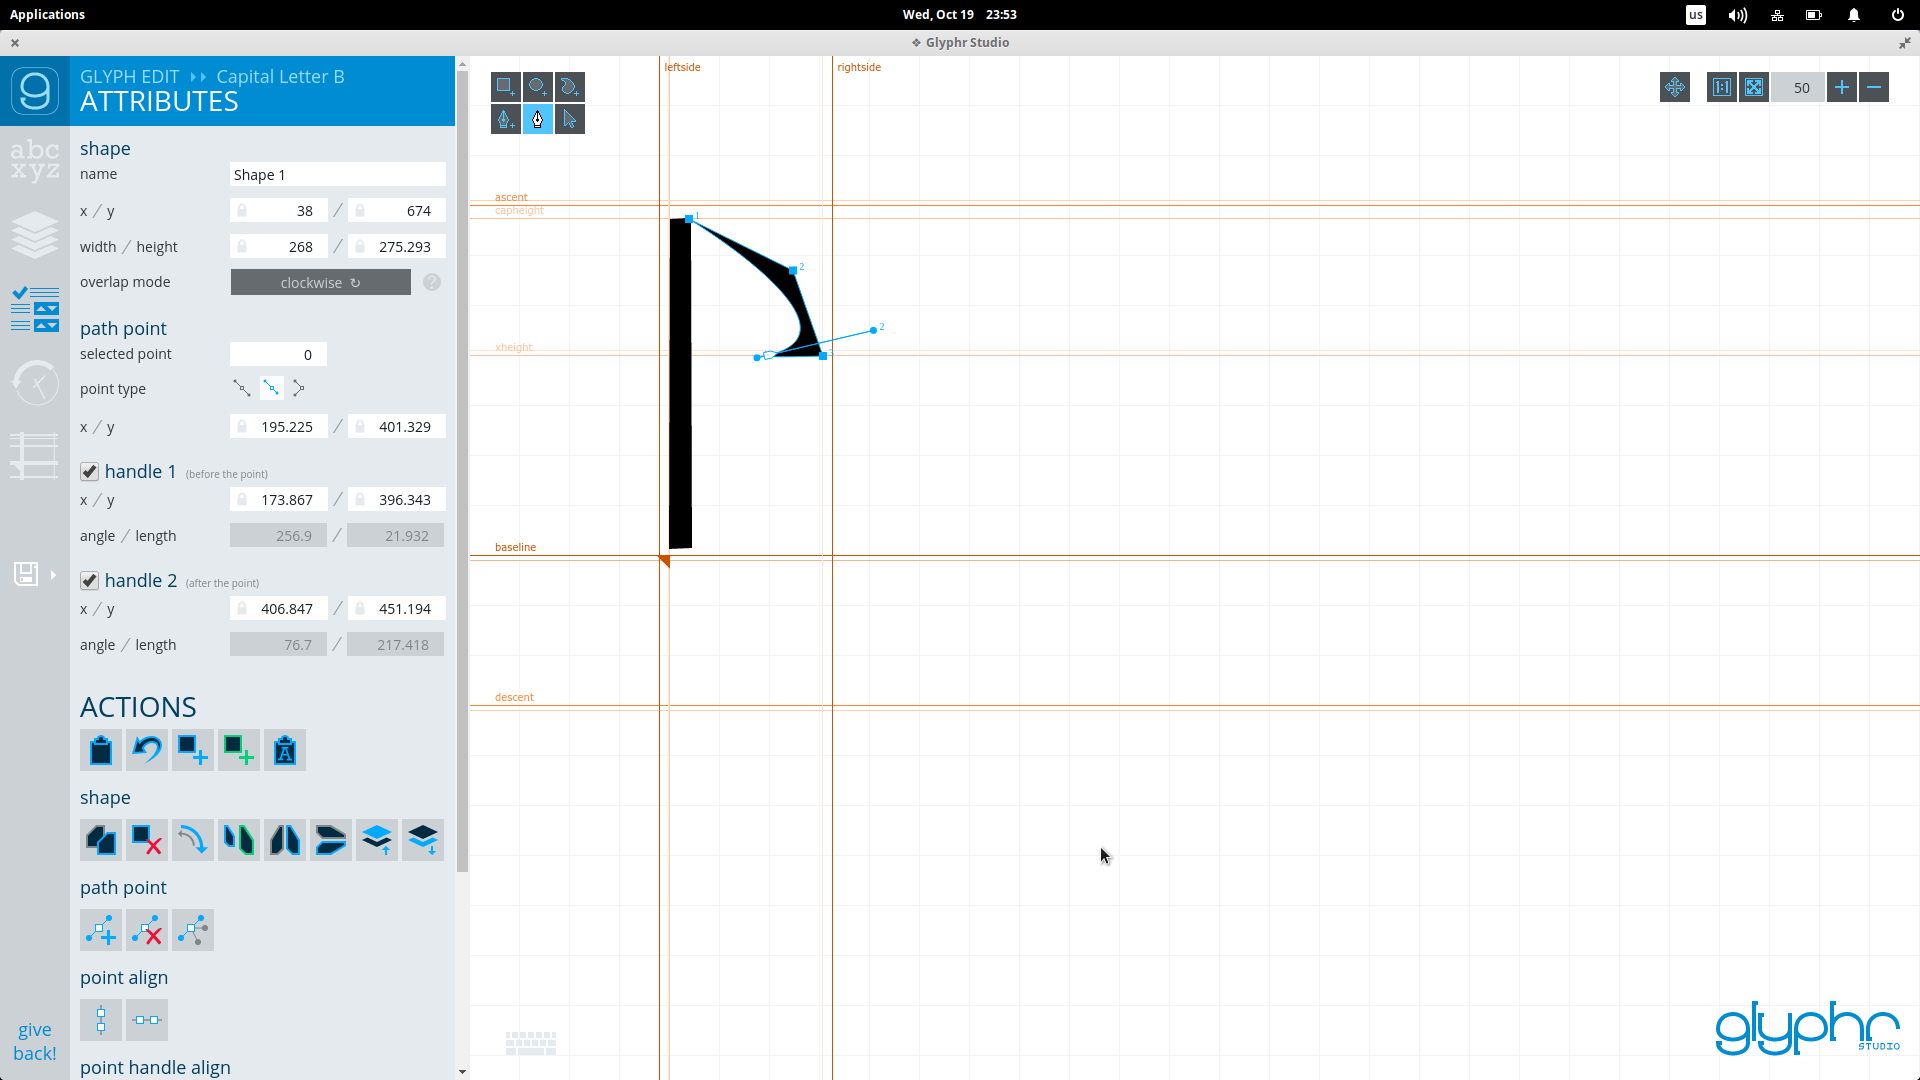
Now, to do this, I must choose the shape editing tool to select the part that I want to mirror, click on the copy action, then click on the past right above it, drag the pasted shape where I want it to be and then click on the flip horizontally or vertically depending on what I am trying to achieve.
There are tons of more things that I could showcase in the design aspect of the application, but there’s really no point in doing so. If you’re interested you can dive in and discover the numerical-based editing, the curving, the guiding, and many more.
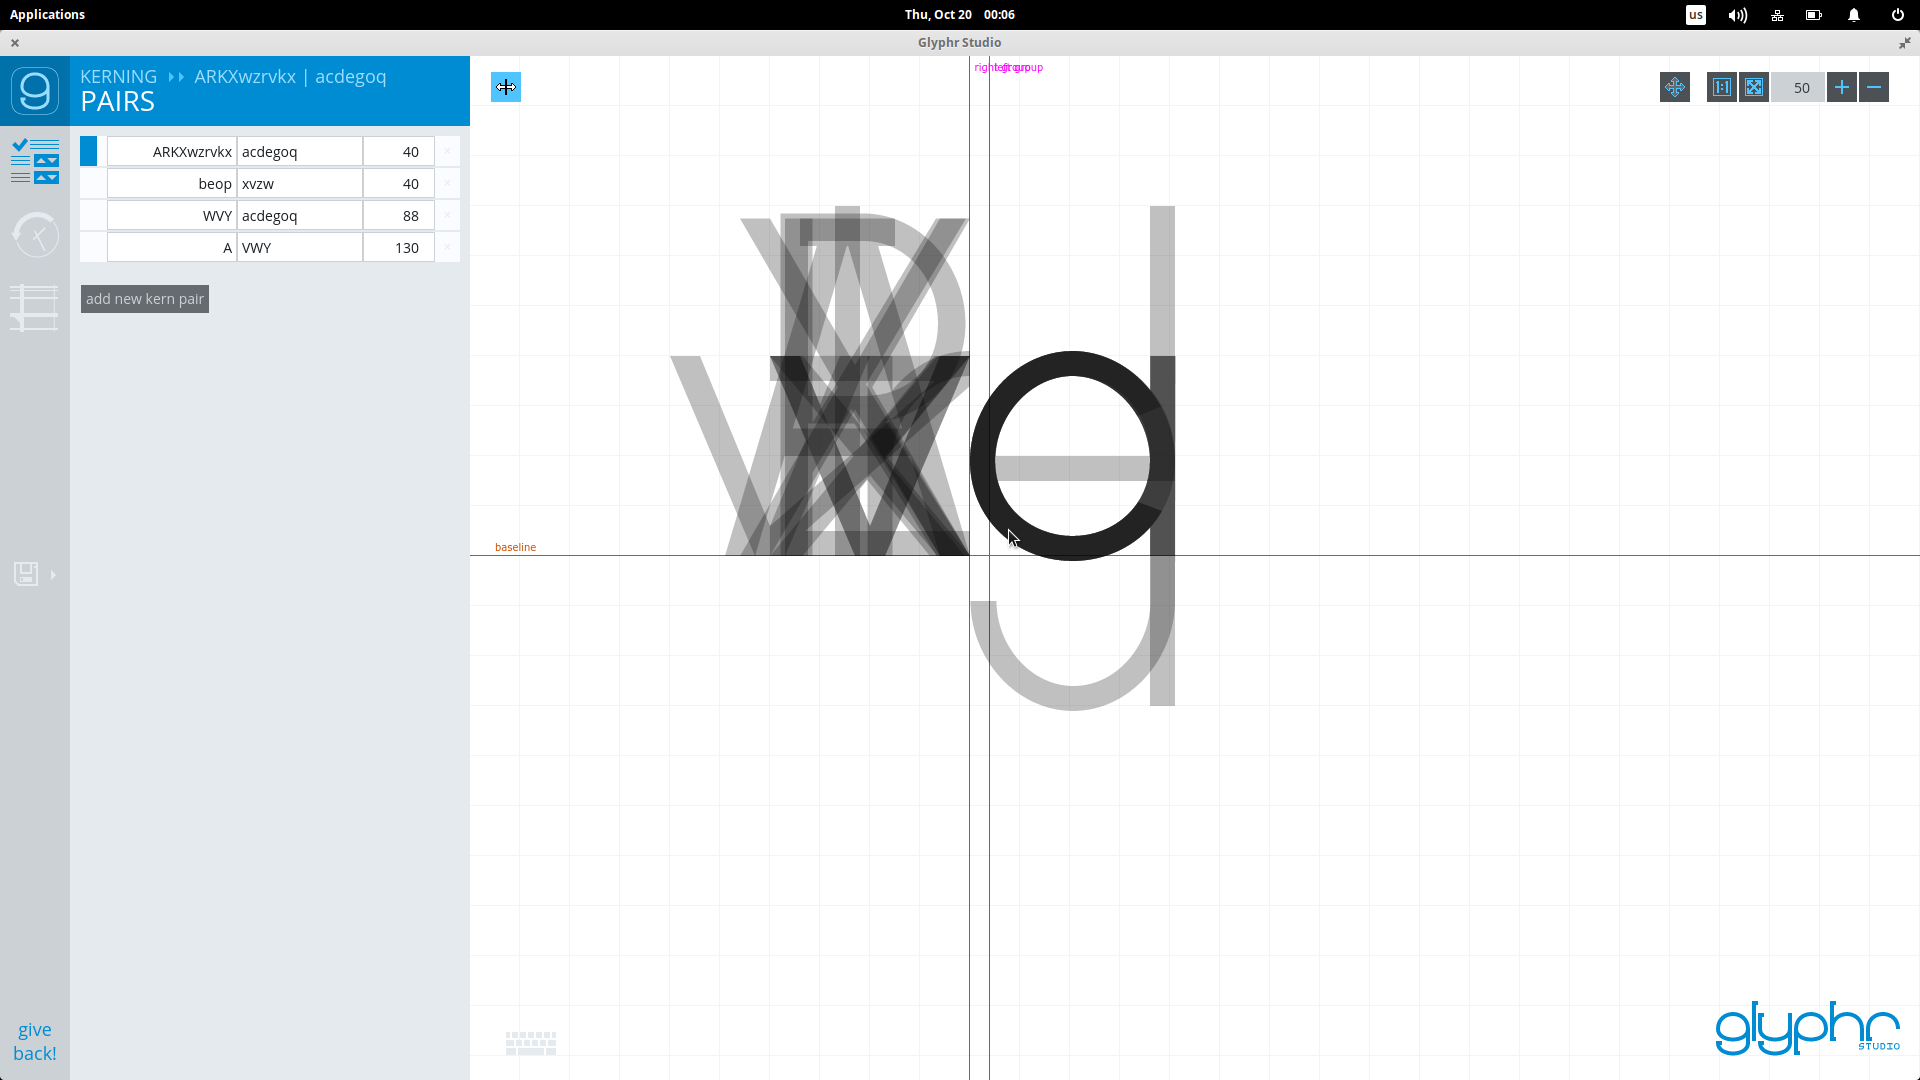
Fonts however aren’t only about individual letters design, and you can discover other aspects of the font design by clicking on the “Navigate” menu on the top left of the application and adjust the kerning between specific pairs of characters, add ligatures, add components, and set general font settings.
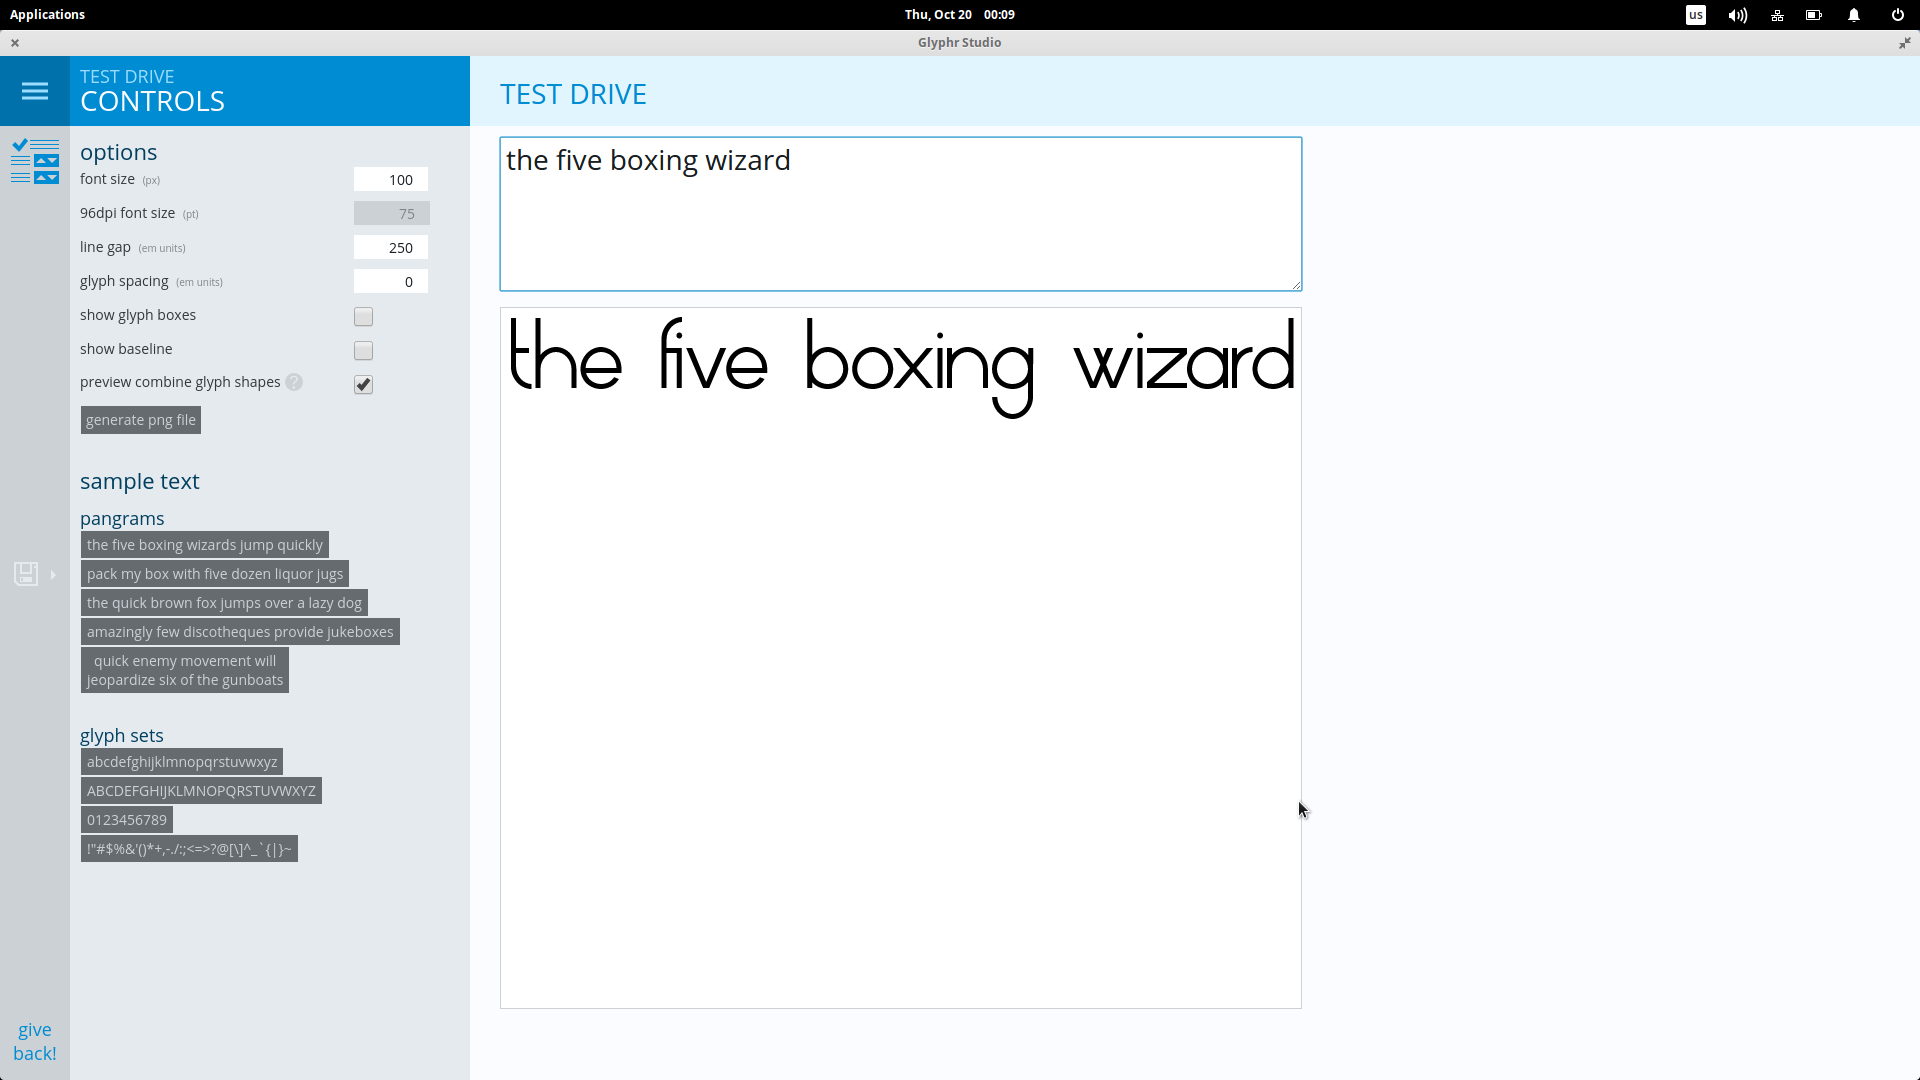
You may even give your new font a “test drive” so that you can get the idea of how well your font settings and kerning works and what to do in order to optimize them.
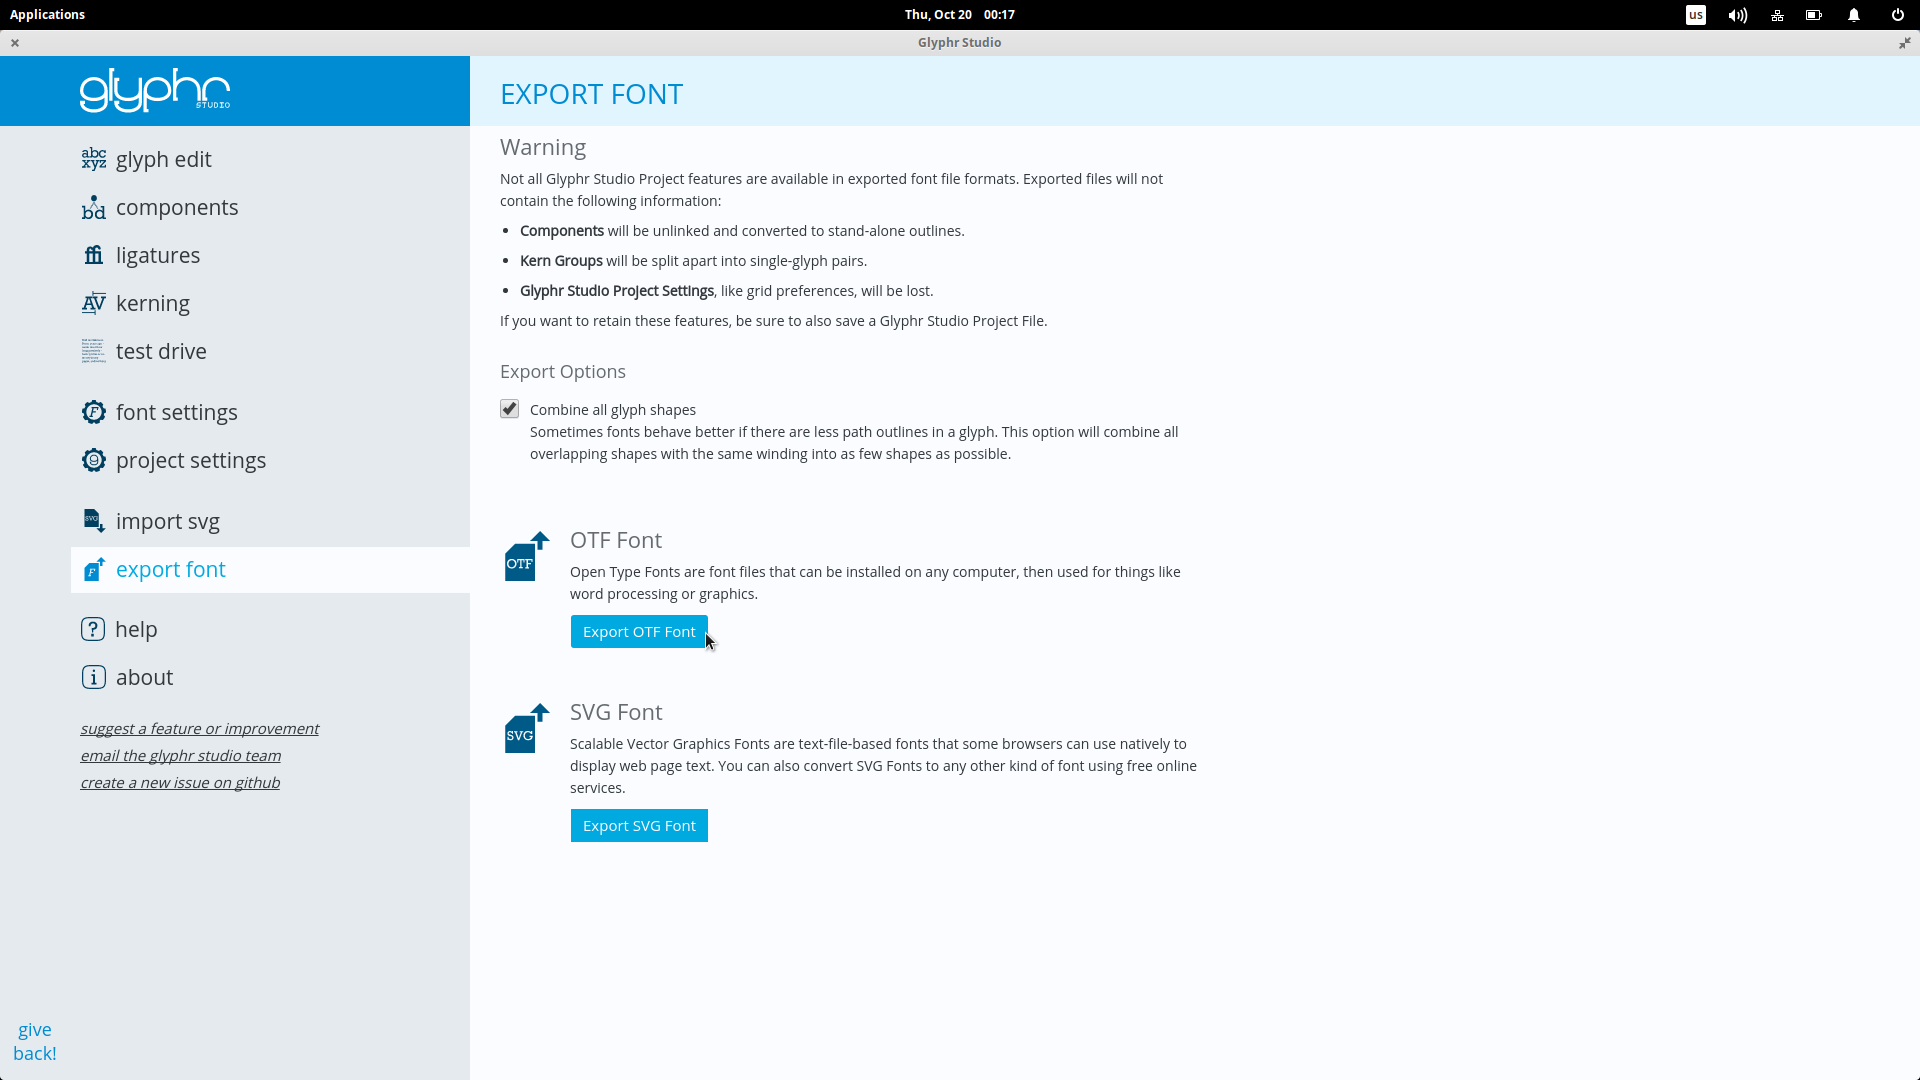
After the design and optimization are done, you may export your new font set on either a true type font format, or an svg.
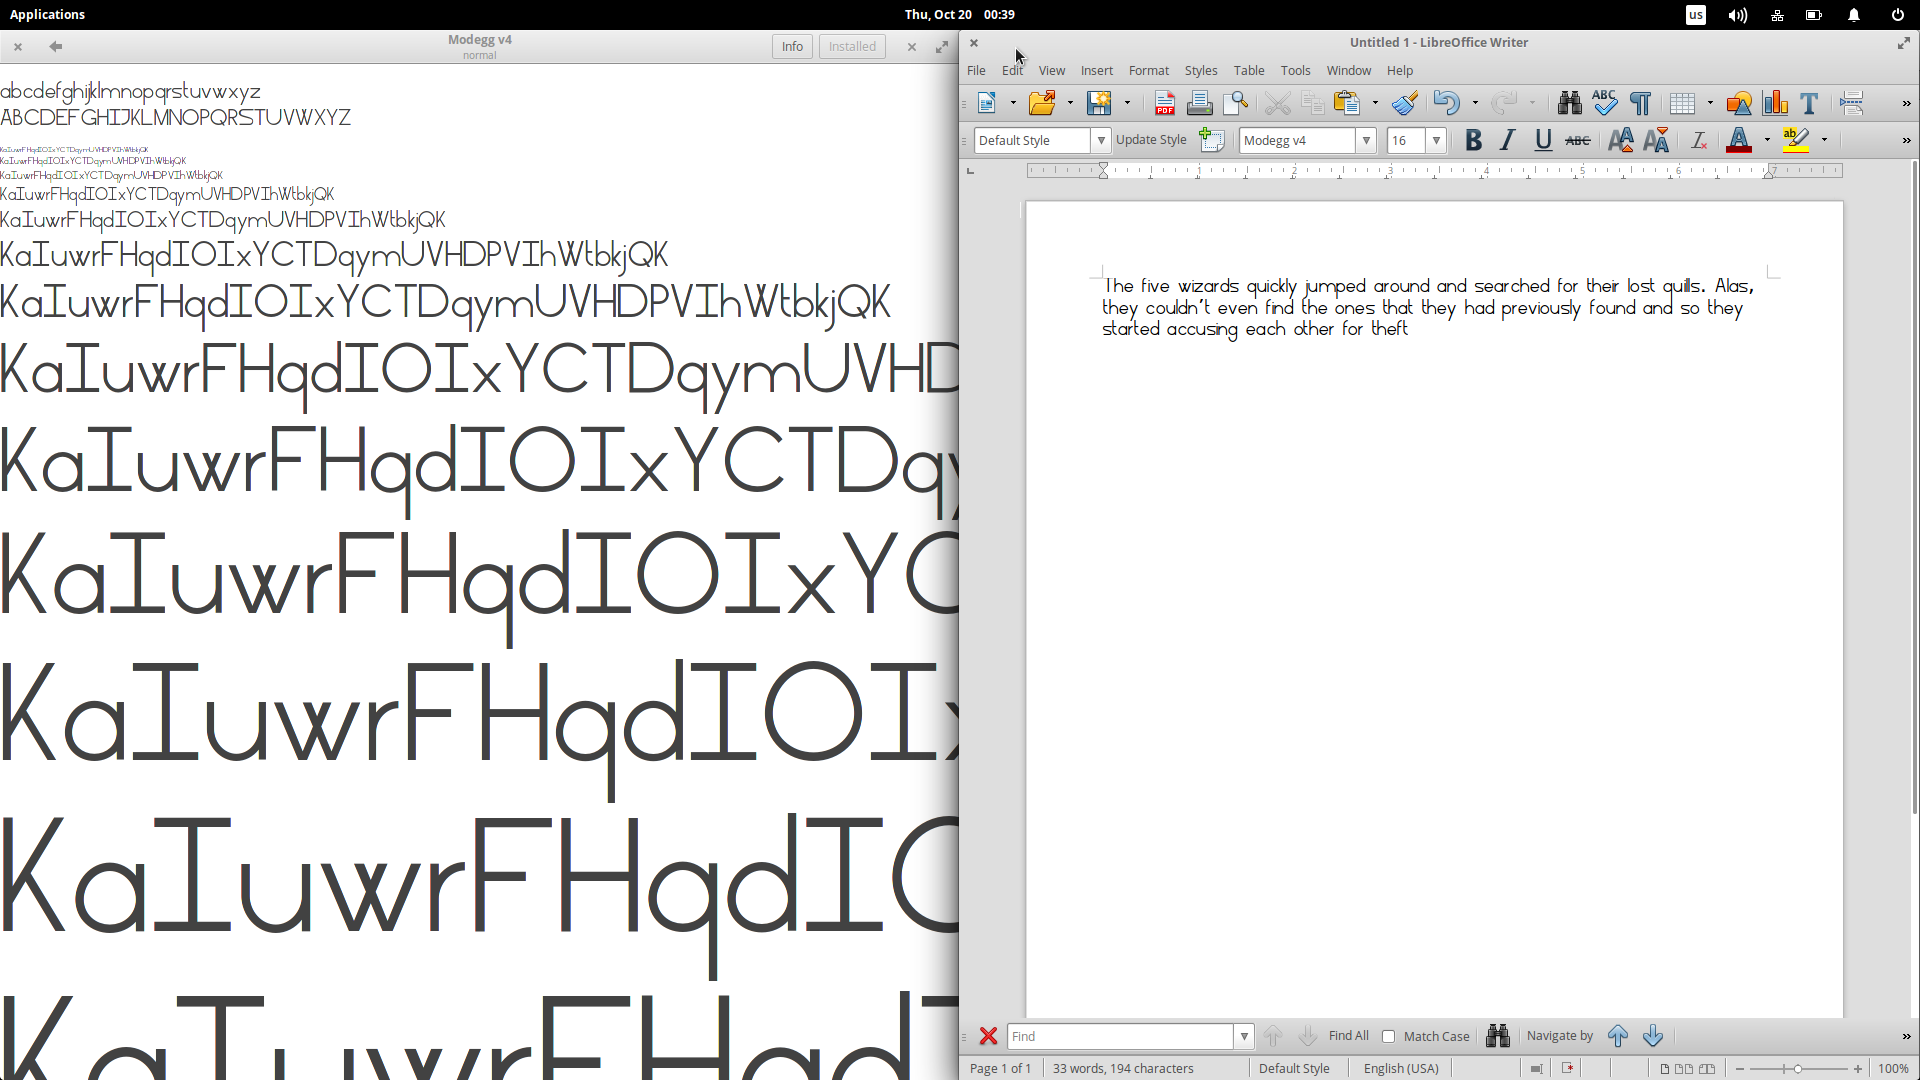
To add the font on your system, open it with the font viewer and click on the “Install” option. If that doesn’t work, create a new folder in your home directory named as “.fonts” and place the font file inside it. Alternatively, you may open the file manager as root, navigate to /usr/share/fonts/opentype, create a new folder there and paste the font file inside. Then open a terminal and run this command to clear the cache: “sudo fc-cache -f -v”
This should add the new font on LibreOffice, and also to any other text application in your system like Gedit for example.