How to Install and Use Ruby on Rails with PostgreSQL on CentOS 7
Ruby on Rails (RoR), or short "rails", is a server-side web application framework written in ruby that follows MVC (Model-View-Controller) concept. RoR is released under the OpenSource MIT License. Rails provides default structures for databases, web services, and the web pages. Rails is widely used, more than 3000 people have been contributed code to the Rails project until now and there are many applications based on Rails, such as Github, Airbnb, Soundcloud etc.
In this tutorial, I will show you how to install Rails on CentOS 7. We will install and configure Ruby on Rails with a PostgreSQL database, and then create our first project with Rails.
Prerequisite
- Server with CentOS 7 operating system
- Root privileges
Step 1 - Install RVM
RVM or Ruby Version Manager is a command-line tool based on Bash and Ruby to manage a ruby installation. RVM allows you to install and configure multiple ruby version on the same server simultaneously to allow you to work with multiple ruby environments.
Make sure curl command is installed on your system.
yum install curl
In this step, we will install the stable RVM version. We need to download the repository key and import it with with the gpg command before we start to install RVM.
curl -sSL https://rvm.io/mpapis.asc | gpg --import -
Then install RVM.
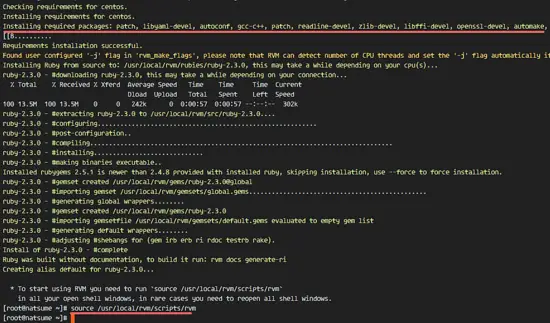
curl -sSL https://get.rvm.io | bash -s stable --ruby
The command will install required packages (package dependencies) first and then download latest stable RVM version and install it.
Now we can start using RVM by executing the command below:
source /usr/local/rvm/scripts/rvm
Step 2 - Install Ruby
The current stable version of Ruby is 2.3.1. We will install it with the "rvm" command and then make it the default ruby version for your system.
Update RVM to latest stable version, then install Ruby 2.3.1.
rvm get stable --autolibs=enable
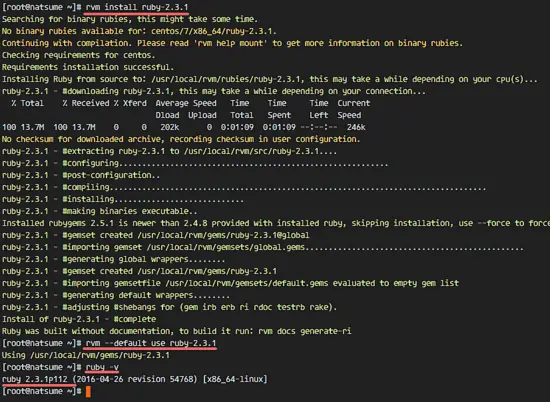
rvm install ruby-2.3.1
Next, make Ruby 2.3.1 the default Ruby version of the system.
rvm --default use ruby-2.3.1
Check the Ruby version with the command below to ensure that the above steps were successful:
ruby -v
Step 3 - Install Nodejs
Rails needs a JavaScript runtime to compile the Rails asset pipeline. For Rails development on Ubuntu Linux, it's best to install Nodejs as the Javascript runtime.
Install nodejs from the nodesource repository:
curl -sL https://rpm.nodesource.com/setup_6.x | sudo -E bash -
yum -y install nodejs
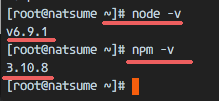
Check that node and npm were installed sucessfully on the system.
node -v
npm -v
Step 4 - Configure Gem
RubyGems is the Ruby Package Manager. It provides the gem command-line tool and is automatically installed when you install Ruby on a system.
Update the gem version and check it:
gem update --system
gem -v
This is optional: you can disable to install the documentation on every gem installation by adding the line below to the .gemrc file. I'll do it here as it saves hard disk space and I prefer to read the documentation on the internet.
echo "gem: --no-document" >> ~/.gemrc
Step 5 - Install Ruby on Rails 5 (Stable)
Install Ruby on Rails 5 with the gem command below:
gem install rails -v 5.0.0
When the installation finished successfully, check the rails version:
rails -v
You should see this as result:
Rails 5.0.0
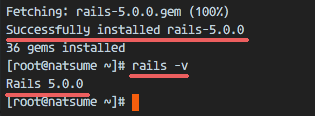
Rails 5.0 installed on CentOS 7 with Ruby 2.3.1.
Step 6 - Setting PostgreSQL Database for Rails Development
In this step, we will prepare PostgreSQL for rails development. Ruby on Rails supports many databases such as MySQL, SQLite (Default) and PostgreSQL. I will use PostgreSQL as the database for this guide.
Install PostgreSQL with this yum command:
yum -y install postgresql-server postgresql-devel postgresql-contrib
Now we have to initialize the database server with the initdb command.
postgresql-setup initdb
By default, PostgreSQL on CentOS server does not allow password based authentication. We need to edit the PostgreSQL configuration for the RoR installation to allow logins with a password.
Edit pg_hba.conf with vim:
vim /var/lib/pgsql/data/pg_hba.conf
Change the authentication method to md5.
# IPv4 local connections:
host    all             all             127.0.0.1/32            md5
# IPv6 local connections:
host    all             all             ::1/128                 md5
Save the file, then start the "postgresql" service.
systemctl start postgresql
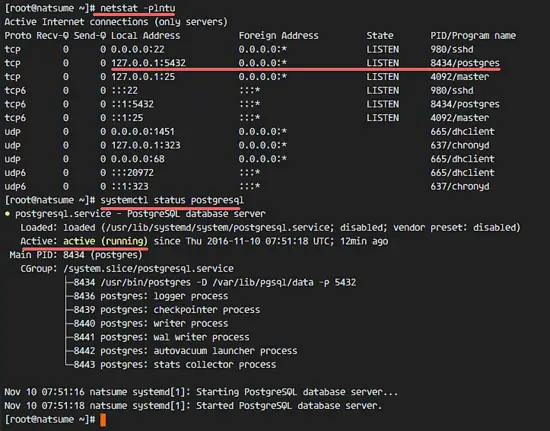
Postgresql is running on localhost ip address with port 5432, you can check that with the command below:
netstat -plntu
systemctl status postgresql
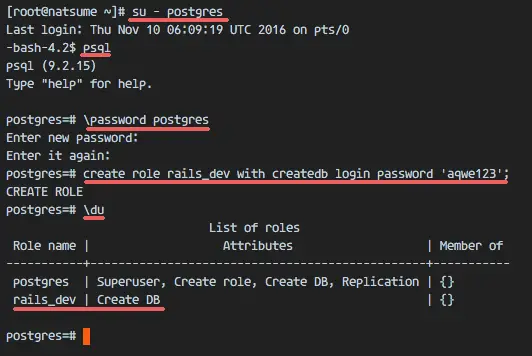
When the installation is done, become the postgres user on the shell with su and then access the postgresql shell (psql).
su - postgres
psql
Set a new password for the postgres user with the command below:
\password postgres
Enter new password:
Next, create a new role named 'rails-dev' for the rails development with this command:
create role rails_dev with createdb login password 'aqwe123';
Check the new role, you will see new role is created:
\du
PostgreSQL database and user for the Rails Development has been created.
Step 7 - Create First Application with Rails and PostgreSQL
We can create our first application with the rails command easily.
Create a new application with PostgreSQL as the default database.
rails new myapp -d postgresql
This command will create a new directory 'myapp' and install a new gem including the "pg" gem that is required by rails to connect to the PostgreSQL database.
Go to the 'newapp' directory and edit the database.yml file in the config directory.
cd myapp/
vim config/database.yml
In the development section, uncomment line 32 and set the role we've created in step 6.
username: rails_dev
Set the rails_dev user password on line 35.
password: aqwe123
Uncomment line 40 and 44 for the database host configuration.
host: localhost
port: 5432
Now, go to the test section and add the new configuration below:
  database: myapp_test
  host: localhost
  port: 5432
  username: rails_dev
  password: aqwe123
Save the file and exit the editor.
Next, generate the database with the rails command:
rails db:setup
rails db:migrate
Then start the rails server with the command below:
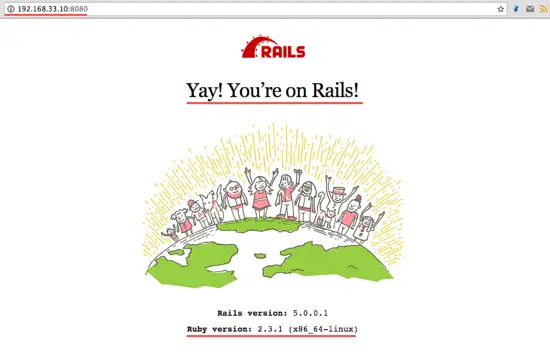
rails s -b 192.168.33.10 -p 8080
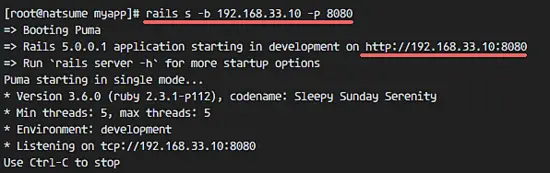
Open your web browser and visit the server ip address on port 8080 - 192.168.33.10:8080.
Back to your terminal. Create a new scaffold to interact with the PostgreSQL database.
Type in the command below:
rails g scaffold Post title:string body:text
rake db:migrate
Run the rails server again.
rails s -b 192.168.33.10 -p 8080
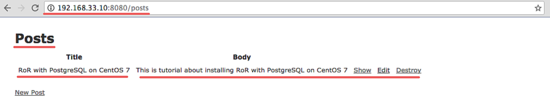
Visit the server : 192.168.33.10:8080/posts
You will see a simple CRUD interface written in Ruby on Rails with PostgreSQL.