How to Install WordPress with HHVM and Nginx on CentOS 7
HHVM (HipHop Virtual Machine) is an open source virtual machine for executing programs written in PHP and Hack language. HHVM has been developed by Facebook, it provides most features of the current PHP 7 version. To run HHVM on your server, you can use a FastCGI to connect HHVM with a Nginx or Apache web server, or you can use the web server built into HHVM called "Proxygen".
In this tutorial, I will show you how to install WordPress with HHVM and Nginx as web server. I will use CentOS 7 as the operating system, so basic knowledge of CentOS is required.
Prerequisite
- CentOS 7 - 64bit
- Root privileges
Step 1 - Configure SELinux and add the Epel Repository
In this tutorial, we will use SELinux in enforcing mode, so we need the SELinux management tools installed on the system. We will use setools and setrobleshoot to manage SELinux policies.
By default, SELinux is enabled on CentOS 7, We can check that for with command below:
sestatus
getenforce
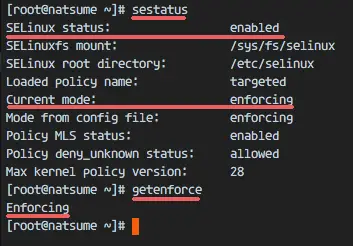
You can see SELinux is enabled with enforcing mode.
Next, Install setools and setroubleshoot with the yum command.
yum -y install setroubleshoot setools net-tools
When the installation has been completed, you can install the EPEL repository.
yum -y install epel-release
Step 2 - Install Nginx
Nginx or engine-x is a lightweight web server with high performance and low memory consumption. On CentOS, we can use yum to install the Nginx packages. Make sure you are logged in as root user!
Install nginx with this yum command from the CentOS repository:
yum -y install nginx
Now start Nginx and enable it to be started at boot time with the systemctl command:
systemctl start nginx
systemctl enable nginx
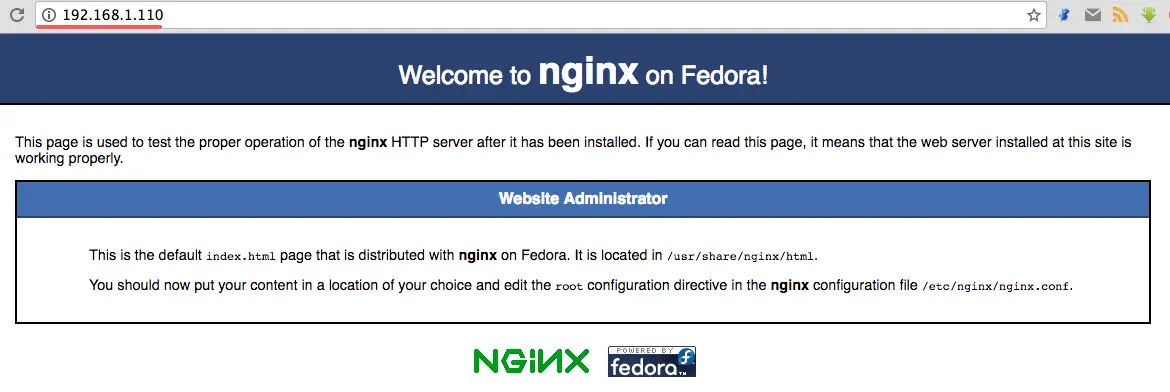
To ensure Nginx is running on our server, visit the server IP address with your browser, or use the curl command as shown below to get the results:
curl 192.168.1.110
I'll cehck it with my web browser here:
Step 3 - Install and Configure MariaDB
MariaDB is an open source database developed by the original MySQL developer Monty Widenius, it has been forked from the MySQL database but stays compatible with it in its major functions. In this step, we will install MariaDB and configure the root password for the MariaDB database. Then we will create a new database and new user that are required for our WordPress installation.
Install mariadb and mariadb-server:
yum -y install mariadb mariadb-server
Start MariaDB and add the service to be automatically started at boot time:
systemctl start mariadb
systemctl enable mariadb
MariaDB has been started, and now we have to configure the root password for the mariadb/mysql database. Type in the command below to setup the MariaDB root password.
mysql_secure_installation
Type in your new password for the MariaDB root user when requested.
Set root password? [Y/n] Y
New password:
Re-enter new password:

Remove anonymous users? [Y/n] Y
 ... Success!
Disallow root login remotely? [Y/n] Y
 ... Success!
Remove test database and access to it? [Y/n] Y
Reload privilege tables now? [Y/n] Y
 ... Success!
The MariaDB root password has been configured. Now login to the MariaDB/MySQL shell and create a new database "wordpressdb" and a new user "wpuser" with password "wpuser@" for our WordPress installation. Choose a secure password for your installation!
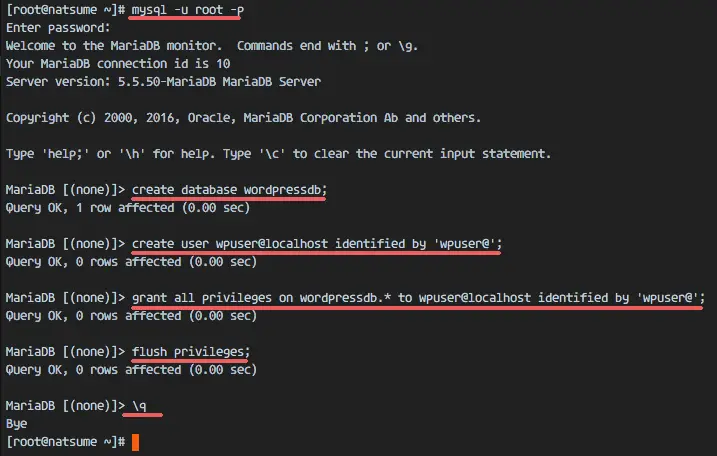
Login to the MariaDB/MySQL shell:
mysql -u root -p
TYPE YOUR PASSWORD
Create a new database and new user:
create database wordpressdb;
create user wpuser@localhost identified by 'wpuser@';
grant all privileges on wordpressdb.* to wpuser@localhost identified by 'wpuser@';
flush privileges;
\q
MariaDB has been installed and the new database for our WordPress installation has been created.
Step 4 - Install HHVM
For the HHVM installation, we need to install many dependencies. We can install HHVM from source by downloading the source from github, or installing prebuilt packages that are available on the internet. In this tutorial, I will install HHVM from prebuilt packages.
Install the dependencies for the HHVM installation
yum -y install cpp gcc-c++ cmake git psmisc {binutils,boost,jemalloc,numactl}-devel \
{ImageMagick,sqlite,tbb,bzip2,openldap,readline,elfutils-libelf,gmp,lz4,pcre}-devel \
lib{xslt,event,yaml,vpx,png,zip,icu,mcrypt,memcached,cap,dwarf}-devel \
{unixODBC,expat,mariadb}-devel lib{edit,curl,xml2,xslt}-devel \
glog-devel oniguruma-devel ocaml gperf enca libjpeg-turbo-devel openssl-devel \
mariadb mariadb-server libc-client make
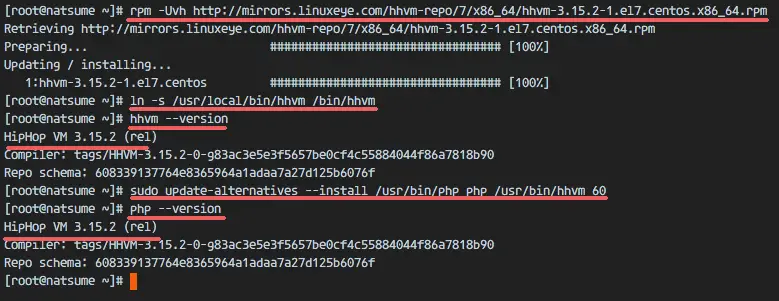
Then install the HHVM prebuilt packages from this site with the rpm command.
rpm -Uvh http://mirrors.linuxeye.com/hhvm-repo/7/x86_64/hhvm-3.15.2-1.el7.centos.x86_64.rpm
ln -s /usr/local/bin/hhvm /bin/hhvm
HHVM has been installed, check it with the command below:
hhvm --version
In order to use the php command, we can set the hhvm command as php. So when you type 'php' on the shell, you will see the same result as from the hhvm command.
sudo update-alternatives --install /usr/bin/php php /usr/bin/hhvm 60
php --version
Step 5 - Configure HHVM
In this step, we will configure HHVM. We will run hhvm as a systemd service. Instead of running it on a system port, we will run hhvm on a unix socket file which is faster.
Go to the systemd directory and create the hhvm.service file.
cd /etc/systemd/system/
vim hhvm.service
Paste the service configuration belowinto that file.
[Unit]
Description=HHVM HipHop Virtual Machine (FCGI)
After=network.target nginx.service mariadb.service

[Service]
ExecStart=/usr/local/bin/hhvm --config /etc/hhvm/server.ini --user nginx --mode daemon -vServer.Type=fastcgi -vServer.FileSocket=/var/run/hhvm/hhvm.sock

[Install]
WantedBy=multi-user.target
Save the file and exit vim.
Next, go to the hhvm directory and edit the server.ini file.
cd /etc/hhvm/
vim server.ini
Replace the hhvm.server.port on line 7 with unix socket configuration below:
hhvm.server.file_socket = /var/run/hhvm/hhvm.sock
Save the file and exit th editor.
In the hhvm service file, we've defined that hhvm is running under the 'nginx' user, so we must change the owner of the socket file directory to the 'nginx' user. Then we must change the SELinux context of the hhvm directoryto allow access to the socket file.
chown -R nginx:nginx /var/run/hhvm/
semanage fcontext -a -t httpd_var_run_t "/var/run/hhvm(/.*)?"
restorecon -Rv /var/run/hhvm
After rebooting the server, hhvm will not be running because there is no directory for the socket file, so we must create it automatically at the boot time.
Edit the rc.local file with vim.
vim /etc/rc.local
Paste configuration below to the end of line.
mkdir -p /var/run/hhvm/
chown -R nginx:nginx /var/run/hhvm/
semanage fcontext -a -t httpd_var_run_t "/var/run/hhvm(/.*)?"
restorecon -Rv /var/run/hhvm
Save the file and exit vim. Make the file executable.
chmod +x /etc/rc.local
Reload the systemd service, start hhvm and add it to be started at boot time.
systemctl daemon-reload
systemctl start hhvm
systemctl enable hhvm
Make sure that there is no error. Check that hhvm is running under the socket file with the netstat command.
netstat -pl | grep hhvm

Step 6 - Configure HHVM and Nginx
In this step, we will configure HHVM to run with the Nginx web server. We need to create a new hhvm configuration file in the Nginx directory.
Go to the /etc/nginx directory and create a hhvm.conf file.
cd /etc/nginx/
vim hhvm.conf
Paste the configuration below:
location ~ \.(hh|php)$ {
    root /usr/share/nginx/html;
    fastcgi_keep_conn on;
    fastcgi_pass unix:/var/run/hhvm/hhvm.sock;
    fastcgi_index  index.php;
    fastcgi_param  SCRIPT_FILENAME $document_root$fastcgi_script_name;
    include        fastcgi_params;
}
Save and exit.
Next, edit the nginx.conf file and add the hhvm configuration include line.
vim nginx.conf
Add the configuration to the server directive line 57.
include /etc/nginx/hhvm.conf;
Save and exit.
Then change the SELinux context of the hhvm configuration file.
semanage fcontext -a -t httpd_config_t /etc/nginx/hhvm.conf
restorecon -v /etc/nginx/hhvm.conf
Test the Nginx configuration and restart the service.
nginx -t
systemctl restart nginx
Make sure there is no error.
Step 7 - Create a Virtual Host with HHVM and Nginx
In this step, we will create a new virtual host configuration with Nginx and hhvm. I will use the domain name "natsume.co" for this example. Please use your own domain name and replace it in the configuration files and WordPress installation wherever it appears.
Go to the nginx conf.d directory where we will store virtual host file:
cd /etc/nginx/conf.d/
Create the new configuration "natsume.conf" with vim:
vim natsume.conf
Paste the virtual host configuration below:
server {
    listen       80;
    server_name  natsume.co;

    # note that these lines are originally from the "location /" block
    root   /var/www/hakase;
    index index.php index.html index.htm;

    location / {
        try_files $uri $uri/ =404;
    }
    error_page 404 /404.html;
    location = /50x.html {
        root /var/www/hakase;
    }

    location ~ \.php$ {
        try_files $uri =404;
        fastcgi_pass unix:/var/run/hhvm/hhvm.sock;
        fastcgi_index index.php;
        fastcgi_param SCRIPT_FILENAME $document_root$fastcgi_script_name;
        include fastcgi_params;
    }
}
Save and exit.
In our virtual host configuration, we've defined the web root directory for the domain name to be the "/var/www/hakase" directory. That directory does not exist yet, so we have to create it and change the ownership to the nginx user and group.
mkdir -p /var/www/hakase
chown -R nginx:nginx /var/www/hakase
Next, configure the SELinux context for the file and directory.
semanage fcontext -a -t httpd_config_t "/etc/nginx/conf.d(/.*)?"
restorecon -Rv /etc/nginx/conf.d
Finally, test the nginx configuration to ensure there is no error, then restart nginx:
nginx -t
systemctl restart nginx
Step 8 - Install WordPress
In step 5 we've created the virtual host configuration for our WordPress installation. Now we just have to download WordPress and edit the database configuration by using the database and user that we've created in step 3.
Go to the web root directory "/var/www/hakase" and download WordPress with the wget command:
cd /var/www/hakase
wget wordpress.org/latest.tar.gz
Extract "latest.tar.gz" and move all WordPress files and directories to the current directory:
tar -xzvf latest.tar.gz
mv wordpress/* .
Next, copy "wp-config-sample.php" file to "wp-config.php" and edit it with vim:
cp wp-config-sample.php wp-config.php
vim wp-config.php
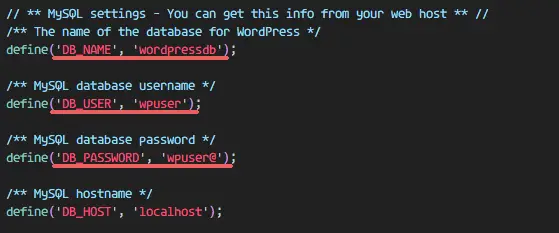
Set DB_NAME to "wordpressdb", DB_USER to "wpuser" and DB_PASSWORD to "wpuser@".
define('DB_NAME', 'wordpressdb');
define('DB_USER', 'wpuser');
define('DB_PASSWORD', 'wpuser@');
define('DB_HOST', 'localhost');
Save and exit.
Change the SELinux context for the WordPress directory.
semanage fcontext -a -t httpd_sys_content_t "/var/www/hakase(/.*)?"
restorecon -Rv /var/www/hakase
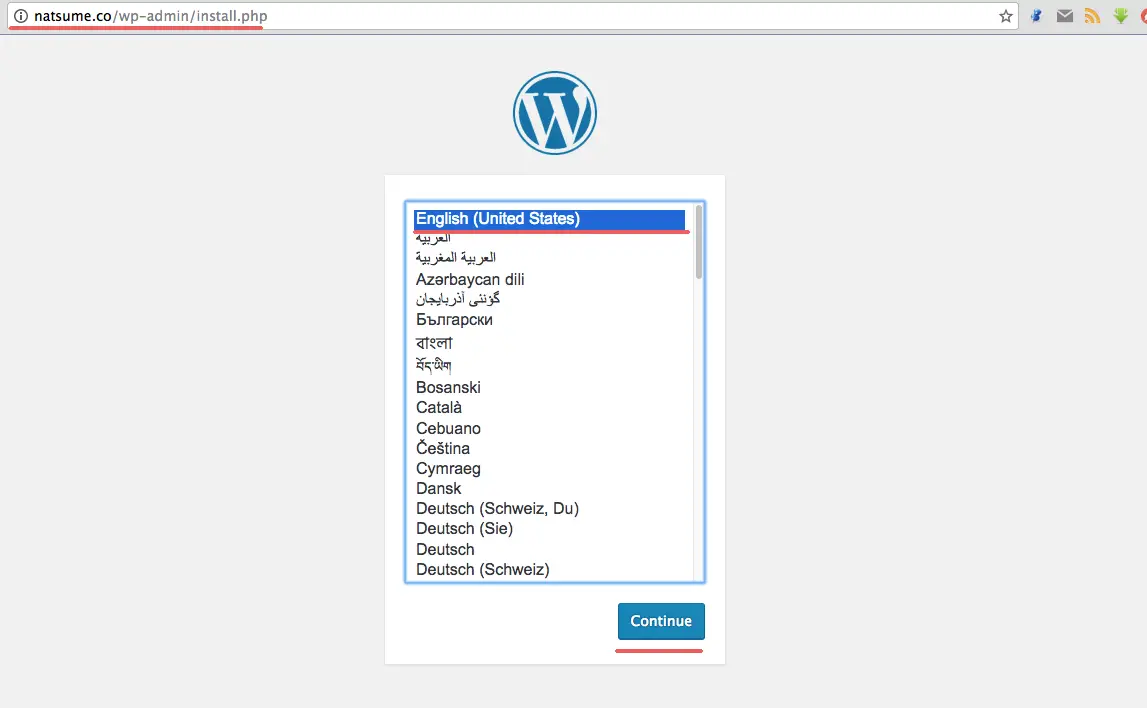
Now open a web browser and type in the domain name of your wordpress domain into the address bar, mine is "natsume.co".
Choose English language and click on 'Continue'.
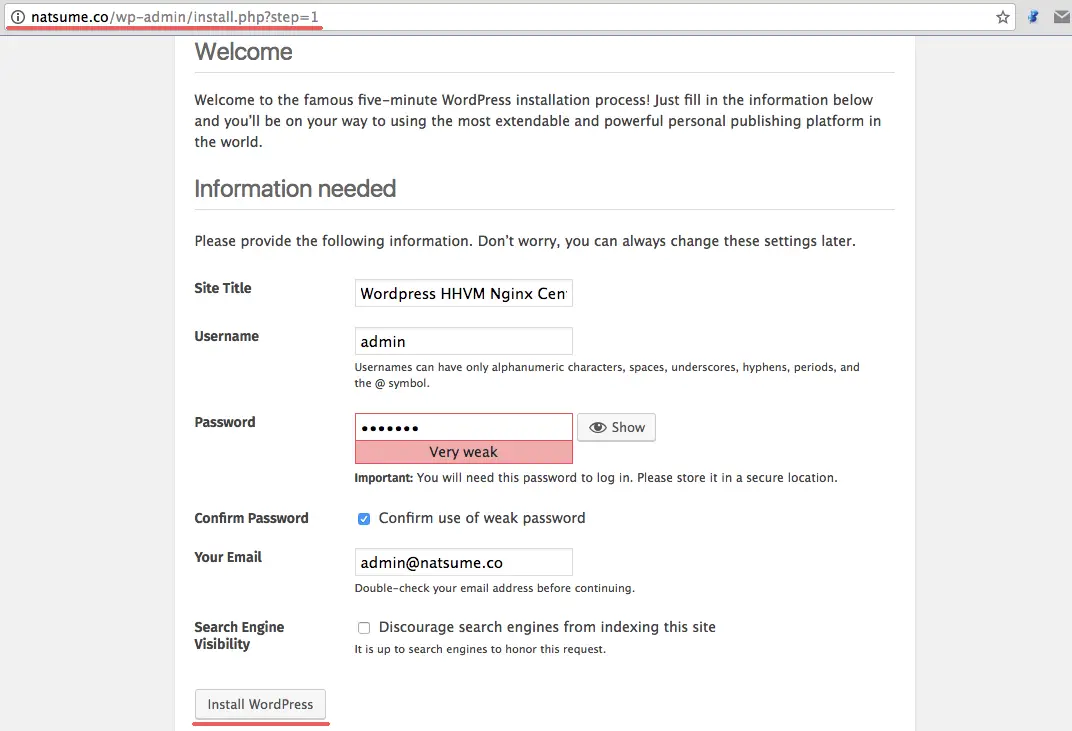
Fill in the site title and description with your info and click "Install Wordpress".
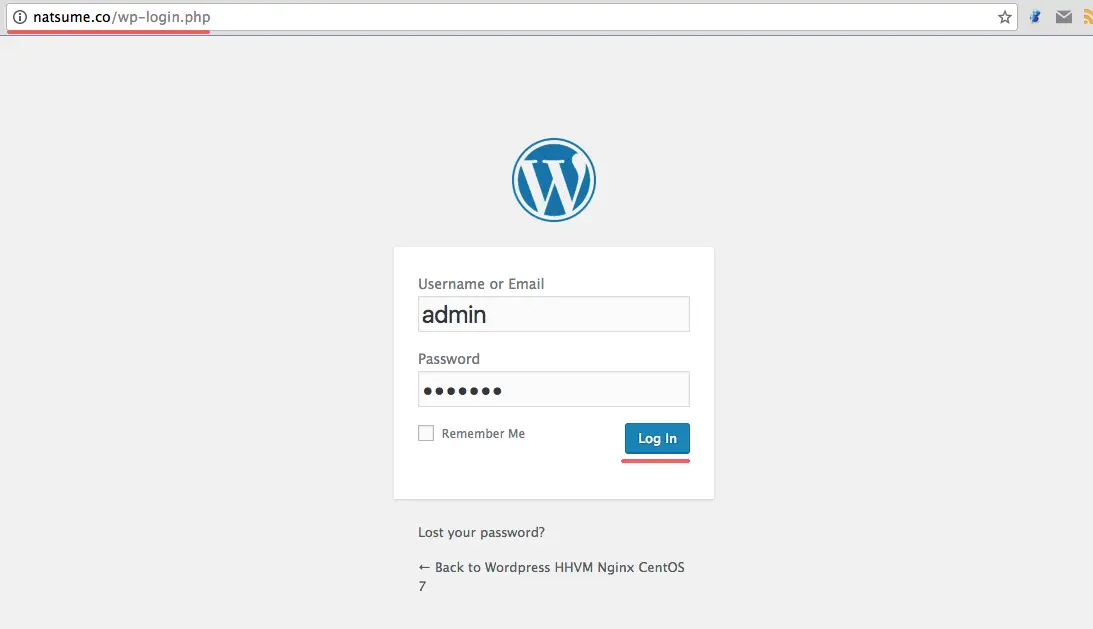
Wait until the installation is finished. You will see the page below, click on "Log In" to log in to the WordPress admin dashboard:
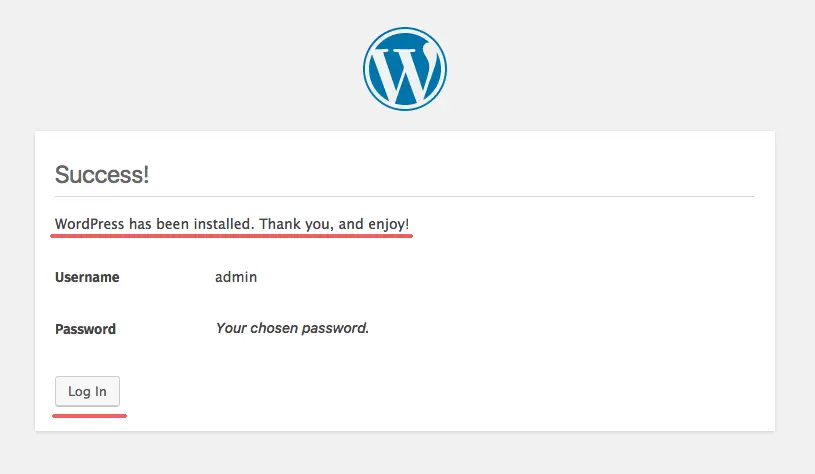
Type in your admin user and password, then click "Log In" again.
Now you're on the WordPress admin dashboard.

Wordpress Home Page.
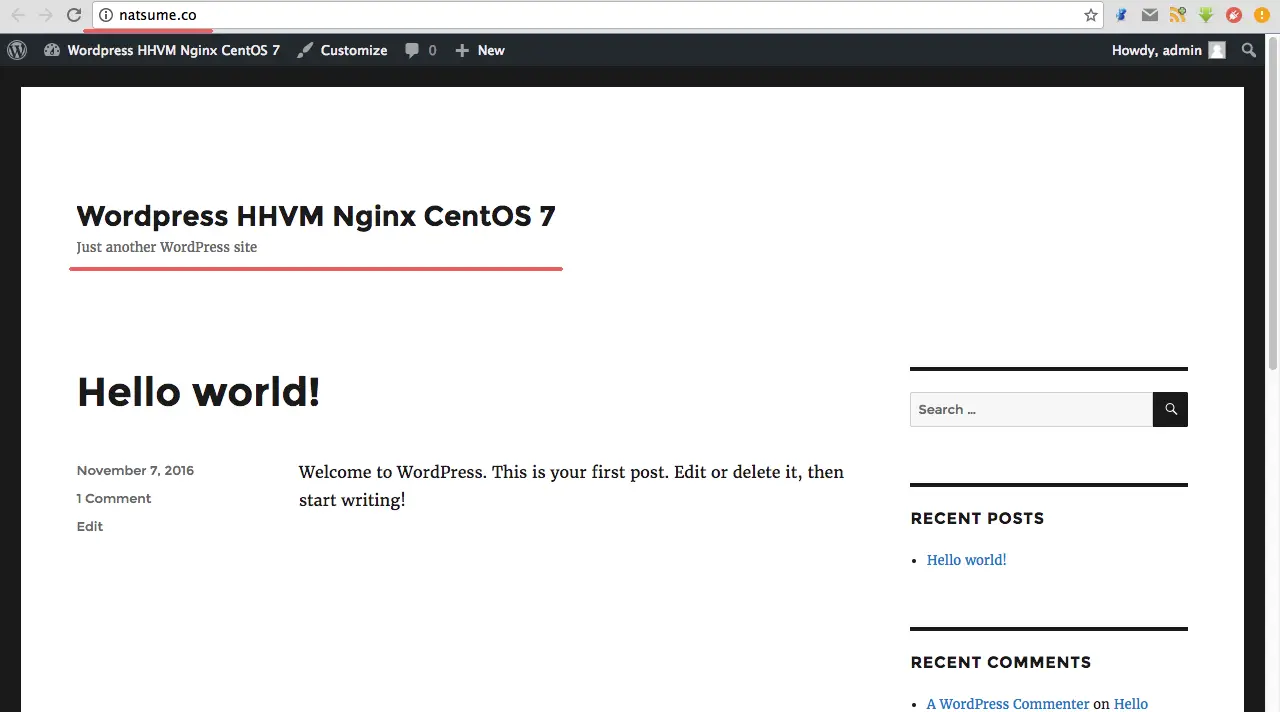
Wordpress with Nginx and HHVM on CentOS 7 has been installed successfully.

