How to create your own Linux Distribution with Yocto on Ubuntu
In this article, our focus is the creation of a minimal Linux distribution using the Yocto project on the Ubuntu platform. The Yocto project is very famous in the embedded Linux world because of its flexibility and ease of use. The purpose of the Yocto project is to create a Linux distro for manufacturers of embedded hardware and software. A new minimal Linux distro will be created for qemu as the (qemu is a basic software emulator) target machine and we will run it in qemu.
Prerequisites for the development machine
- At least 4 - 6 GB RAM.
- Recent Ubuntu OS (16.04 LTS in this case).
- At least 60-80 GB free space on the disk.
- Installation of following packages before creation of new Linux distro.
- Download latest Yocto (Poky which is minimal development environment) stable branch.
apt-get update
apt-get install wget git-core unzip make gcc g++ build-essential subversion sed autoconf automake texi2html texinfo coreutils diffstat python-pysqlite2 docbook-utils libsdl1.2-dev libxml-parser-perl libgl1-mesa-dev libglu1-mesa-dev xsltproc desktop-file-utils chrpath groff libtool xterm gawk fop
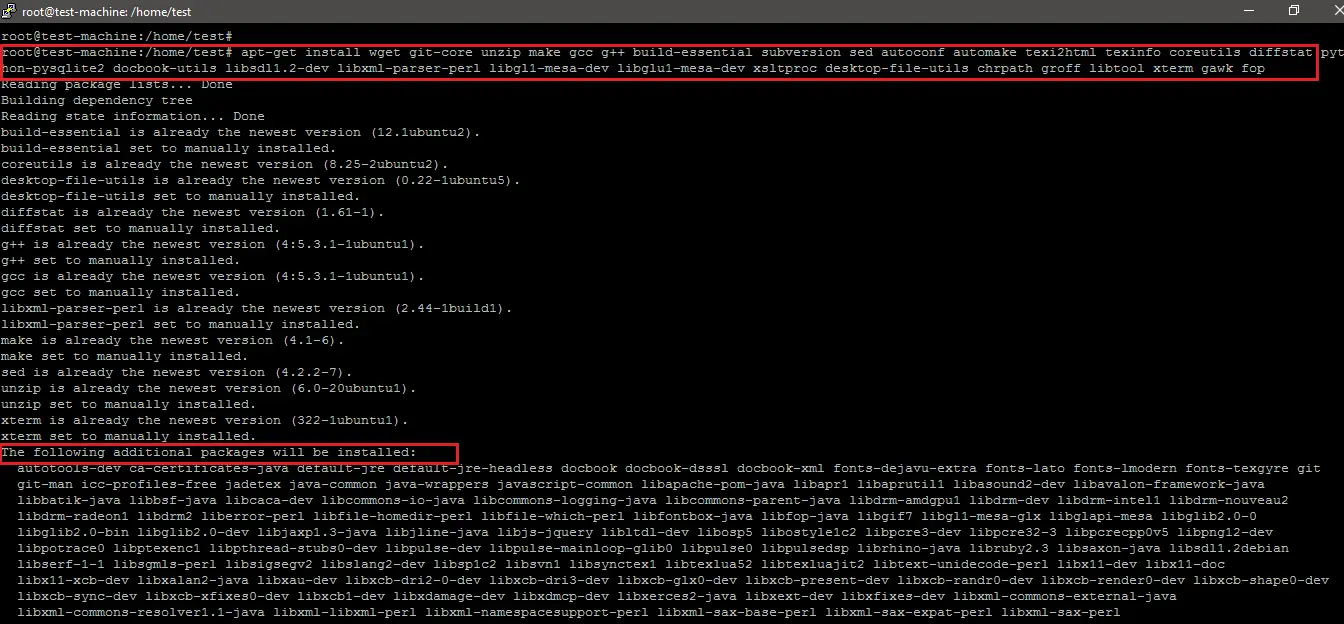
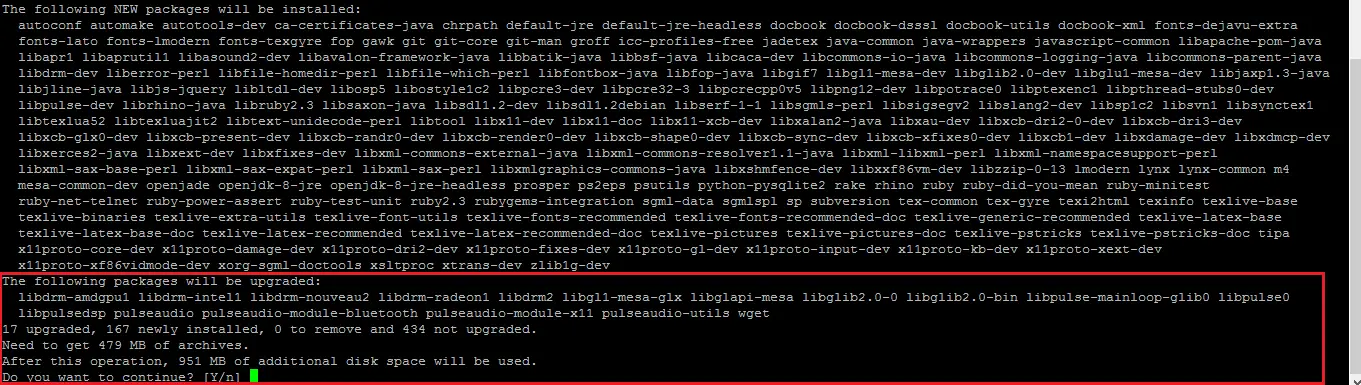
As shown below, almost 1 GB size is required to install required development packages.
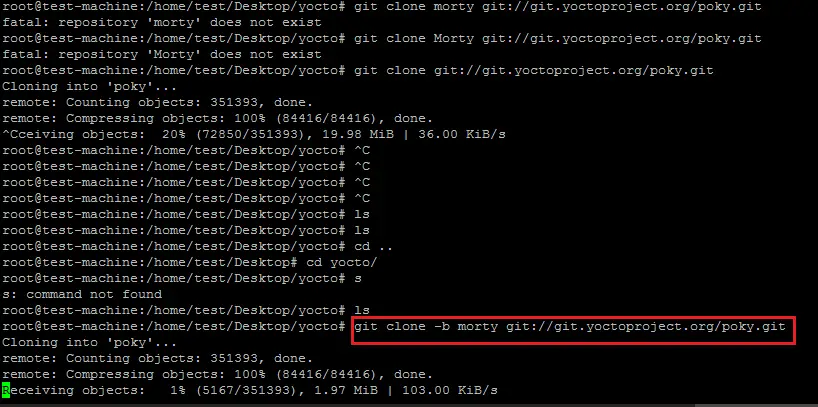
In this tutorial, the "morty" stable release of poky is cloned on the system.
git clone -b morty git://git.yoctoproject.org/poky.git
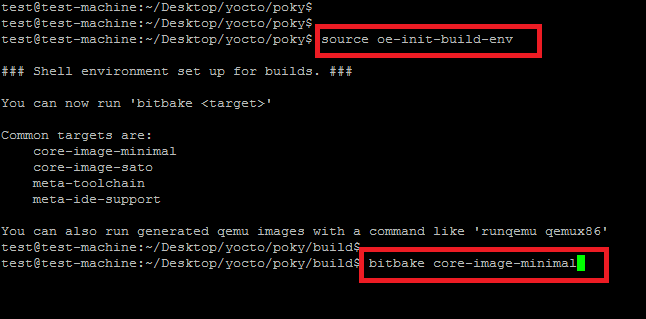
Go inside the "poky" directory and run the following command to set/export some variables for yocto development.
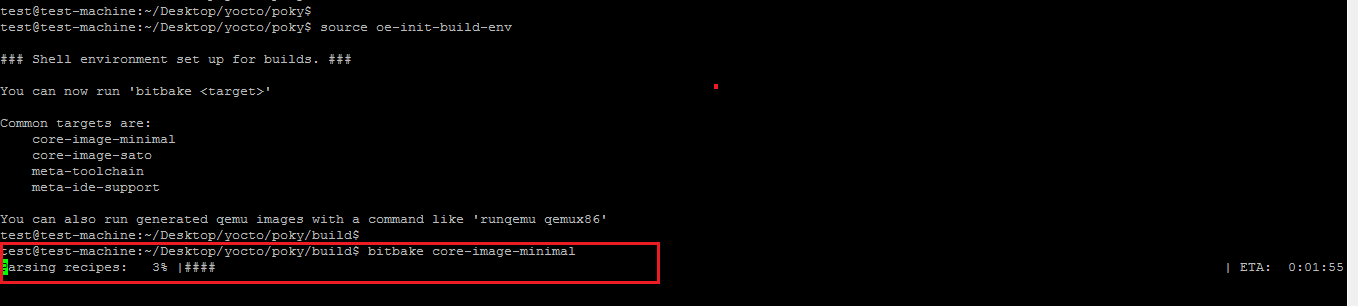
source oe-init-build-env
As shown below, after running the open embedded (oe) build environment script, the path location in the terminal will be changed to a "build" directory for the further configuration and compilation of new distribution.
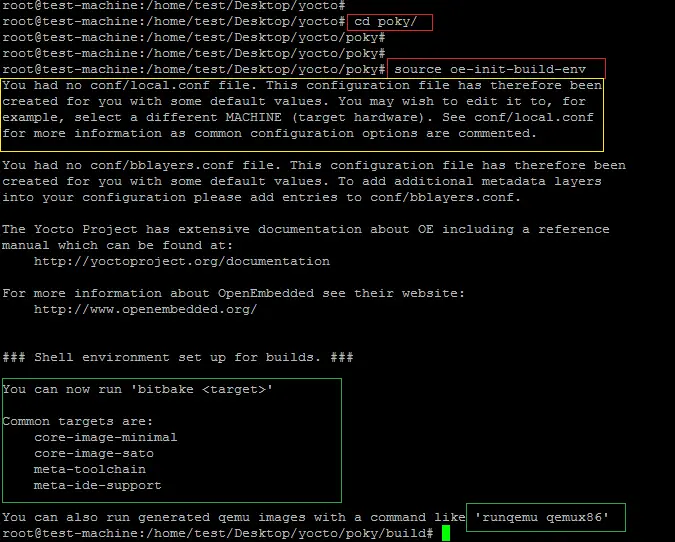
The above screenshot shows that the "local.conf" file is created inside the "conf" directory. This is the configuration file for yocto which specifies details of the target machine and SDK for desired architecture etc.
As shown below, setting target machine "qemux86-64".
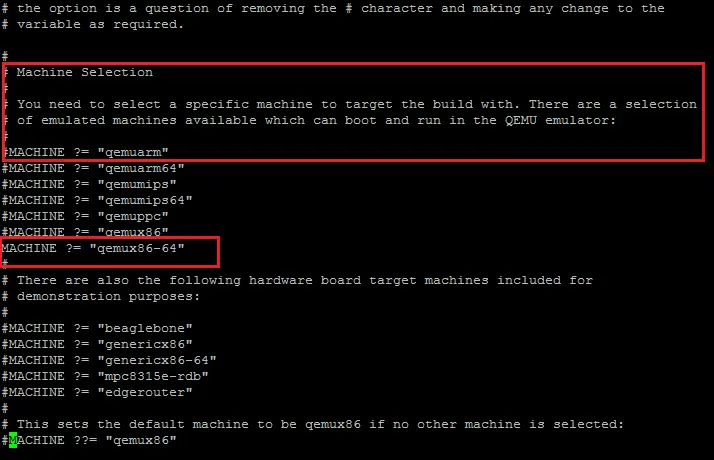
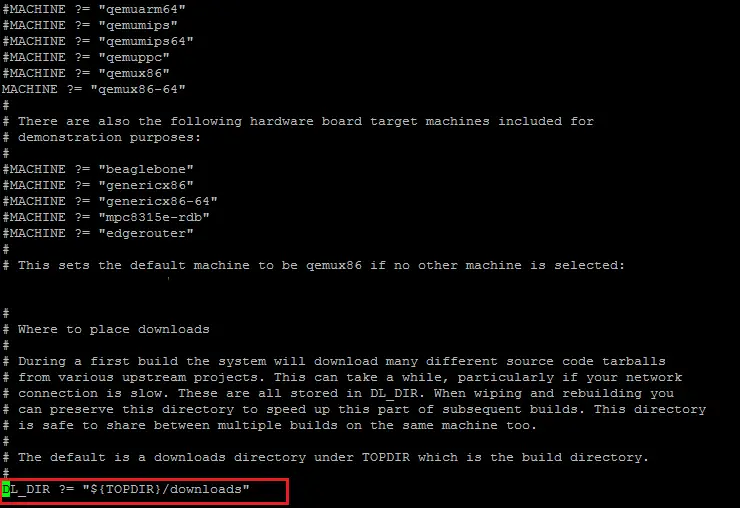
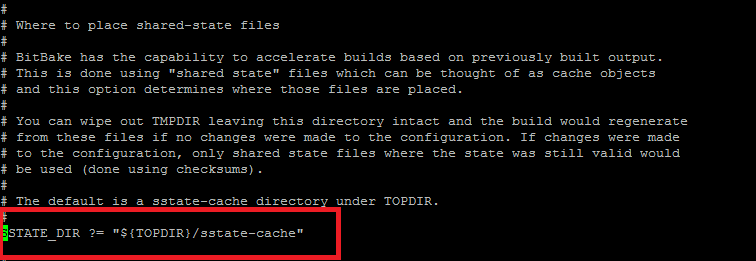
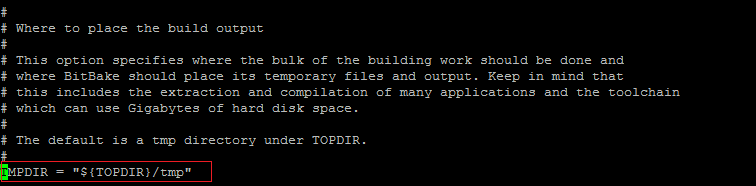
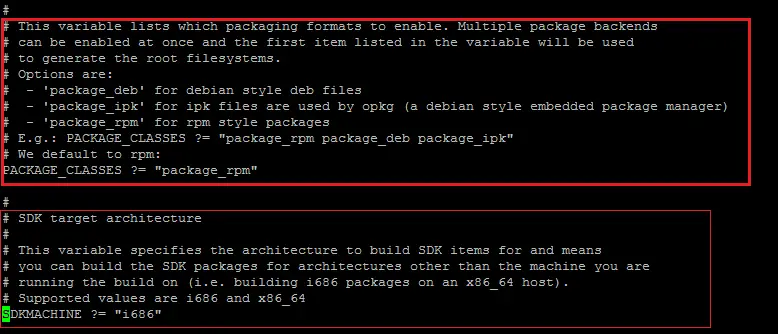
Uncomment following parameters in "local.conf" file as shown in the screenshots.
DL_DIR ?= "${TOPDIR}/downloads"
SSTATE_DIR ?= "${TOPDIR}/sstate-cache"
TMPDIR ?= "${TOPDIR}/tmp"
PACKAGE_CLASSES ?= "package_rpm"
SDKMACHINE ?= "i686"
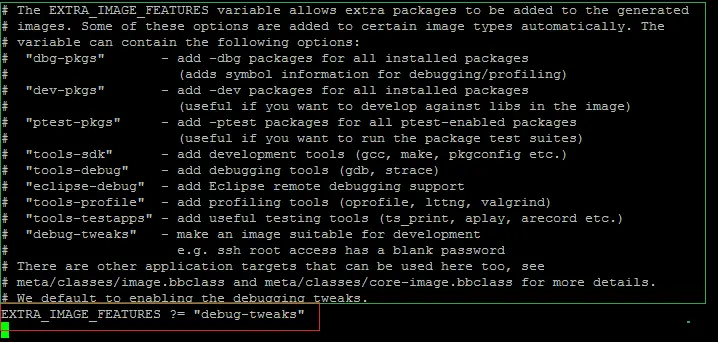
As shown below, set a blank password for the Yocto based Linux and include the following parameters in the local.conf file. Otherwise, the user will not be able to login in the new distro.
EXTRA_IMAGE_FEATURES ?= "debug-tweaks"
We are not using any GUI tool such as toaster (hob is no more supported) to create Linux OS.
Yocto Compilation and Building Process
Now run the following command of the bitbake utility to start the download and compilation of packages for the selected target machine.
bitbake core-image-minimal

It is important to run the above command as a normal Linux user and not the root user. As shown in the following sscreenshot, an error is generated when you run the bitbake command as root user.
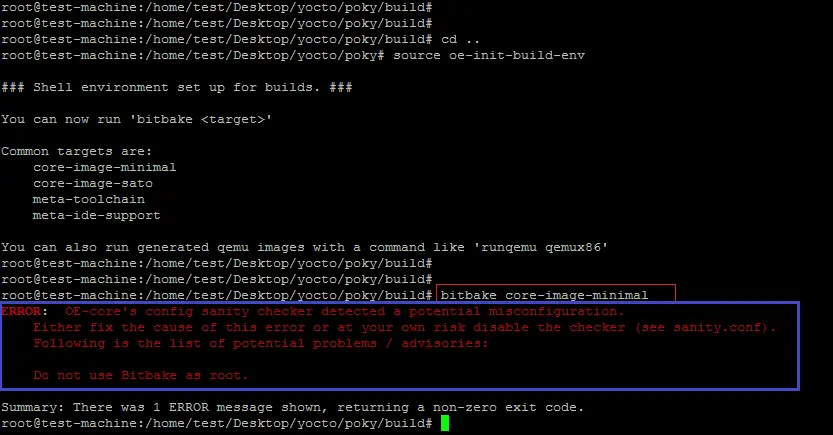
Again, run the export of environment variables script (oe-init-build-env) and re-run the same command to start the downloading and compilation process.
As shown below, the first step of build script utility is to parse the recipe.
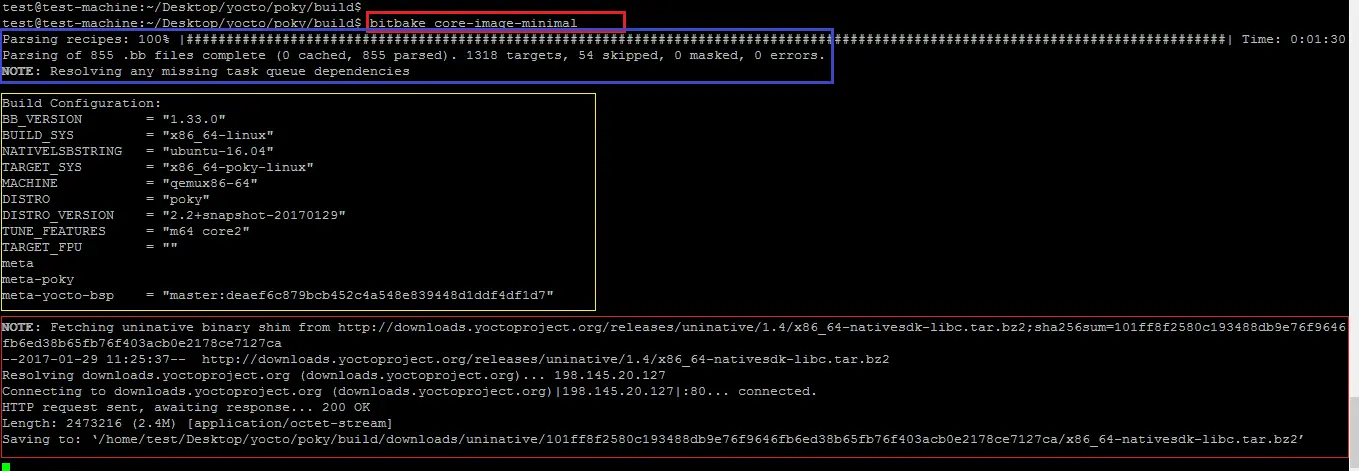
The following screenshot shows the completion of the parsing step of the build script. It also shows the details of the build system on which the new yocto based distro will be generated.
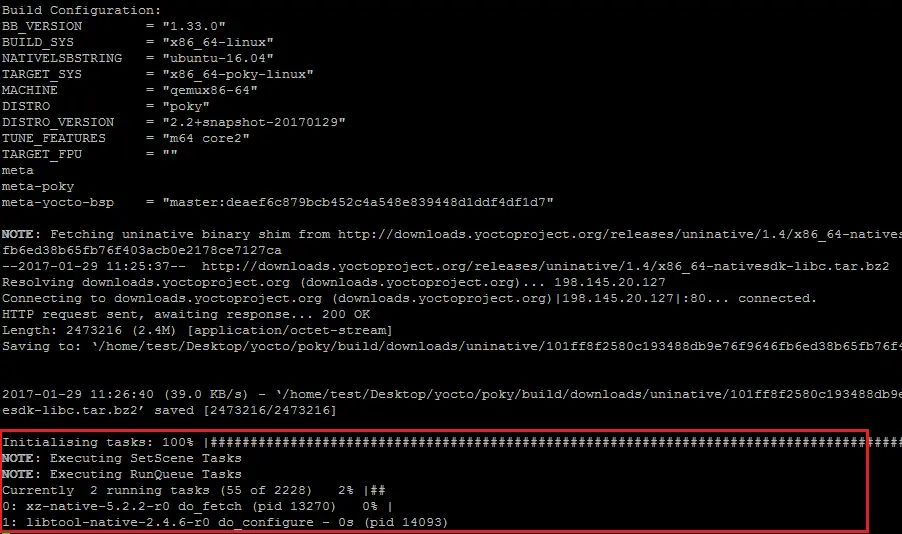
After downloading the SDK and necessary libraries, the next step is to download and compile the packages. The following screenshot shows the task for the new distribution. This step will take 2-3 hours because first, it downloads the required packages and then compiles for the new Linux distribution.
The following screenshot shows the completion of the task list.

The compiled new images for the target machine type "qemux86-64" is inside the "build/tmp/deploy/images/qemux86-64" path as shown below.

As shown below, above command will produce an error if run in the Putty.
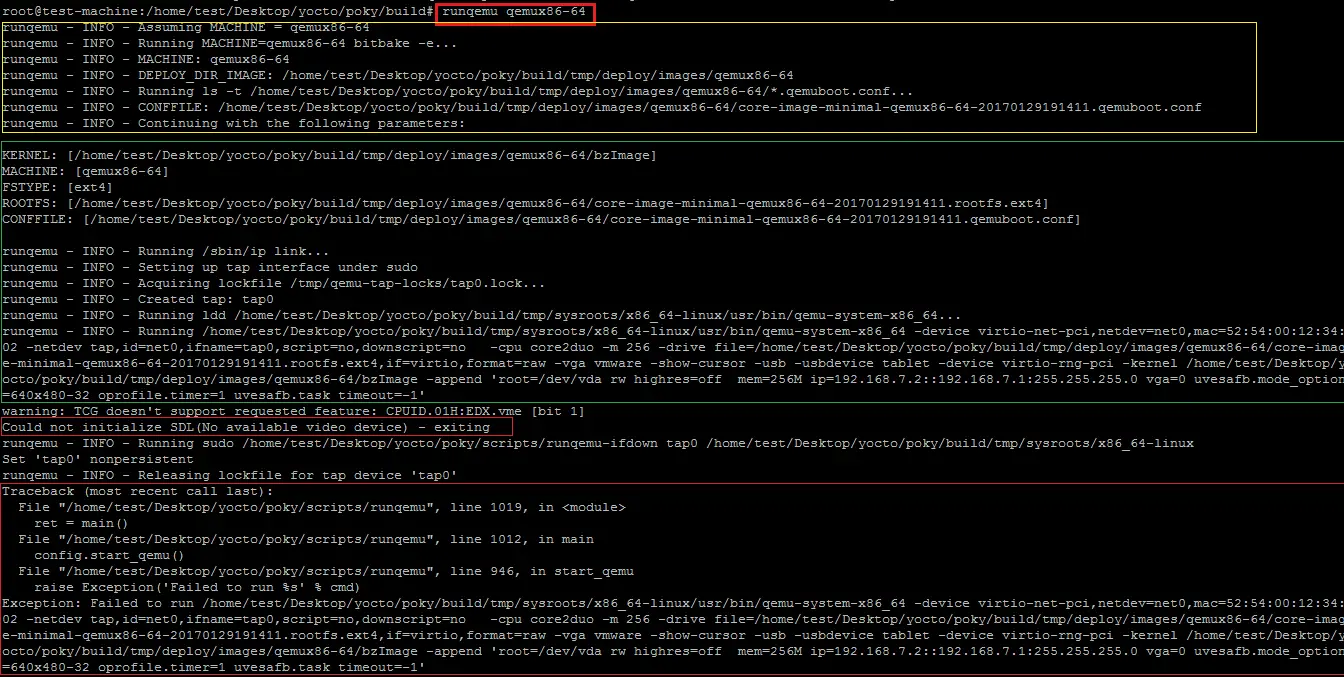
Above command is again run inside the terminal via rdp on Ubuntu platform.
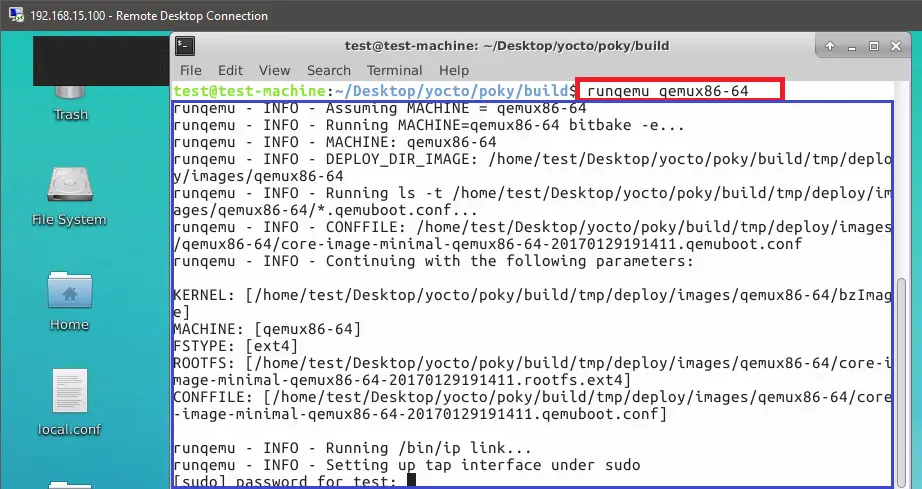
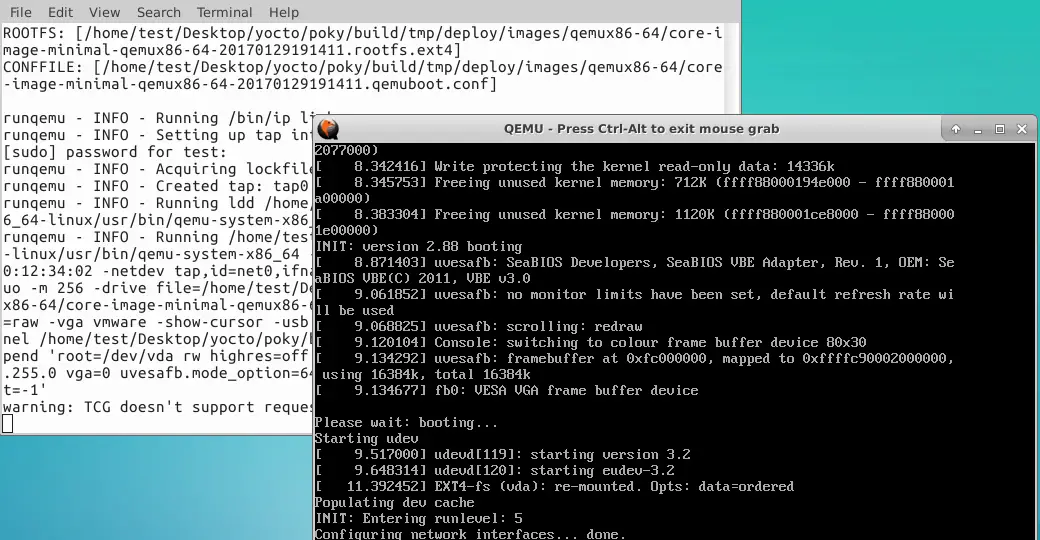
Another screen is opened for the qemu emulator for new yocto based Linux distro.
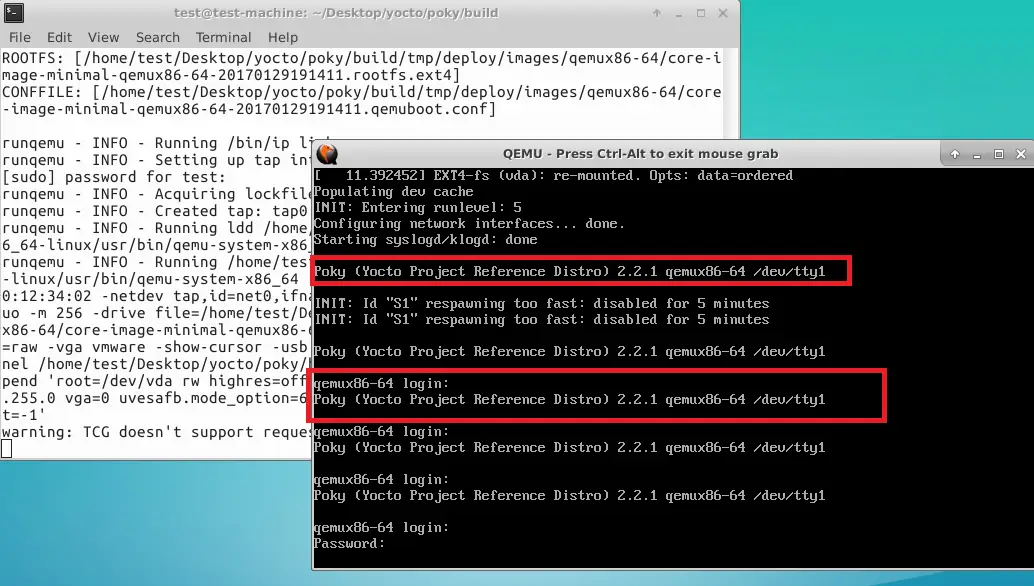
The login screen of the new distro is shown below which also shows the reference version of the yocto project. The default username is root and a blank password.
Finally, login in the new distro with root username and an empty password. As shown in the following screenshot, basic commands (date,ifconfig and uname) are run in the minimal version of Linux.
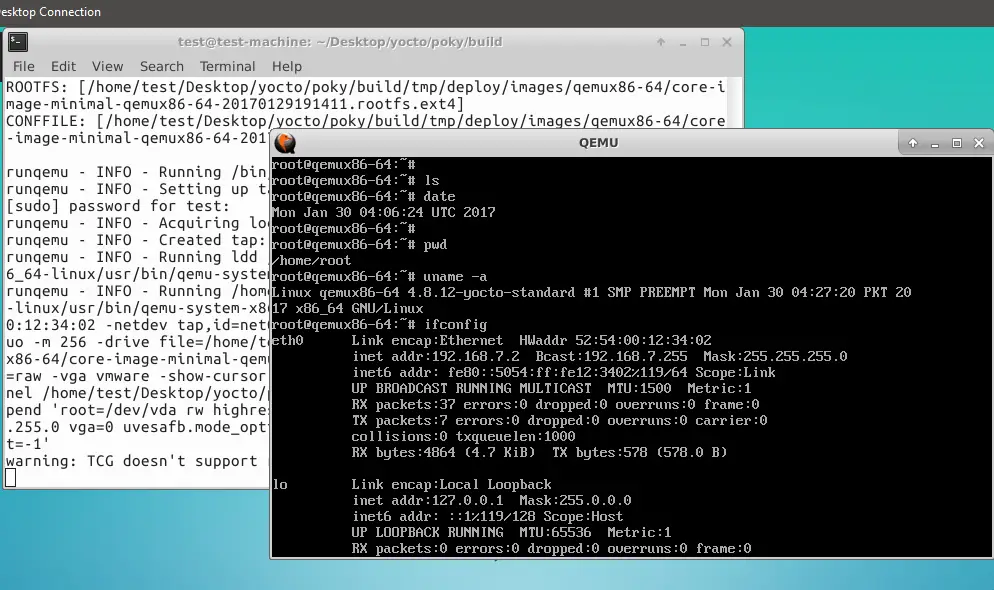
The purpose of this article is to understand the procedure for the creation of new Linux distribution using yocto project.

