How to Upgrade Linux Kernel in Ubuntu 16.04 Server
This tutorial exists for these OS versions
- Ubuntu 22.04 (Jammy Jellyfish)
- Ubuntu 16.04 (Xenial Xerus)
On this page
The Linux Kernel is the core of the Ubuntu operating system. The Linux Kernel is a monolithic Unix-like kernel for computer operating systems, it has been created by Linux Torvalds and is used by all Linux distributions including Ubuntu, CentOS, OpenSuSE, ReadHat and Debian.
In this tutorial, I will show you how to upgrade the Ubuntu kernel to use the latest mainline kernel build provided by the Ubuntu kernel Team. I will be using Ubuntu 16.04.2 Xenial Xerus with default kernel version 4.4 as basis upgrade it to the 4.11.2 kernel version.
What is a 'Mainline Kernel Build'?
The Mainline Kernel Build is just a vanilla kernel from kernel.org packaged as a deb package. The Canonical Kernel Team builds and customizes the kernel sources for Ubuntu and builds it as .deb package for easy installation with the apt package manager. The Mainline kernel should only be used if you need latest kernel features, it is potentially less stable as the production kernels that ship as default with Ubuntu.
What we will do:
- Update Repository and Upgrade all Packages.
- Checking the Kernel Active.
- Installing New Kernel version.
- Remove Old Kernel.
Step 1 - Update Ubuntu Repository and Upgrade all Packages
The first thing we want to do before we upgrade the kernel is to update the Ubuntu repositories and to upgrade all packages to their latest versions.
Connect to your ubuntu server through SSH login. You have to be root user for the next steps. If root login is disabled on your server, then login as your normal user and run 'sudo -s to become root.
ssh [email protected]
Update all repositories of the system.
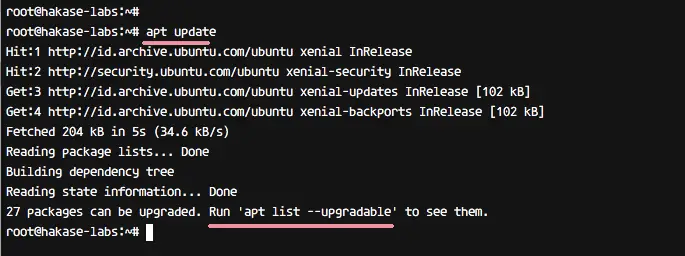
sudo apt update
Then upgrade all packages installed with the command below.
sudo apt upgrade -y
Finally, reboot the server to ensure that potentially installed kernel updates get applied.
sudo reboot
Now check again for upgradable packages with the command below.
sudo apt list --upgradeable
Make sure you have no pensing updates.
Step 2 - Checking the Active Kernel Version
In this step, we will check the active kernel of our system. We need to know the system architecture and the kernel version that is used on the system.
Check the active kernel used by the system with the uname command.
uname -msr
You will get the kernel version as below.
Linux 4.4.0-78-generic x86_64
This means, we are using the Generic Linux kernel version 4.4 with x86_64/64-bit system.
The Generic kernel is a general purpose kernel. If you want to use your box for tasks like editing, encoding video and audio, it's e.g. recommended to use one of the 'lowlatency' kernels.
Step 3 - Install New Kernel Version
Now we know that we are using kernel 4.4 at the moment. In this step, we will upgrade the used kernel to the latest mainline kernel build version 4.11.2. All mainline kernel build can be downloaded from this site - http://kernel.ubuntu.com/~kernel-ppa/mainline/.
Create a new directory for the mainline kernel version.
sudo mkdir -p ~/4.11.2
cd ~/4.11.2
Download the generic kernel version packages (because we are using generic version) using the wget command.
wget http://kernel.ubuntu.com/~kernel-ppa/mainline/v4.11.2/linux-headers-4.11.2-041102_4.11.2-041102.201705201036_all.deb
wget http://kernel.ubuntu.com/~kernel-ppa/mainline/v4.11.2/linux-headers-4.11.2-041102-generic_4.11.2-041102.201705201036_amd64.deb
wget http://kernel.ubuntu.com/~kernel-ppa/mainline/v4.11.2/linux-image-4.11.2-041102-generic_4.11.2-041102.201705201036_amd64.deb

Now install the packages with the dpkg command below.
dpkg -i *.deb
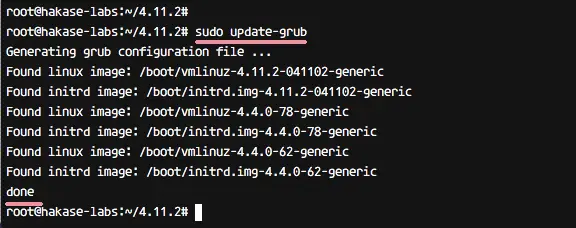
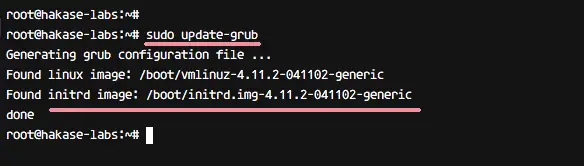
When the kernel package installation is complete, update grub and reboot the system.
sudo update-grub
sudo reboot
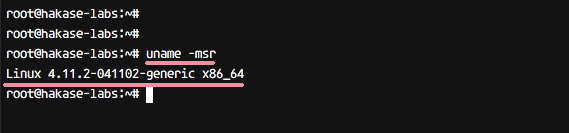
After server rebooting, check again the kernel version.
uname -msr
You will get a new kernel on the system: 4.11.2.
Linux 4.11.2-041102-generic x86_64
Step 4 - Remove the old Kernel
At this stage, the kernel version of our server is updated to 4.11.2. In this step, we will remove the old kernel and just leave the new version that we are using now.
For this purpose, we will use a command-line utility named 'byobu'. It's a great utility to safely remove and purge an old kernel from the system and will never remove the currently running kernel.
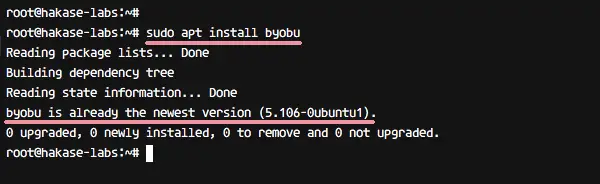
Install byobu with the apt command below.
sudo apt install byobu
Whet it's complete, check installed kernel version on the system.
dpkg -l | grep linux-image
We will get the result as below.

On the server, iI have installed three versions of the Ubuntu kernel: 4.4.62 - 4.4.78 - 4.11.2. And for now, the system is using the latest kernel 4.11.2. We will remove the old kernel 4.4 and leave the latest one 4.11.2.
Run the command below to remove the old kernel.
sudo purge-old-kernels
If you see the result below:
No kernels are eligible for removal
Then you only have 2 kernel versions installed. By default, byobu will keep at least 2 kernel version on the system to ensure that you have a fallback kernel when the first one fails.
If you want to keep the only one (the latest) kernel, then you can use the command below to remove all except of one Kernel.
purge-old-kernels --keep 1 -q
Now update grub and you will get the only one kernel version installed on the system.
sudo update-grub
The Ubuntu Kernel now is upgraded to the latest version 4.11.2 from the mainline kernel build, the old kernel version has been removed from the system for freeing disk space.

