How to Manage CentOS 7 Server with Webmin
Webmin is free and open source web based system administration tool for Unix systems. It provides a rich and powerful web based user interface to administrate the server along with all the popular applications like Apache, BIND, Squid Proxy etc. It is available for almost all popular Unix based operating systems including CentOS, Ubuntu, Debian, SUSE, BSD etc.
In this tutorial, we will install Webmin on CentOS 7.2. We will also learn to administrator Apache web server, firewalld, and Webmin configuration.
Prerequisite
- Minimal CentOS 7 server
- Root privileges. This guide is written as the root user, if you are logged in as sudo user, run sudo -i.
Update Base System
Before installing any package it is recommended that you update the packages and repository using the following command.
yum -y update
Once the system is updated, you can proceed further to install the dependencies required for Webmin.
Install Dependencies
Before we can install Webmin, you should install few dependencies. Run the following command to install the required dependencies.
yum -y install perl perl-Net-SSLeay openssl perl-IO-Tty perl-Encode-Detect
Once the dependencies are installed, you can proceed further to install Webmin.
Install Webmin
Webmin is available as RPM package or you can also install Webmin through its official repository.
Add the repository by creating a new repository file by running the following command.
nano /etc/yum.repos.d/webmin.repo
If you do not have nano installed, you can run yum -y install nano. Add the following lines to the file.
[Webmin]
name=Webmin Distribution Neutral
#baseurl=http://download.webmin.com/download/yum
mirrorlist=http://download.webmin.com/download/yum/mirrorlist
enabled=1
Save the file and exit from the editor. Now fetch and install the GPG key which was used to sign the packages by running the following command.
wget http://www.webmin.com/jcameron-key.asc
rpm --import jcameron-key.asc
Now you can easily install Webmin by running the following command.
yum -y install webmin
Webmin is now installed in your system. Before you can access Webmin dashboard, you will need to configure the firewall.
Configure Firewall
Webmin dashboard can be accessed on port 10000. If you have a firewall running on your system then you will need to allow port 10000 to be accessed from outside network. Run the following commands to allow port 10000 through the firewall.
firewall-cmd --zone=public --add-port=10000/tcp --permanent
firewall-cmd --reload
Access Webmin
You can now access Webmin on https://Your_Server_IP:10000. Make sure that you use https as you will not be able to access Webmin on a unencrypted connection. You will get a warning about SSL certificate as we are using Self Signed Certificate here. You should see the following screen once you add an exception for certificate error.
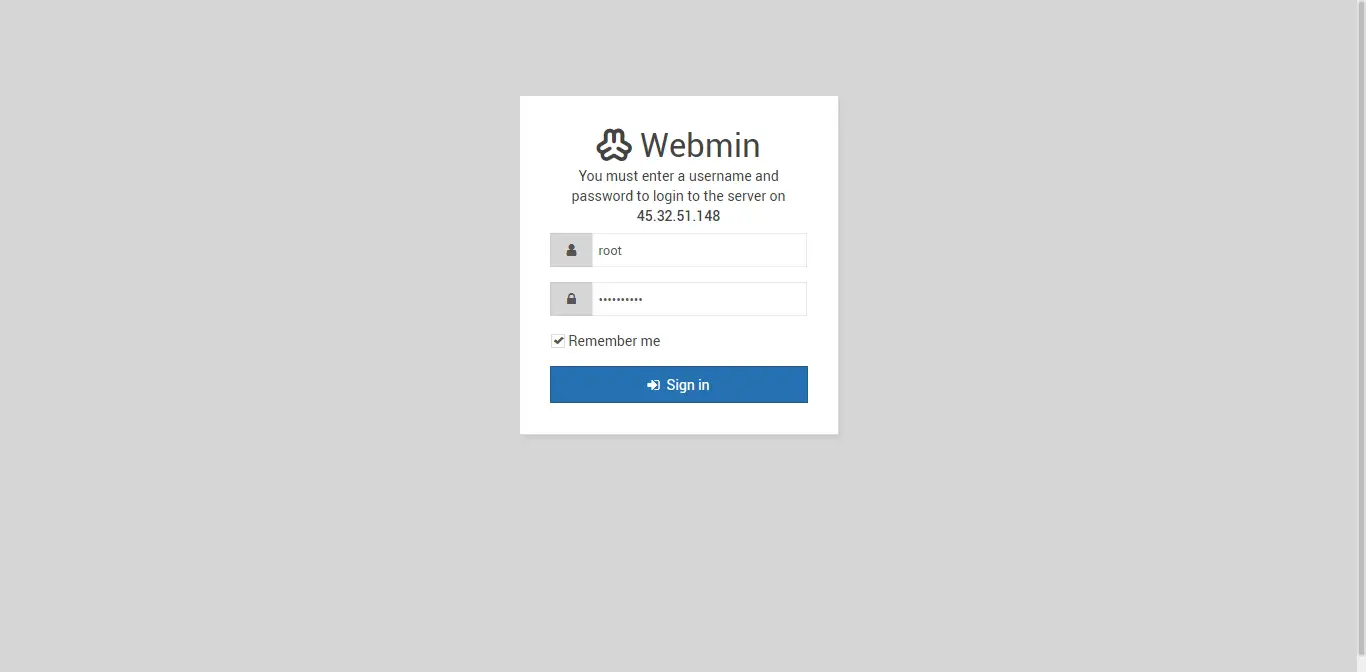
You can log in using the credentials of your system's root user. Provide the username root and the password of the root user. If you do not have any password set for root user, you can always run passwd command to reset the root user's password.
Once you are logged in, you will see the following screen.
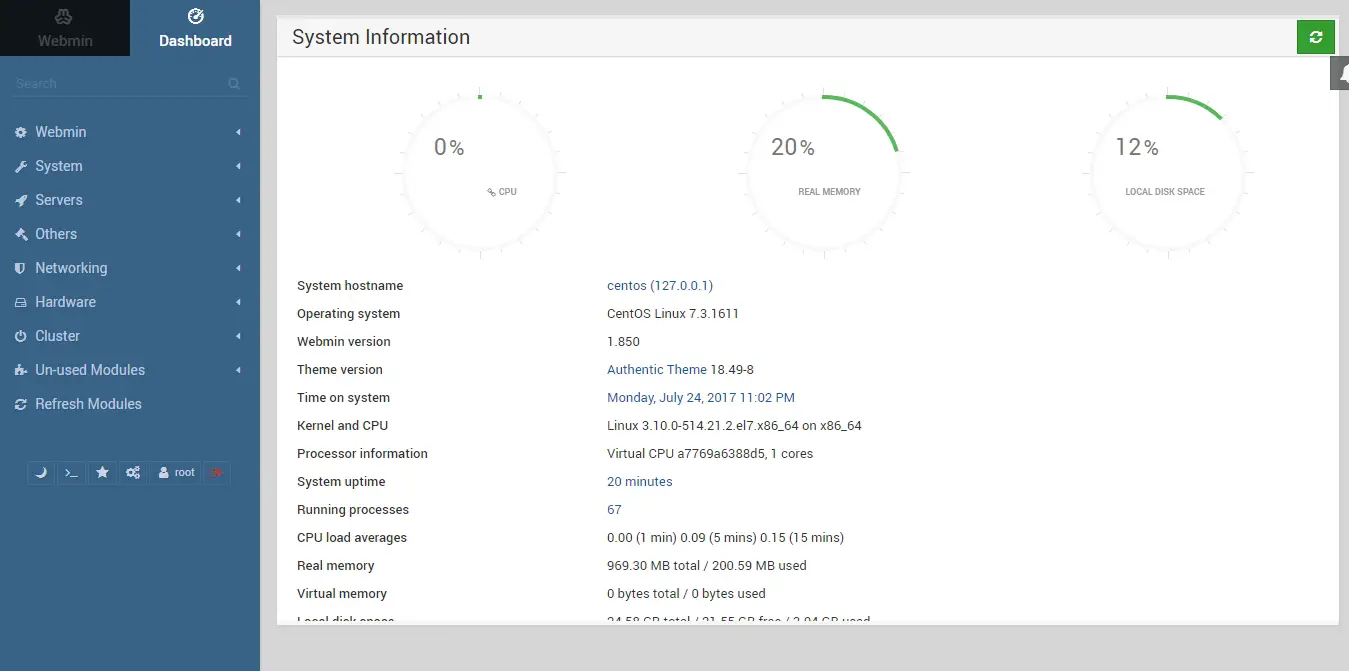
From this dashboard, you can manage the server interactively.
Managing Services
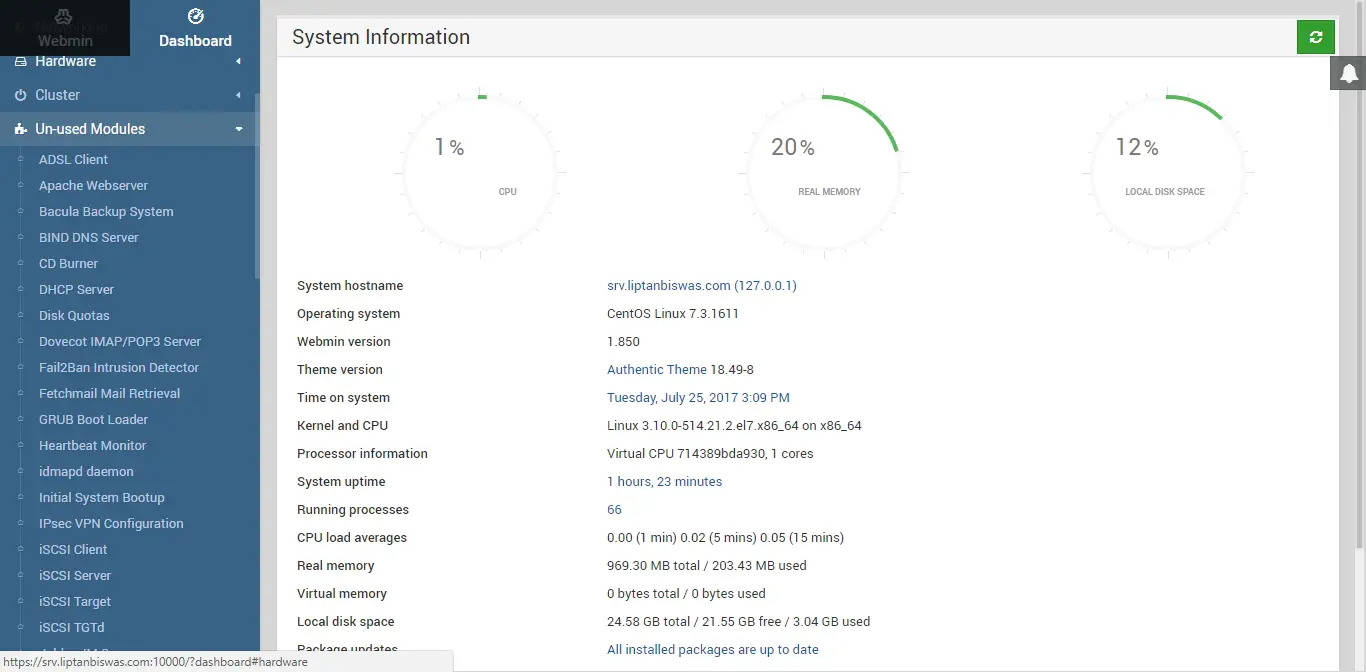
Webmin can be used to manage the services running on the server. You can deploy and configure the services as modules in Webmin. To install a new module, go to Webmin >> Un-used Modules and click on the module you wish to install.
Installing Apache
Let us see the example of managing Apache web server using Webmin. From the list of Un-used Modules, click on Apache Webserver.
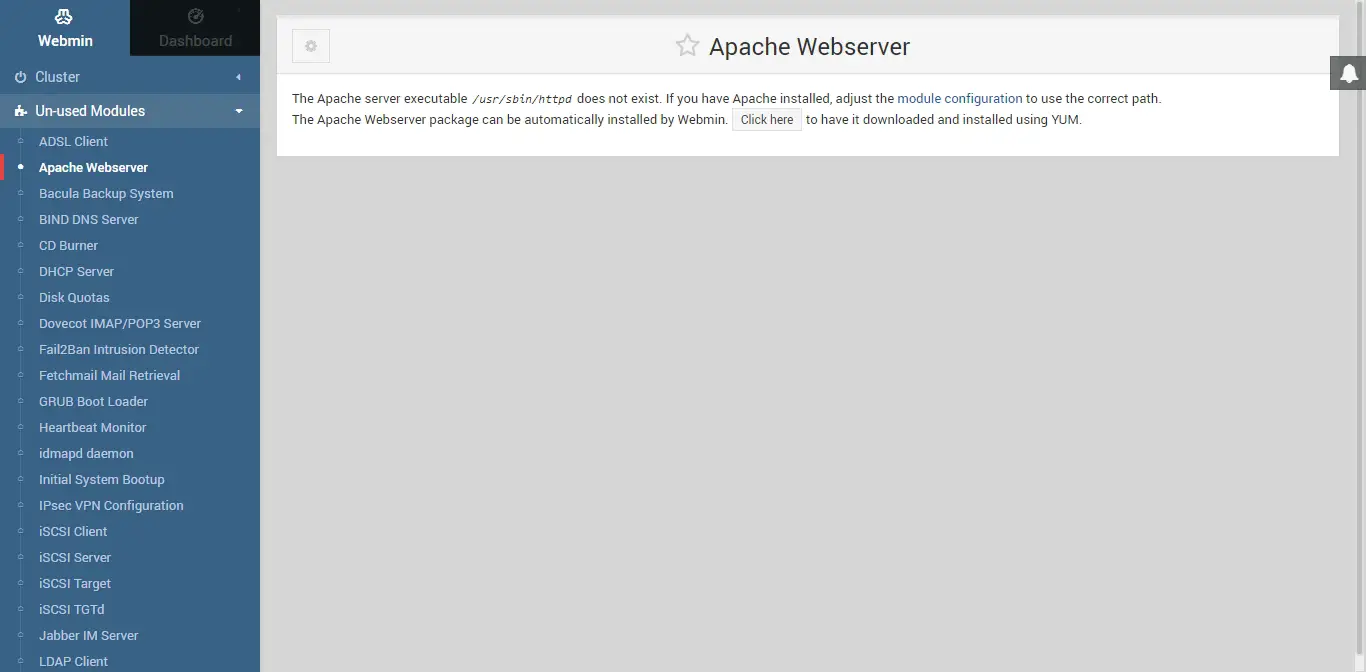
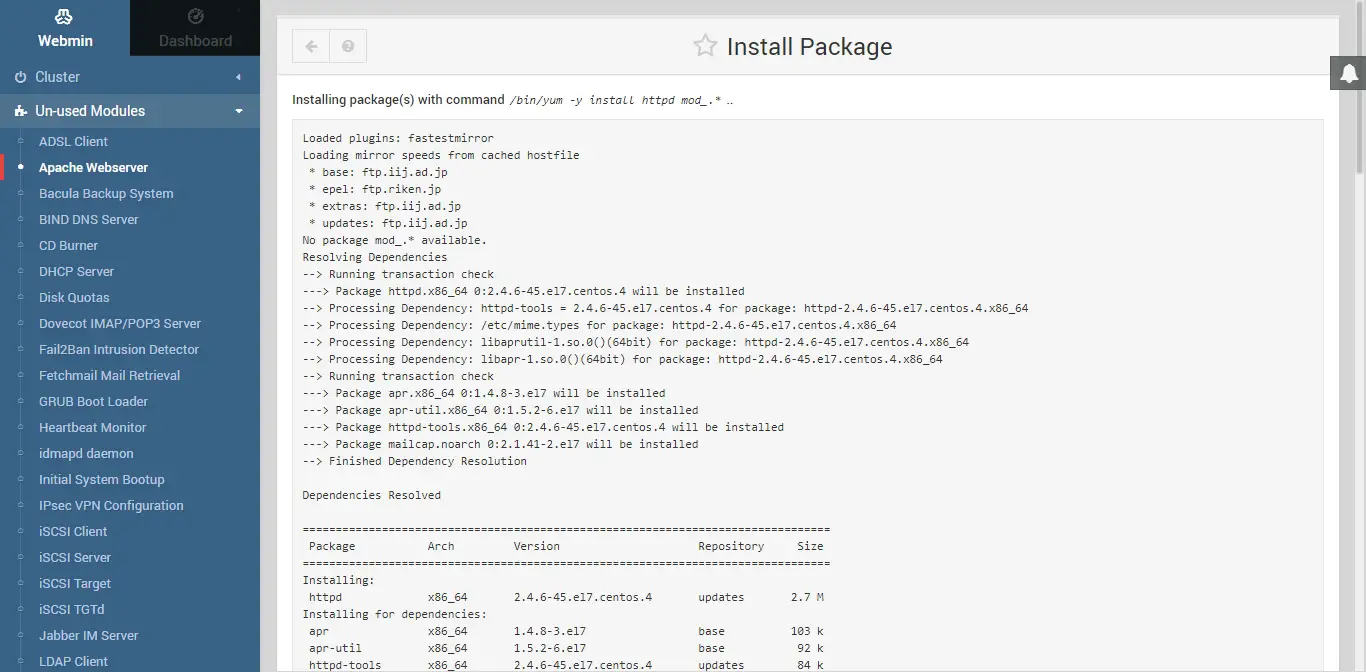
If Apache is not installed on your server, you will be shown the interface above. Click on Click here button to download and install Apache web server through YUM.
Once the package is installed, you will see the details of transactions done.
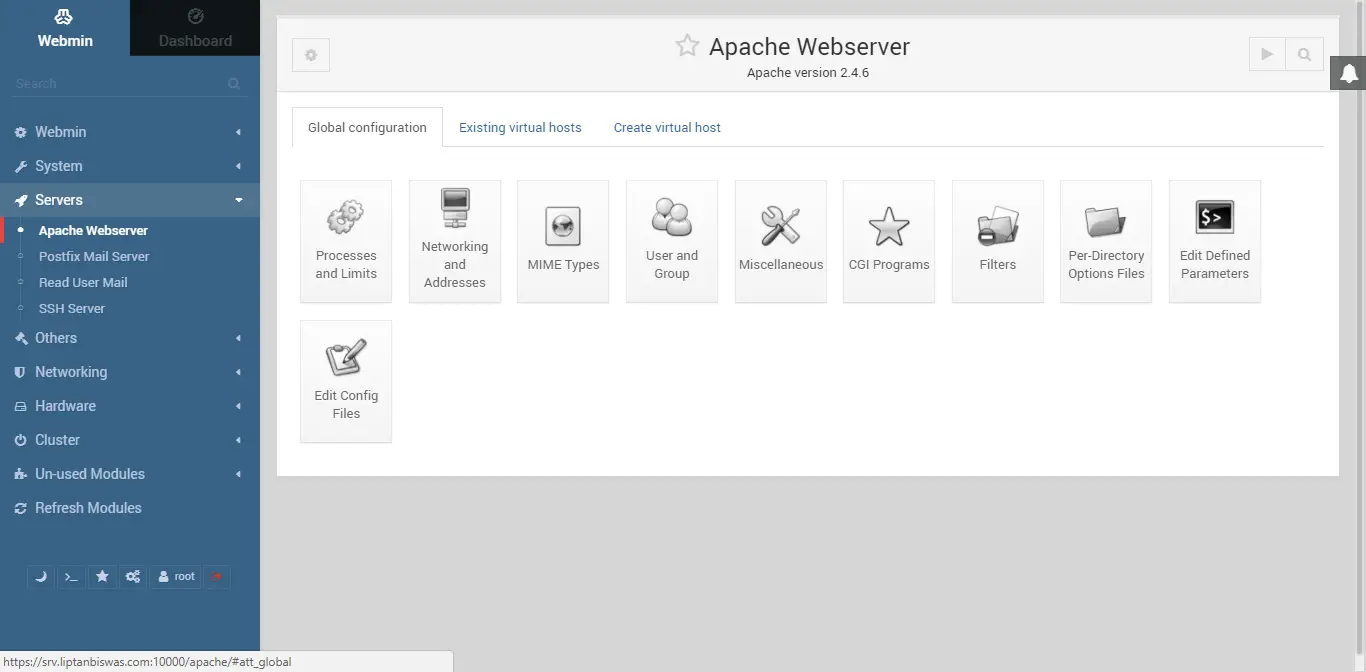
Now refresh the web page and you will see Apache Web Server under Servers tab.
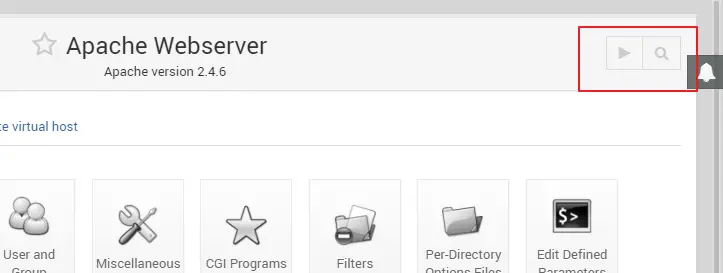
To start Apache Web server, click on start button.
You can manage the global configuration by clicking on Global configuration.

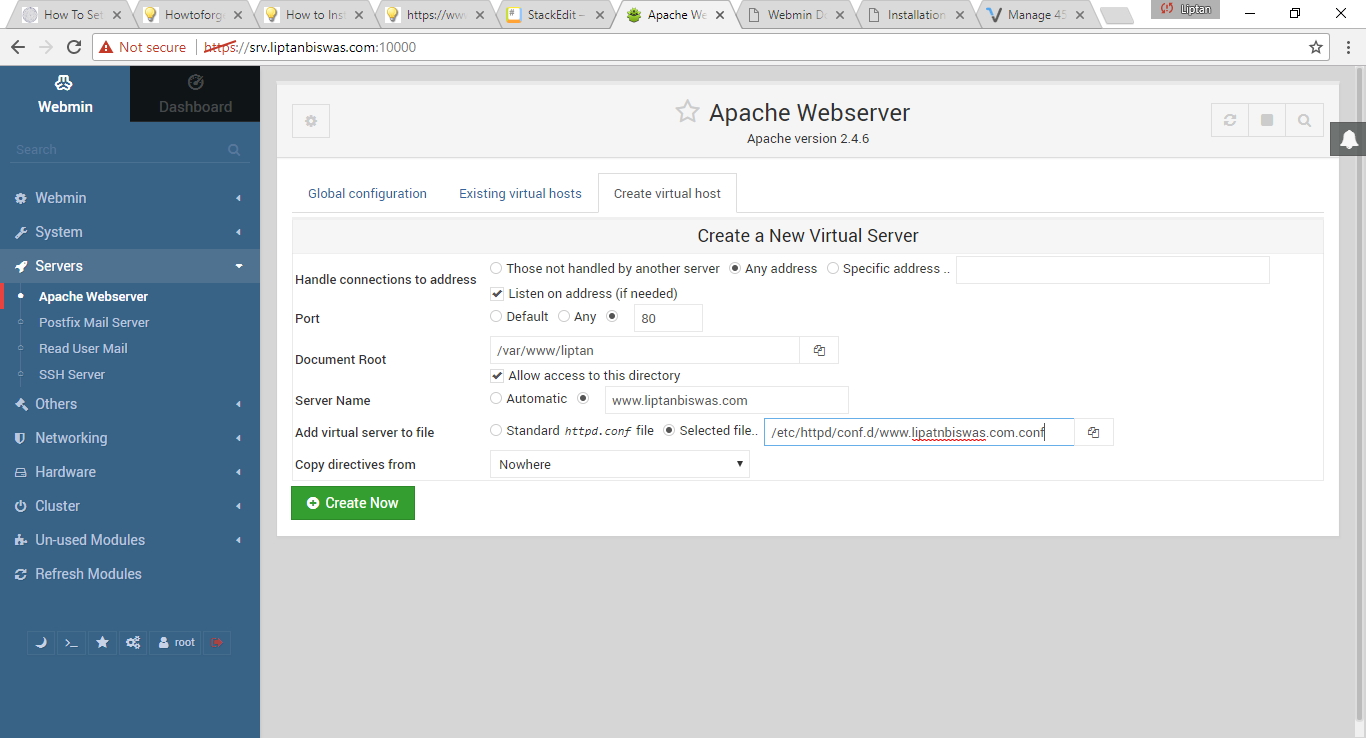
To create a new virtual host, click on Create Virtual Host tab. Choose Any address option in Handle connections to address. Provide the port on which the virtual host will listen to. The recommended option is to use port 80. Provide the document root directory for the virtual server. Select Allow access to this directory check box. It will provide the appropriate permissions to Apache user over the directory. Provide the server name for the virtual server. Provide the appropriate file path for the new virtual server. The file must be stored in /etc/httpd/conf.d/ directory and it must contain .conf extension. You can also opt for writing the virtual host configuration in the default httpd.conf. It will add the configuration at the end of the file, but not recommended. Finally, click Create now button to create the virtual host.
Modifying Firewall
Before you can access the web server, you will need to modify the firewall to allow HTTP service or port 80 through the firewall. Now that we have Webmin installed, we can do this task through Webmin also. Navigate to Webmin >> Networking >> Firewalld.
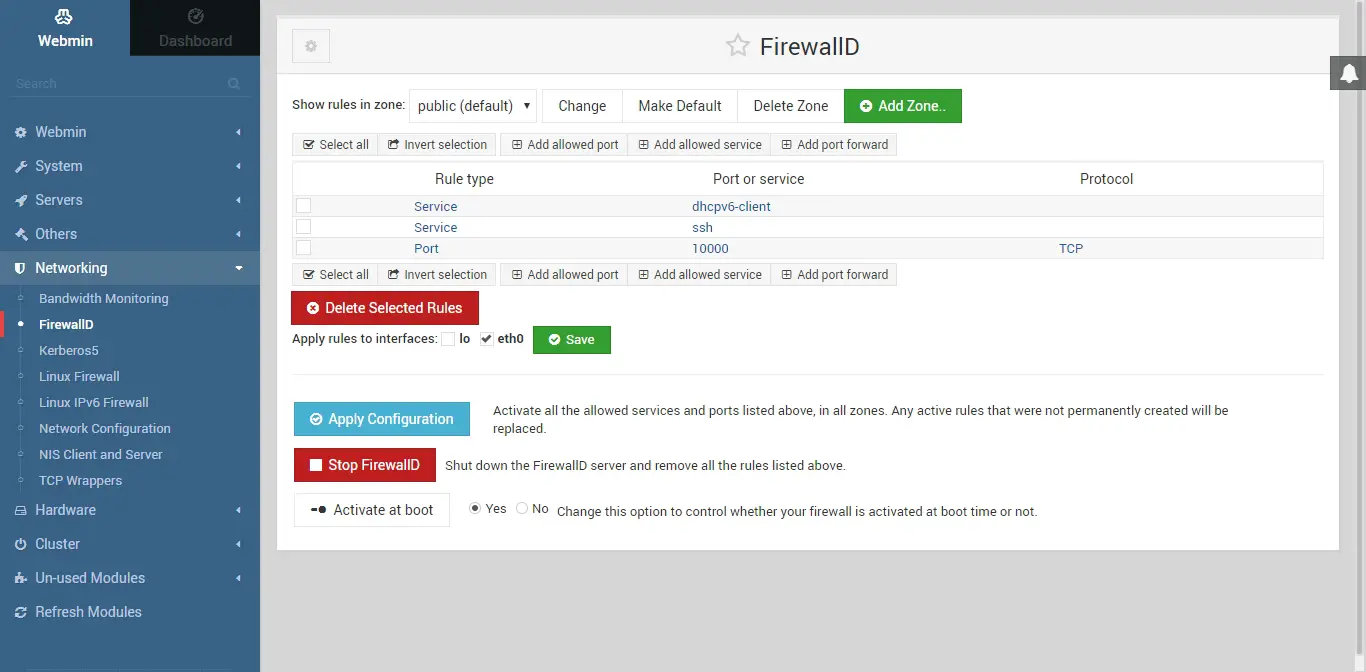
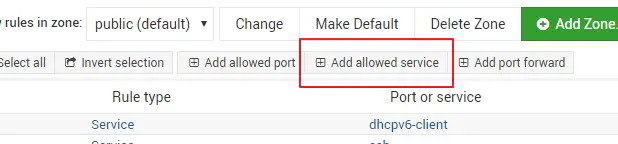
Click on Add Allowed Service button.
Choose http from the list of services and click Create button.
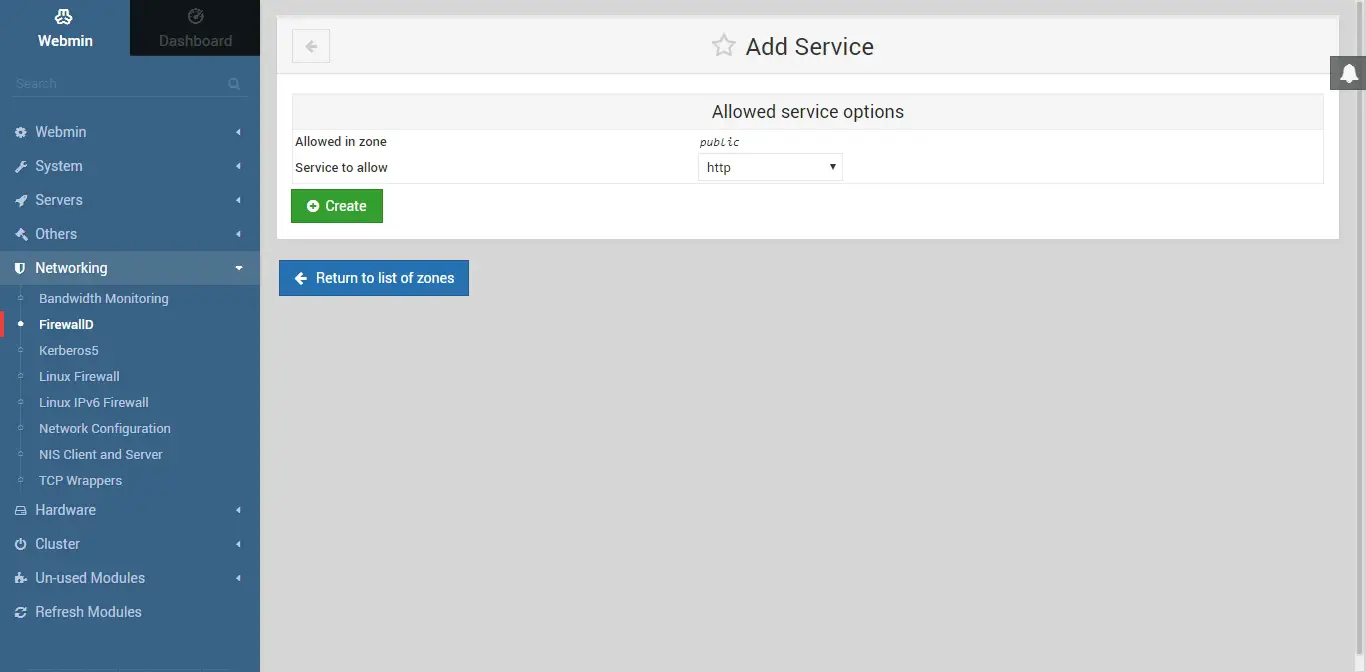
Now return to the list of the zones and click on Apply configuration button. This will reload the firewall applying the new configuration. You can now access the web server on your system.
Configure Webmin
You can configure the Webmin settings by going to Webmin >> Webmin Configuration.
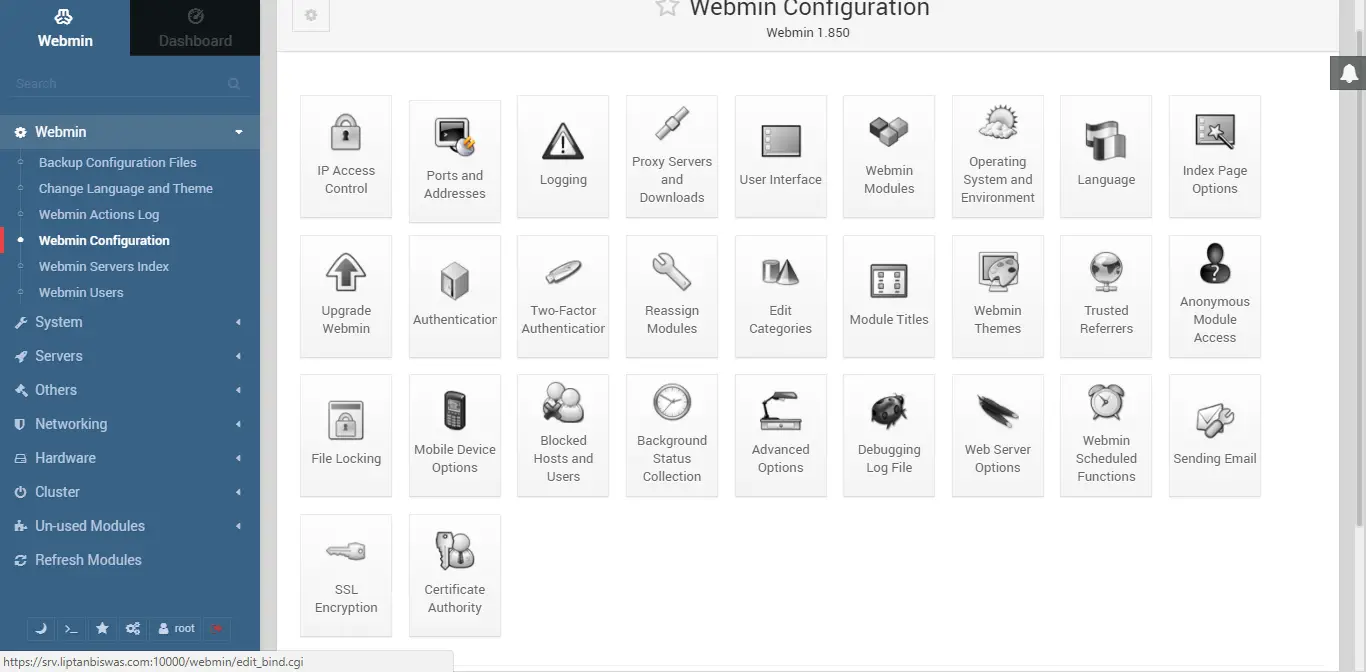
This interface can be used to configure different aspects of Webmin. You can remove the self-signed SSL error by using Let's Encrypt free SSL. To do so, click on SSL Encryption icon. You will be taken to the SSL configuration interface. Click on Let's Encrypt tab and you should see the following screen.
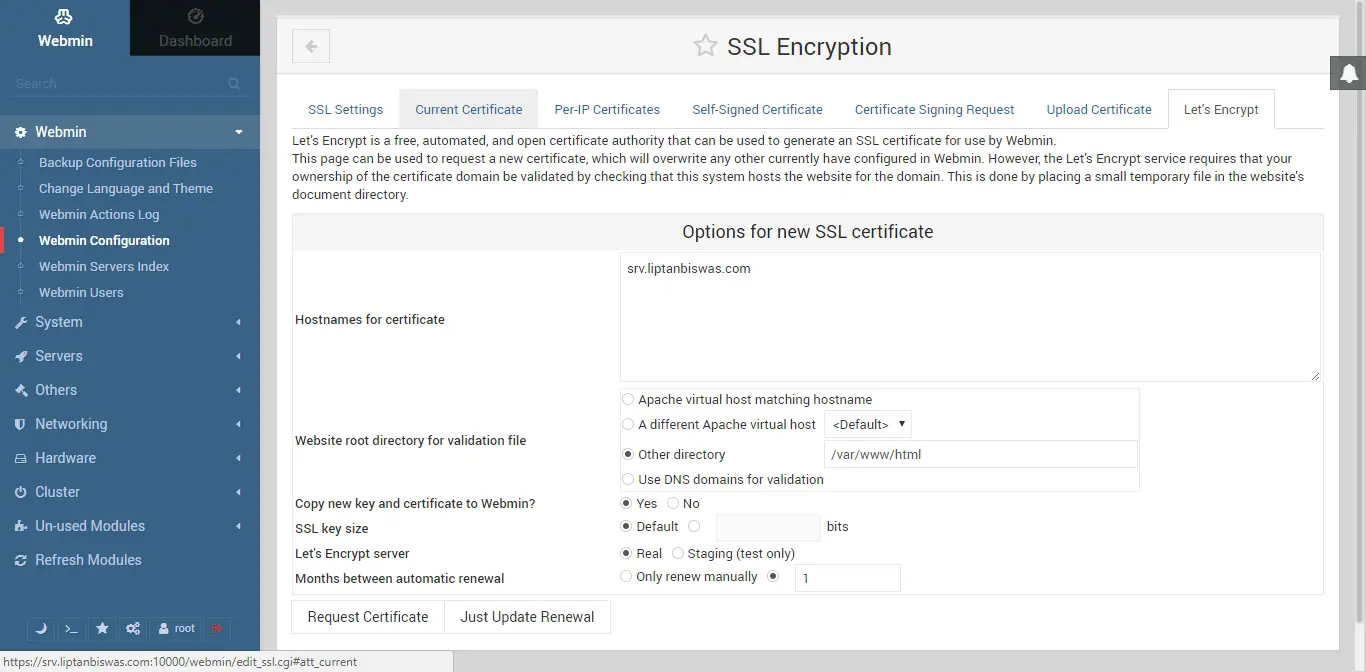
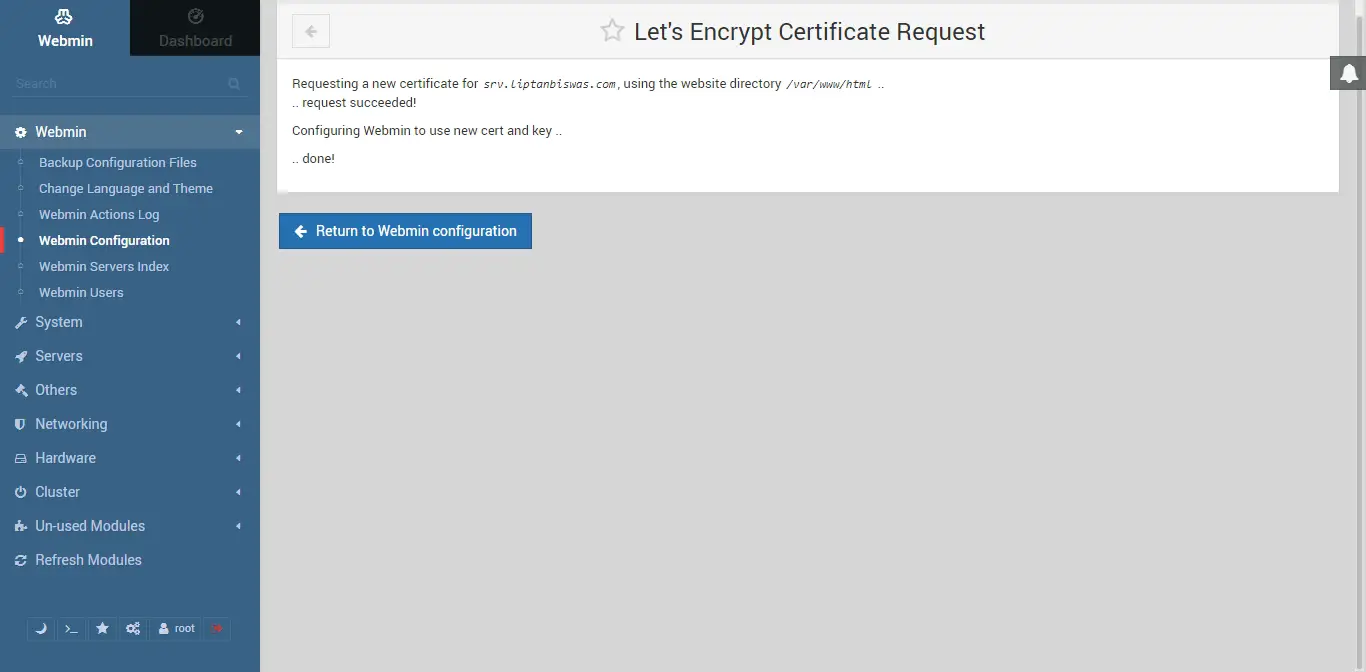
Provide the hostname for the certificate. Make sure that the hostname you have used is pointed towards the server. If not, make necessary changes in DNS configuration of the domain to point it towards your server. In website root directory for validation file, enter /var/www/html. Use the default value for copy new key and certificate to Webmin, SSL key size and Let's Encrypt server. Provide 1 in Months between automatic renewal. Once done click on Request Certificate button. If the certificates are generated and installed successfully then you will get the following output.
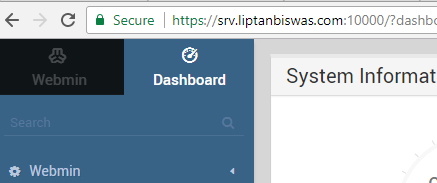
Now refresh the web page or open the Webmin dashboard on a new tab, you will see that no warning is produced and the padlock has turned green saying Secure.
Similarly, you can configure more options of Webmin.
Conclusion
In this tutorial, we have learned to install Webmin on CentOS 7 server. You can now easily manage the server through the graphical interface using Webmin.

