How to Install and Configure GitLab CE on CentOS 7
This tutorial exists for these OS versions
- CentOS 8
- CentOS 7
On this page
GitLab is an open source repository manager based on Rails developed by GitLab Inc. It is a web based git repository manager that allows your team collaborate on coding, testing and deploying applications. GitLab provides several features, including wikis, issue tracking, code reviews, and activity feeds.
GitLab Inc offers 4 products:
- Gitlab CE (Community Edition) - self-hosted and free; support from the Community forum.
- Gitlab EE (Enterprise Edition) - self-hosted and paid; comes with additional features.
- GitLab.com - SaaS and free.
- GitLab.io - Private GitLab instance managed by GitLab Inc.
In this tutorial, we will discuss step-by-step installation of GitLab CE (Community Edition) on CentOS 7 Server with 4GB of RAM. In one of our previous tutorials, we did GitLab installation manually. But here, we will be using 'omnibus' package provided by GitLab for our installation.
What we will do
- Install packages
- Install GitLab
- Configure GitLab URL
- Generate SSL Let's encrypt and DHPARAM certificate
- Enable Nginx HTTPS for GitLab
- Configure fIrewalld
- Perform GitLab Installation
- Testing
Prerequisites
- CentOS 7 server - 64bit
- Min RAM 2GB
- Root privileges
Step 1 - Install packages
In this step, we will download/install some packages needed for the GitLab installation. We will be using curl to download the repository installer, policycoreutils for SELinux manager, OpenSSH, and postfix as local SMTP server.
Install all of those packages with the following yum command.
yum -y install curl policycoreutils openssh-server openssh-clients postfix
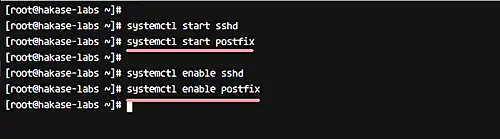
After that, start the ssh and postfix services.
systemctl start sshd
systemctl start postfix
Now enable them to run automatically at the boot time.
systemctl enable sshd
systemctl enable postfix
All packages required for the GitLab installation are now installed on the server.
Step 2 - Install GitLab
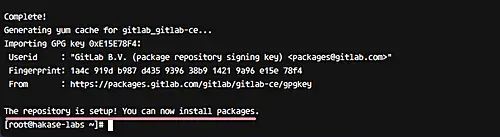
GitLab provides an installer for adding the GitLab CE repository. Download the installer with curl and run the script (as shown below) to add new GitLab CE repository.
curl -sS https://packages.gitlab.com/install/repositories/gitlab/gitlab-ce/script.rpm.sh | sudo bash
GitLab CE repository has been added to the system.
Now install GitLab with the following yum command.
yum -y install gitlab-ce
When the installation complete, you will get the result as shown below.
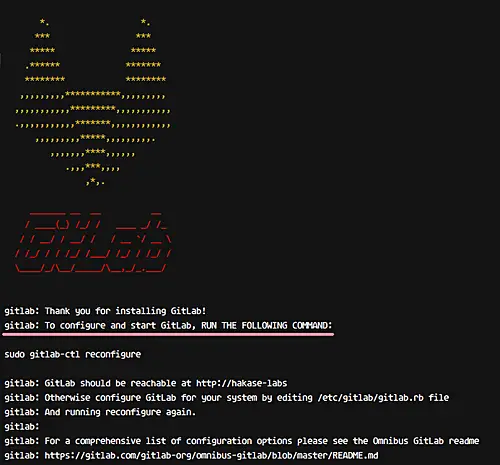
With this, GitLab CE is now installed on the CentOS 7 server.
Step 3 - Configure GitLab URL
For this tutorial, we will use a domain name for GitLab. Specifically, we will use the domain name 'gitlab.hakase-labs.co.'
Go to the GitLab configuration directory '/etc/gitlab' and then edit the configuration file 'gitlab.rb' with vim editor.
cd /etc/gitlab/
vim gitlab.rb
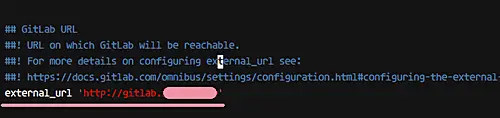
Change the external_url line with the domain name 'gitlab.hakase-labs.co'.
external_url 'http://gitlab.hakase-labs.co'
Save the changes and exit vim.
Step 4 - Generate SSL Let's encrypt and DHPARAM certificate
For the basic layer of security, we will be using the SSL for our GitLab site. We will use free SSL certificate from Letsencrypt and generate DHPARAM certificate to add an extra security layer.
To generate the Letsencrypt certificate, we need to install the letsencrypt command line tool, which is available in the repository.
Install Letsencrypt tool on CentOS 7 with yum command below.
yum -y install letsencrypt
After the installation is complete, generate new SSL certificate letsencrypt with the command below.
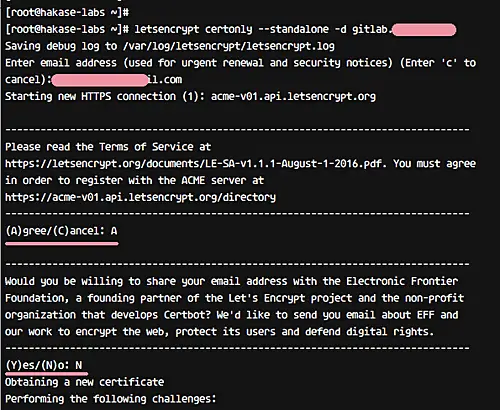
letsencrypt certonly --standalone -d gitlab.hakase-labs.co
Note: While generating SSL Letsencrypt, make sure your HTTP and HTTPS port are not blocking by the firewall.
Type your email address for renewing notification, then type 'A' for the Letsencrypt Terms of Service agreement, and finally type 'N' and press Enter again.
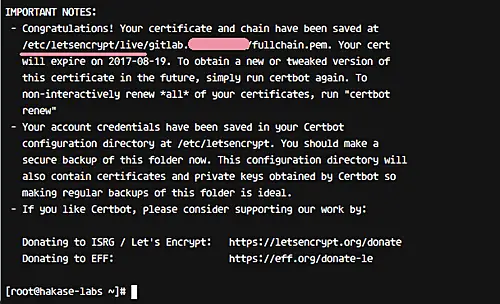
And if you see the result as shown below, it means your certificate for the domain name has been generated, and stored in the '/etc/letsencrypt/live' directory.
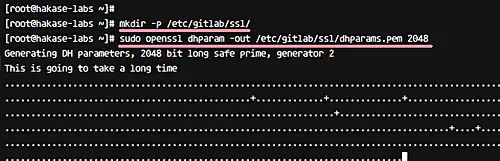
Next, create new 'ssl' directory under the GitLab configuration directory '/etc/gitlab/'.
mkdir -p /etc/gitlab/ssl/
Now generate the DHPARAM certificate pem file using OpenSSL. The bigger bit is more secure.
sudo openssl dhparam -out /etc/gitlab/ssl/dhparams.pem 2048
And after the DHPARAM certificate is generated, change the permission of the certificate file to 600.
chmod 600 /etc/gitlab/ssl/*
So the SSL Letsencrypt and DHPARAM certificate for the GitLab installation has been generated.
Step 5 - Enable Nginx HTTPS for GitLab
At this stage, we already have free SSL certificate files from Letsencrypt and DHPARAM certificate which is generated using OpenSSL command. And in this step, we will enable HTTPS for the GitLab site. We will enable HTTPS and force HTTP to the HTTPS connection.
First, go to the GitLab configuration directory and edit the configuration file 'gitlab.rb'.
cd /etc/gitlab/
vim gitlab.rb
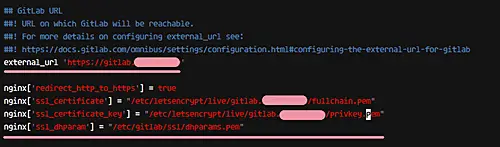
And change HTTP to HTTPS on the external_url line.
external_url 'https://gitlab.hakase-labs.co'
Then paste the following configuration under the 'external_url' line configuration.
nginx['redirect_http_to_https'] = true
nginx['ssl_certificate'] = "/etc/letsencrypt/live/gitlab.hakase-labs.co/fullchain.pem"
nginx['ssl_certificate_key'] = "/etc/letsencrypt/live/gitlab.hakase-labs.co/privkey.pem"
nginx['ssl_dhparam'] = "/etc/gitlab/ssl/dhparams.pem"
Save the changes and exit vim.
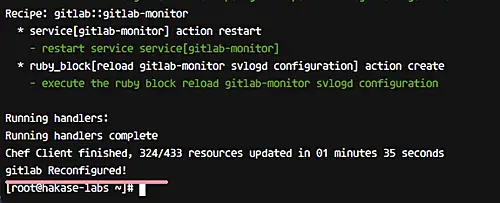
Finally, apply the GitLab configuration using the following command.
gitlab-ctl reconfigure
And when all is complete, you should get the result as shown below.
Step 6 - Configure Firewalld
In this tutorial, we will run GitLab under the Firewalld firewall. So make sure it's installed on the system. If you do not have the package, you can install it using the following command.
yum -y install firewalld
Start firewalld and enable it to run automatically at boot time with systemctl commands as shown below.
systemctl start firewalld
systemctl enable firewalld
Next, open new ports for our services. We will open SSH, HTTP and HTTPS ports for our GitLab config. Run firewall-cmd commands below to open the ports.
firewall-cmd --permanent --add-service ssh
firewall-cmd --permanent --add-service http
firewall-cmd --permanent --add-service https
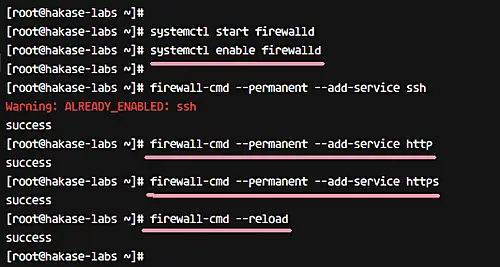
Now reload the firewall and check the firewalld configuration. Make sure SSH, HTTP, and HTTPS are on the list.
firewall-cmd --reload
firewall-cmd --list-all
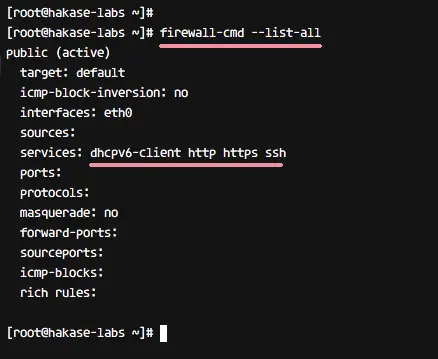
So with this, Firewalld configuration for GitLab has been completed.
Step 7 - Perform installation
So GitLab has been installed in the system, and it's running under the Firewalld firewall. In this step, we will do some quick settings after installing GitLab on the server.
Reset GitLab root password
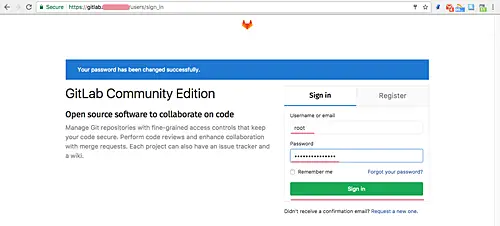
Open your web browser and type the gitlab URL 'gitlab.hakase-labs.co'. You will be redirected to the HTTPS connection. Change the root password with your own password, and click 'Change your password' button to confirm.
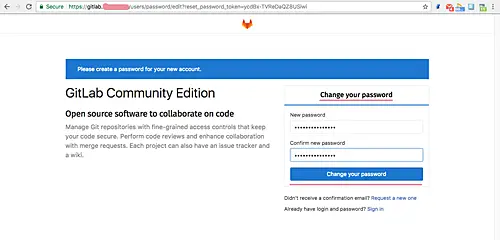
Now you can log in to the GitLab dashboard with default user 'root' and your own password.
Change profile and Username
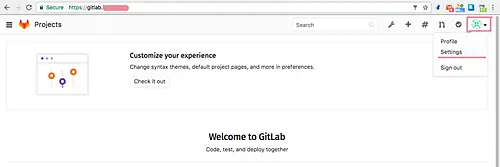
After you logged in to the GitLab dashboard, click on the top right of your icon profile, and click the 'Settings' icon to setup your profile.
In the 'Profile' tab, change your name and email address, then click the 'Update profile Settings' button on the bottom to confirm.

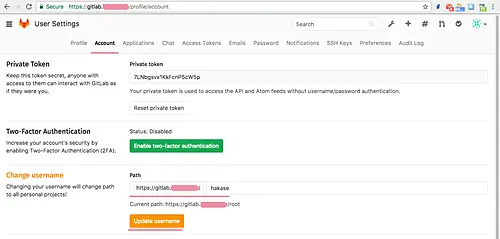
Next, go to the 'Account' tab and change the default root username with your own username, then click the 'Update username' button.
Add SSH Key
Make sure you already have a key, if you do not have an SSH key, you can generate one using the command below.
ssh-keygen
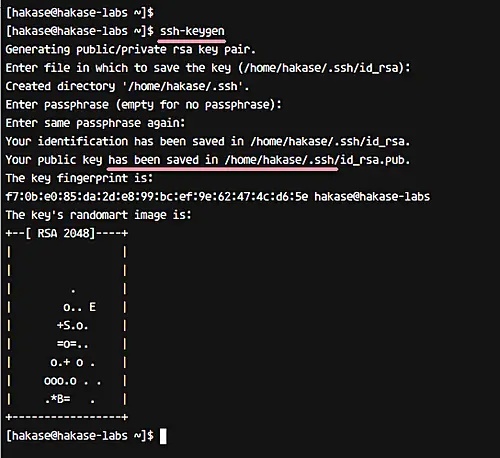
And you will get two keys in ~/.ssh/ directory. 'id_rsa' would be your private key and 'id_rsa.pub' would be your public key.
Next, come back to the Web browser, and click on the 'SSH Key' tab. Copy content of 'id_rsa.pub' file and paste to the key box, and click 'Add Key'.
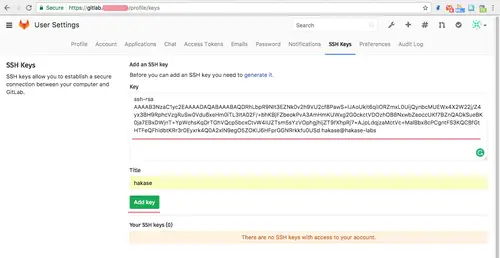
With this, the SSH key has been updated.
Sign up restrictions and limit settings
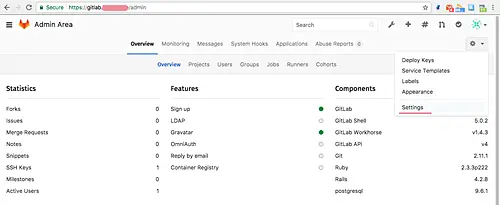
Click on the 'Admin Area' icon, and then click on the gear icon and choose 'Settings'.
In the 'Account and Limit Settings' section, you can configure max project per user. And in the 'Sign-up Restrictions' section, you can add the domain name of your email to the white-list box.
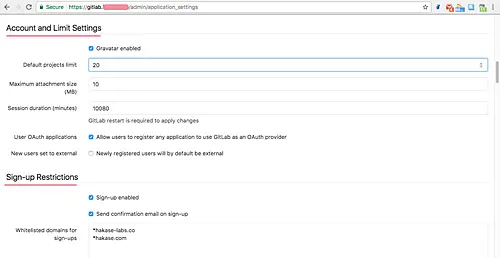
After all this is done, scroll to the bottom and click 'Save'.
That's it. Basic GitLab configuration has been completed.
Step 8 - Testing
Now, we will do some testing with our self-hosted GitLab.
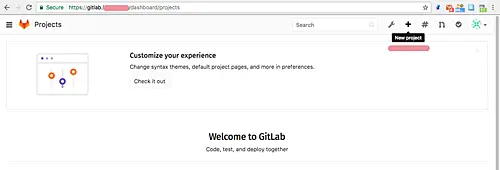
Create New Project
Click the plus icon on the top-right to create a new project repository.
Type your project name, description, and setup visibility settings for your project. And then click the 'Create project' button.
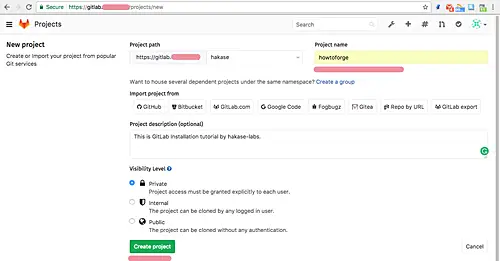
With this, the project has been created.
Test first commit
After your project is created (howtoforge in our case), you will be redirected to the project page. Now start adding new content to the repository.
Make sure Git is installed on your computer.
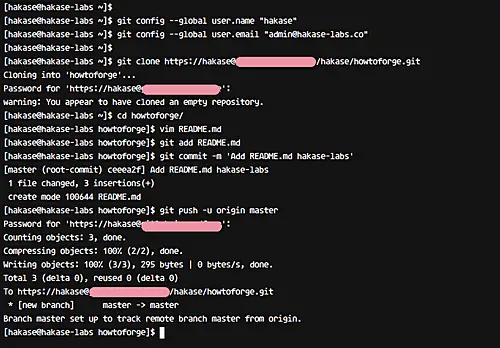
For this test, we need to setup Git account on the computer, something which you can do using the following commands:
git config --global user.name "hakase"
git config --global user.email "[email protected]"
Clone the repository and add a new README.md file.
git clone https://[email protected]/hakase/howtoforge.git
cd howtoforge/
vim README.md
You will be asked for the hakase password. Please type the same password that we used while accessing GitLab for the first time, and then add new content to the README.md file.
Commit new changes to the repository using the following commands.
git add .
git commit -m 'Add README.md file by hakase-labs'
Next, push the repository to the GitLab server.
git push origin master
Type your password and press Enter to continue. You should see the result as shown below.
Now open the project (howtoforge in our case) from your web browser, and you will see a new README.md file has been added to the repository.
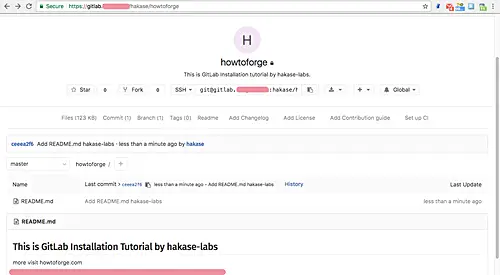
So this confirms that Gitlab is successfully installed on Ubuntu CentOS 7 with 4GB of memory.

