How to install Nextcloud integrated with ONLYOFFICE using Docker
Nextcloud is a free, open source file hosting solution, a fork of the ownCloud project that offers you the ability to run a cloud storage service that you administer and control yourself. Nextcloud integrated with ONLYOFFICE Document Server permits you not only to store and share your documents, but also to view, create, edit and collaborate on your text documents, spreadsheets and presentations.
If you are a Nextcloud user already, you can integrate ONLYOFFICE editors with Nextcloud following the instructions in this tutorial. If you are new to Nextcloud, you can install it integrated with ONLYOFFICE all at once using the provided Docker script.
Requirements
To install the preconfigured version of ONLYOFFICE Document Server connected to Nextcloud using Docker containers, you will need:
- The latest version of Docker. You can download it here https://docs.docker.com/engine/installation/, following the instructions on the official Docker website.
- Docker Compose. You can download it from the official website as well https://docs.docker.com/compose/install/.
Step 1. Installation
Before you start the installation process, make sure your machine meets the following requirements:
- CPU: dual core 2 GHz or better
- RAM: 2 GB or more
- HDD: at least 40 GB of free space
- At least 2 GB of swap
Step 1. Get the latest version of docker-onlyoffice-owncloud repository.
Use the following commands:
Download the repository:
git clone --recursive https://github.com/ONLYOFFICE/docker-onlyoffice-owncloud
Go to the required folder:
cd docker-onlyoffice-owncloud
Set it for updates:
git submodule update --remote
Step 2. Edit the docker-compose.yml file.
Edit the docker-compose.yml file, as docker-onlyoffice-owncloud repository combines both Nextcloud and ownCloud configurations, and ownCloud is chosen by default.
Open the specified file with nano text editor or any other:
nano docker-compose.yml
Find the image: owncloud:fpm line and type nextcloud instead of owncloud. The line has to be altered this way:
image: nextcloud:fpm.
Step 3. Run Docker Compose.
docker-compose up -d
The installation process will go automatically. Wait for a short while, until all the containers are installed.
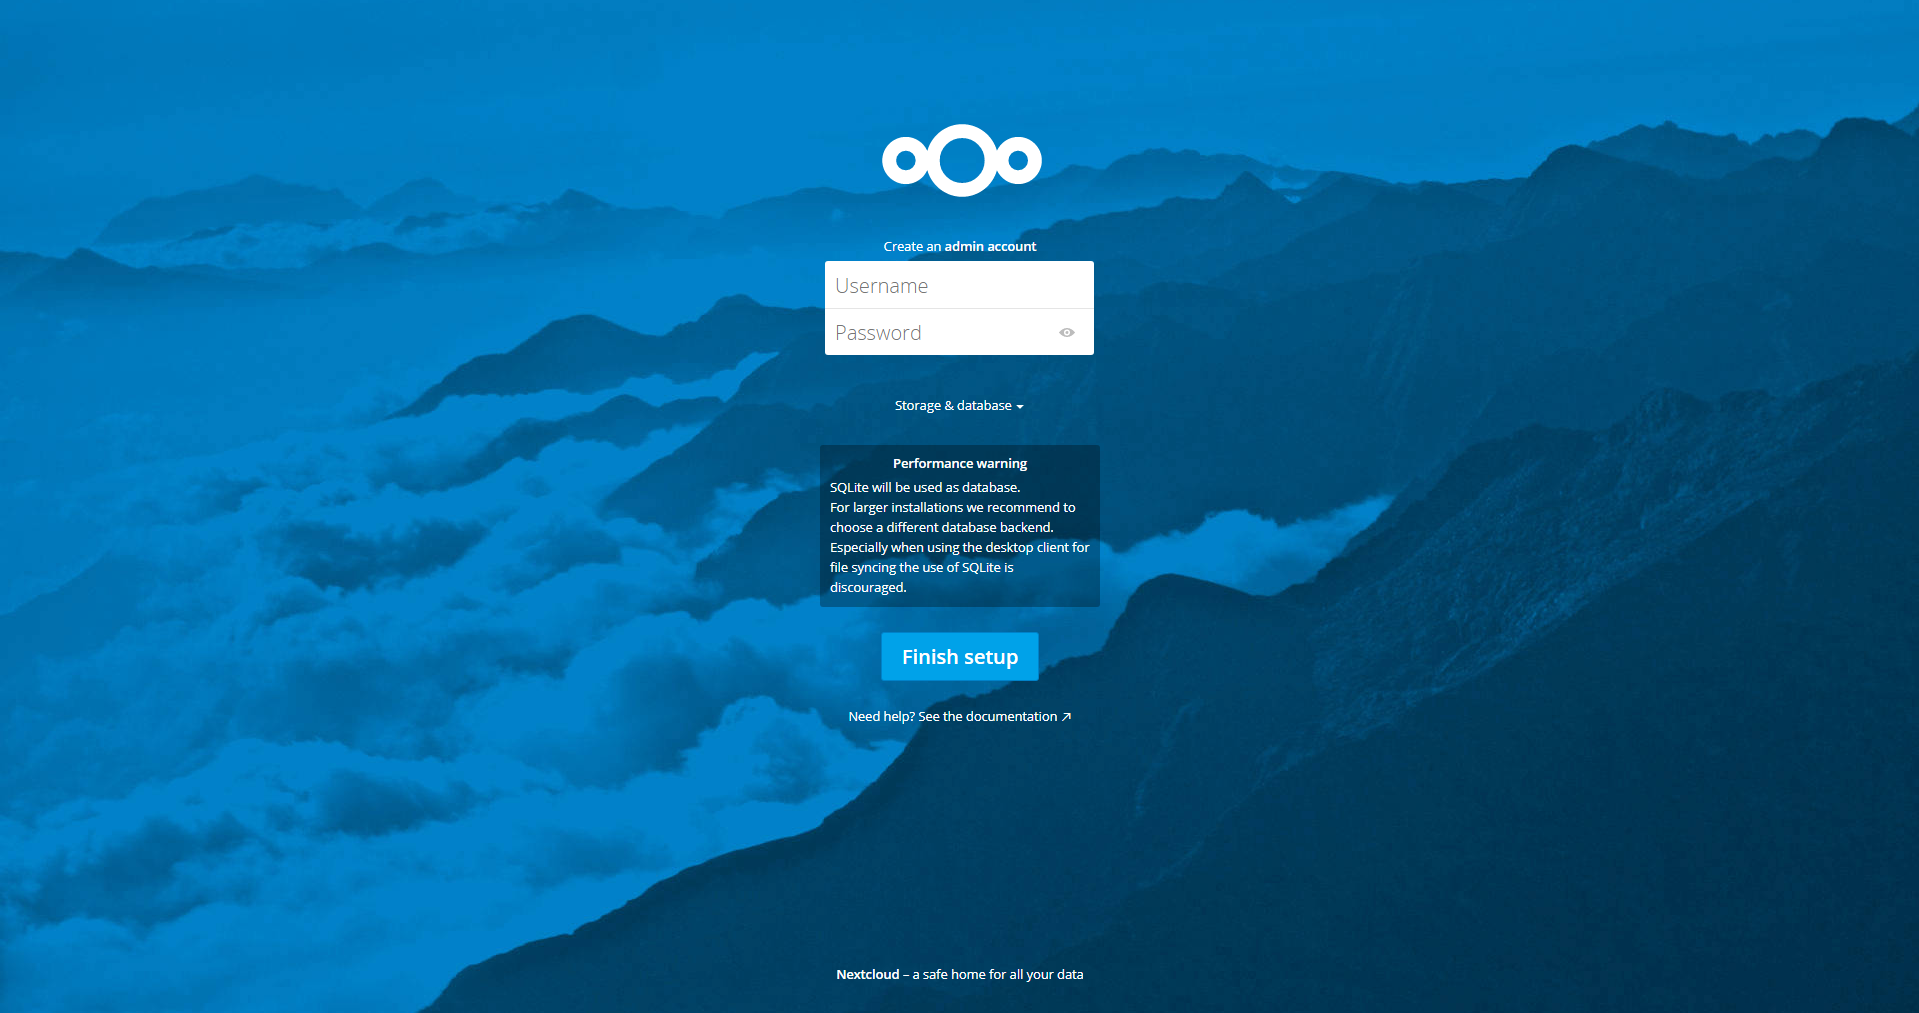
Step 4. Configure Nextcloud web application.
Launch the browser and enter your web server address. The Nextcloud Wizard web page will be opened. Enter the username and password to create your admin account.
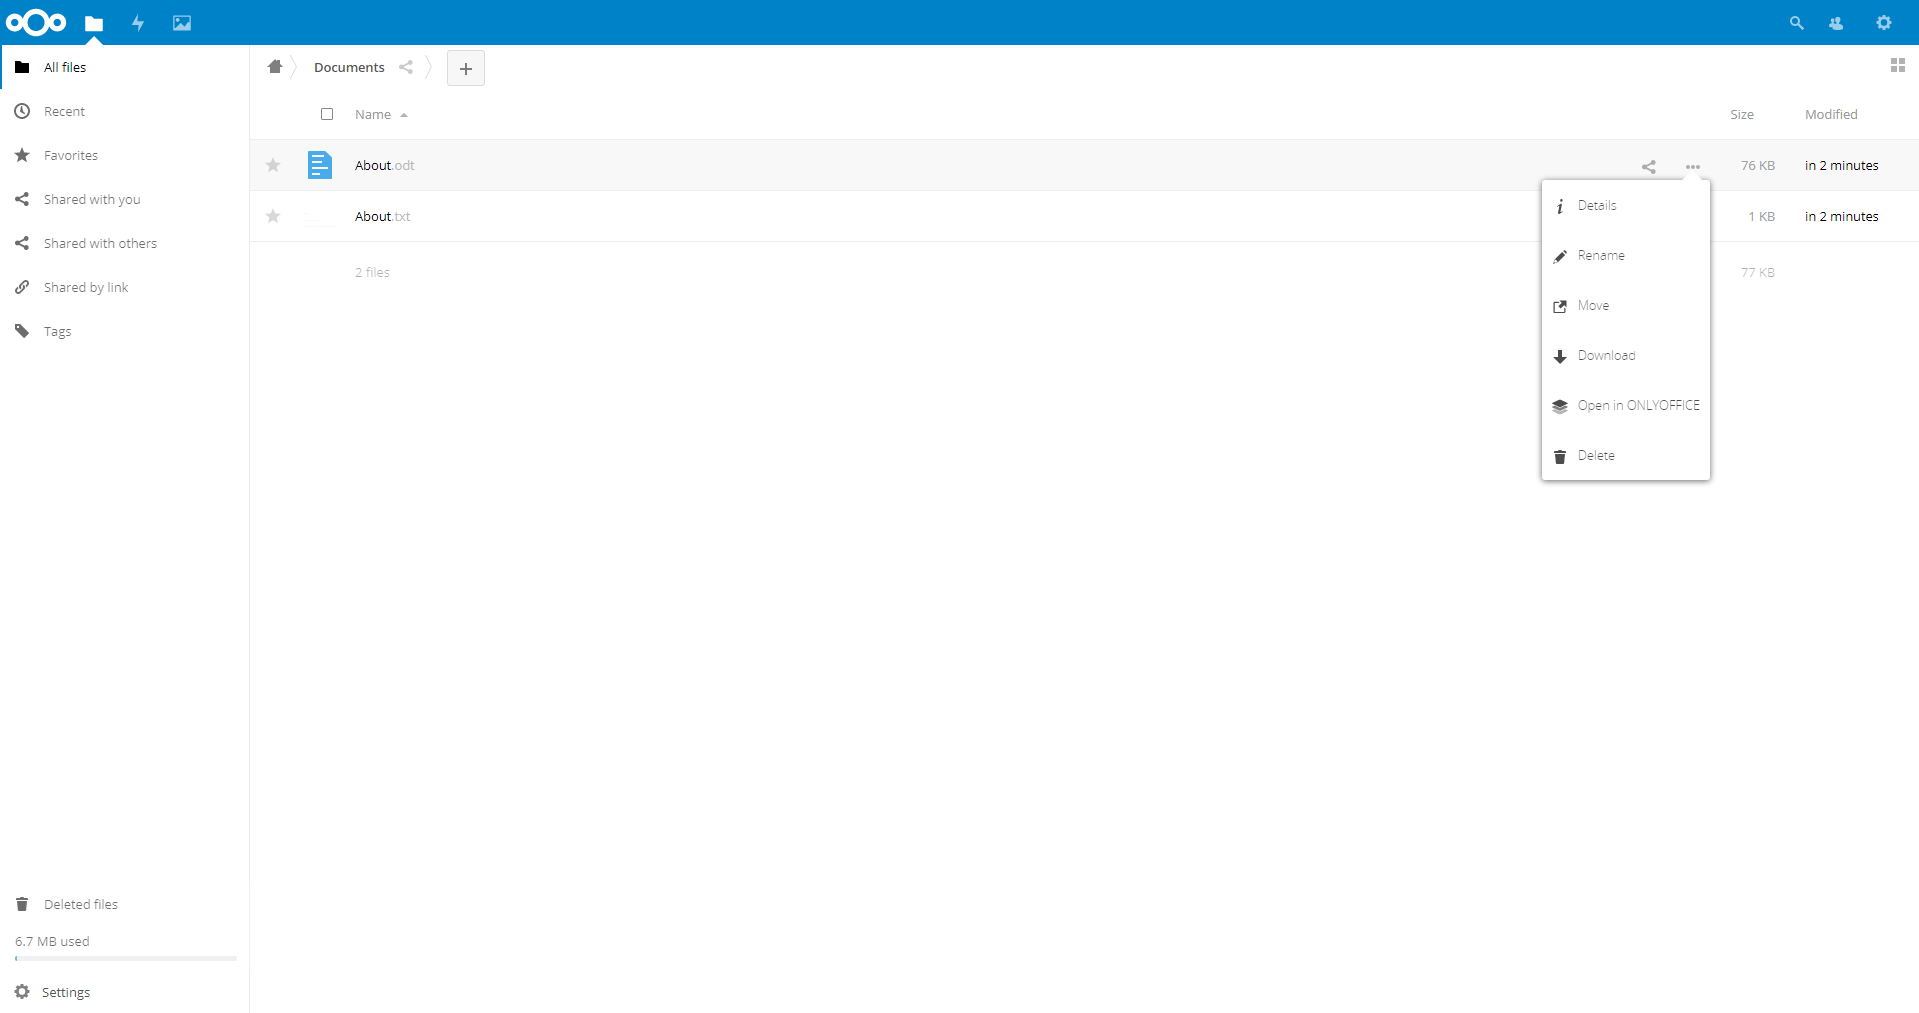
Step 5. Complete the configuration and start editing.
There is still no option to edit your documents in Nextcloud with ONLYOFFICE Document Server. To complete the configuration, go back to the downloaded folder and run the set_configuration.sh script:
bash set_configuration.sh
Refresh the web page. The new Open in ONLYOFFICE option will be available in the file menu. Now you can edit and collaborate on your documents right in Nextcloud using ONLYOFFICE.
Links
- ONLYOFFICE official website
- Official ONLYOFFICE API documentation
- Support forum for any questions
- docker-onlyoffice-owncloud repository on GitHub

