How to Install ERPNext on Debian 12
This tutorial exists for these OS versions
- Debian 12 (Bookworm)
- Debian 11 (Bullseye)
- Debian 9 (Stretch)
On this page
ERPNext is an open-source enterprise resource planning (ERP) solution. ERPNext can be used in various industries such as manufacturing, distribution, retail, trade, services, education, non-profit and healthcare. It also offers modules such as accounting, CRM, sales, purchasing, website, e-commerce, point of sale, manufacturing, warehouse, project management, inventory and services.
ERPNext is an enterprise ERP platform licensed under the GNU General Public Licence v3. It is written primarily in Python and JavaScript and was developed by Frappe Technologies Pvt. Ltd. ERPNext is an application written under the frappeframework, an open source web framework in Python and JavaScript.
ERPNext was developed as an alternative to services such as NetSuite from Oracle, QAD, Tython, OpenBrave and Odoo. In terms of functionality, ERPNext is similar to Odoo (formerly OpenERP).
In this tutorial, we will guide you through the installation of ERPNext on the Debian 12 server. You will install ERPNext with a MariaDB database server, Nginx as a reverse proxy and a supervisor process manager.
Prerequisites
To get started, ensure you have access to:
- A Debian 12 server.
- A non-root user with sudo administrator privileges.
- A domain name pointed to the server IP address.
Installing Dependencies
ERPNext is an open-source ERP and CRM software written in Python. To install ERPNext, you must install dependencies such as Python 3, MariaDB Server, Node.js, Yarn package manager, Nginx, Supervisor process manager, and Redis to your Debian server.
In this first step, you will install ERPNext dependencies from the Debian repository. Then, you will also verify each dependency to ensure everything is installed.
Before installing dependencies, execute the apt update command below to refresh your Debian package index.
sudo apt update
Now run the following command to install dependencies for ERPNext, including Python 3.11, Node.js, NPM, MariaDB server, Nginx web server, Supervisor process manager, and Redis server.
sudo apt install python3-dev python3-venv nodejs yarnpkg npm redis-server mariadb-server nginx supervisor fail2ban libffi-dev git python3-pip python3-testresources libssl-dev wkhtmltopdf gcc g++ make
Type y to proceed with installation.

Once dependencies are installed, verify each dependencies by executing the following command. You will verify some services via the systemctl command to ensure that each service is running and enabled.
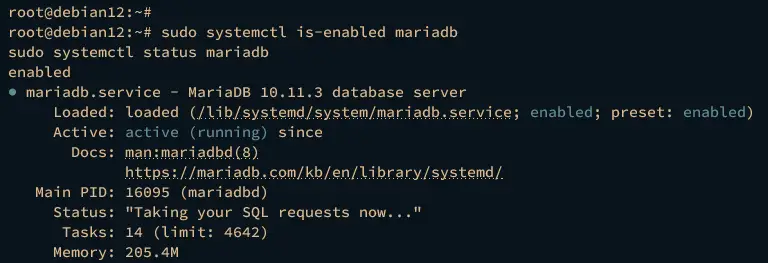
Verify the MariaDB server using the following command.
sudo systemctl is-enabled mariadb
sudo systemctl status mariadb
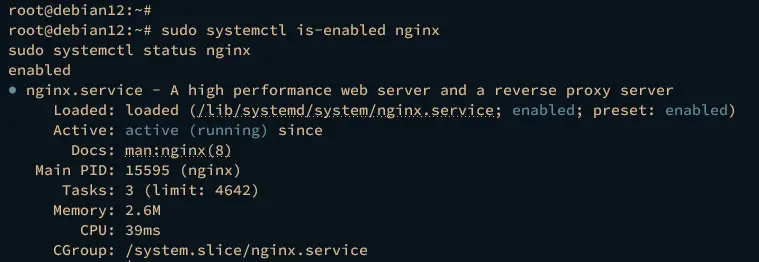
Verify the Nginx service to ensure that the service is running and enabled.
sudo systemctl is-enabled nginx
sudo systemctl status nginx
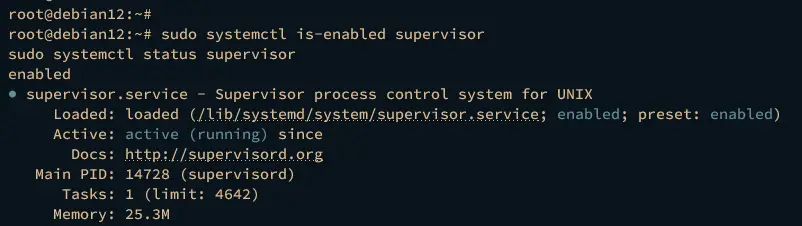
Now verify the supervisor process manager service using the command below.
sudo systemctl is-enabled supervisor
sudo systemctl status supervisor
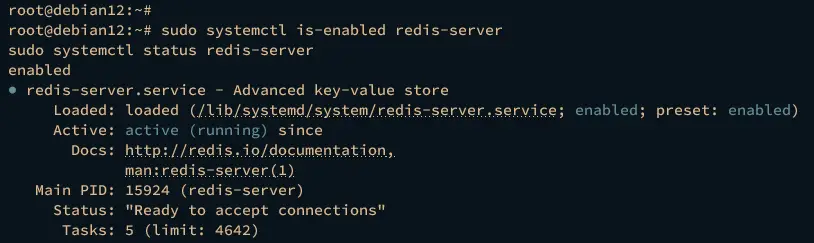
Then, verify the Redis to ensure it's available and ready for ERPNext production.
sudo systemctl is-enabled redis-server
sudo systemctl status redis-server
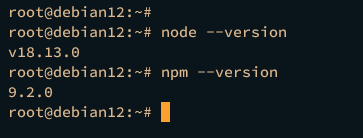
Next, verify the Node.js and NPM versions using the following command.
node --version
npm --version
The following output confirms that Node.js v18.x and NPM 1.22 is installed.
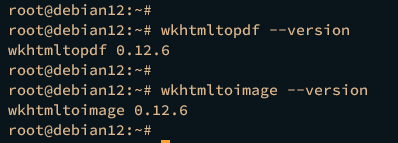
Lastly, verify the wkhtmltopdf version using the command below. You should see the wkhtmltopdf version 0.12 is installed.
wkhtmltopdf --version
wkhtmltoimage --version
Configuring MariaDB Server
After installing dependencies, you will configure your MariaDB server to ensure it is ready for ERPNext installation. The ERPNext required barracuda format to be enabled and the default character set configured to utf8mb4. You will also secure your MariaDB server via the mariadb-secure-installation utility.
Execute the mariadb-secure-installation command below to secure your MariaDB server installation.
sudo mariadb-secure-installation
Input Y to apply when asked with the following configurations:
- Switch local authentication to unix_socket? Input n for no.
- Set up MariaDB root password? Input y, then type the new MariaDB root password and repeat.
- Remove the default anonymous user? Input y to confirm.
- Disable remote login for the root user? Input y to confirm.
- Remove the default database test? Input y to confirm.
- Reload table privileges and apply changes? Input y to confirm.
Now open the MariaDB Server configuration /etc/mysql/mariadb.conf.d/50-server.cnf using the following nano editor.
sudo nano /etc/mysql/mariadb.conf.d/50-server.cnf
Insert the following configuration within the [mysqld] section to enable barracuda format and set up the default character-set to utf8mb4.
[mysqld]
innodb-file-format=barracuda
innodb-file-per-table=1
innodb-large-prefix=1
character-set-client-handshake = FALSE
character-set-server = utf8mb4
collation-server = utf8mb4_unicode_ci
Save the file and exit the editor when finished.
Next, open the file /etc/mysql/mariadb.conf.d/50-mysql-clients.cnf using the nano editor to configure the MariaDB client connection.
sudo nano /etc/mysql/mariadb.conf.d/50-mysql-clients.cnf
Add the following configuration to the [mysql] section.
[mysql]
default-character-set = utf8mb4
Save and exit the file.
Lastly, run the following command to restart the MariaDB server and apply the new configuration.
sudo systemctl restart mariadb
Installing Bench Command Line Tool
A bench is a command line too for managing Frappe Frameworks, including applications and sites. ERPNext is a web application written with Frappe Framework, you must install it via Bench.
Complete the following section to create a new user that will be used for ERPNext, then install Bench utility to your Debian system.
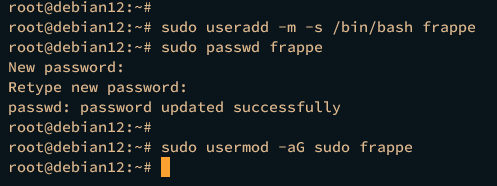
First, execute the following command to add a new user frappe, input the new password, and repeat.
sudo useradd -m -s /bin/bash frappe
sudo passwd frappe
Add the user frappe to the sudo group to allow it to execute the sudo command.
sudo usermod -aG sudo frappe
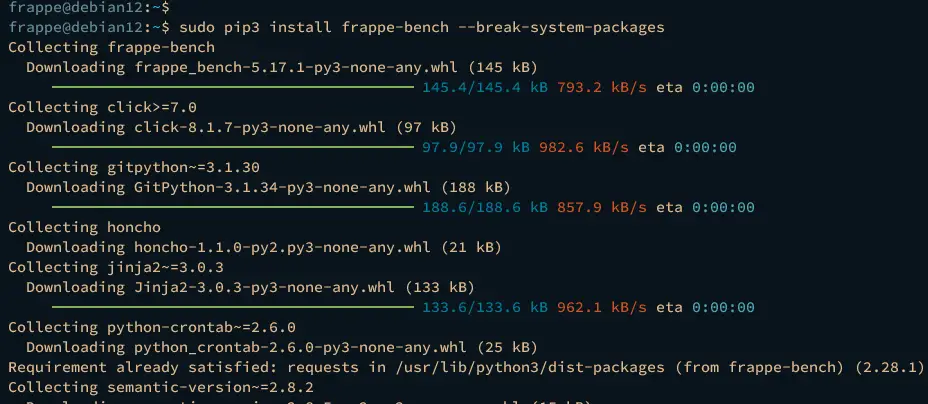
Next, log in as the new user frappe and install the frappe-bench or bench package via the pip Python package manager.
su - frappe
sudo pip3 install frappe-bench --break-system-packages
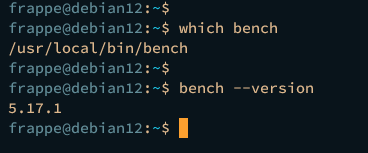
Once the frappe-bench is installed, verify it using the following command. In this example, bench 5.17 is installed at /usr/local/bin/bench.
which bench
bench --version
Installing ERPNext via Bench
In this section, you will install ERPNext via the Bench command line. You will initialize the Frappe Framework project, create a new site, and then download and install the ERPNext application to the Frapper project.
First, execute the bench command below to initialize Frappe Framework 14 to the frappe-bench directory.
bench init --python python3.11 --frappe-branch version-14 frappe-bench
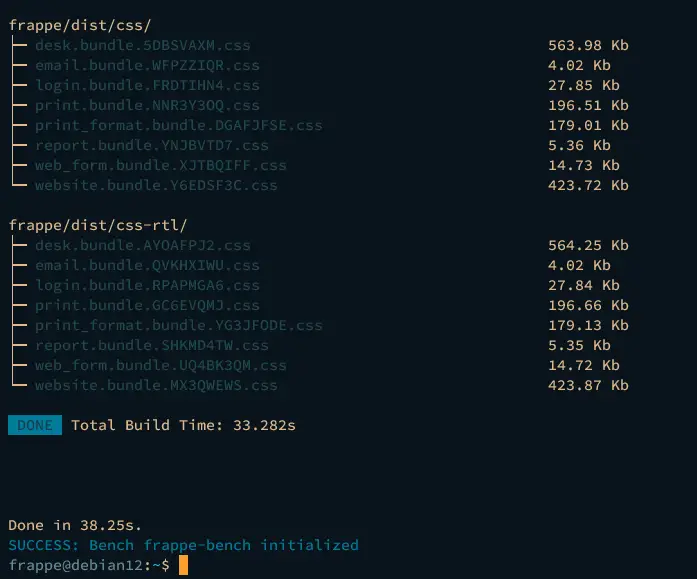
Below you should see Frappe Framework installation begin.

Once initialized, you should get the following output:
Now run the command below to allow users to execute the Frappe Framework. This will allow groups such as www-data to execute the Frappe Framework.
sudo chmod -R o+rx /home/frappe/frappe-bench
Next, move to the Frappe Framework installation directory ~/frappe-bench and create a new site erp.hwdomain.io.
cd ~/frappe-bench
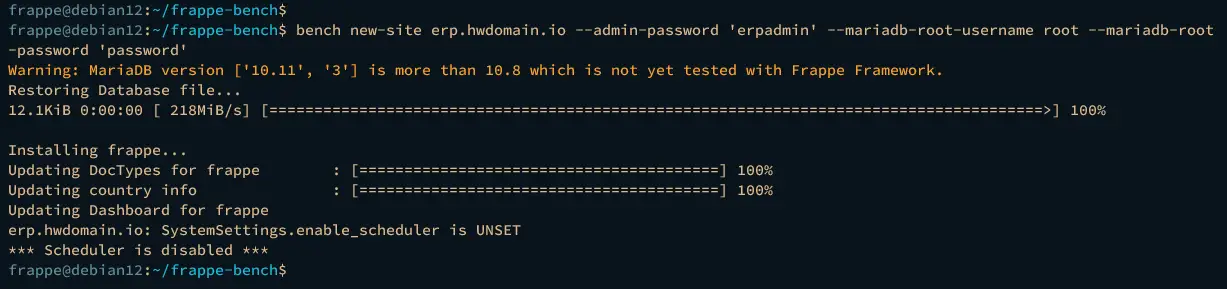
bench new-site erp.hwdomain.io --admin-password 'erpadmin' --mariadb-root-username root --mariadb-root-password 'password'
Below is the output you will get after the new site is created.
Switch to the new site erp.hwdomain.io by executing the bench command below.
bench use erp.hwdomain.io
Once switched, you should see the output Current Site set to erp.hwdomain.io.
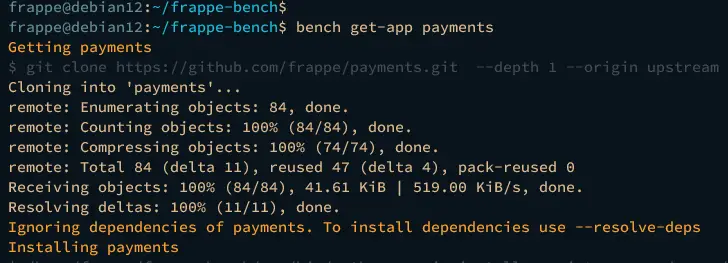
Now run the bench command below to download the payments and the next applications.
bench get-app payments
bench get-app --branch version-14 erpnext
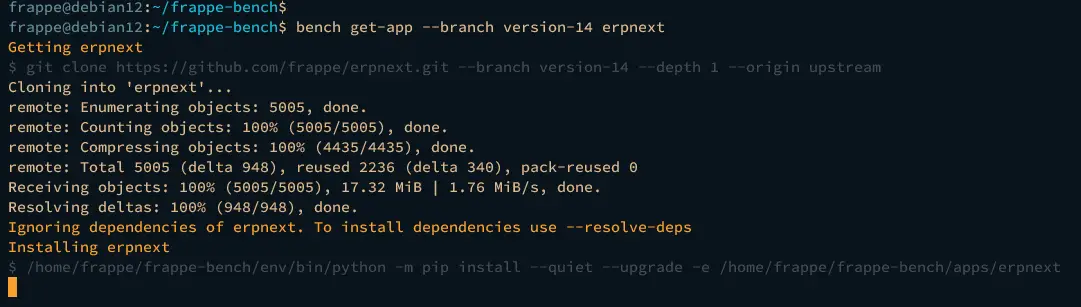
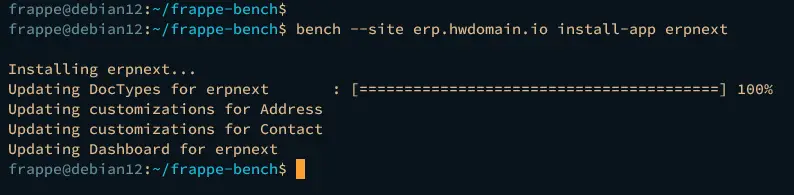
Once erpnext is downloaded, run the following command to install it to the site erp.hwdomain.io. This will also automatically install the payments application.
bench --site erp.hwdomain.io install-app erpnext
After installation is finished, execute the command below to enable the scheduler and disable maintenance on the site erp.hwdomain.io.
bench --site erp.hwdomain.io enable-scheduler
bench --site erp.hwdomain.io set-maintenance-mode off

At this point, the ERPNext is installed, you will configure ERPNext by adding Nginx as a reverse proxy and Supervisor as the process manager for your ERPNext installation.
Preparing ERPNext for Production
In this step, you will set up ERPNext for production by configuring Nginx as a reverse proxy and Supervisor as a process manager, which can be done automatically via Bench.
Execute the following command to configure the ERPNext installation. This will download and install Ansible, then configure Nginx as a reverse proxy and Supervisor process manager automatically.
sudo pip3 install ansible --break-system-packages
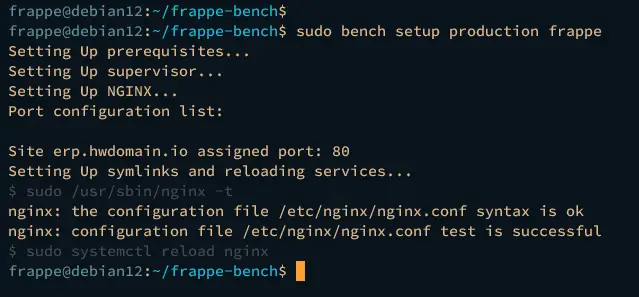
sudo bench setup production frappe
Below is an automatic configuration of Nginx and Supervisor for your ERPNext installation.
If there is an error, you can also configure both Nginx and Supervisor using the command below.
sudo bench setup supervisor
sudo bench setup nginx
sudo bench setup production frappe
Next, restart Nginx and Supervisor services to ensure that new changes are being applied.
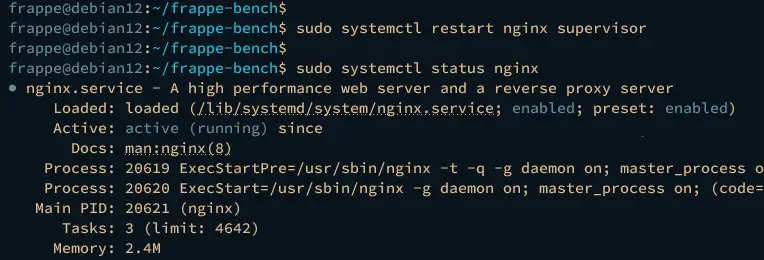
sudo systemctl restart nginx supervisor
Now run the command below to verify the Nginx service and ensure that the service is running.
sudo systemctl status nginx
The following output indicates that Nginx is running.
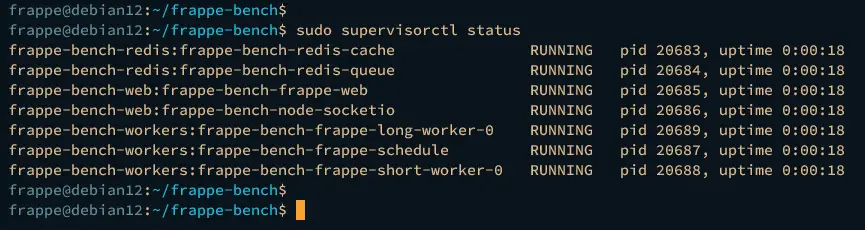
Lastly, execute the supervisorctl command below to verify the list ERPNext process with the Supervisor.
sudo supervisorctl status
If everything goes well, you should see each process with status RUNNING.
With Nginx and Supervisor configured, you're ready to start your ERPNext installation from your web browser.
ERPNext Installation via Web Installer
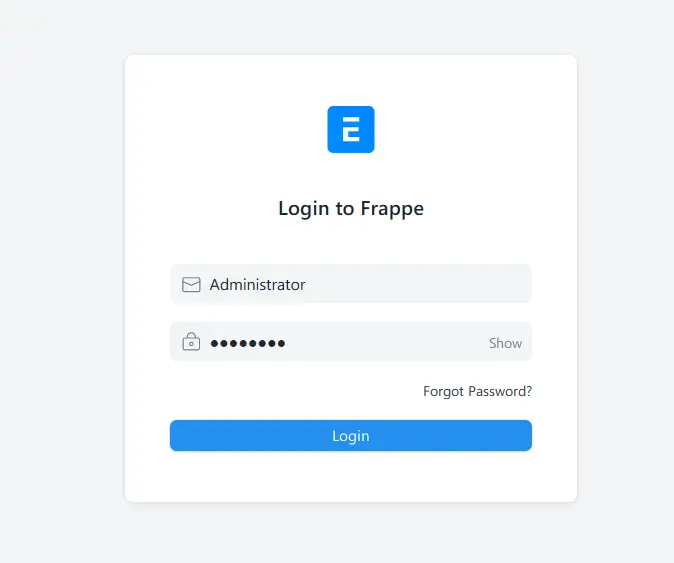
Launch your web browser and visit the domain name of your ERPNext installation, such as http://erp.hwdomain.io/. If your ERPNext installation is successful, you should see the ERPNext login page.
Input the default user Administrator and the password that you've configured, then click Login.
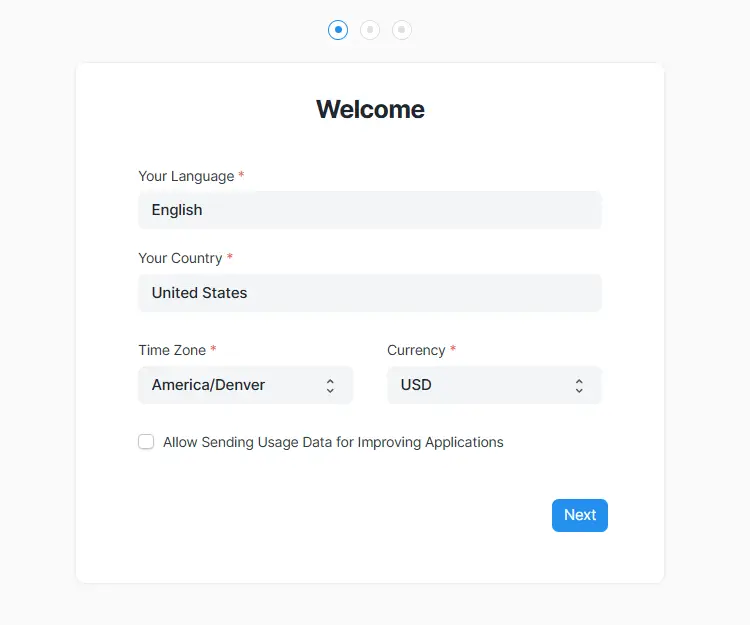
Select the default language, time zone, country, and the currency. Then, click Next to continue.
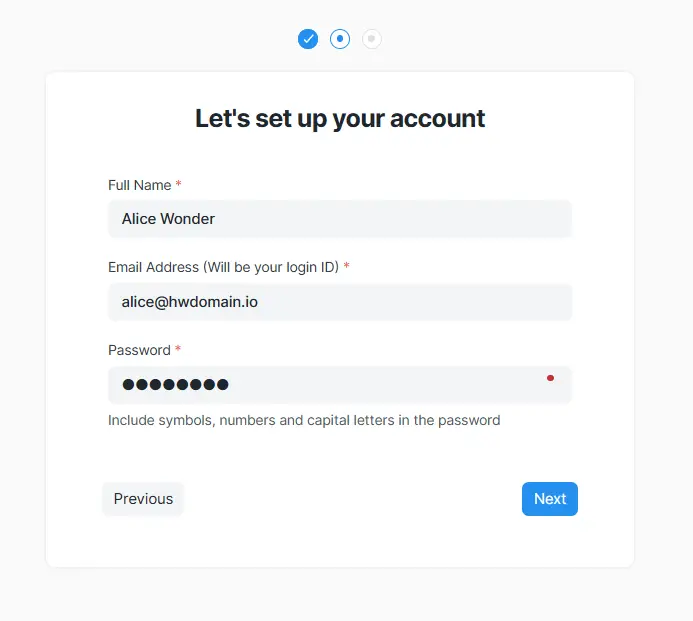
Now input the details of your first ERPNext user and click Next.
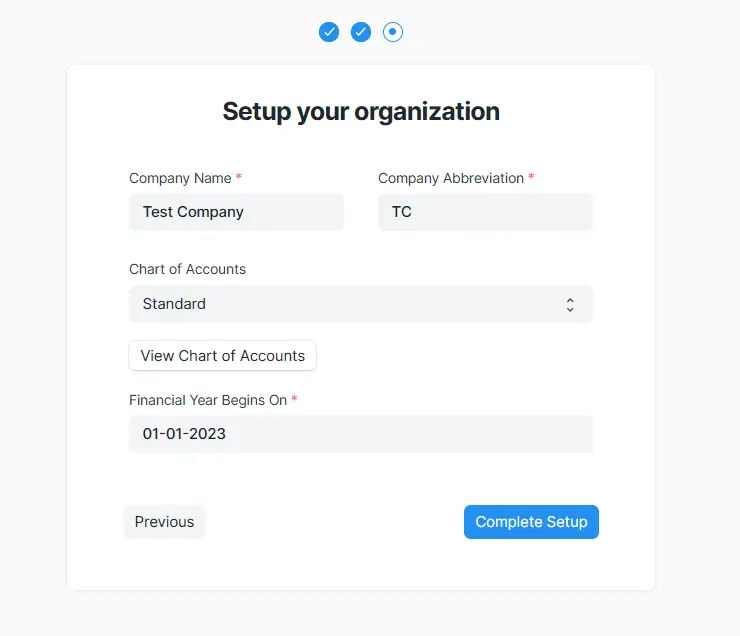
Lastly, input your details organization and click the Complete Setup button to complete the ERPNExt installation.
If your installation is successful, you should get the ERPNext dashboard like the following:
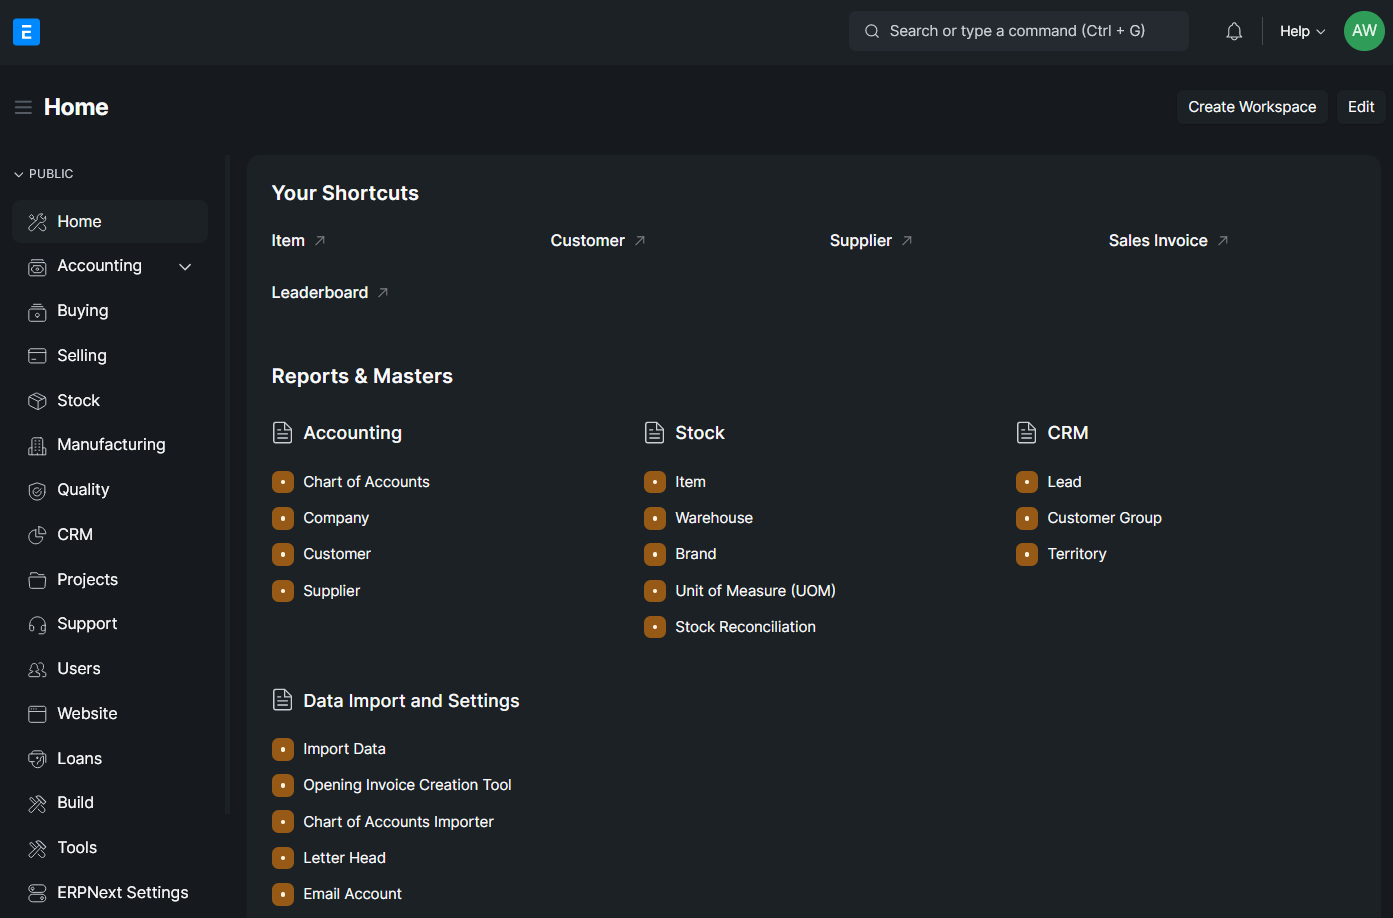
Now the ERPNext installation is finished.
Conclusion
Congratulations! You've finished the installation of ERPNext on Debian 12 with the MariaDB server and Nginx web server. You've installed ERPNext via the Bench command line on your Debian server, and now you can use ERPNext as your Enterprise Resource Planning for your organization.

