Ubuntu 22.04 Minimal Server Installation
This tutorial exists for these OS versions
- Ubuntu 22.04 (Jammy Jellyfish)
- Ubuntu 20.04 (Focal Fossa)
- Ubuntu 18.04 (Bionic Beaver)
- Ubuntu 17.10 (Artful Aardvark)
- Ubuntu 17.04 (Zesty Zapus)
- Ubuntu 16.10 (Yakkety Yak)
On this page
This tutorial shows the installation of an Ubuntu 22.04 LTS base server in detail with many screenshots. The purpose of the guide is to show the installation of Ubuntu 22.04 LTS that can be used as the basis for our other Ubuntu tutorials here at howtoforge like our perfect server guides. This tutorial uses the LTS branch which gets updates for 5 years from Ubuntu and is recommended for use on servers.
1. Requirements
To install an Ubuntu Server, you will need the following prerequisites:
- The Ubuntu 22.04 server ISO image is available here: https://releases.ubuntu.com/22.04/ubuntu-22.04-live-server-amd64.iso (For 64Bit Intel and AMD CPU's). Take a look here for other Ubuntu downloads: https://releases.ubuntu.com/22.04/
- A fast internet connection is recommended as the package updates get downloaded from Ubuntu servers during installation.
2. Preliminary Note
In this tutorial, I use the hostname server1.example.com with the IP address 192.168.0.100 and the gateway 192.168.0.1 These settings might differ for you, so you have to replace them where appropriate.
3. Installing the Ubuntu 22.04 Base System
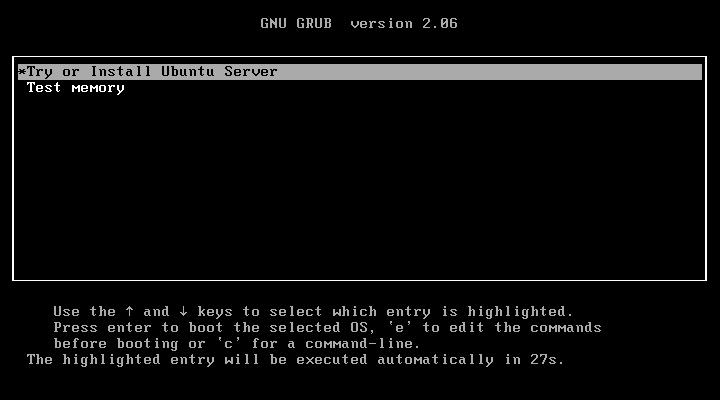
Insert the Ubuntu install CD / DVD / USB stick into your system and boot from it. When you install the OS in a virtual machine like I will do it here, then you should be able to select the downloaded ISO file as a source for the CD/DVD drive in VMWare and Virtualbox without burning it on CD first. Start the server or virtual machine, it will boot the system and start the installer.
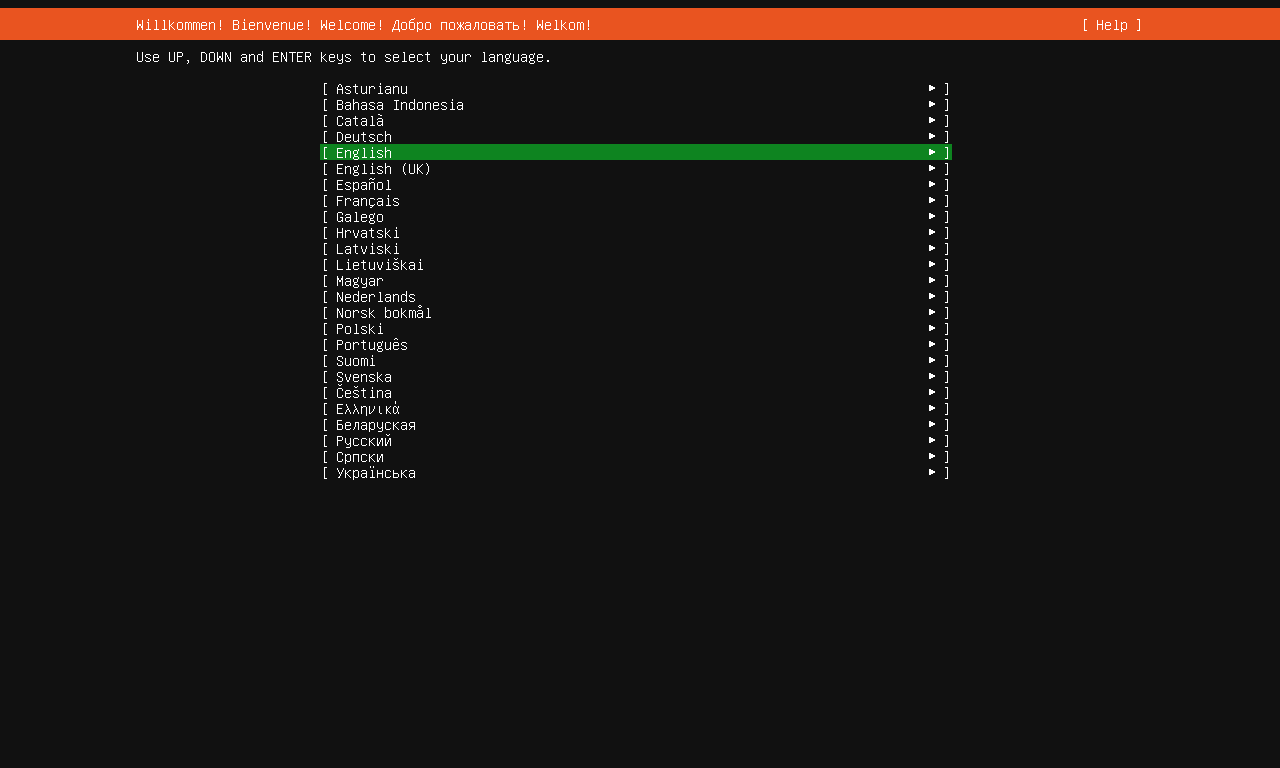
The first screen of the Ubuntu installer will show the language selector. Please select your language for the installation process:
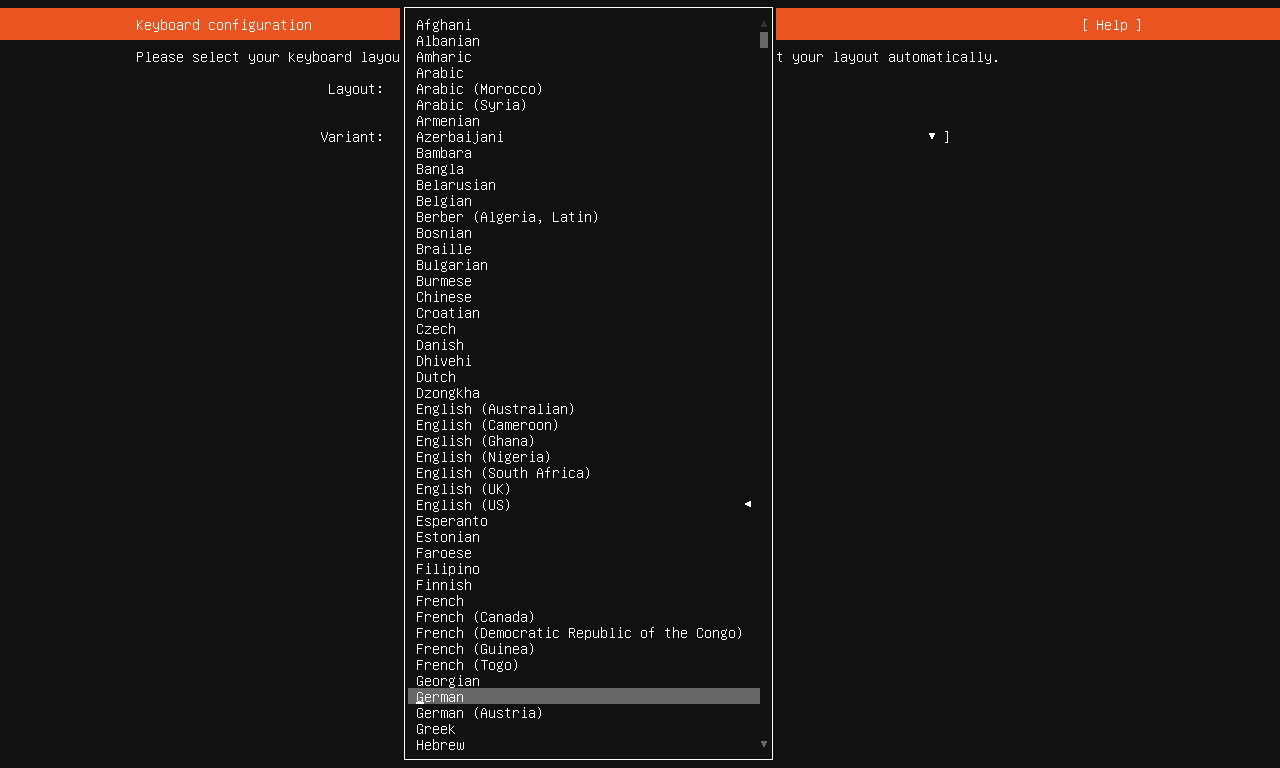
On the next screen, you can choose the keyboard layout. The English keyboard will be fine for many users. In this case, choose "Done" at the end of the screen and press the "Return" key, to go to the next step. In my case, I'm using a German keyboard layout, this means I'll have to navigate to the "Layout" option by pressing the "Tab" key on my keyboard until the Layout option is highlighted. Then press the "Return" key to open the Layout selector.
Choose the keyboard layout that matches the keyboard that is attached to the server.
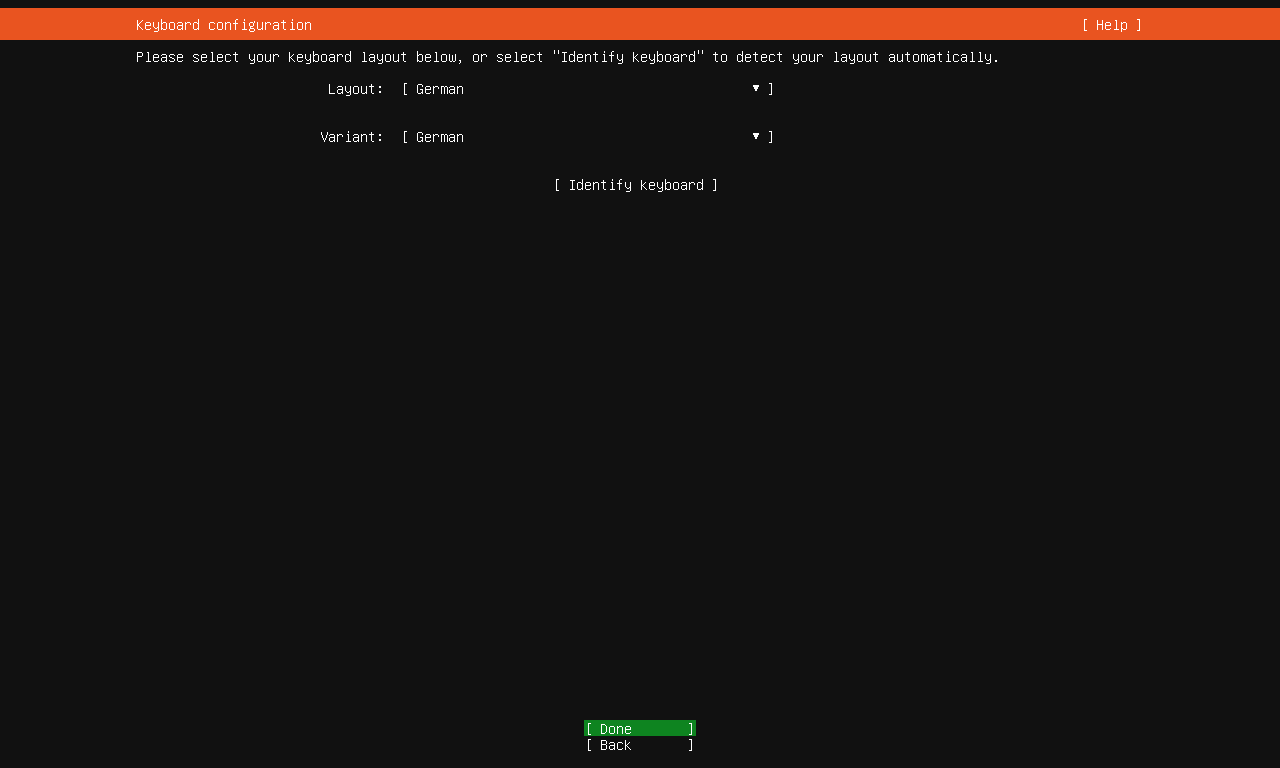
The right keyboard layout for my installation is selected now. Choose "Done" at the end of the screen and press "Return", to go to the next step.
In the next step, the installer allows you to choose between a standard Ubuntu server setup or a minimal setup. I will choose a minimal setup here to and install only software that I really need at a later stage. This is especially useful when running Ubuntu on a small virtual server.

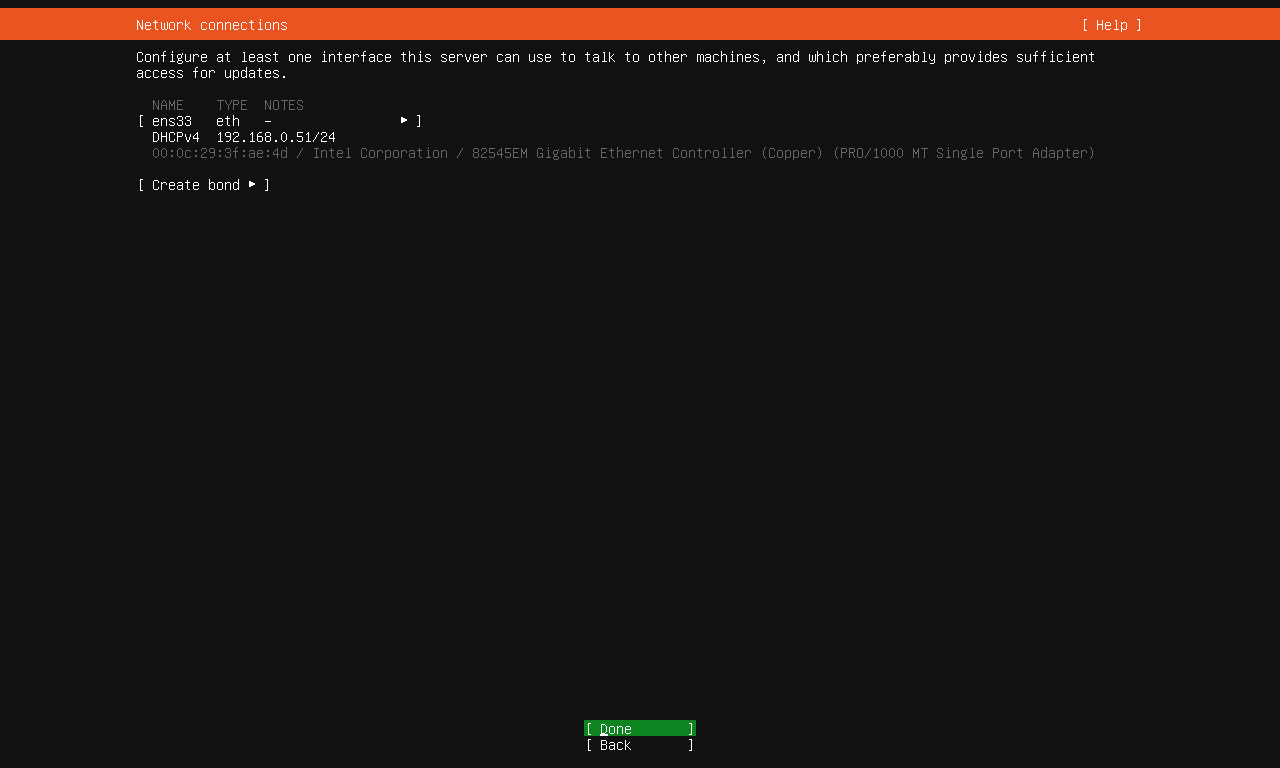
The Ubuntu installer shows now which network card it has detected on the server. The network device name which got assigned automatically is ens33. The IPv4 address has been assigned automatically via DHCP. I will change it later to a fixed IP address when the base system has been installed. If your network has no DHCP server, then you can enter a fixed IP address now by choosing the network card (press Tab until it is highlighted and then press Return).
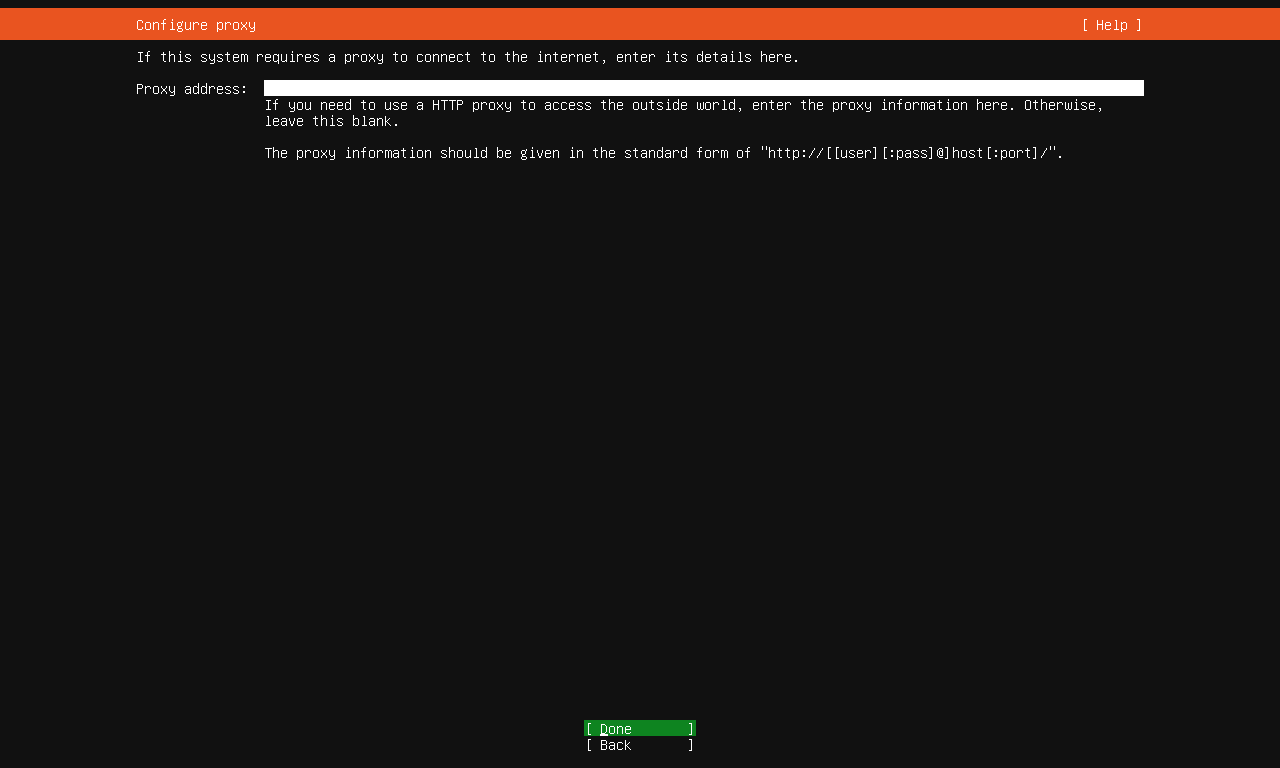
Now you can set a proxy server address in case a proxy is required to access the internet. In my case, there is no proxy required, so I choose "Done" to go to the next installation step.
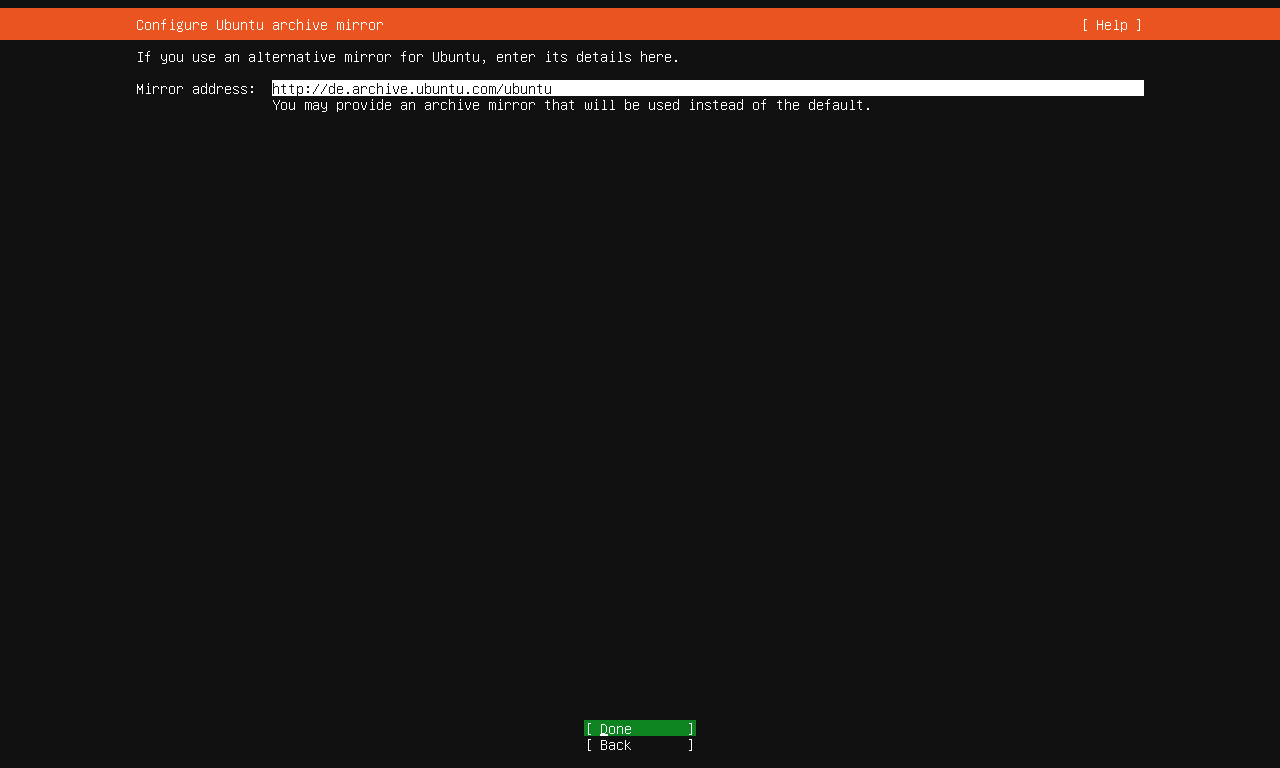
Here you can choose from which Ubuntu mirror server updates and installation files shall be downloaded. I'll keep the default and go to the next install screen.
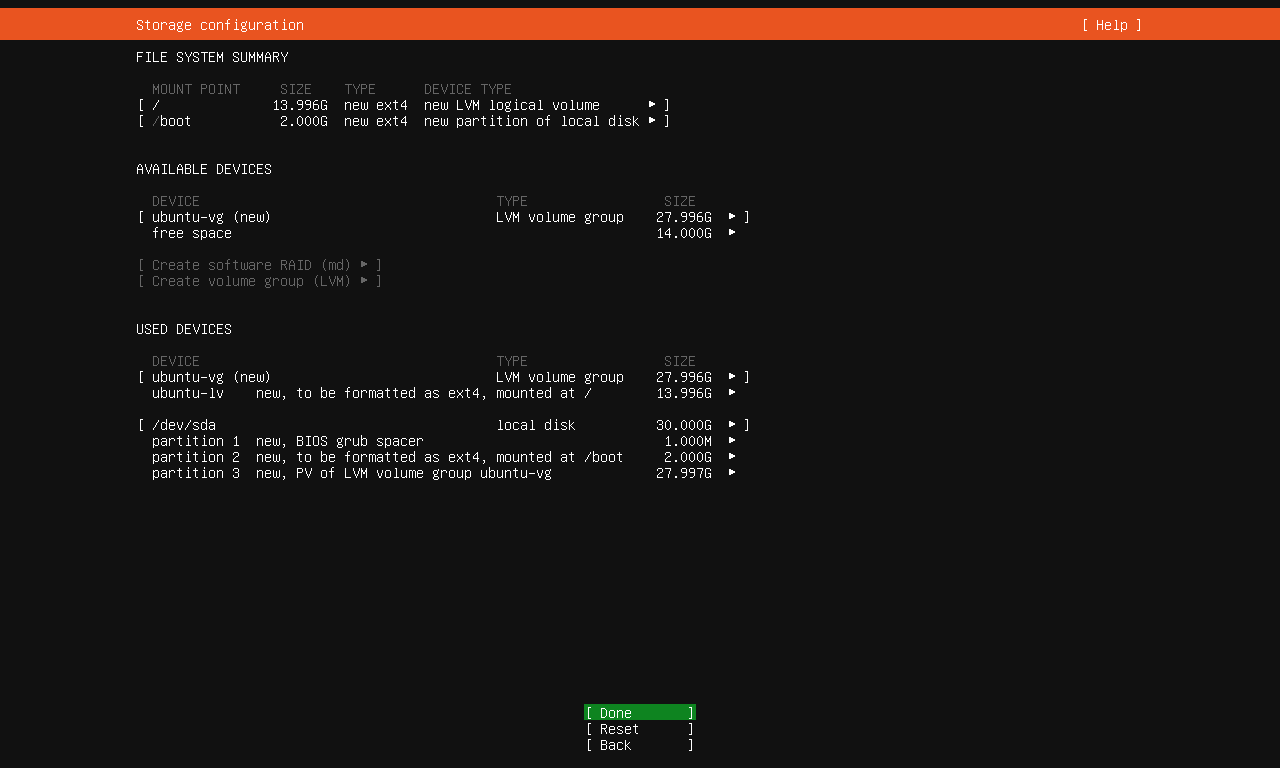
The Ubuntu server installer shows now the harddisks that it has detected in the server. The installation disk is a 40GB HD on /dev/sda here. I'll choose to use the entire disk for my Ubuntu installation. If you need a custom layout consisting of multiple partitions, select "Custom Layout" instead and create partitions as needed.

The installer shows the default storage configuration below. It consists of a 1MB bios_grub partition plus one large / partition that will contain the operating system installation. Choose "Done" to proceed to the next screen.
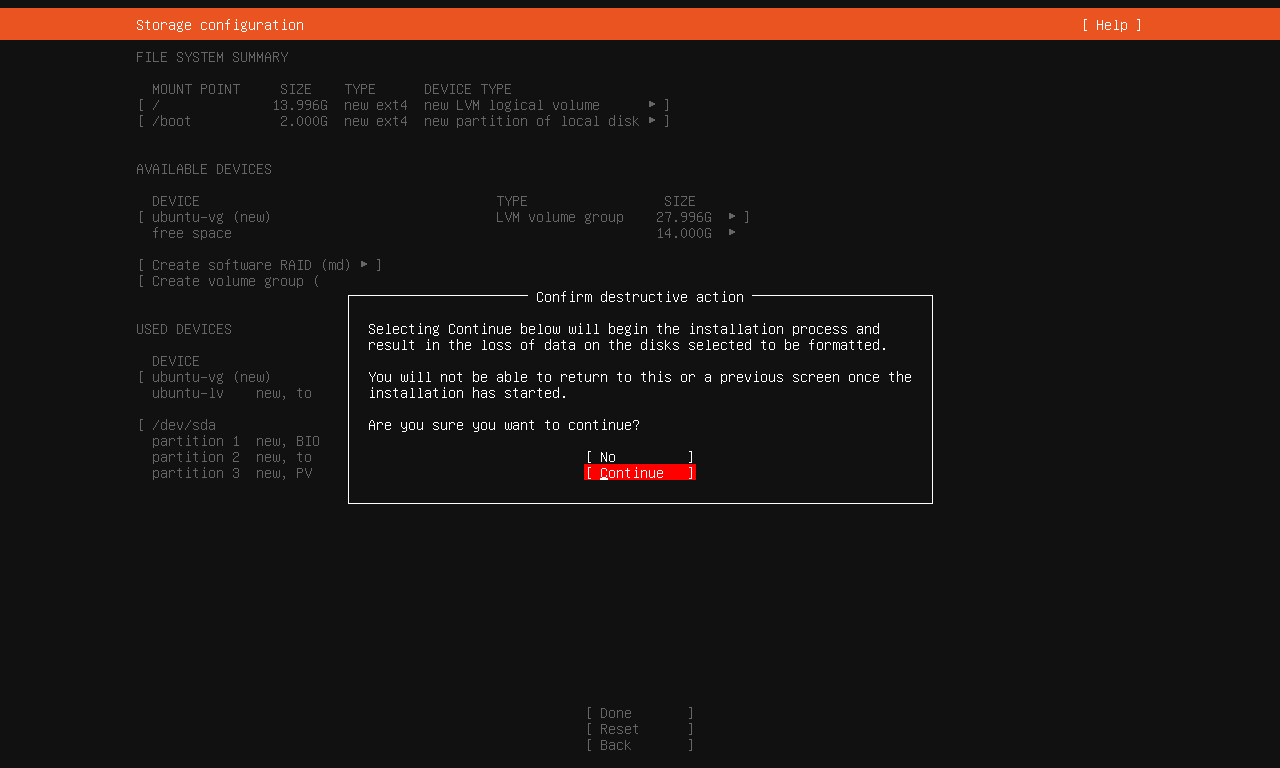
Before the installation starts, the Ubuntu installer requests to confirm the partitioning. Press the "Tab" key until the "Continue" option is highlighted in red, then press "Return" to proceed.
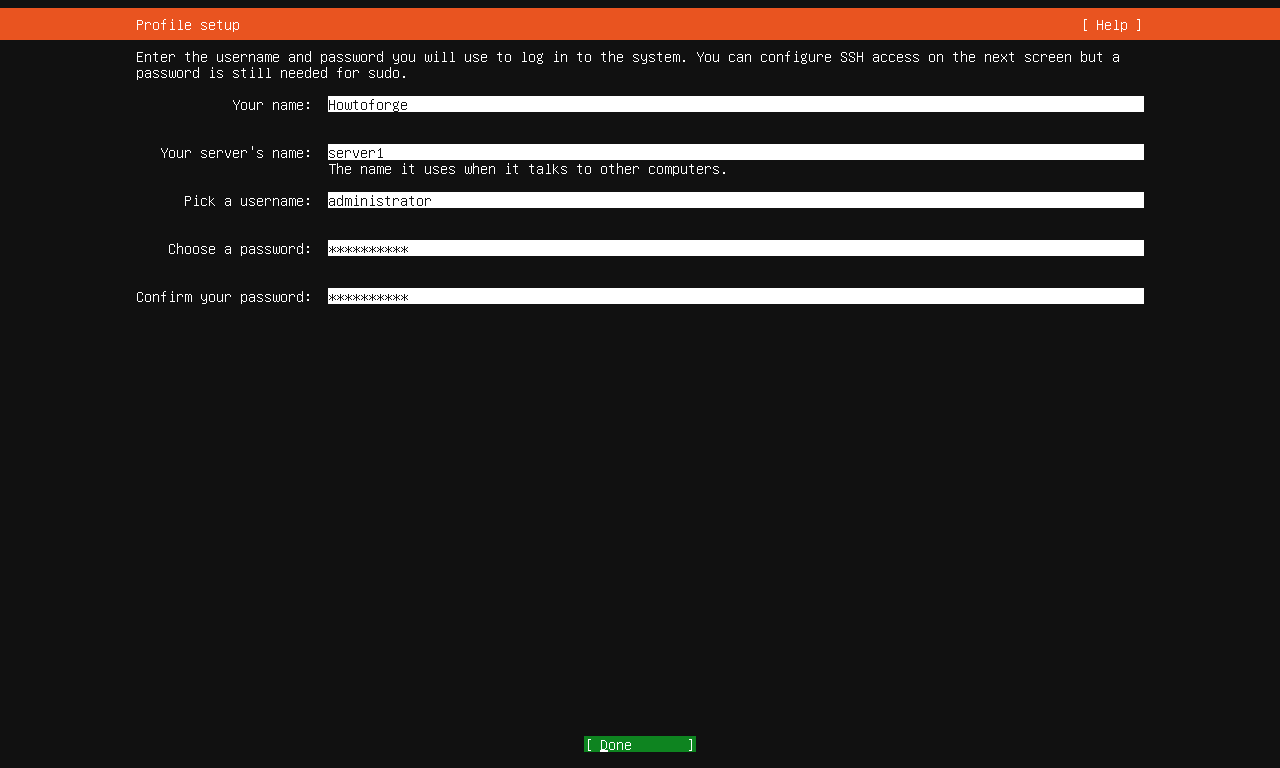
Now it's time to set the server name (hostname) and the username and password of the administrator. I'll choose the username 'administrator' here just as an example, please use a different and more secure name in your real setup. The Ubuntu shell user that we create in this step has sudo permissions, this means that he is able to administrate the system and to become root user via sudo.
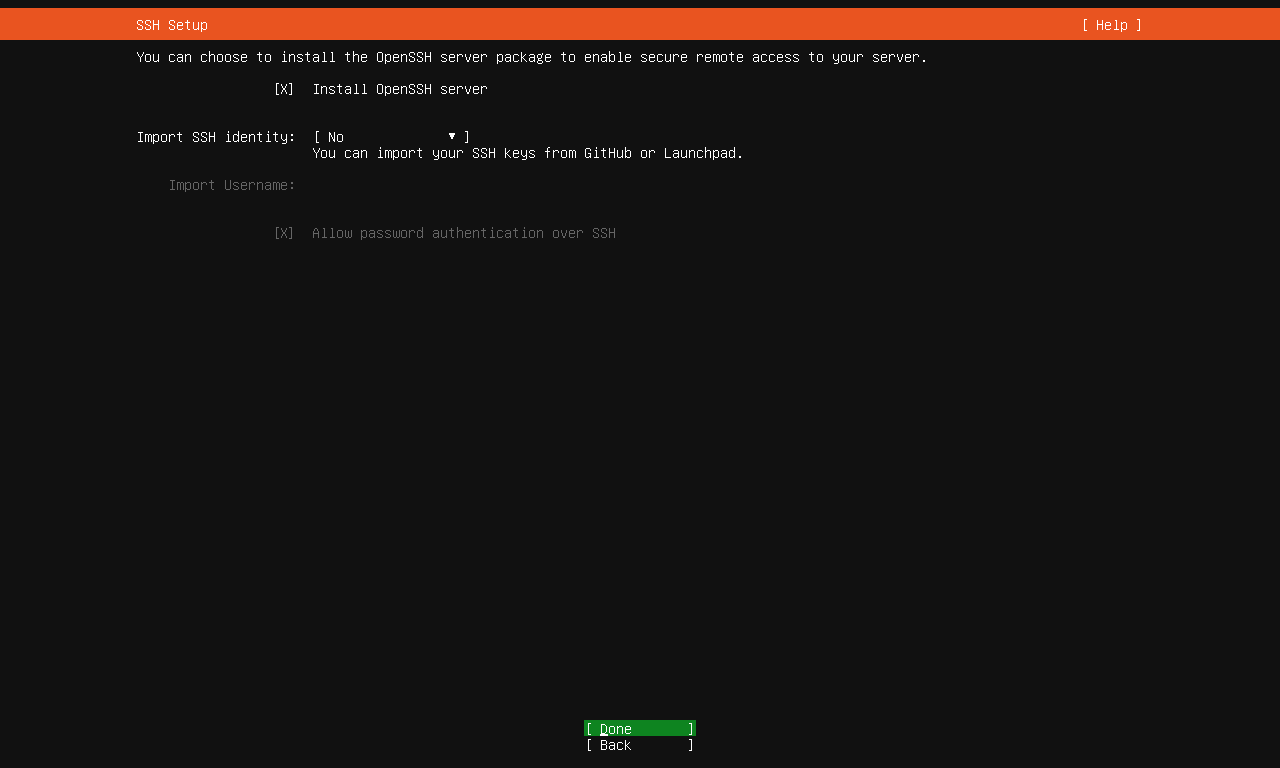
Most Linux servers get administered over the network using SSH. In this step, the Ubuntu installer can install the SSH server directly. Select the checkbox "Install OpenSSH Server" and proceed to the next step.
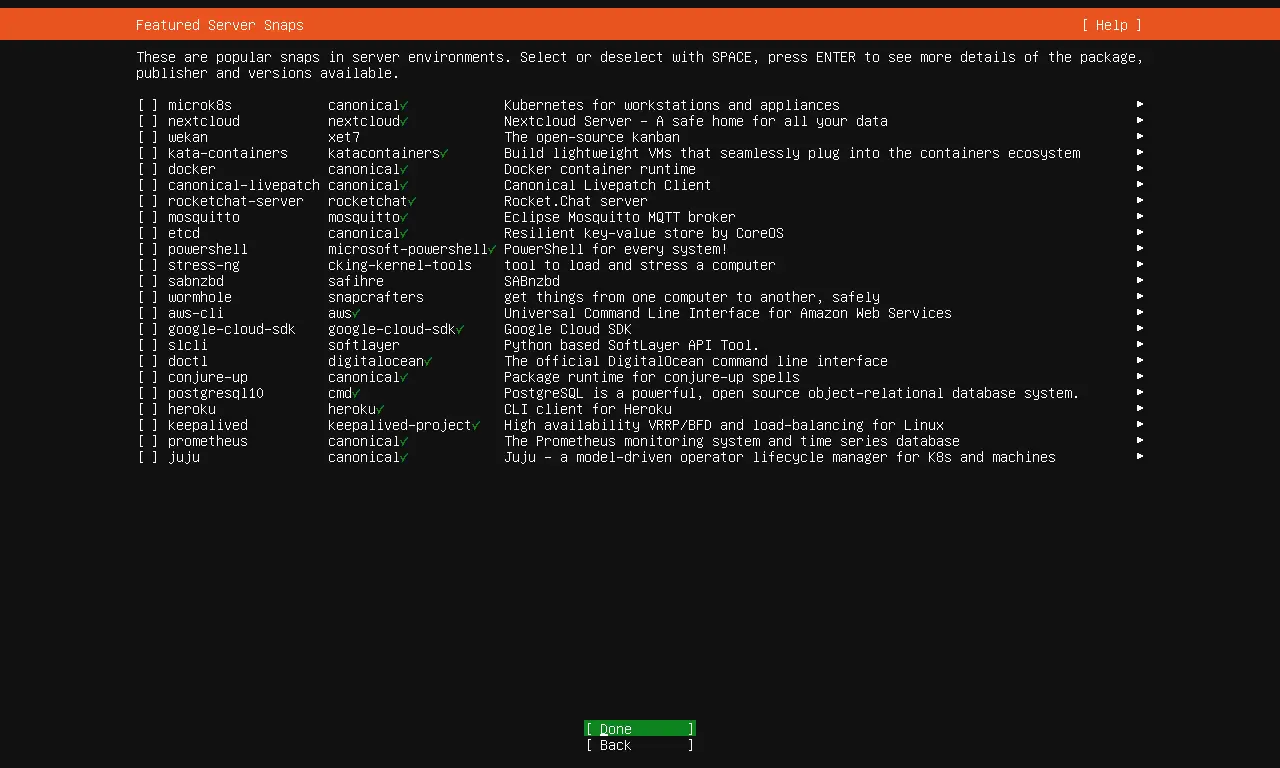
In this step, you can preinstall commonly used services via Snap installer. I do not select any services here as the purpose of this guide is to install a minimal base system. You can install services via apt or snap at any time later.
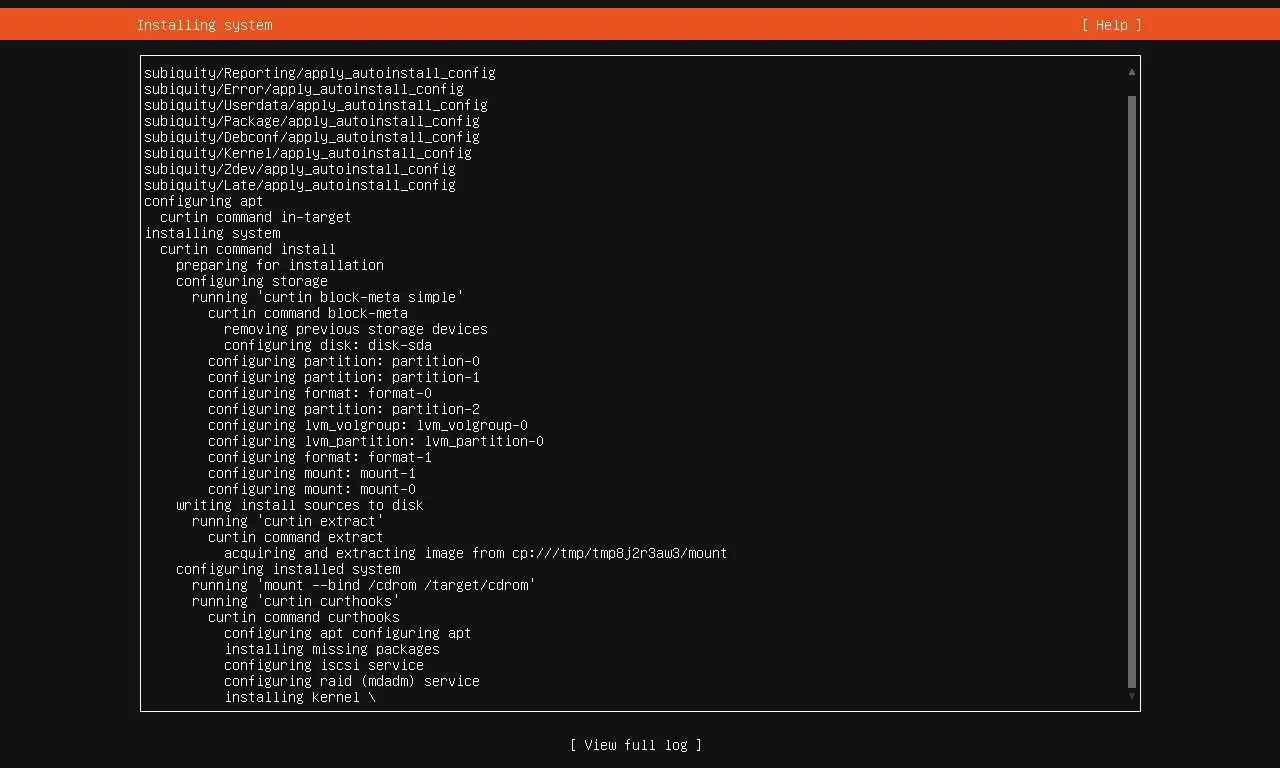
The Ubuntu installer now proceeds with the installation based on the settings we have chosen.
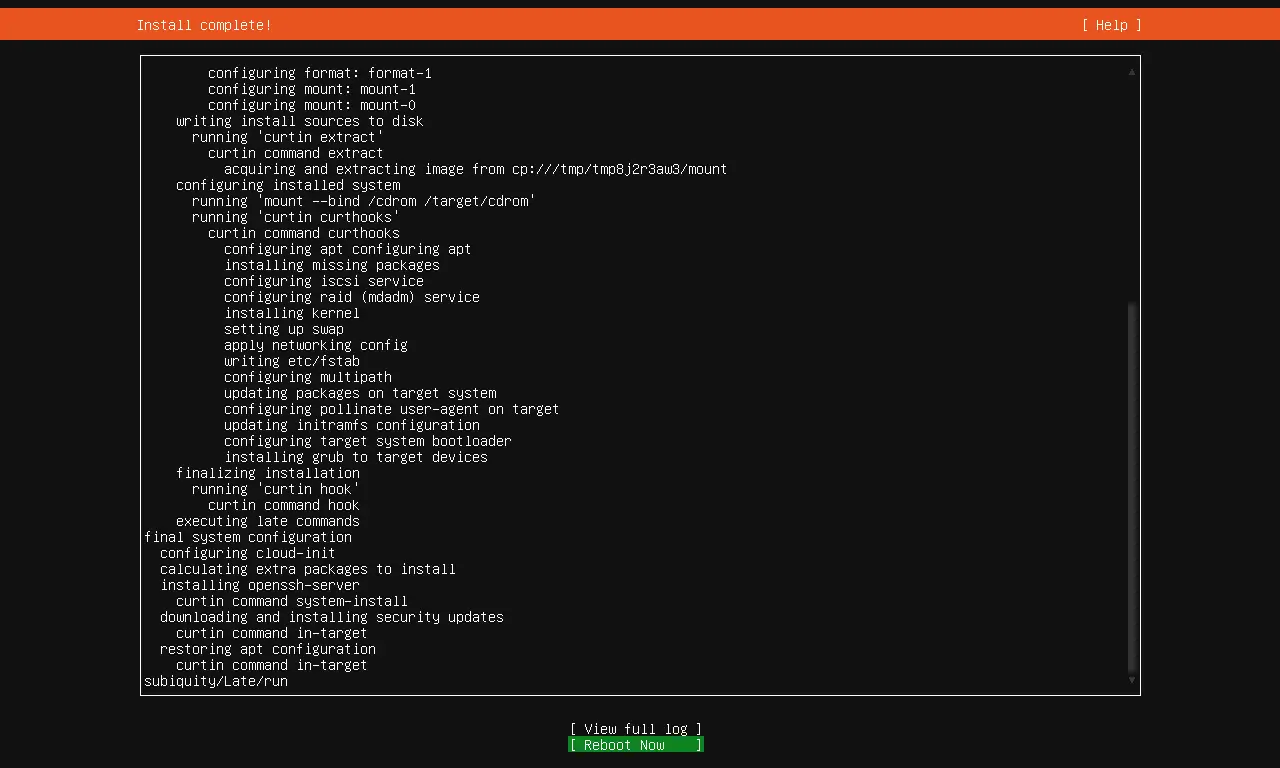
Ubuntu Installation finished successfully. Select "Reboot" to boot the server into the fresh installed Ubuntu 22.04 system.
The base installation is finished now. In the next chapter, I will explain the configuration of the static network address and install a shell-based text editor for editing configuration files.
4. First Login
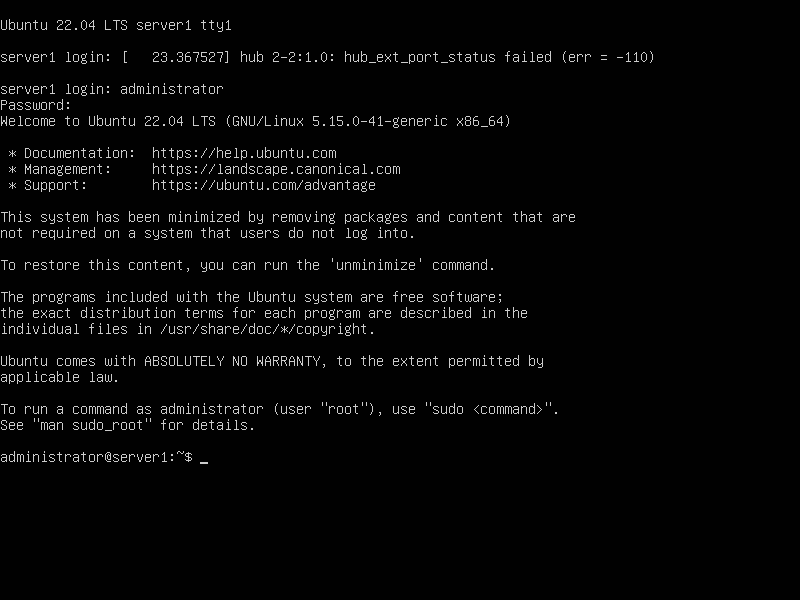
Now login on the shell (or remotely by SSH) on the server as user "administrator". The username may differ if you have chosen a different name during setup.
Successfully Logged into Ubuntu 22.04 Server.
5. Get root Privileges
After the reboot, you can log in with your previously created username (e.g. administrator). Because we must run all the steps from this tutorial with root privileges, we can either prepend all commands in this tutorial with the string sudo, or we become root right now by typing:
sudo -s
You can enable the root login by running:
sudo passwd root
And giving root a password. You can then directly log in as root, but this is frowned upon by the Ubuntu developers and community for various reasons. See https://help.ubuntu.com/community/RootSudo.)
6. Install the SSH Server (Optional)
If you did not select to install the OpenSSH server during the system installation above, you could do it now:
sudo apt -y install ssh openssh-server
From now on you can use an SSH client such as PuTTY and connect from your workstation to your Ubuntu 22.04 (Focal Fosset) server.
7. Install a shell-based editor (Optional)
Here we will install two text-based editors. The Nano editor is easier to use for newbies while others prefer the traditional vi/vim editor. The default vi program has some strange behavior on Ubuntu and Debian; to fix this, we install vim-nox:
sudo apt -y install nano vim-nox
8. Configure the Network
Some commonly used network tools are not installed when choosing minimal install, we can install them with the following command:
sudo apt install net-tools
Because the Ubuntu installer has configured our system to get its network settings via DHCP, we can change that now because a server should have a static IP address. If you want to keep the DHCP-based network configuration, then skip this chapter. In Ubuntu 22.04, the network is configured with Netplan and the configuration file is /etc/netplan/01-netcfg.yaml. The traditional network configuration file /etc/network/interfaces is not used anymore. Edit /etc/netplan/00-installer-config.yaml and adjust it to your needs (in this example setup I will use the IP address 192.168.0.100 and the DNS servers 8.8.4.4, 8.8.8.8 .
Open the network configuration file with nano:
sudo nano /etc/netplan/00-installer-config.yaml
The server is using DHCP right after the installation; the interfaces file will look like this:
# This is the network config written by 'subiquity'
network:
  ethernets:
    ens33:
      dhcp4: true
  version: 2
To use a static IP address 192.168.0.100, I will change the file so that it looks like this afterward:
# This file describes the network interfaces available on your system
# For more information, see netplan(5).
network:
 version: 2
 renderer: networkd
 ethernets:
   ens33:
     dhcp4: no
     dhcp6: no
     addresses: [192.168.0.100/24]
     routes:
      - to: default
        via: 192.168.0.1
     nameservers:
       addresses: [8.8.8.8,8.8.4.4]
IMPORTANT: The indentation of the lines matters, add the lines as shown above.
Then restart your network to apply the changes:
sudo netplan generate
sudo netplan apply
Then edit /etc/hosts.
sudo nano /etc/hosts
Make it look like this:
127.0.0.1 localhost
192.168.0.100 server1.example.com server1

# The following lines are desirable for IPv6 capable hosts
::1 localhost ip6-localhost ip6-loopback
ff02::1 ip6-allnodes
ff02::2 ip6-allrouters
Now, we will change the hostname of our machine as follows:
sudo echo server1 > /etc/hostname
sudo hostname server1
The first command sets the hostname "server1" in the /etc/hostname file. This file is read by the system at boot time. The second command sets the hostname in the current session so we don't have to restart the server to apply the hostname.
As an alternative to the two commands above you can use the hostnamectl command which is part of the systemd package.
sudo hostnamectl set-hostname server1
Afterward, run:
hostname
hostname -f
The first command returns the short hostname while the second command shows the fully qualified domain name (fqdn):
root@server1:/home/administrator# hostname
server1
root@server1:/home/administrator# hostname -f
server1.example.com
root@server1:/home/administrator#
If you want to adjust the keyboard layout of the server, run this command:
sudo dpkg-reconfigure keyboard-configuration
Congratulations! Now we have a basic Ubuntu 22.04 server setup that provides a solid basis for all Ubuntu Server setups.
9. Virtual Machine image
This tutorial is available as ready to use virtual machine in OVA / OVF format for Howtoforge subscribers. The VM format is compatible with VMWare and Virtualbox and other tools that can import the ova or ovf format. You can find the download link on the right menu near the top. Click on the filename to start the download.
The login details of the VM are:
SSH Login
Username: administrator
Password: howtoforge
The administrator user has sudo permissions.
Please change the passwords after the first boot.
The VM is configured for the static IP 192.168.0.100, the IP can be changed in the file /etc/netplan/00-installer-config.yaml as shown in the tutorial step 8. The keyboard layout of the downloadable VM is the US keyboard layout.
10. Links
Ubuntu: http://www.ubuntu.com/

