How to Install Apache Tomcat on Ubuntu 22.04
This tutorial exists for these OS versions
- Ubuntu 22.04 (Jammy Jellyfish)
- Ubuntu 20.04 (Focal Fossa)
- Ubuntu 18.04 (Bionic Beaver)
- Ubuntu 16.04 (Xenial Xerus)
- Ubuntu 14.04 LTS (Trusty Tahr)
On this page
Apache Tomcat or "Tomcat" is a free and open-source Java Servlet container for Java code and applications. Originally created by Sun Microsystem, and later donated the code base to Apache Software Foundation and distributed under Apache License v2. Apache Tomcat provides a "pure Java" HTTP server environment in which Java code can run. It's also an implementation of JavaServer Pages, Java Expression Language, and WebSocket technologies.
Tomcat is one of the most popular Java Servlet implementations. It supports SSL for securing sensitive data such as authentication. And also, it's lightweight in server resources and cross-platform, which can be installed on Unix-like operating systems, Windows, and macOS.
In this tutorial, we will show you step-by-step instructions on how to install Apache Tomcat Java Server on Ubuntu 22.04 server. This post will show two different methods for installing Apache Tomcat on the Ubuntu system and how to set up Apache2 as a reverse proxy for the Apache Tomcat application.
Prerequisites
Before you begin with this tutorial, you must have the following requirements:
- An Ubuntu 22.04 server
- A root user or non-root user with sudo/root/administrator privileges.
Installing Java OpenJDK
The Apache Tomcat is a Java-based application. In this section, you will install the Java OpenJDK package to the Ubuntu server before start installing the Apache Tomcat. The default Ubuntu repository provides the java OpenJDK v11, which is suitable for the latest version of Apache Tomcat installation, both Tomcat v9 and Tomcat v10.
Before installing any packages, run the apt command below to update and refresh your Ubuntu repository.
sudo apt update
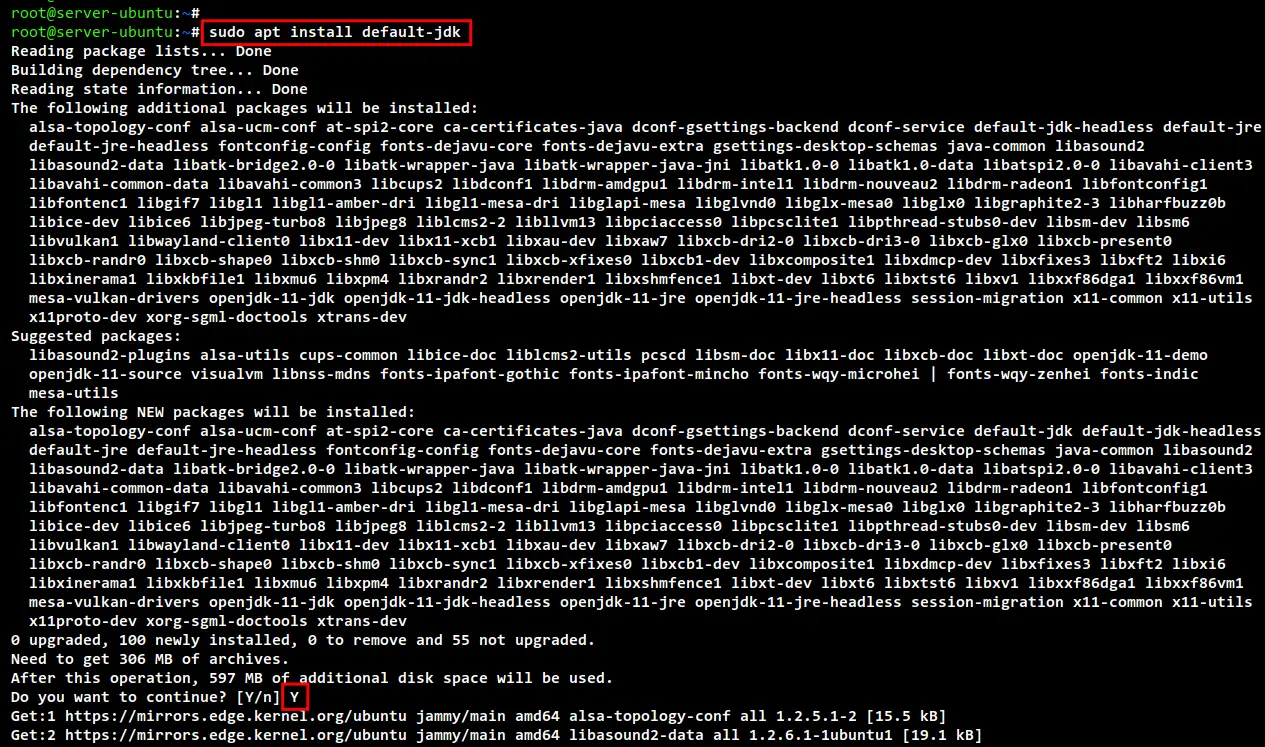
Now install the Java OpenJDK using the following command. This command will install the default OpenJDK version provided by the Ubuntu repository, which is OpenJDK v11. Now input Y to confirm the installation and press ENTER, and the OpenJDK installation will begin.
sudo apt install default-jdk
After the OpenJDK installation is finished, run the java command below to check and verify the Java OpenJDK version. You should get the output of OpenJDK v11 installed on your Ubuntu machine.
java -version

Installing Apache Tomcat
On Ubuntu systems, the Apache Tomcat can be installed in two different ways:
- From the Ubuntu APT repository: The latest version of Ubuntu 22.04 provides the Apache Tomcat package version 9. So, this is suitable if you just need Apache Tomcat for your application, but not a specific version of Tomcat.
- From Binary Distribution: This way is to install Apache Tomcat manually to your Ubuntu system, which is more suitable if you want to install a specific version of Apache Tomcat. You can download the specific version of Apache Tomcat as you need. Then, install it step-by-step manually on your system.
From the Ubuntu APT repository
Before installing Apache Tomcat, run the following command to check and verify the available packages with the name "tomcat". And you should see the Ubuntu 22.04 repository provides the Apache Tomcat v9. The "tomcat9" is the main package of Apache Tomcat, the "tomcat9-admin" is a package that contains admin web applications for Apache Tomcat, and the "tomcat9-examples" is an example of Apache Tomcat applications from simple "hello world" to API.
sudo apt search tomcat

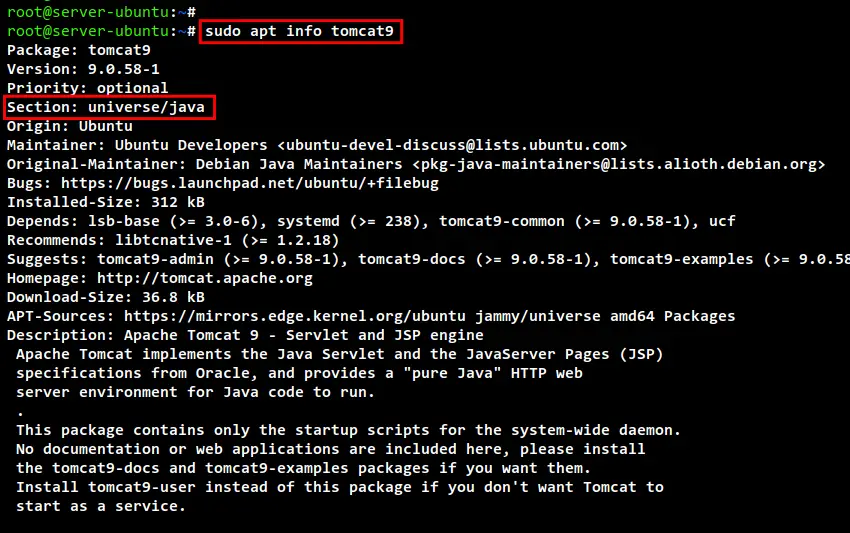
To get the details about the Apache Tomcat 9 package, run the following command. AS you can see, the Apache Tomcat 9 is available on the Ubuntu "universe/java" repository section and maintained by Ubuntu Developers.
sudo apt info tomcat9
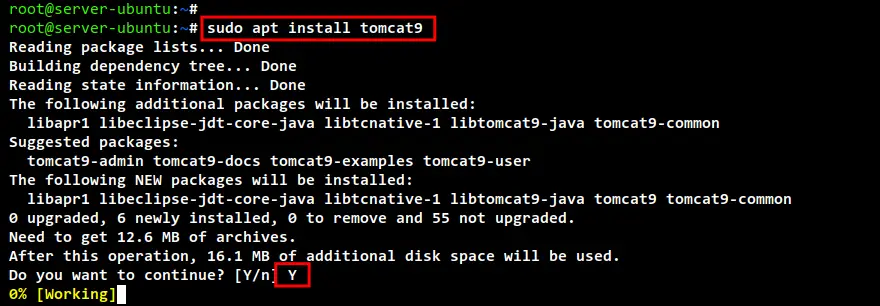
Now run the apt command below to install Apache Tomcat 9 packages to your system. Input Y to confirm the installation and press ENTER, and the installation will begin.
sudo apt install tomcat9 tomcat9-admin tomcat9-examples
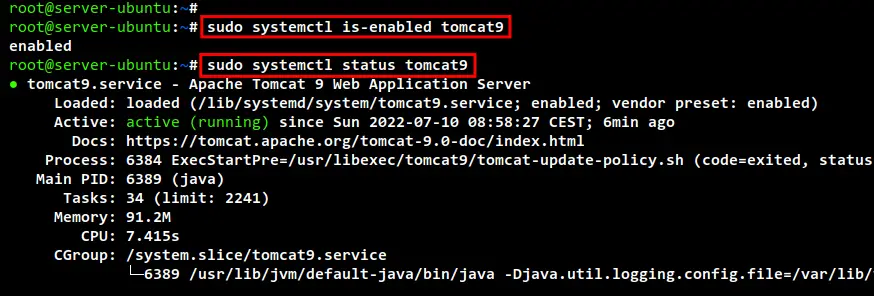
After Apache Tomcat installation is finished, run the command below to check and verify the Apache Tomcat service "tomcat9". You should see the "tomcat9" service is enabled, which will automatically be run at system boot. And the current status of the "tomcat9" service is running.
sudo systemctl is-enabled tomcat9
sudo systemctl status tomcat9
By installing the Apache Tomcat from the Ubuntu APT repository, you should know some of the important configurations for the Apache Tomcat:
- /etc/default/tomcat9 - The default configuration for managing such as "JAVA_OPTS", "JSP_COMPILER", and many more that are related to Apache Tomcat starting the process.
- /etc/tomcat9/ - The main directory for Apache Tomcat configuration files.
- /var/lib/tomcat9 - The data directory for Apachet Tomcat, which contain such as default "webapps" for Apache Tomcat.
- /usr/share/tomcat9-admin/ - The main directory for Tomcat admin web application.
Lastly, to check and verify the Apache Tomcat installation, open the web browser and visit the server IP address with the port 8080 (i.e http://192.168.5.75:8080/). And you should see the default index.html page of your Apache Tomcat installation.

From Binary Distribution
Now if you need for example a specific Apache Tomcat for your application, then you will need to install it manually from the Binary Distribution. In the following example, you will install the latest version of Apache Tomcat v10 on the Ubuntu server manually using the Binary Distribution.
To install the Apache Tomcat manually using the Binary Distribution, you should follow the steps below:
First, you must create a new user named "tomcat" on your system. Run the following command.
sudo useradd -m -u -d /opt/tomcat -s /usr/sbin/nologin tomcat
Now download the Apache Tomcat Binary Distribution using the below command. In this example, you will install the Apache Tomcat 10.0.22.
export VERSION=10.0.22
wget https://www-eu.apache.org/dist/tomcat/tomcat-10/v${VERSION}/bin/apache-tomcat-${VERSION}.tar.gz
Next, run the following command to create a new installation directory for Apache Tomcat "/opt/tomcat" and extract the Binary Package of Apache Tomcat into it.
mkdir -p /opt/tomcat
sudo tar -xf apache-tomcat-${VERSION}.tar.gz -C /opt/tomcat
Run the below command to create a new symlink of the Apache Tomcat directory to "/opt/tomcat/latest". This will make your Apache installation directory easier, which is the directory "/opt/tomcat/latest".
sudo ln -s /opt/tomcat/apache-tomcat-${VERSION} /opt/tomcat/latest
Next, change the ownership of the main Apache Tomcat installation directory "/opt/tomcat" to the correct user and group named "tomcat".
sudo chown -R tomcat:tomcat /opt/tomcat
At this point, you have completed the basic installation of Apache Tomcat using Binary Distribution.
Now you will need to create a new systemd service file to set up the Apache Tomcat as a systemd service. This will make you easier for managing the Apache Tomcat process.
To set up the Apache Tomcat as a systemd service, you must create a new system service. Run the following command to create it.
sudo nano /etc/systemd/system/tomcat.service
Add the following configuration to the file.
[Unit]
Description=Tomcat 10 servlet container
After=network.target

[Service]
Type=forking

User=tomcat
Group=tomcat

Environment="JAVA_HOME=/usr/lib/jvm/default-java"
Environment="JAVA_OPTS=-Djava.security.egd=file:///dev/urandom -Djava.awt.headless=true"

Environment="CATALINA_BASE=/opt/tomcat/latest"
Environment="CATALINA_HOME=/opt/tomcat/latest"
Environment="CATALINA_PID=/opt/tomcat/latest/temp/tomcat.pid"
Environment="CATALINA_OPTS=-Xms512M -Xmx1024M -server -XX:+UseParallelGC"

ExecStart=/opt/tomcat/latest/bin/startup.sh
ExecStop=/opt/tomcat/latest/bin/shutdown.sh

[Install]
WantedBy=multi-user.target
Save and close the file when you are done.
Next, reload the systemd manager to apply new changes on the systemd using the below command.
sudo systemctl daemon-reload
Now you can start and enable the Apache Tomcat service using the command below. The Apache Tomcat service is enabled, and it's will be up and running.
sudo systemctl enable tomcat
sudo systemctl start tomcat
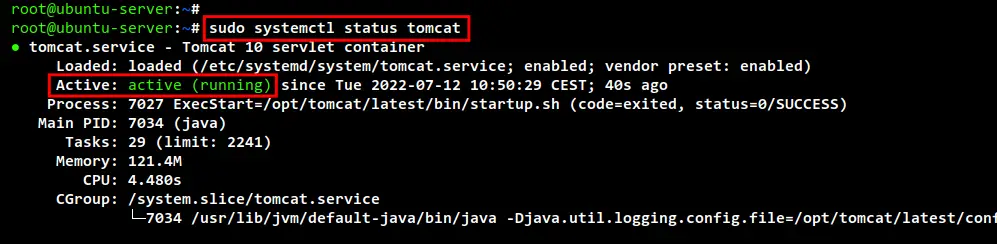
Run the command below to check and verify the Apache Tomcat service. And you should see the Apache Tomcat service is running.
sudo systemctl status tomcat
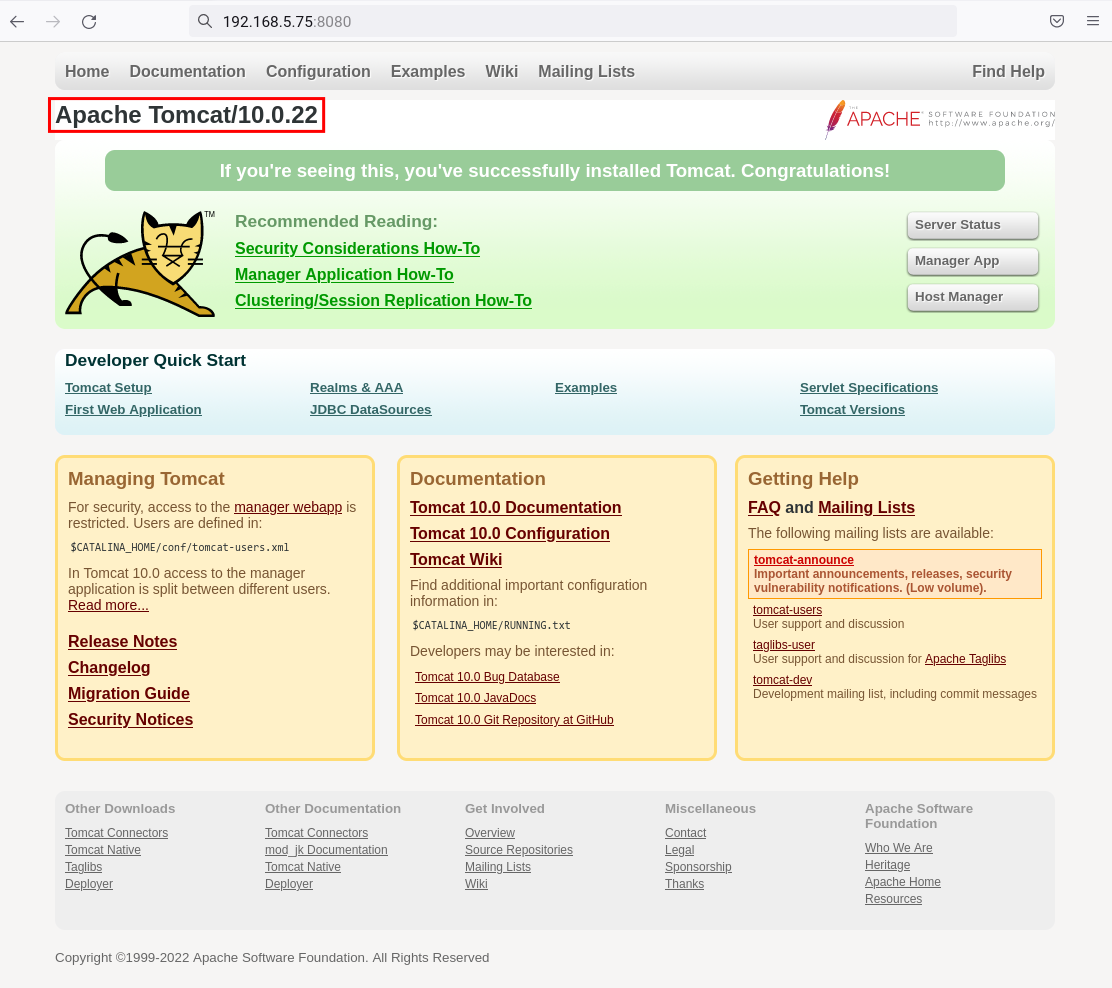
Lastly, open your web browser and visit your server IP address followed by the default Apache Tomcat port "8080" (i.e: http://192.169.5.75:8080/). And you should see the default index page of your Apache Tomcat installation.
Configuring Web Management interface
In this section, you will set up the authentication for the Apache Tomcat web administration and management interface. You will be setting up an admin user for the Apache Tomcat administration via the config file "tomcat-users.xml", which is available on the Apache Tomcat "conf" directory.
If you installed the Apache Tomcat via the Ubuntu APT repository, edit the config file "/etc/tomcat9/tomcat-users.xml" using the following command.
sudo nano /etc/tomcat9/tomcat-users.xml
And if you installed the Apache Tomcat via Binary Distribution, you will need to edit the config file "/opt/tomcat/latest/tomcat-users.xml" using the below command.
sudo nano /opt/tomcat/latest/tomcat-users.xml
Add the following configuration inside the "<tomcat-users>.....</tomcat-users>" section. Be sure to change the username "admin" and password "tomcatadmin".
<tomcat-users>

<!--
    user: admin pass: tomcatadmin
-->
  <role rolename="manager-gui"/>
  <role rolename="manager-script"/>
  <role rolename="manager-jmx"/>
  <role rolename="manager-status"/>
  <role rolename="admin-gui"/>
  <role rolename="admin-script"/>
  <user username="admin" password="tomcatadmin" roles="manager-gui, manager-script, manager-jmx, manager-status, admin-gui, admin-script"/>

</tomcat-users>
Save and close the file when you are done.
Next, edit the config file "context.xml" inside both Tomcat "manager" and "host-manager" directories.
For Apache Tomcat installed via Ubuntu APT repository, run the below command.
sudo nano /usr/share/tomcat9-admin/host-manager/META-INF/context.xml
sudo nano /usr/share/tomcat9-admin/manager/META-INF/context.xml
For Apache Tomcat installed via Binary Distribution, run the below command.
sudo nano /opt/tomcat/latest/webapps/host-manager/META-INF/context.xml
sudo nano /opt/tomcat/latest/webapps/manager/META-INF/context.xml
Now you have two different options to set up the Tomcat manager and host-manager:
To make Apache Tomcat manager and host-manager accessible for public, use the following configuration. By putting a comment inside the configuration "<Valve className="org.apache.catalina.valves.RemoteAddrValve"".
<!--
  <Valve className="org.apache.catalina.valves.RemoteAddrValve"
         allow="127\.\d+\.\d+\.\d+|::1|0:0:0:0:0:0:0:1" />
-->
But, if you want to make the Apache Tomcat manager and host-manager available for the specific client IP address, you can use the following configuration.
  <Valve className="org.apache.catalina.valves.RemoteAddrValve"
         allow="127\.\d+\.\d+\.\d+|::1|0:0:0:0:0:0:0:1|CLIENT-IP-ADDRESS" />
Save and close the file when you are done.
Lastly, run the following command to restart the Apache Tomcat service and apply new changes to Tomcat config files.
For Apache Tomcat installed via Ubuntu APT repository, the service file is called "tomcat9".
sudo systemctl restart tomcat9
For Apache Tomcat installed via Binary Distribution, the service that you just created is called "tomcat".
sudo systemctl restart tomcat
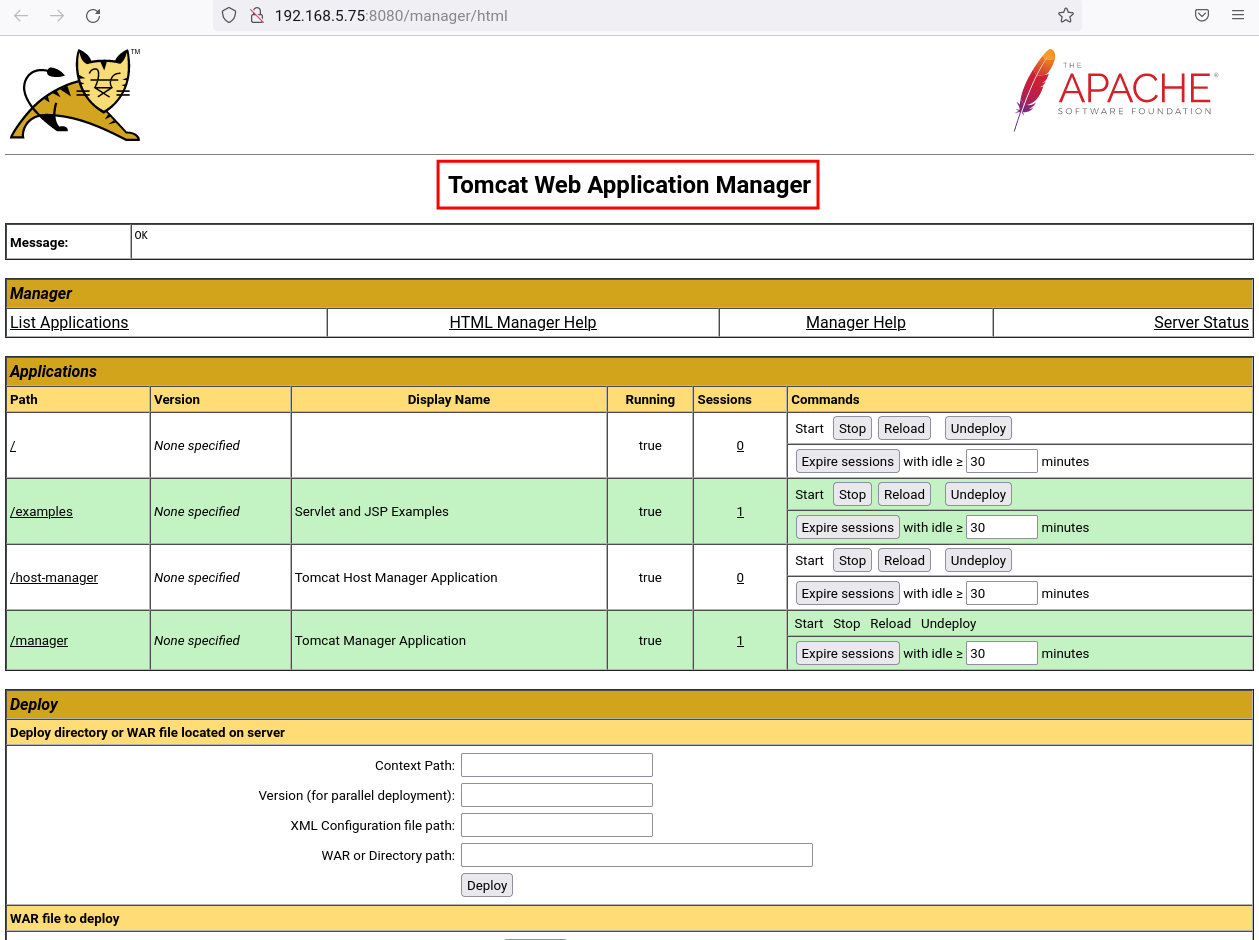
Now to you can visit the Apache Tomcat web application manager via the URL path "/manager" (i.e: http://192.168.5.75:8080/manager/) and the host-manager is accessible via the pat URL "/host-manager" (i.e: http://192.168.5.75:8080/host-manager). When you try to log in to the Tomcat manager and host-manager, you will be asked for the Tomcat admin user and password that you just defined on the config file "tomcat-users.xml".
Below is the screenshot of the Apache Tomcat web application manager.
And below is the screenshot of the Apache Tomcat Host Manager.

Setting Up Apache Web Server as a Reverse proxy
At this point, you have completed the installation of Apache Tomcat. In the next step, you will learn how to set up the Apache2 web server as a reverse proxy for your Apache Tomcat application. To do that, you will need to install the Apache2 web server, set up new virtual hosts, and enable some Apache2 modules.
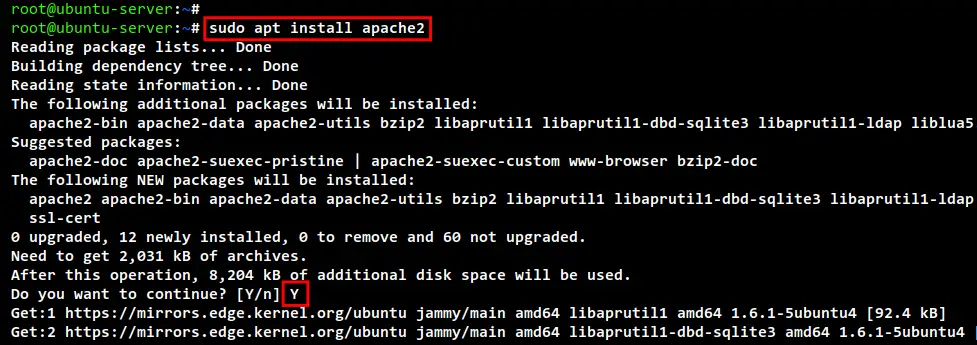
Run the apt command below to install the Apache2 web server to your Ubuntu system. Input Y to confirm the installation and press ENTER, and the installation will begin.
sudo apt install apache2
After Apache2 installation is finished, run the below command to enable the Apache module "proxy" and "proxy_http". These modules will be used for the reverse proxy for Apache Tomcat applications.
sudo a2enmod proxy proxy_http
Next, create a new virtual host configuration "/etc/apache2/sites-available/tomcat.conf" using the following command.
sudo nano /etc/apache2/sites-available/tomcat.conf
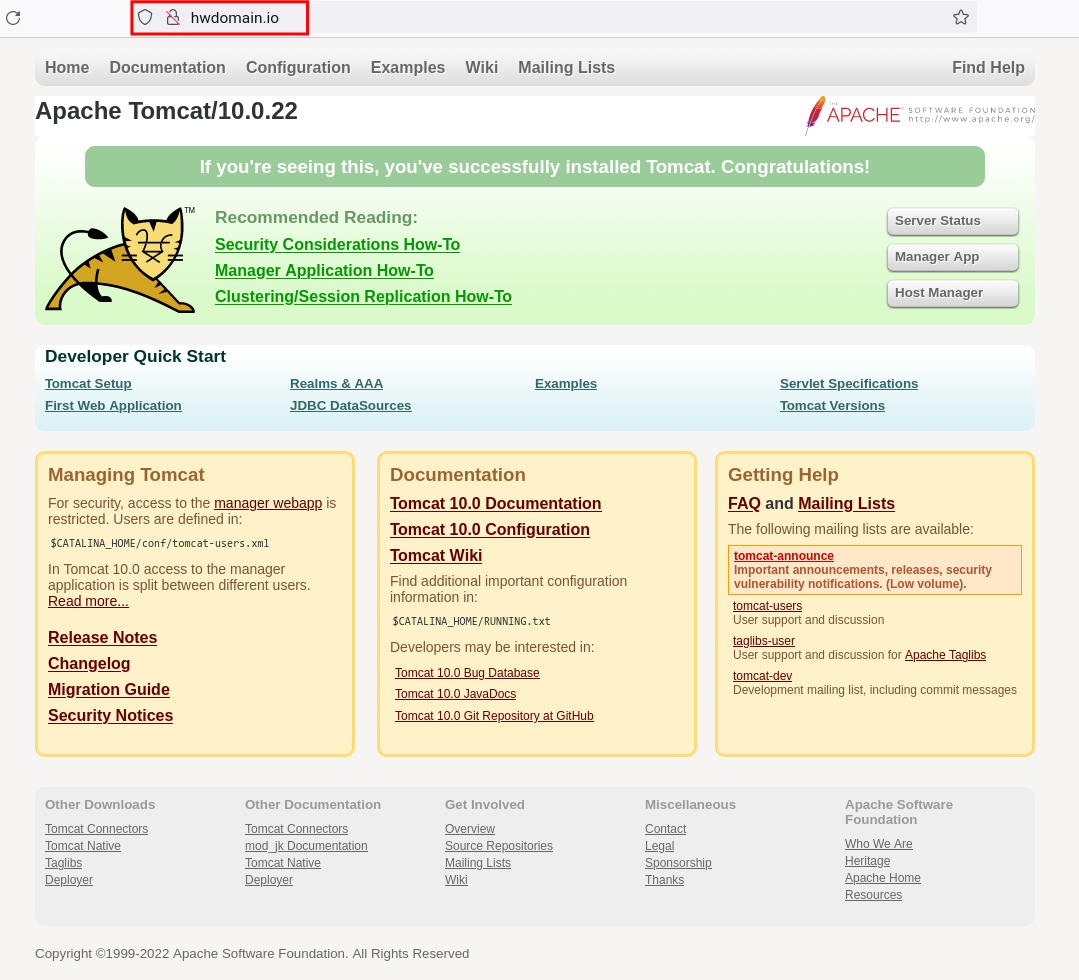
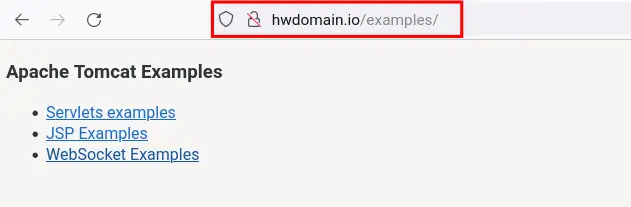
Add the following configuration to the file. in this demo, you will be setting up the reverse proxy for the Apache Tomcat default index page and the Tomcat application "examples". When you visit the domain "hwdomain.io", you will see the default index page of Apache Tomcat. And if you visit the "hwdomain.io/examples/", you will see the Tomcat application examples.
<VirtualHost *:80>
    ServerName hwdomain.io

    ProxyRequests On
    ProxyPass / http://localhost:8080/
    ProxyPassReverse / http://localhost:8080/

    ProxyPass /examples http://localhost:8080/examples/
    ProxyPassReverse /examples http://localhost:8080/examples/

    <Location "/">
      Order allow,deny
      Allow from all
    </Location>

    <Location "/examples">
      Order allow,deny
      Allow from all
    </Location>

</VirtualHost>
Save and close the file when you are done.
Now run the below command to activate the virtual host configuration "tomcat.conf". Then, check and verify your Apache2 configuration. And you should get the output message such as "Syntax OK".
sudo a2ensite tomcat.conf
sudo apachectl configtest
Lastly, restart the Apache2 service to apply new changes to the virtual host configuration.
sudo systemctl restart apache2
Now back to your web browser and visit the domain name of your Apache Tomcat installation (i.e: http:hwdomain.io). And you should get the default index page of the Apache Tomcat.
To access the Tomcat application "examples", you can just add the URL path "/examples" (i.e: http://hwdomain.io/examples/). And you should get the Tomcat application "examples".
If you are in the local environment, you can just edit the "/etc/hosts" file on your computer and define the IP address of your server and the domain name.
Conclusion
Congratulation! You have completed and successfully installed the Apache Tomcat on Ubuntu 22.04 machine. You have learned two different methods for Apache Tomcat installation, via Ubuntu APT repository, and via Binmary Distribution manually. In addition to that, you have also learned how to set up Apache Tomcat users for the Tomcat Web Application Manager and the Host Manager. In the end, you have also learned how to set up the Apache2 web server as a reverse proxy for your Apache Tomcat applications.

