How to Install Magnolia CMS on Ubuntu 18.04 LTS
Magnolia is a free and open source Java-based CMS that delivers smartphone simplicity on an enterprise-scale. It uses a JCR repository to store, retrieve and search data. Magnolia CMS has a modular architecture that allows us to install and uninstall functionality according to a project's requirements.
Magnolia CMS Features
- Support for Multi-Language, Multi-Domain, Multi-Brand, and Multi-Channel.
- Automatic Menu Generation, Sitemaps, Google SItemap.
- Support for Themes & Sites.
- Easy to use, fully-featured and highly scalable.
In this tutorial, we will learn how to install Magnolia in Ubuntu 18.04.
Requirements
- A server running Ubuntu 18.04.
- A non-root user with sudo privileges.
Install Java
Before starting, Magnolia needs java to be installed in your system. You can install it with the following command:
sudo apt-get install oracle-java8-installer -y
Once the Java is installed, you can check the Java version with the following:
java -version
You should see the following output:
java version "1.8.0_131"
Java(TM) SE Runtime Environment (build 1.8.0_131-b11)
Java HotSpot(TM) 64-Bit Server VM (build 25.131-b11, mixed mode)
Install Magnolia
First, you will need to download the latest version of the Magnolia. You can download it with the following command:
cd /opt
wget https://netix.dl.sourceforge.net/project/magnolia/magnolia/Magnolia%20CE%205.6.5/magnolia-community-demo-bundle-5.6.5-tomcat-bundle.zip
Once the download is completed, extract the downloaded file with the following command:
unzip magnolia-community-demo-bundle-5.6.5-tomcat-bundle.zip
Next, change the directory to the Magnolia and start Magnolia server with the following command:
cd magnolia-5.6.5
sudo ./apache-tomcat-8.5.5/bin/magnolia_control.sh start --ignore-open-files-limit
Magnolia server is now running and listening on port 8080.
Access Magnolia Web Interface
Now, open your web browser and type the URL http://your-server-ip:8080, you will be redirected to the Magnolia Welcome screen:
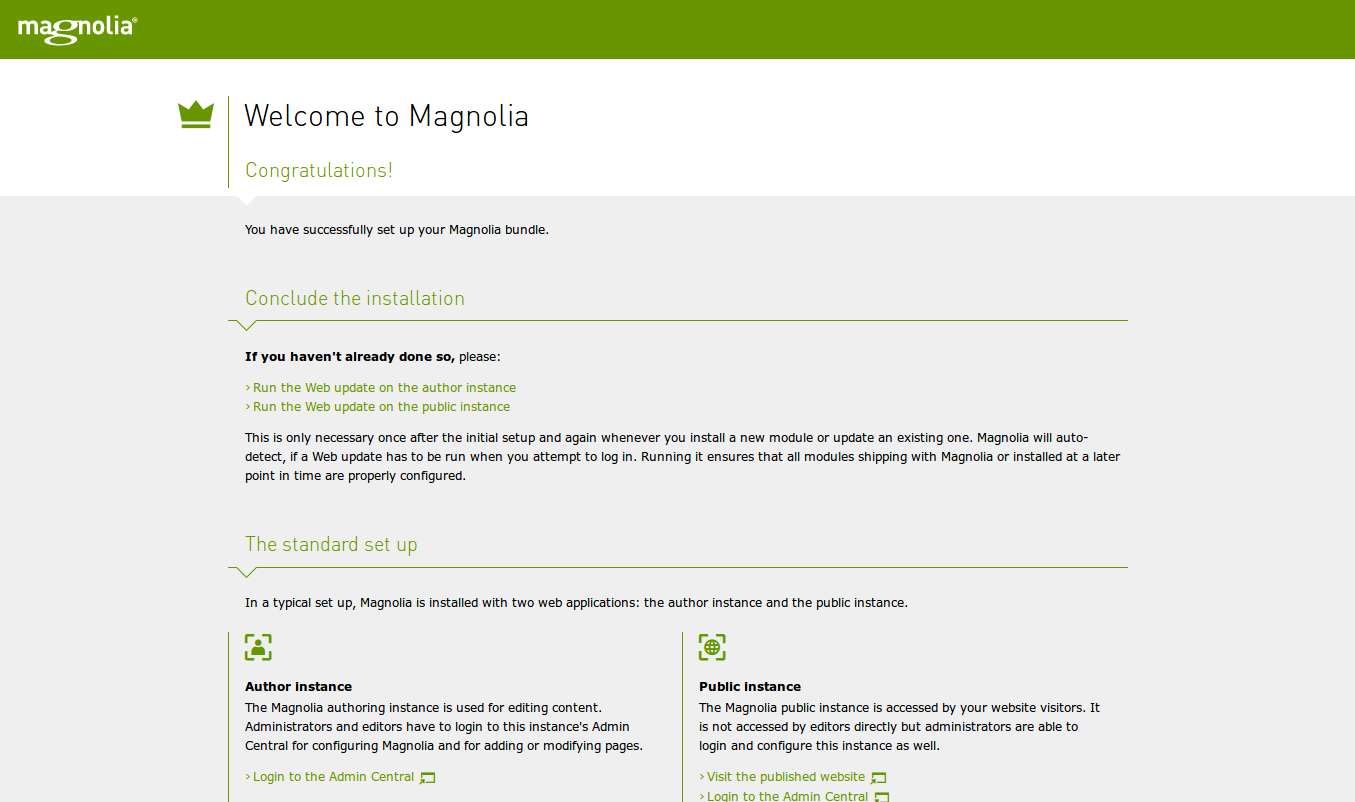
Now, click on the "Run the Web update on the author instance", you will be redirected to the following page:
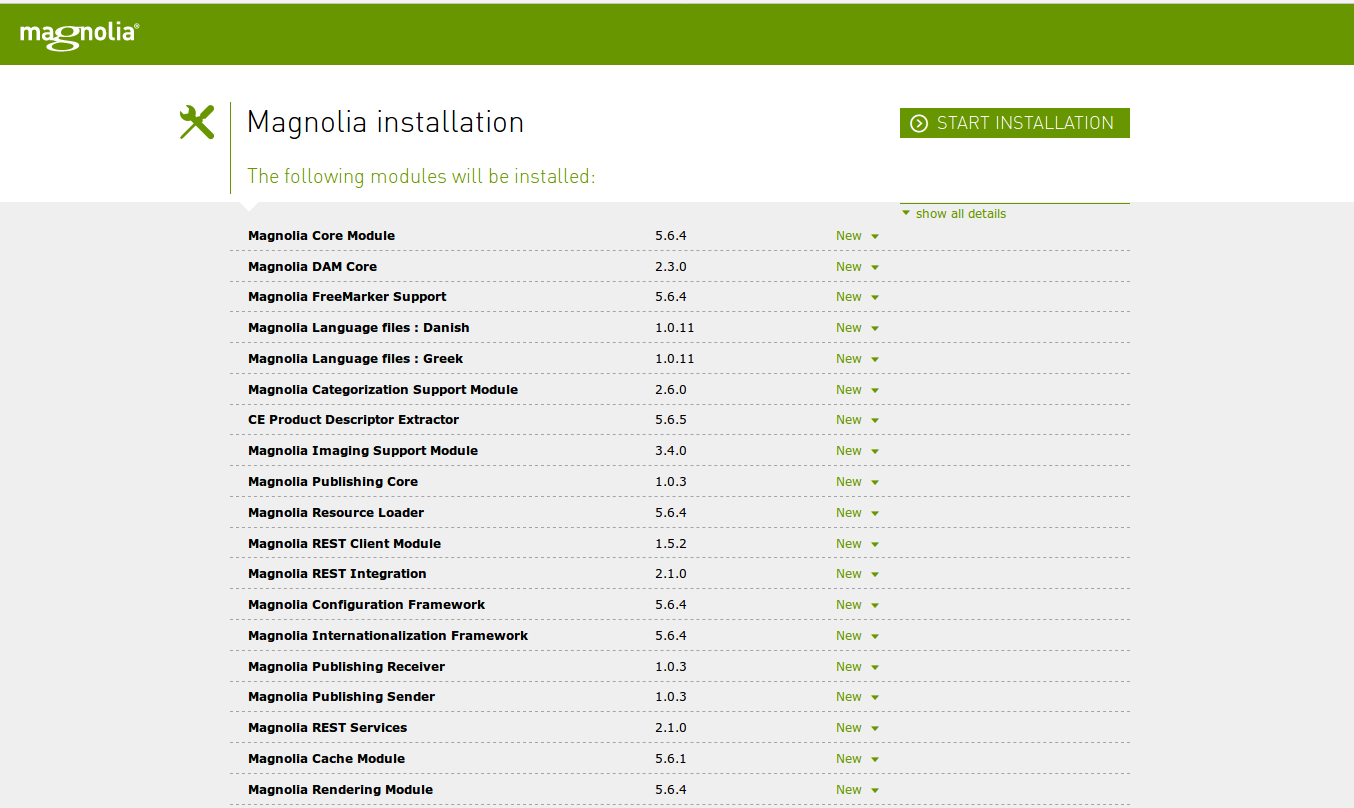
Now, click on the START INSTALLATION button. Once the installation finished, you should see the following page:
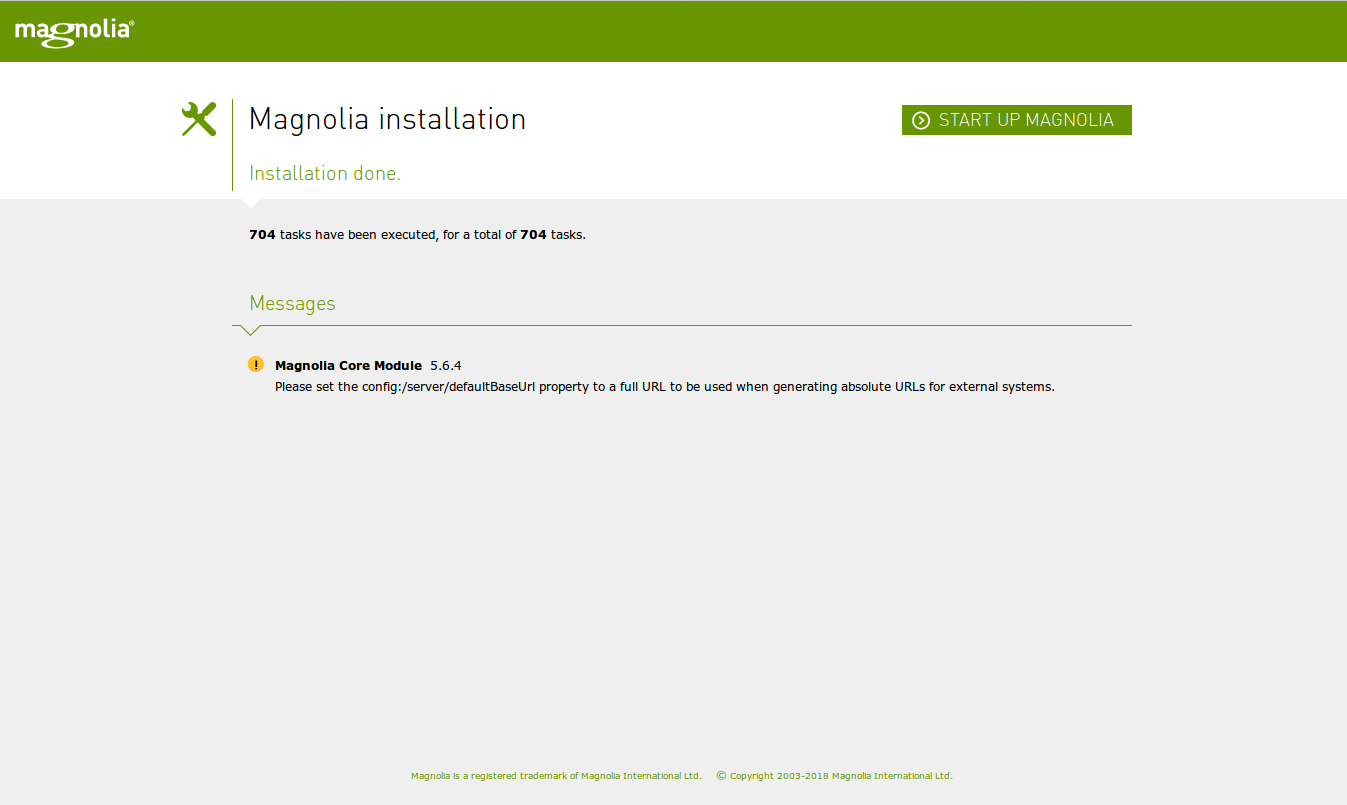
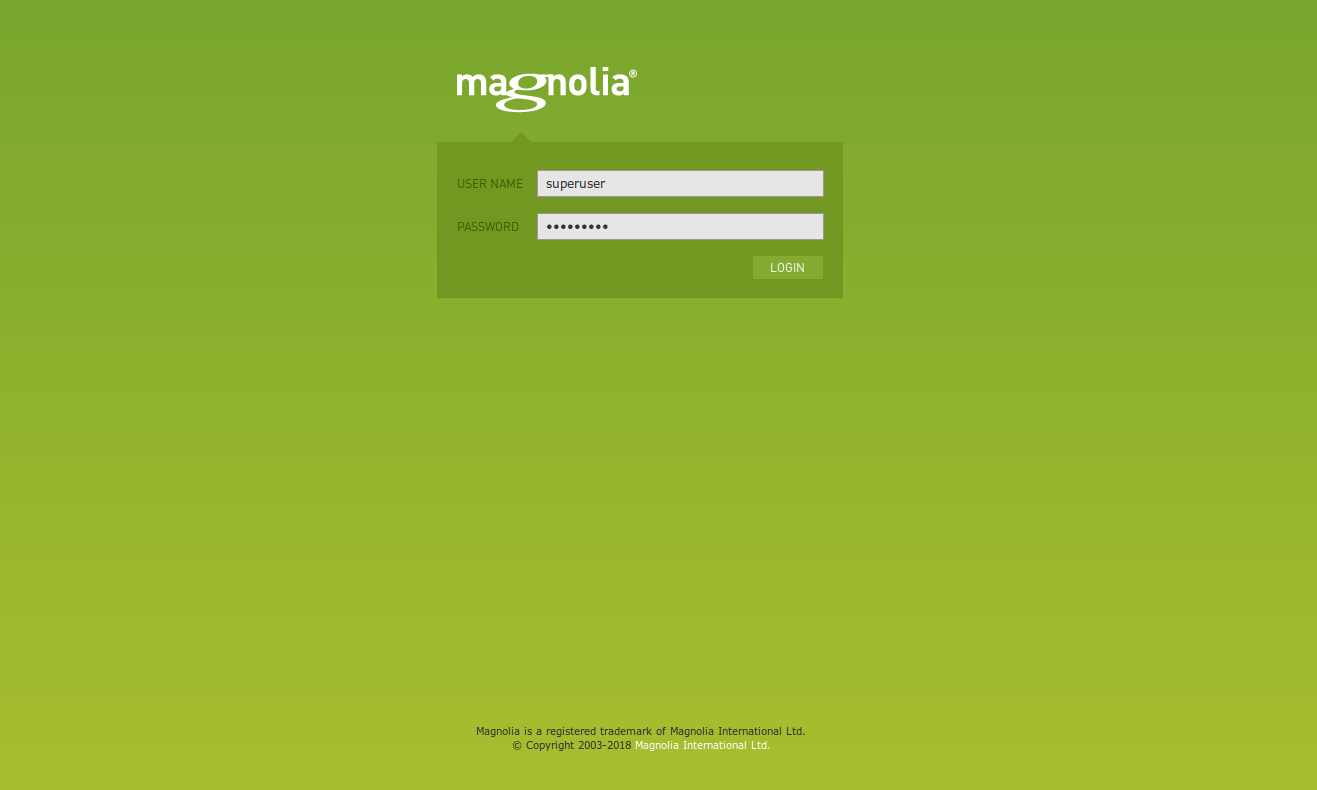
Now, click on the START UP MAGNOLIA button, you will be redirected to the Magnolia login screen:
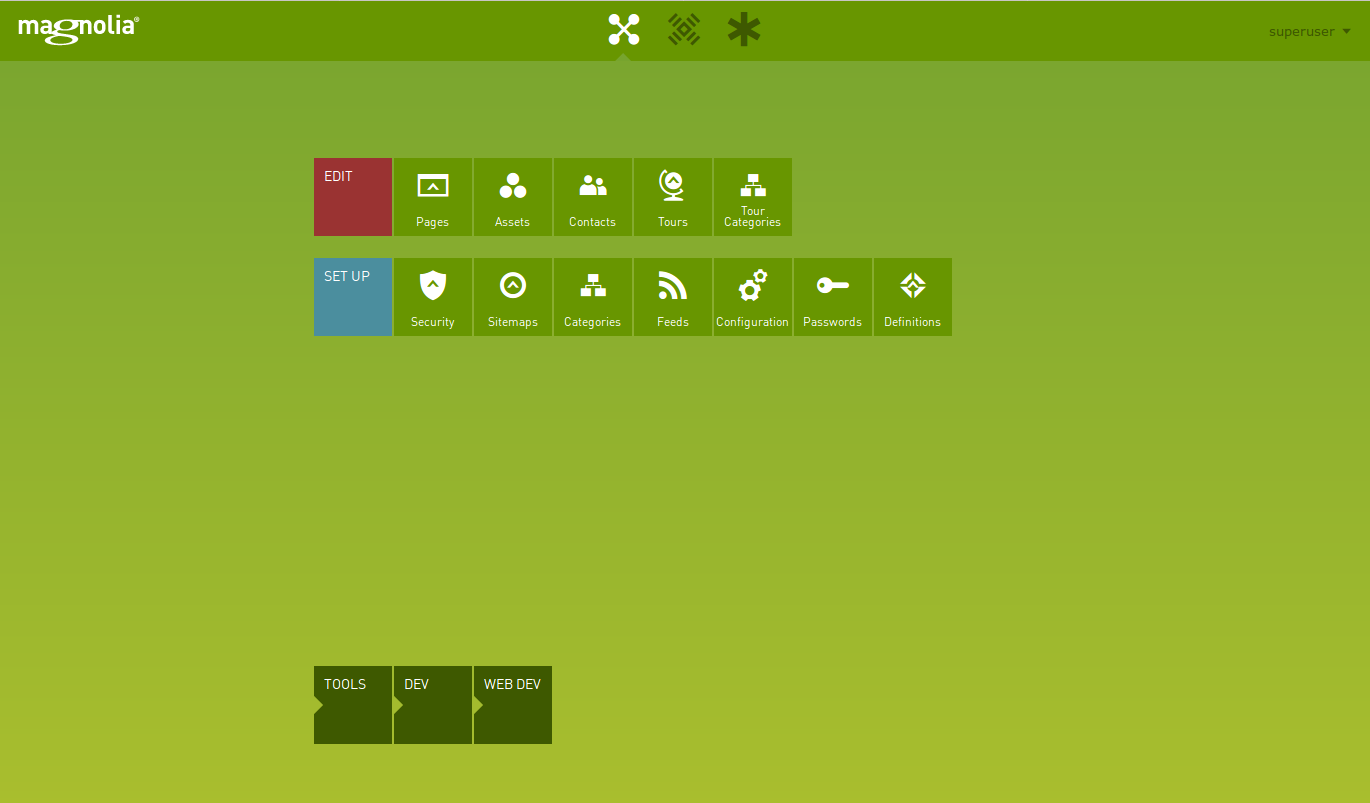
Now, provide username as superuser and password as superuser, then click on the LOGIN button, you should see the Magnolia dashboard in the following page: