How to Install BookStack on Ubuntu 18.04 LTS
BookStack is a free and open source knowledge management platform that can be used for creating documentation and wikis content for your users. BookStack is written in the PHP language and uses the Laravel web framework. BookStack allows you to set-up BookStack as per your need like, change the name, Logo and registration options. BookStack provides lots of features such as, Multi-language support, Markdown Editor, Customizable, Searchable, WYSIWYG interface, Role and permission management, Integrated Authentication and many more.
In this tutorial, we will learn how to install Bookstack with Apache in Ubuntu 18.04 server.
Requirements
- A server running Ubuntu 18.04.
- A non-root user with sudo privileges.
Getting Started
Before starting, you will need to update your system with the latest version. You can do this by running the following command:
sudo apt-get update -y
sudo apt-get upgrade -y
Once your system is updated, restart the system to apply the changes.
Install LAMP Server
First, you will need to install Apache web server, MariaDB server, PHP and other PHP modules to your system. You can install all of them by running the following command:
sudo apt-get install apache2 mariadb-server php7.2 libapache2-mod-php7.2 php7.2-common php7.2-sqlite3 php7.2-curl php7.2-intl php7.2-mbstring php7.2-xmlrpc php7.2-mysql php7.2-gd php7.2-xml php7.2-cli php7.2-tidy php7.2-zip unzip wget git -y
Once all the packages are installed, open php.ini file and make some changes:
sudo nano /etc/php/7.2/apache2/php.ini
Make the following changes:
memory_limit = 256M
upload_max_filesize = 150M
max_execution_time = 360
date.timezone = Asia/Kolakata
Save and close the file.
Configure MariaDB
By default, MariaDB is not secured. So you will need to secure it first. You can secure it by running the following command:
sudo mysql_secure_installation
Answer all the questions as below:
    Enter current password for root (enter for none): ENTER
    Set root password? [Y/n]: N
    Remove anonymous users? [Y/n]: Y
    Disallow root login remotely? [Y/n]: Y
    Remove test database and access to it? [Y/n]:  Y
    Reload privilege tables now? [Y/n]:  Y
Once the MariaDB is secured, log in to MariaDB shell:
mysql -u root -p
Provide your root password. Then, create a database and user for Bookstack:
MariaDB [(none)]> CREATE DATABASE bookstackdb;
MariaDB [(none)]> CREATE USER 'bookstack'@'localhost' IDENTIFIED BY 'password';
Replace the word 'password' in the above command with a secure password and not it down for later use. Next, grant all privileges to the Bookstack with the following command:
MariaDB [(none)]> GRANT ALL ON bookstackdb.* TO 'bookstack'@'localhost' IDENTIFIED BY 'password' WITH GRANT OPTION;
Replace the word 'password' again here with the same password you used above. Next, flush the privileges and exit from the MariaDB shell:
MariaDB [(none)]> FLUSH PRIVILEGES;
MariaDB [(none)]> EXIT;
Install Bookstack
First, you will need to install Composer to your system. Composer is a dependency manager for PHP. You can install Composer with the following command:
curl -sS https://getcomposer.org/installer | sudo php -- --install-dir=/usr/local/bin --filename=composer
Next, change the directory to the /var/www/html and download the latest version of Bookstack from Git repository with the following command:
cd /var/www/html/
sudo git clone https://github.com/BookStackApp/BookStack.git --branch release --single-branch
Next, change the directory to the Bookstack and install all the dependencies required by PHP with the following command:
cd Bookstack
sudo composer install
Once all the dependencies are installed, copy the sample environment configuration file with the following command:
sudo cp .env.example .env
Next, update the database settings in .env file:
sudo nano .env
Make the following changes:
# Database details
DB_HOST=localhost
DB_DATABASE=bookstackdb
DB_USERNAME=bookstack
DB_PASSWORD=password
Save and close the file. Then, create the application key and migrate the database with the following command:
sudo php artisan key:generate
Output:
**************************************
*     Application In Production!     *
**************************************

 Do you really wish to run this command? (yes/no) [no]:
 > yes

Application key [base64:KTcNpGD5CacIz20eiKpusk02YaHm14OQTZTERizEDBw=] set successfully.
Next, you will need to migrate the database. You can migrate the database with the following command:
sudo php artisan migrate
You should see the following output:
**************************************
*     Application In Production!     *
**************************************

 Do you really wish to run this command? (yes/no) [no]:
 > yes

Migration table created successfully.
Next, give proper permissions to the Bookstack directory with the following command:
sudo chown -R www-data:www-data /var/www/html/BookStack/
sudo chmod -R 755 /var/www/html/BookStack/
Configure Apache for Bookstack
Next, you will need to create an Apache virtual host file for Bookstack. You can create it with the following command:
sudo nano /etc/apache2/sites-available/bookstack.conf
Add the following lines:
<VirtualHost *:80>
     ServerAdmin [email protected]
     DocumentRoot /var/www/html/Bookstack
     ServerName example.com
     ServerAlias www.example.com

    <Directory /var/www/html/Bookstack/>
        Options FollowSymlinks
        AllowOverride All
        Require all granted
     </Directory>

     ErrorLog ${APACHE_LOG_DIR}/error.log
     CustomLog ${APACHE_LOG_DIR}/access.log combined

</VirtualHost>
Replace 'example.com' and 'www.example.com' in the above file with your own domain name. Then save and close the file and enable Apache virtual host file and rewrite module with the following commands:
sudo a2ensite bookstack.conf
sudo a2enmod rewrite
Finally, restart Apache web service to apply all the changes:
sudo systemctl restart apache2
Access Bookstack
Open your web browser and type the URL, in my case it is http://example.com, you will be redirected to the following page:
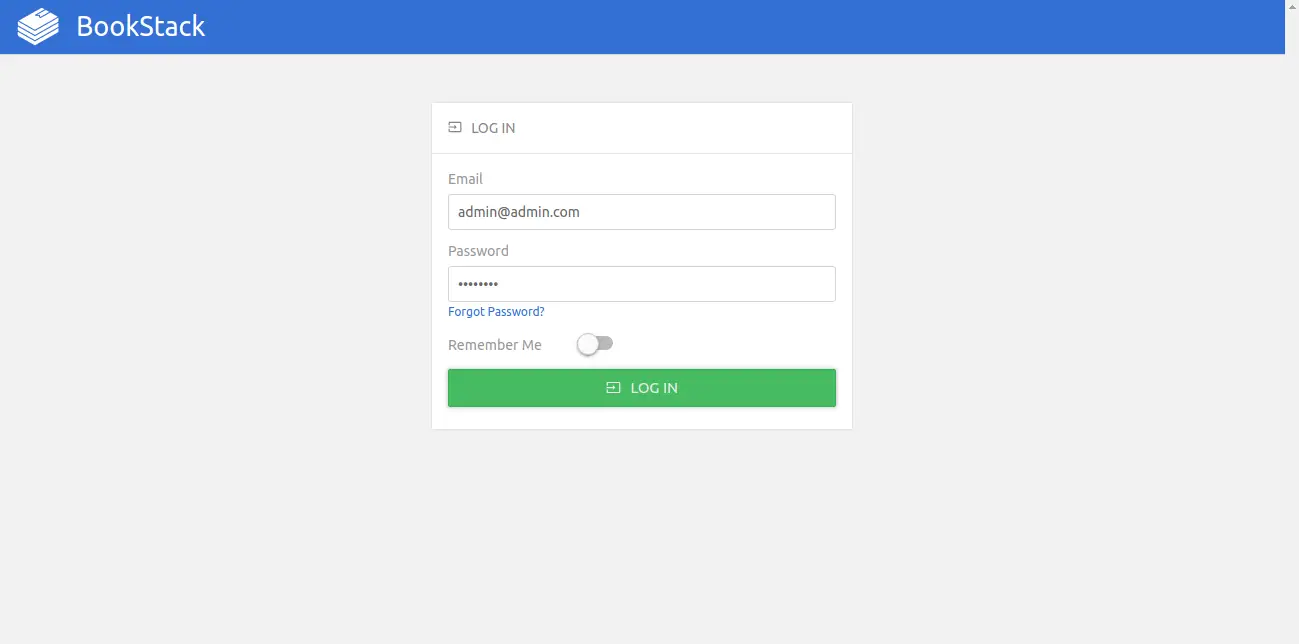
Now, provide default username as [email protected] and password as password, then click on the LOG IN button. You will be redirected to the Bookstack dashboard in the following page:
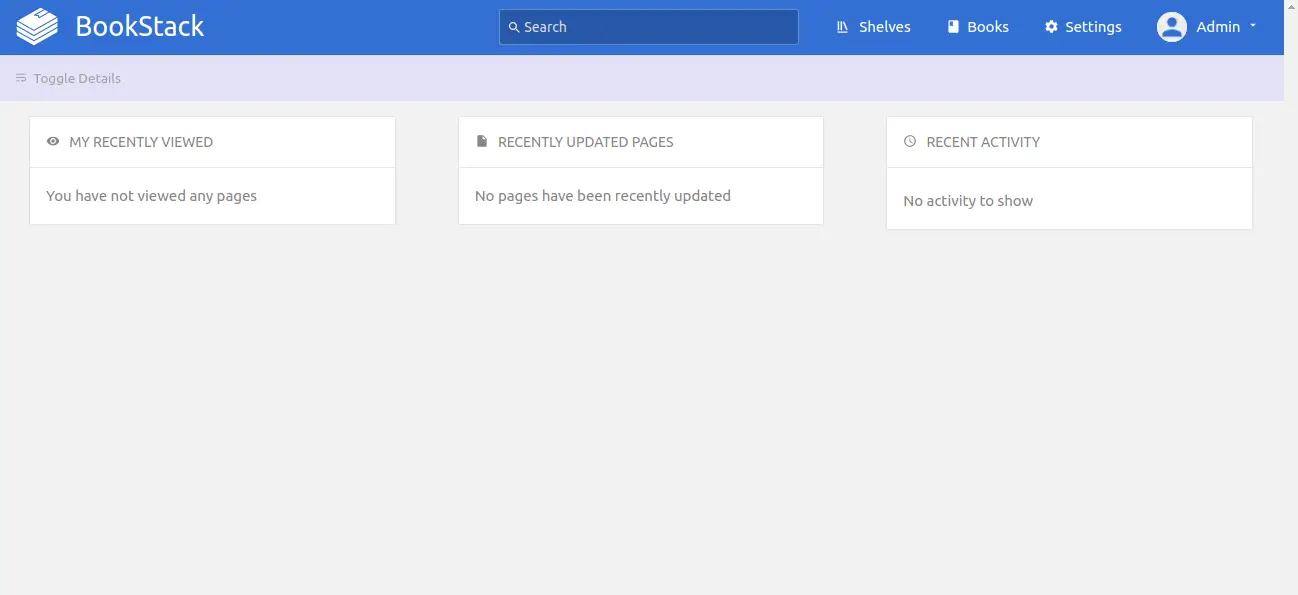
The next step should be to change the default password to secure the BookStack Login.
Conclusion
Congratulations! you have successfully installed Bookstack in Ubuntu 18.04 LTS server. You can now easily create your own wiki site using Bookstack. Feel free to ask me if you have any questions.

