How to Install and Configure mod_pagespeed Module with Apache on Ubuntu 18.04 LTS
Mod_pagespeed is an Apache module that can be used to improve the speed of Apache web server on Linux. Mod_pagespeed has several filters that automatically optimize Web Pages to improve better performance. It supports several operating systems such as, Fedora, RHEL, Debian, Ubuntu and CentOS. Mod_pagespeed module does not require modifications to existing content that means all internal optimizations and changes to files are made on the server side.
In this tutorial, we will learn how to install Mod_pagespeed with Apache on Ubuntu 18.04 server.
Requirements
- A server running Ubuntu 18.04.
- A static IP address 192.168.0.104 is set up to your server
- A root password is setup to your server.
Getting Started
Before starting, you will need to update your system with the latest version. You can do this by running the following command:
apt-get update -y
 apt-get upgrade -y
Once your server is updated, restart your server to apply the changes.
Install Apache Web Server
First, you will need to install Apache web server to your system. You can install it by just running the following command:
apt-get install apache2 -y
Once the installation has been completed, start Apache service and enable it to start on boot with the following command:
systemctl start apache2
 systemctl enable apache2
Once you have finished, you can proceed to the next step.
Install Mod_pagespeed Module
First, you will need to download the latest version of Mod_pagespeed from their official website. You can do it with the following command:
wget https://dl-ssl.google.com/dl/linux/direct/mod-pagespeed-stable_current_amd64.deb
Once the download is completed, install it by running the following command:
dpkg -i mod-pagespeed-stable_current_amd64.deb
Once the installation has been completed successfully, restart Apache service to apply all the changes:
systemctl restart apache2
You can now verify the Mod_pagespeed module with the following command:
curl -D- localhost | head
You should see the following output:
  % Total    % Received % Xferd  Average Speed   Time    Time     Time  Current
                                 Dload  Upload   Total   Spent    Left  Speed
  0     0    0     0    0     0      0      0 --:--:-- --:--:-- --:--:--     0HTTP/1.1 200 OK
Date: Sat, 11 May 2019 04:58:26 GMT
Server: Apache/2.4.29 (Ubuntu)
Accept-Ranges: bytes
X-Mod-Pagespeed: 1.13.35.2-0
Vary: Accept-Encoding
Cache-Control: max-age=0, no-cache, s-maxage=10
Content-Length: 10089
Content-Type: text/html; charset=UTF-8

100 10089  100 10089    0     0   182k      0 --:--:-- --:--:-- --:--:--  185k
Configure Mod_pagespeed Web Interface
Mod_pagespeed module provides a simple and user-friendly web interface to view server state. You can enable Mod_pagespeed web interface by creating /pagespeed.conf file:
nano /etc/apache2/mods-available/pagespeed.conf
Add the following lines:
<Location /pagespeed_admin>
    Order allow,deny
    Allow from localhost
    Allow from 127.0.0.1
    Allow from all
    SetHandler pagespeed_admin
</Location>

<Location /pagespeed_global_admin>
    Order allow,deny
    Allow from localhost
    Allow from 127.0.0.1
    Allow from all
    SetHandler pagespeed_global_admin
</Location>
Save and close the file, when you are finished. Then, restart Apache service to apply all the changes:
systemctl restart apache2
Once you have done, you can proceed to access Mod_pagespeed web interface.
Access Mod_pagespeed Web Interface
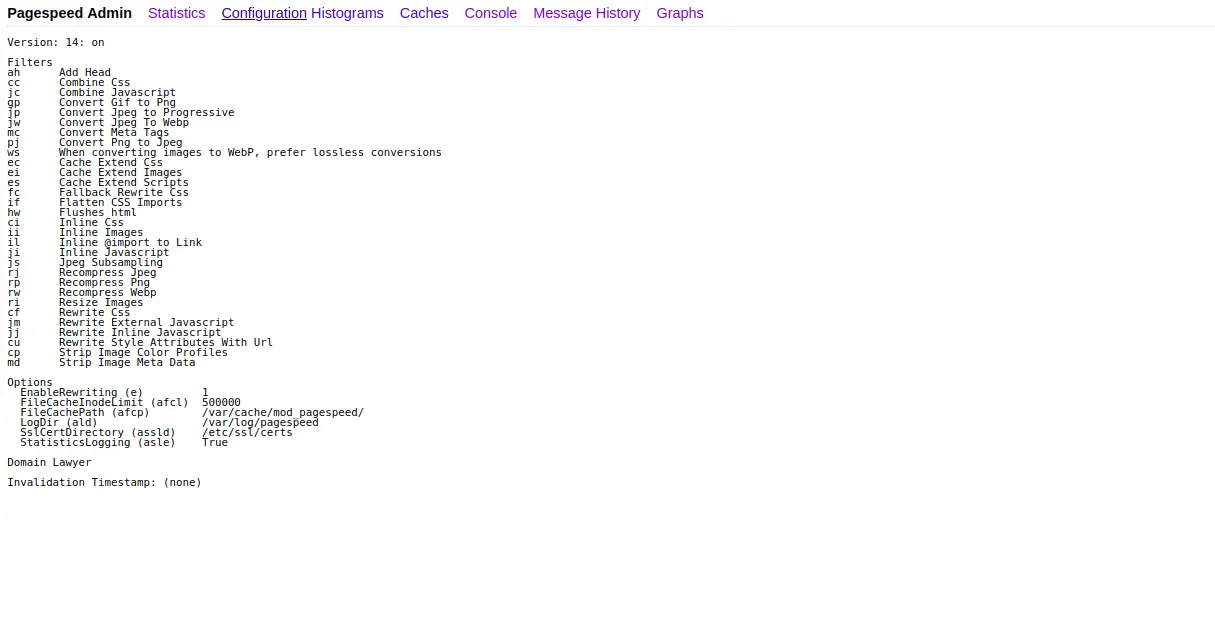
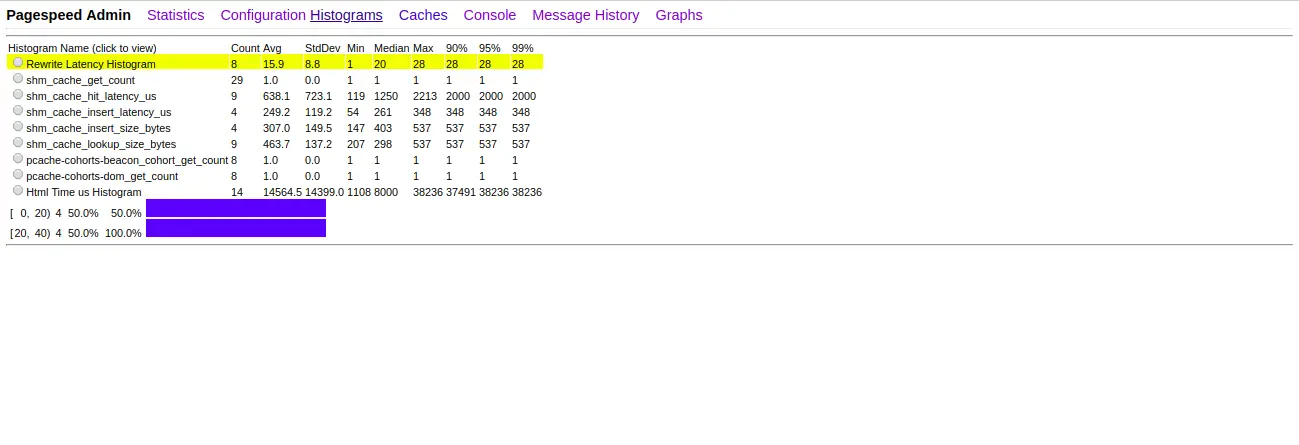
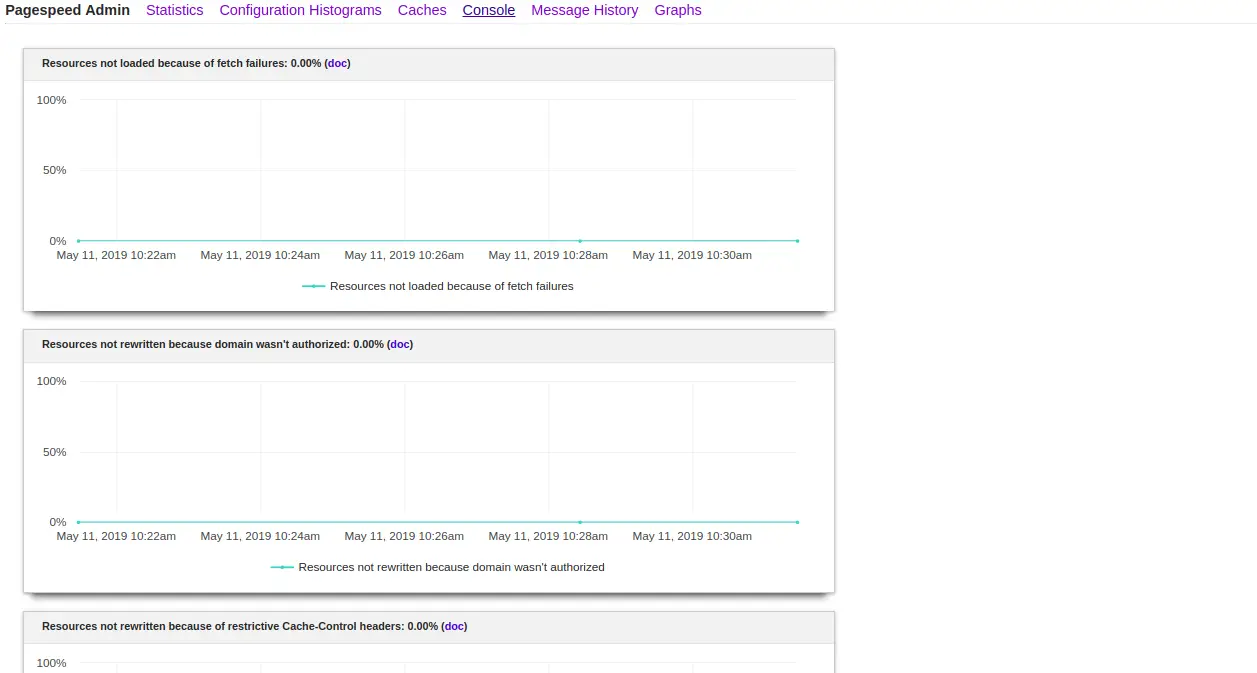
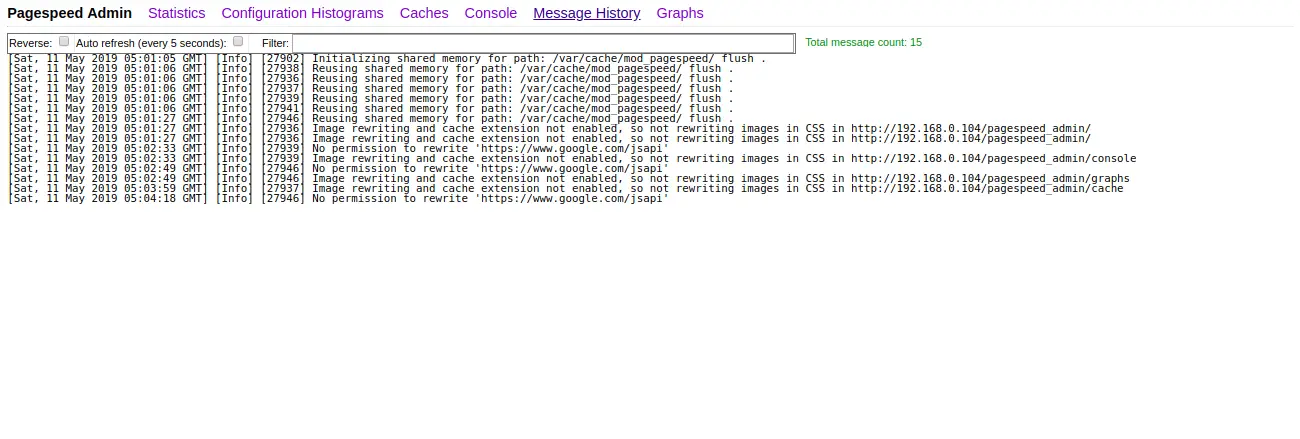
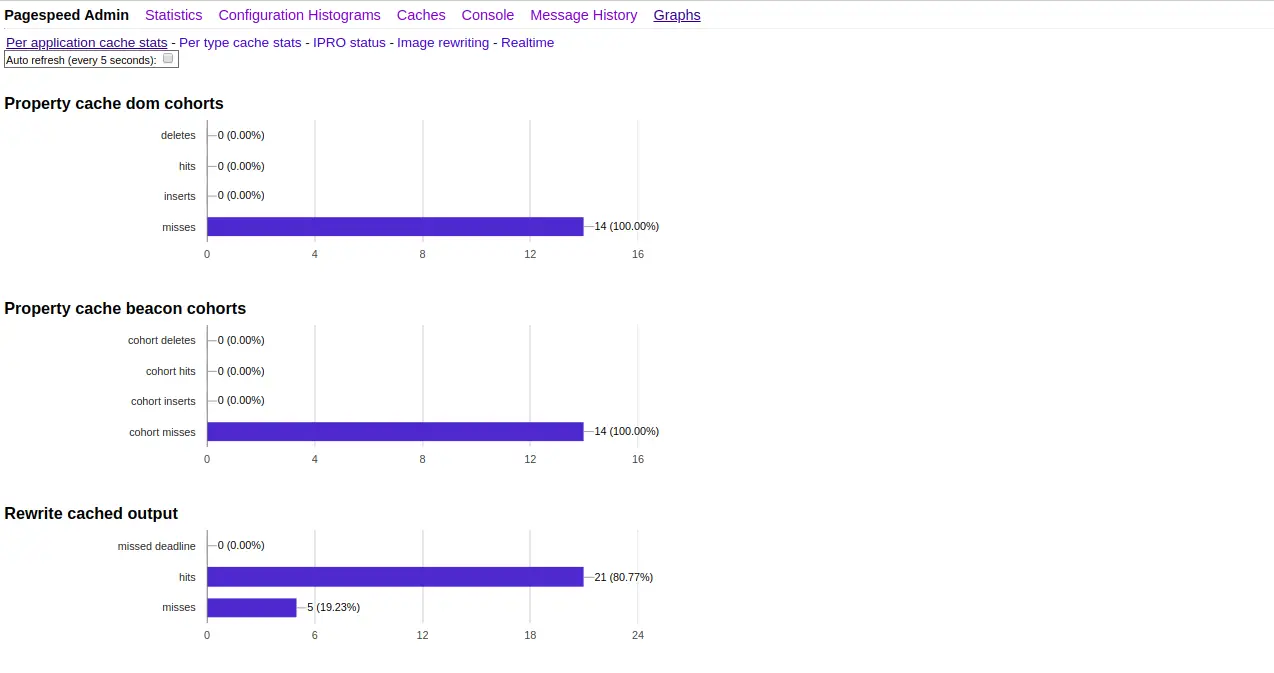
Now, open your web browser and type the URL http://192.168.0.104/pagespeed_admin. You will be redirected to the following page:
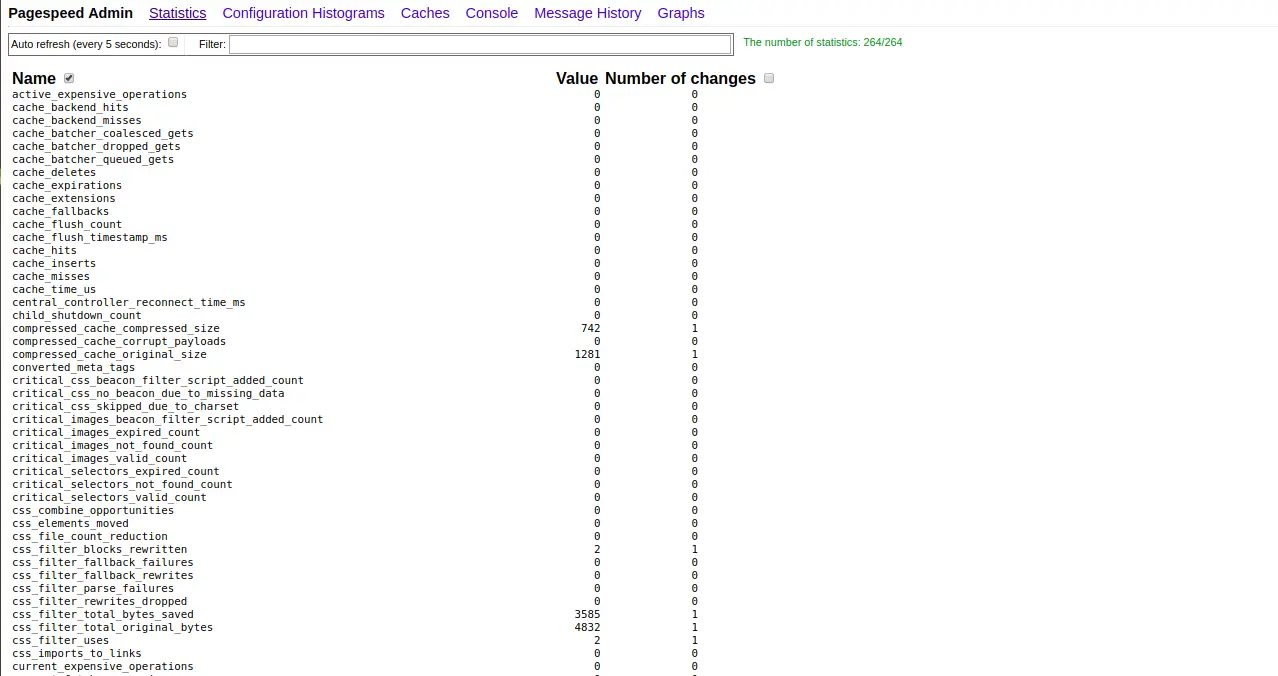
Statistics
Configuration
Histograms
Console
Message History
Graphs
Congratulations! you have successfully installed Mod_pagespeed with Apache on Ubuntu 18.04 server.

