How to Install and Configure OpenShift Origin PaaS Server on Ubuntu 18.04
This tutorial exists for these OS versions
- Ubuntu 20.04 (Focal Fossa)
- Ubuntu 18.04 (Bionic Beaver)
On this page
OpenShift is a free and open-source Platform-as-a-Service developed by Red Hat. OpenShift is used to develop, host and scale applications in the cloud environment. OpenShift provides support for lots of languages like, Java EE6, Ruby, PHP, Python, Perl, MongoDB, MySQL, and PostgreSQL. OpenShift is a leading cloud and enterprise Kubernetes application platform trusted by 1000+ companies. Openshift allows you to create, modify, and deploy applications as per your requirements.
In this tutorial, we will learn how to install single-node OpenShift Origin on Ubuntu 18.04 LTS server.
Requirements
- A server running Ubuntu 18.04 with minimum 2 GB RAM.
- A root password is configured on server.
Getting Started
Before starting, update your system with the latest stable version. You can do it with the following command:
apt-get update -y
apt-get upgrade -y
Once updated, restart your server to apply all the configuration changes.
Install Docker CE
OpenShift is runs on Docker container. So, you will need to install Docker CE on your server. Bt default, the latest version of Docker CE is not available in the Ubuntu 18.04 default repository. So, you will need to add Docker CE repository to your system.
To install Docker CE, download and add Docker GPG key with the following command:
curl -fsSL https://download.docker.com/linux/ubuntu/gpg | apt-key add -
Once added, add the Docker CE repository with the following command:
add-apt-repository "deb [arch=amd64] https://download.docker.com/linux/ubuntu $(lsb_release -cs) stable"
Next, update and install Docker CE with the following command:
apt-get update -y
apt-get install docker-ce -y
Once installed, check the status of Docker CE with the following command:
systemctl status docker
You should see the following output:
? docker.service - Docker Application Container Engine
   Loaded: loaded (/lib/systemd/system/docker.service; enabled; vendor preset: enabled)
   Active: active (running) since Wed 2019-08-07 08:06:57 UTC; 33s ago
     Docs: https://docs.docker.com
 Main PID: 19052 (dockerd)
    Tasks: 8
   CGroup: /system.slice/docker.service
           ??19052 /usr/bin/dockerd -H fd:// --containerd=/run/containerd/containerd.sock

Aug 07 08:06:57 hitesh dockerd[19052]: time="2019-08-07T08:06:57.372084572Z" level=warning msg="Your kernel does not support swap memory limit"
Aug 07 08:06:57 hitesh dockerd[19052]: time="2019-08-07T08:06:57.372483783Z" level=warning msg="Your kernel does not support cgroup rt period"
Aug 07 08:06:57 hitesh dockerd[19052]: time="2019-08-07T08:06:57.372711298Z" level=warning msg="Your kernel does not support cgroup rt runtime"
Aug 07 08:06:57 hitesh dockerd[19052]: time="2019-08-07T08:06:57.373275104Z" level=info msg="Loading containers: start."
Aug 07 08:06:57 hitesh dockerd[19052]: time="2019-08-07T08:06:57.612047102Z" level=info msg="Default bridge (docker0) is assigned with an IP ad
Aug 07 08:06:57 hitesh dockerd[19052]: time="2019-08-07T08:06:57.712918131Z" level=info msg="Loading containers: done."
Aug 07 08:06:57 hitesh dockerd[19052]: time="2019-08-07T08:06:57.938574106Z" level=info msg="Docker daemon" commit=74b1e89 graphdriver(s)=overl
Aug 07 08:06:57 hitesh dockerd[19052]: time="2019-08-07T08:06:57.939341612Z" level=info msg="Daemon has completed initialization"
Aug 07 08:06:57 hitesh systemd[1]: Started Docker Application Container Engine.
Aug 07 08:06:57 hitesh dockerd[19052]: time="2019-08-07T08:06:57.989385865Z" level=info msg="API listen on /var/run/docker.sock"
Once you have done, you can proceed to the next step.
Install OpenShift
First, you will need to download the latest stable version of OpenShift from the Git repository. You can download the latest version of OpenShift from the Git repository with the following command:
cd /opt
wget https://github.com/openshift/origin/releases/download/v3.9.0/openshift-origin-client-tools-v3.9.0-191fece-linux-64bit.tar.gz
Once downloaded, extract the downloaded file with the following command:
tar -zvxf openshift-origin-client-tools-v3.9.0-191fece-linux-64bit.tar.gz
Next, change the directory to extracted directory and copy oc binary to the /usr/local/bin directory with the following command:
cd openshift-origin-client-tools-v3.9.0-191fece-linux-64bit
cp oc /usr/local/bin/
You can now verify the version of oc with the following command:
oc version
You should see the following output:
oc v3.9.0+191fece
kubernetes v1.9.1+a0ce1bc657
features: Basic-Auth GSSAPI Kerberos SPNEGO
Next, you will need to add the insecure registry to docker daemon. You can do it with the following command:
nano /etc/docker/daemon.json
Add the following lines:
{
    "insecure-registries" : [ "172.30.0.0/16" ]
}
Save and close the file, when you are finished. Then, restart Docker service to apply configuration changes:
systemctl restart docker
Once you have done, you can proceed to the next step.
Start OpenShift Cluster
Now, start the OpenShift cluster by specifying your IP address or hostname as shown below:
oc cluster up --public-hostname=38.143.69.14
Once the server started successfully, you should see the following output:
WARNING: Binding DNS on port 8053 instead of 53, which may not be resolvable from all clients.
Using Docker shared volumes for OpenShift volumes
Using public hostname IP 38.143.69.14 as the host IP
Using 38.143.69.14 as the server IP
Starting OpenShift using openshift/origin:v3.9.0 ...
OpenShift server started.

The server is accessible via web console at:
    https://38.143.69.14:8443

You are logged in as:
    User:     developer
    Password:

To login as administrator:
    oc login -u system:admin
Note: Replace your server IP address with 38.143.69.14.
Now, log in to your cluster with the following command:
oc login -u system:admin
You should see the following output:
Logged into "https://38.143.69.14:8443" as "system:admin" using existing credentials. You have access to the following projects and can switch between them with 'oc project': default kube-public kube-system * myproject openshift openshift-infra openshift-node openshift-web-console Using project "myproject".
Now, you can change the project to default with the following command:
oc project default
You should see the following output:
Now using project "default" on server "https://38.143.69.14:8443".
You can now check the status of project with the following command:
oc status
You should see the folloiwng output:
In project default on server https://38.143.69.14:8443

svc/docker-registry - 172.30.1.1:5000
  dc/docker-registry deploys docker.io/openshift/origin-docker-registry:v3.9.0
    deployment #1 deployed 3 minutes ago - 1 pod

svc/kubernetes - 172.30.0.1 ports 443->8443, 53->8053, 53->8053

svc/router - 172.30.106.228 ports 80, 443, 1936
  dc/router deploys docker.io/openshift/origin-haproxy-router:v3.9.0
    deployment #1 deployed 3 minutes ago - 1 pod

View details with 'oc describe /' or list everything with 'oc get all'.
Create a Test Project on OpenShift
OpenShift is now installed and working. Next, log in to OpenShift with developer user:
oc login
Provide username and password as developer / developer and hit enter. You should see the following output:
Authentication required for https://38.143.69.14:8443 (openshift)
Username: developer
Password:
Login successful.

You have one project on this server: "myproject"

Using project "myproject".
Now, create a new test project with the following command:
oc new-project dev --display-name="test - Dev" --description="Test Project"
You should see the following output:
Now using project "dev" on server "https://38.143.69.14:8443".

You can add applications to this project with the 'new-app' command. For example, try:

    oc new-app centos/ruby-22-centos7~https://github.com/openshift/ruby-ex.git

to build a new example application in Ruby.
Next, build a new Ruby application on this project with the following command:
oc new-app centos/ruby-22-centos7~https://github.com/openshift/ruby-ex.git
Now, check the status of the current project with the following command:
oc status
You should see the following output:
In project test - Dev (dev) on server https://38.143.69.14:8443

svc/ruby-ex - 172.30.16.207:8080
  dc/ruby-ex deploys istag/ruby-ex:latest <- bc="" ruby-ex="" source="" builds="" https:="" github="" com="" openshift="" git="" on="" istag="" ruby-22-centos7:latest="" build="" 1="" running="" for="" 54="" seconds="" -="" c00ecd7:="" merge="" pull="" request="" 25="" from="" pvalena="" master="" honza="" horak="" hhorak="" redhat="">)
    deployment #1 waiting on image or update
Once you have done, you can proceed to the next step.
Access OpenShift Web Console
Now, open your web browser and type the URL https://your-server-ip:8443. You will be redirected to the following page:
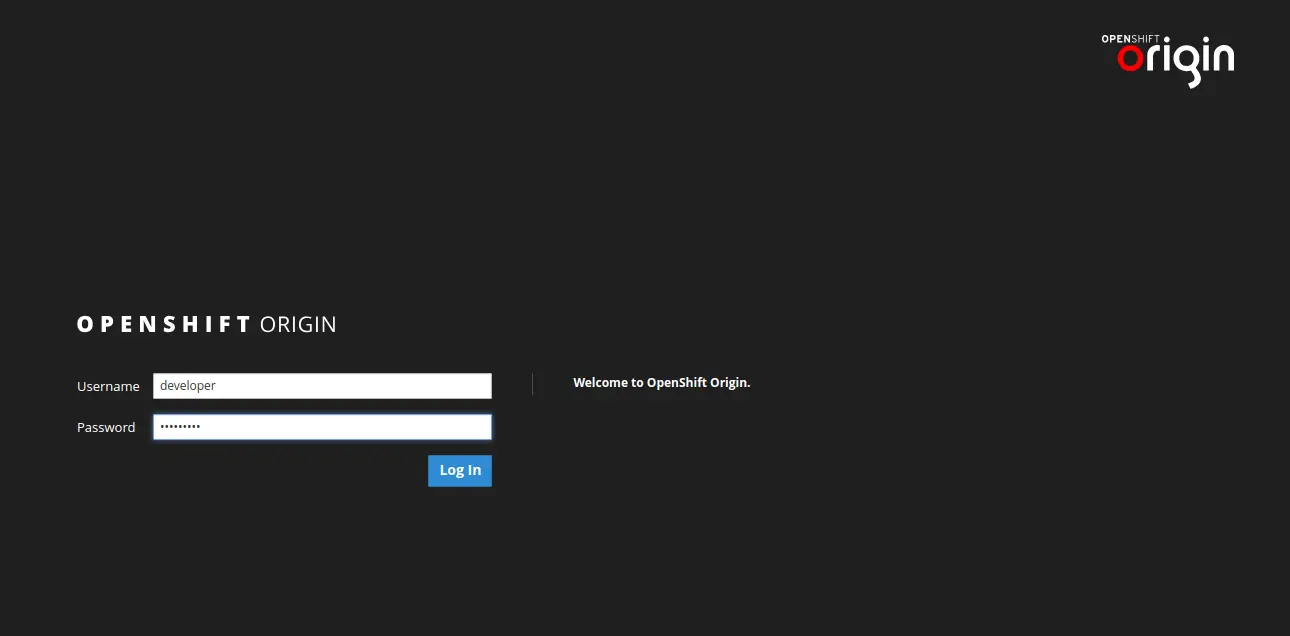
Provide your developer username and password. Then, click on the Log in button. You should see the OpenShift default dashboard in the following page:
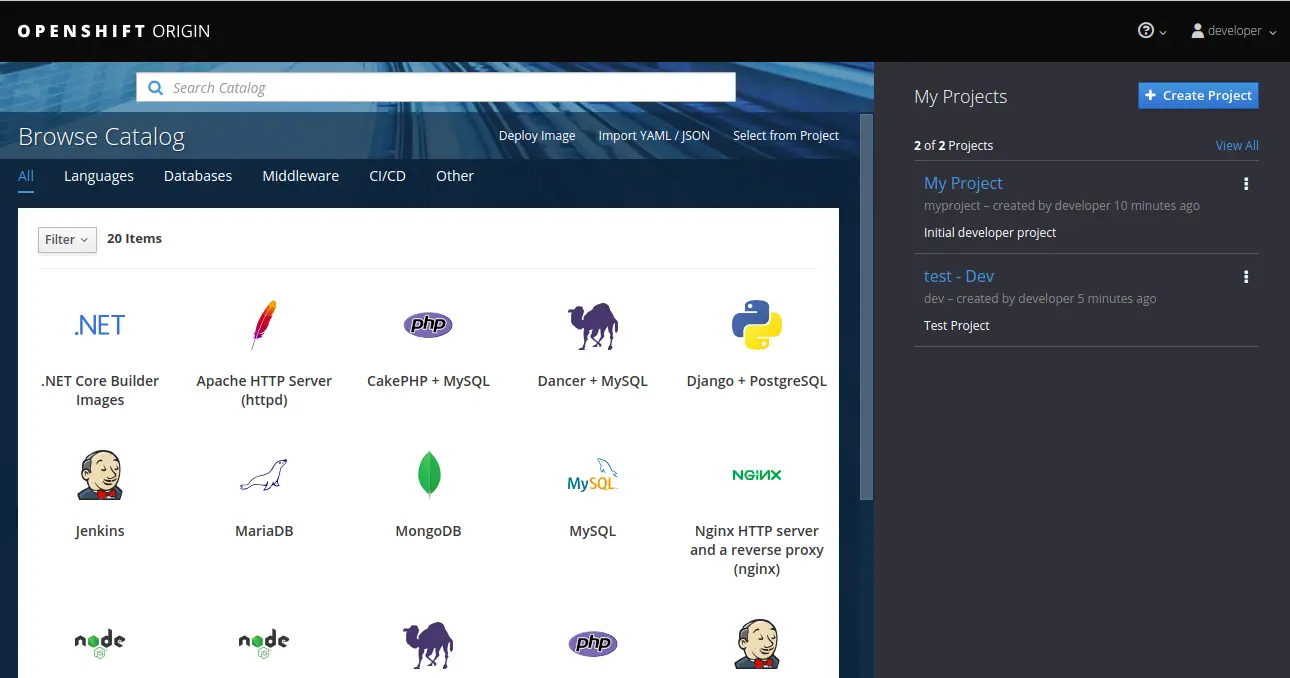
Now, click on the My Project on the Righ side. You should see the following page:
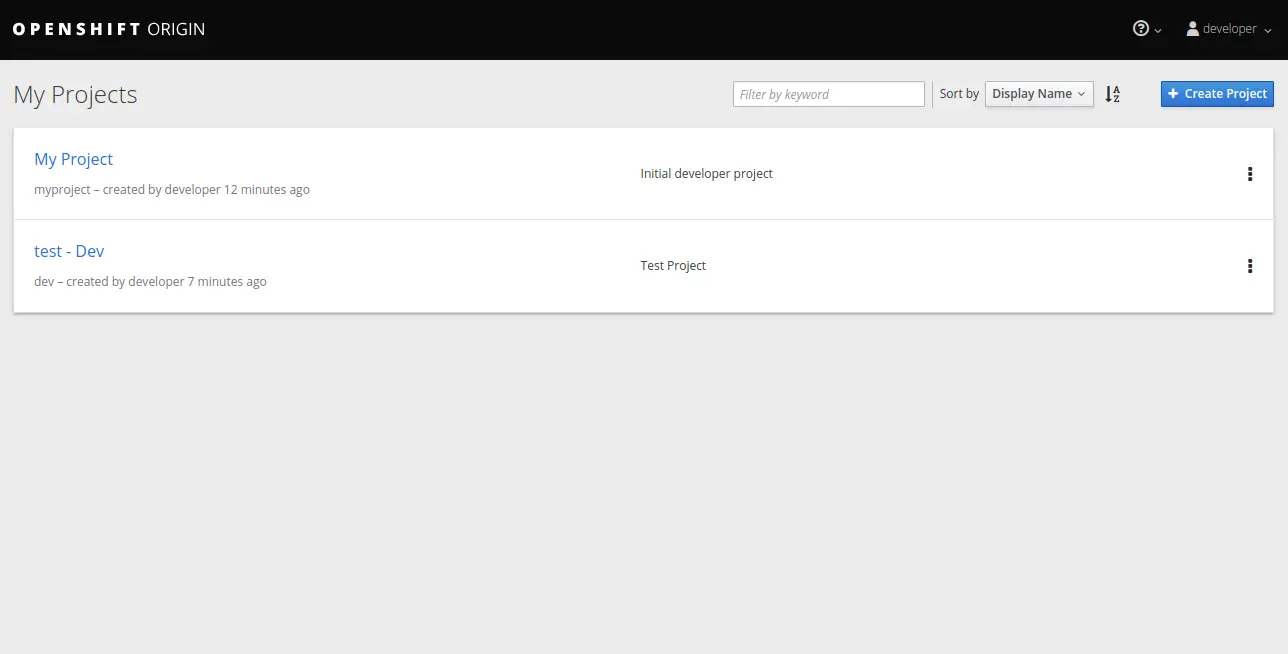
Now, click on the test - Dev. You should see your deployed Ruby app in the following page:
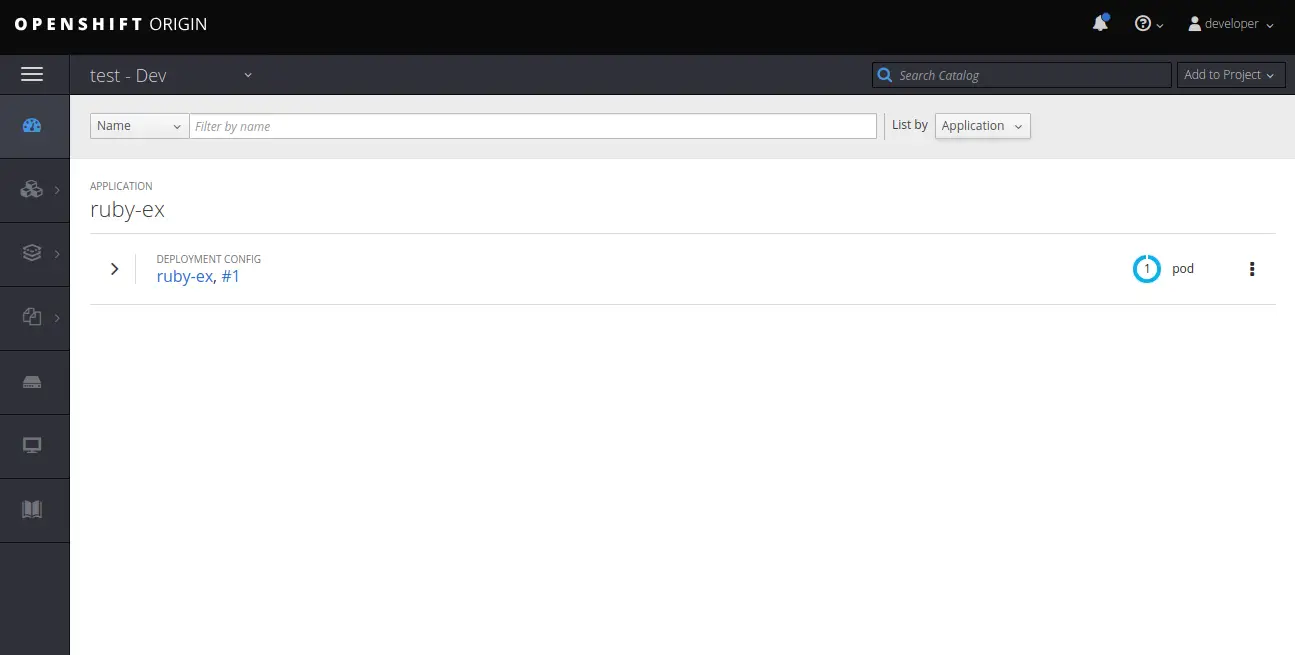
Congratulations! you have successfully installed and configured OpenShift on Ubuntu 18.04 server. You can create a new project and deploy your own application using OpenShift. Feel free to ask me if you have any questions. This article is not recommended for production use. For more information you can refer the official documentation at OpenShift.

