How to Install Jetty JAVA http Server on Debian 10
Jetty is a free and open-source Java HTTP server that can be used in different projects, both in development and production. Jetty has a small footprint, is embeddable, full-featured and supports SPDY, WebSocket, OSGi, JNDI, JAAS and many other integrations. Jetty is used in multiple active products such as Alfresco, Apache ActiveMQ, Apache Spark, Apache Maven, Red5 and Hadoop.
In this tutorial, we will show you how to install Jetty on Debian 10.
Requirements
- A server running Debian 10.
- A root password is configured on your server.
Getting Started
First, it is recommended to update your system with the latest version. You can do it by running the following command:
apt-get update -y
 apt-get upgrade -y
Once your system is updated, restart your system to apply the configuration changes.
Install Java
Jetty is a Java-based application. So, you will need to install Java to your system. By default, the latest version of Java is available in the Debian 10 default repository. You can install it by just running the following command:
apt-get install default-jdk -y
Once the installation has been completed, you can check the Java version with the following command:
java --version
You should get the following output:
openjdk 11.0.3 2019-04-16
OpenJDK Runtime Environment (build 11.0.3+7-post-Debian-5)
OpenJDK 64-Bit Server VM (build 11.0.3+7-post-Debian-5, mixed mode, sharing)
Install Jetty
By default, Jetty is available in the Debian 10 default repository. You can install it by just running the following command:
apt-get install jetty9 -y
Once installed, check the Jetty version with the following command:
apt show jetty9
You should see the following output:
Package: jetty9
Version: 9.4.15-1
Priority: optional
Section: java
Maintainer: Debian Java Maintainers <[email protected]>
Installed-Size: 757 kB
Next, start the Jetty service and enable it to start after system reboot with the following command:
systemctl start jetty9
 systemctl enable jetty9
You can also check the Jetty status using the following command:
systemctl status jetty9
You should get the following output:
? jetty9.service - Jetty 9 Web Application Server
   Loaded: loaded (/lib/systemd/system/jetty9.service; enabled; vendor preset: enabled)
   Active: active (running) since Sat 2019-09-28 02:47:55 EDT; 1min 11s ago
     Docs: https://www.eclipse.org/jetty/documentation/current/
 Main PID: 1658 (java)
    Tasks: 24 (limit: 1138)
   Memory: 69.9M
   CGroup: /system.slice/jetty9.service
           ??1658 /usr/bin/java -Djetty.home=/usr/share/jetty9 -Djetty.base=/usr/share/jetty9 -Djava.io.tmpdir=/tmp -jar /usr/share/jetty9/star

Sep 28 02:48:12 debian jetty9[1658]: 2019-09-28 02:48:12.492:INFO:oejdp.ScanningAppProvider:main: Deployment monitor [file:///var/lib/jetty9/we
Sep 28 02:48:14 debian jetty9[1658]: 2019-09-28 02:48:14.079:INFO:oeja.AnnotationConfiguration:main: Scanning elapsed time=16ms
Sep 28 02:48:14 debian jetty9[1658]: 2019-09-28 02:48:14.602:INFO:oejshC.root:main: Warning: No org.apache.tomcat.JarScanner set in ServletCont
Sep 28 02:48:15 debian jetty9[1658]: 2019-09-28 02:48:15.796:INFO:oajs.TldScanner:main: At least one JAR was scanned for TLDs yet contained no
Sep 28 02:48:16 debian jetty9[1658]: 2019-09-28 02:48:16.312:INFO:oejs.session:main: DefaultSessionIdManager workerName=node0
Sep 28 02:48:16 debian jetty9[1658]: 2019-09-28 02:48:16.315:INFO:oejs.session:main: No SessionScavenger set, using defaults
Sep 28 02:48:16 debian jetty9[1658]: 2019-09-28 02:48:16.318:INFO:oejs.session:main: node0 Scavenging every 600000ms
Sep 28 02:48:16 debian jetty9[1658]: 2019-09-28 02:48:16.587:INFO:oejsh.ContextHandler:main: Started o.e.j.w.WebAppContext@2f4948e4{root,/,file
Sep 28 02:48:16 debian jetty9[1658]: 2019-09-28 02:48:16.836:INFO:oejs.AbstractConnector:main: Started ServerConnector@18419dc8{HTTP/1.1,[http/
Sep 28 02:48:16 debian jetty9[1658]: 2019-09-28 02:48:16.843:INFO:oejs.Server:main: Started @21109ms
lines 1-20/20 (END)
Configure Nginx as a Reverse Proxy for Jetty
By default, Jetty runs on port 8080. So you will need to configure Nginx as a reverse proxy to forward the request from the port 80 to 8080.
To do so, first install Nginx web server with the following command:
apt-get install nginx -y
Next, create a new virtual host configuration file for Jetty with the following command:
nano /etc/nginx/sites-available/jetty.conf
Add the following lines:
upstream jetty {
  server 127.0.0.1:8080 weight=100 max_fails=5 fail_timeout=5;
}

server {
  listen          80;
  server_name     example.com;

  location / {
        proxy_set_header X-Forwarded-Host $host;
        proxy_set_header X-Forwarded-Server $host;
        proxy_pass http://jetty/;
  }
}
Save and close the file when you are finished. Then, check Nginx for any syntax error with the following command:
nginx -t
You should see the following output:
nginx: the configuration file /etc/nginx/nginx.conf syntax is ok
nginx: configuration file /etc/nginx/nginx.conf test is successful
Next, enable the Nginx virtual host and restart Nginx service to apply the new configuration:
ln -s /etc/nginx/sites-available/jetty.conf /etc/nginx/sites-enabled/
 systemctl restart nginx
Access Jetty Web Interface
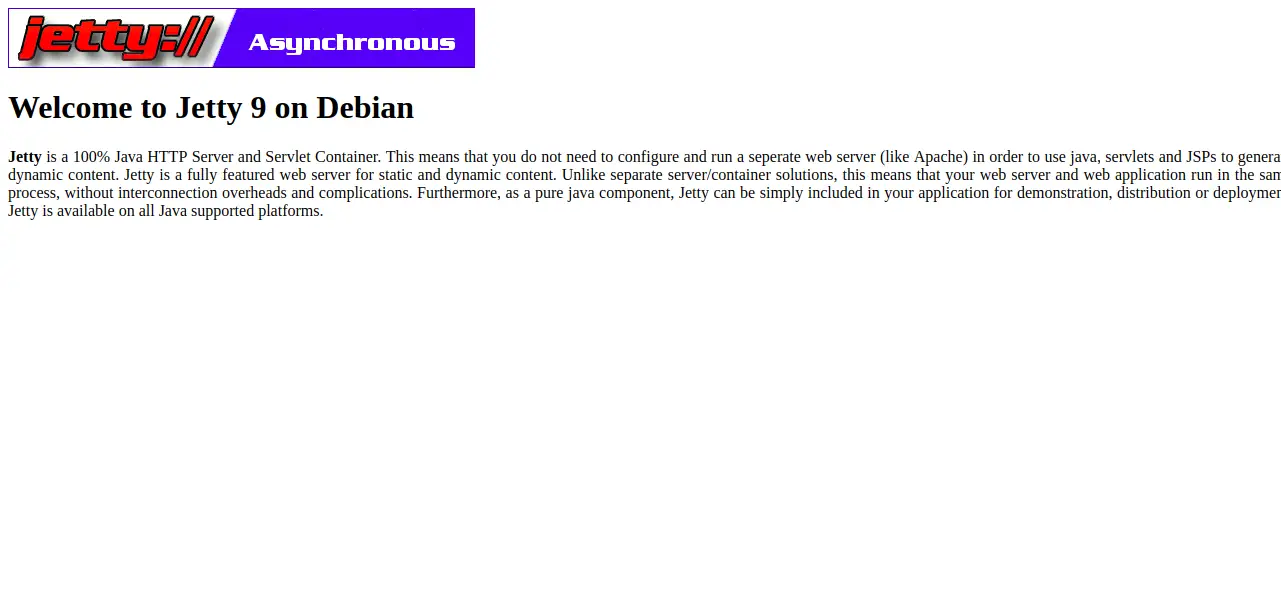
Now, open your web browser and type the URL http://example.com. You will be redirected to the Jetty default dashboard in the following screen:
Congratulations! you have successfully installed and configured Jetty with Nginx on Debian 10. You can now easily deploy your Java application with Jetty.

