How to Install Mastodon Social Networking Platform on Debian 10
This tutorial exists for these OS versions
- Debian 12 (Bookworm)
- Debian 11 (Bullseye)
- Debian 10 (Buster)
On this page
Mastodon is an open-source social networking platform very similar to Twitter. You can follow other users and post messages and images with Mastodon. It is written in Ruby and JavaScript, and anyone can use it privately and securely. Mastodon also provides an application for various platforms like Android and iOS.
In this tutorial, we will show you how to install Mastodon on Debian 10.
Requirements
- A server running Debian 10.
- A root password is configured on your server.
- A valid domain name is pointed with your server IP address. In this tutorial, we will use test.linuxbuz.com.
Getting Started
First, it is recommended to update your system with the latest version. You can do it by running the following command:
apt-get update -y
 apt-get upgrade -y
After updating your system, you will need to install some dependencies required by Mastodon. You can install all of them with the following command:
apt-get install software-properties-common dirmngr apt-transport-https ca-certificates curl gcc g++ make imagemagick ffmpeg libpq-dev libxml2-dev libxslt1-dev file git-core libprotobuf-dev protobuf-compiler pkg-config autoconf bison build-essential libssl-dev libyaml-dev libreadline-dev libidn11-dev libicu-dev libjemalloc-dev zlib1g-dev libncurses5-dev libffi-dev libgdbm-dev -y
Once all the dependencies are installed, you can proceed to the next step.
Install Node.js
Mastodon requires Node.js version 8.x and Yarn to be installed on your system. To install Node.js, add the Node.js repository to your server with the following command:
curl -sL https://deb.nodesource.com/setup_8.x | bash -
Once the repository has been added, install Node.js version 8 with the following command:
apt-get install nodejs -y
Next, download and add Yarn's GPG key and enable the repository with the following command:
curl -sL https://dl.yarnpkg.com/debian/pubkey.gpg | apt-key add -
 echo "deb https://dl.yarnpkg.com/debian/ stable main" | tee /etc/apt/sources.list.d/yarn.list
Once added, update the repository and install Yarn with the following commands:
apt-get update -y
 apt-get install yarn -y
Once you have finished, you can proceed to the next step.
Install and Configure PostgreSQL
Mastodon uses PostgreSQL to store their data. You can install the latest version of PostgreSQL with the following command:
apt-get install postgresql postgresql-contrib -y
Once installed, log in to PostgreSQL with the following command:
su - postgres
 postgres@debian:~$ psql
 psql (11.5 (Debian 11.5-1+deb10u1))
 Type "help" for help.
Next, create a user for Mastodon with the following command:
postgres=# CREATE USER mastodon CREATEDB;
Next, exit from the PostgreSQL shell with the following command:
postgres=#exit
Install Ruby
Mastodon uses Ruby on Rails for the back-end purpose. First, you will need to create a new system user to run the Mastodon server.
You can create it with the following command:
adduser --disabled-login --gecos 'Mastodon Server' mastodon
Once created, log in to mastodon user with the following command:
su - mastodon
Next, clone the rbenv repository with the following command:
git clone https://github.com/rbenv/rbenv.git ~/.rbenv
Next, set up rbenv and ruby-build with the following commands:
cd ~/.rbenv && src/configure && make -C src
 echo 'export PATH="$HOME/.rbenv/bin:$PATH"' >> ~/.bashrc
 echo 'eval "$(rbenv init -)"' >> ~/.bashrc
 exec bash
 git clone https://github.com/rbenv/ruby-build.git ~/.rbenv/plugins/ruby-build
Once you have finished, install the latest version of Ruby with the following command:
RUBY_CONFIGURE_OPTS=--with-jemalloc rbenv install 2.6.1
Once installed, you should get the following output:
Downloading ruby-2.6.1.tar.bz2...
-> https://cache.ruby-lang.org/pub/ruby/2.6/ruby-2.6.1.tar.bz2
Installing ruby-2.6.1...

Installed ruby-2.6.1 to /home/mastodon/.rbenv/versions/2.6.1
Next, set the Ruby available globally with the following command:
rbenv global 2.6.1
Next, update the gem and install bundler with the following command:
gem update --system
 gem install bundler --no-document
Once you have finished, you can check the Ruby with the following command:
ruby --version
Configure Mastodon
First, log in to mastodon user and download the mastodon git repository with the following command:
su - mastodon
git clone https://github.com/tootsuite/mastodon.git ~/live
 cd ~/live
Next, check out the latest branch with the following command:
git checkout $(git tag -l | grep -v 'rc[0-9]*$' | sort -V | tail -n 1)
You should get the following output:
Note: checking out 'v2.9.3'. You are in 'detached HEAD' state. You can look around, make experimental changes and commit them, and you can discard any commits you make in this state without impacting any branches by performing another checkout. If you want to create a new branch to retain commits you create, you may do so (now or later) by using -b with the checkout command again. Example: git checkout -bHEAD is now at 06f906aca Bump version to 2.9.3
Next, install all the dependencies required by ruby and Node.js with the following command:
bundle install -j$(getconf _NPROCESSORS_ONLN) --deployment --without development test
 yarn install --pure-lockfile
Now, setup the Mastodon with the following command:
RAILS_ENV=production bundle exec rake mastodon:setup
During the setup process, you will be asked several questions. Answer all the questions as shown below:
Your instance is identified by its domain name. Changing it afterward will break things.
Domain name: test.linuxbuz.com

Single user mode disables registrations and redirects the landing page to your public profile.
Do you want to enable single user mode? No

Are you using Docker to run Mastodon? no

PostgreSQL host: /var/run/postgresql
PostgreSQL port: 5432
Name of PostgreSQL database: mastodon_production
Name of PostgreSQL user: mastodon
Password of PostgreSQL user:
Database configuration works! ????

Redis host: localhost
Redis port: 6379
Redis password:
Redis configuration works! ????

Do you want to store uploaded files on the cloud? No

Do you want to send e-mails from localhost? yes
E-mail address to send e-mails "from": Mastodon <[email protected]>
Send a test e-mail with this configuration right now? no

This configuration will be written to .env.production
Save configuration? Yes

Now that configuration is saved, the database schema must be loaded.
If the database already exists, this will erase its contents.
Prepare the database now? Yes

All done! You can now power on the Mastodon server ????

Do you want to create an admin user straight away? Yes
Username: admin
E-mail: [email protected]
You can login with the password: a9a78a4c2eb442d72eb946f94ebe9a00
You can change your password once you login.
Once you have finished, exit from the mastodon user with the following command:
exit
Configure Nginx for Mastodon
Next, you will need to install Nginx and Certbot to your system. By default, the latest version of Certbot is not available in the Debian 10 default repository. So, you will need to add the Certbot repository to your system.
You can add it with the following command:
add-apt-repository ppa:certbot/certbot
Next, update the repository and install Certbot with Nginx by running the following command:
apt-get update -y
 apt-get install nginx python-certbot-nginx -y
Once both packages are installed, copy the Nginx configuration file from Mastodon directory to Nginx with the following command:
cp /home/mastodon/live/dist/nginx.conf /etc/nginx/sites-available/mastodon.conf
Next, enable the Mastodon virtual host configuration file with the following command:
ln -s /etc/nginx/sites-available/mastodon.conf /etc/nginx/sites-enabled/
By default, Mastodon virtual host configuration file is configured with domain example.com. So you will need to replace the example.com domain with your domain name in the file mastodon.conf. You can replace it with the following command:
sed -i 's/example.com/test.linuxbuz.com/g' /etc/nginx/sites-enabled/mastodon.conf
Next, restart the Nginx service to apply the configuration:
systemctl restart nginx
Next, download the Let's Encrypt free SSL certificate and configure Nginx to use this certificate by running the certbot command:
certbot --nginx -d test.linuxbuz.com
This will download a free Let's Encrypt SSL certificate and configure the Nginx for your domain test.linuxbuz.com.
Your Nginx configuration file for the Mastodon is now looked like the following:
cat /etc/nginx/sites-enabled/mastodon.conf
Output:
map $http_upgrade $connection_upgrade {
  default upgrade;
  ''      close;
}

proxy_cache_path /var/cache/nginx levels=1:2 keys_zone=CACHE:10m inactive=7d max_size=1g;

server {
    if ($host = test.linuxbuz.com) {
        return 301 https://$host$request_uri;
    } # managed by Certbot


  listen 80;
  listen [::]:80;
  server_name test.linuxbuz.com;
  root /home/mastodon/live/public;
  location /.well-known/acme-challenge/ { allow all; }
  location / { return 301 https://$host$request_uri; }


}

server {
  listen 443 ssl http2;
  listen [::]:443 ssl http2;
  server_name test.linuxbuz.com;

  ssl_protocols TLSv1.2;
  ssl_ciphers HIGH:!MEDIUM:!LOW:!aNULL:!NULL:!SHA;
  ssl_prefer_server_ciphers on;
  ssl_session_cache shared:SSL:10m;

  # Uncomment these lines once you acquire a certificate:
  # ssl_certificate     /etc/letsencrypt/live/test.linuxbuz.com/fullchain.pem;
  # ssl_certificate_key /etc/letsencrypt/live/test.linuxbuz.com/privkey.pem;

  keepalive_timeout    70;
  sendfile             on;
  client_max_body_size 80m;

  root /home/mastodon/live/public;

  gzip on;
  gzip_disable "msie6";
  gzip_vary on;
  gzip_proxied any;
  gzip_comp_level 6;
  gzip_buffers 16 8k;
  gzip_http_version 1.1;
  gzip_types text/plain text/css application/json application/javascript text/xml application/xml application/xml+rss text/javascript;

  add_header Strict-Transport-Security "max-age=31536000";

  location / {
    try_files $uri @proxy;
  }

  location ~ ^/(emoji|packs|system/accounts/avatars|system/media_attachments/files) {
    add_header Cache-Control "public, max-age=31536000, immutable";
    add_header Strict-Transport-Security "max-age=31536000";
    try_files $uri @proxy;
  }

  location /sw.js {
    add_header Cache-Control "public, max-age=0";
    add_header Strict-Transport-Security "max-age=31536000";
    try_files $uri @proxy;
  }

  location @proxy {
    proxy_set_header Host $host;
    proxy_set_header X-Real-IP $remote_addr;
    proxy_set_header X-Forwarded-For $proxy_add_x_forwarded_for;
    proxy_set_header X-Forwarded-Proto https;
    proxy_set_header Proxy "";
    proxy_pass_header Server;

    proxy_pass http://127.0.0.1:3000;
    proxy_buffering on;
    proxy_redirect off;
    proxy_http_version 1.1;
    proxy_set_header Upgrade $http_upgrade;
    proxy_set_header Connection $connection_upgrade;

    proxy_cache CACHE;
    proxy_cache_valid 200 7d;
    proxy_cache_valid 410 24h;
    proxy_cache_use_stale error timeout updating http_500 http_502 http_503 http_504;
    add_header X-Cached $upstream_cache_status;
    add_header Strict-Transport-Security "max-age=31536000";

    tcp_nodelay on;
  }

  location /api/v1/streaming {
    proxy_set_header Host $host;
    proxy_set_header X-Real-IP $remote_addr;
    proxy_set_header X-Forwarded-For $proxy_add_x_forwarded_for;
    proxy_set_header X-Forwarded-Proto https;
    proxy_set_header Proxy "";

    proxy_pass http://127.0.0.1:4000;
    proxy_buffering off;
    proxy_redirect off;
    proxy_http_version 1.1;
    proxy_set_header Upgrade $http_upgrade;
    proxy_set_header Connection $connection_upgrade;

    tcp_nodelay on;
  }

  error_page 500 501 502 503 504 /500.html;

    ssl_certificate /etc/letsencrypt/live/test.linuxbuz.com/fullchain.pem; # managed by Certbot
    ssl_certificate_key /etc/letsencrypt/live/test.linuxbuz.com/privkey.pem; # managed by Certbot
}
Configure Systemd Service for Mastodon
Nginx is now installed and configured to serve Mastodon. Next, you will need to configure systemd service file for Mastodon. To do so, copy the systemd service templates from the Mastodon directory:
cp /home/mastodon/live/dist/mastodon-web.service /etc/systemd/system/
 cp /home/mastodon/live/dist/mastodon-sidekiq.service /etc/systemd/system/
 cp /home/mastodon/live/dist/mastodon-streaming.service /etc/systemd/system/
Next, start all services and enable them to start after reboot with the following command:
systemctl start mastodon-web
 systemctl start mastodon-sidekiq
 systemctl start mastodon-streaming
 systemctl enable mastodon-web
 systemctl enable mastodon-sidekiq
 systemctl enable mastodon-streaming
Access Mastodon Web Interface
Now, open your web browser and type the URL https://test.linuxbuz.com. You will be redirected to the following page:
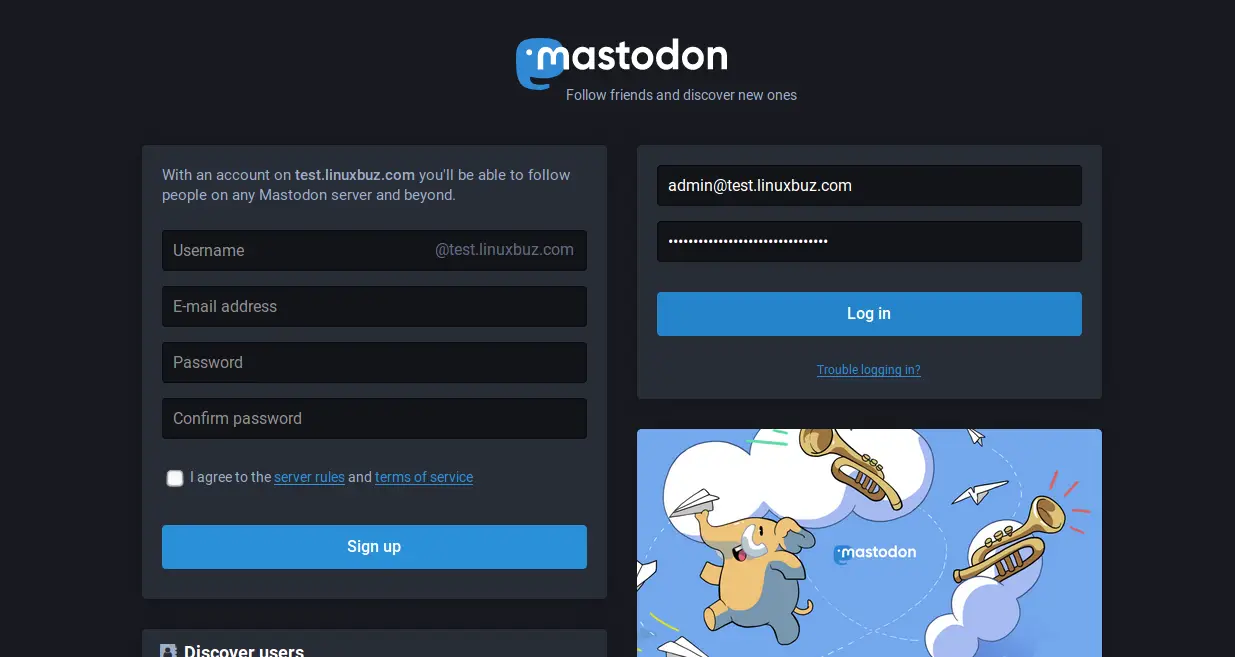
Now, provide your admin email and password which you have created earlier and click on the Log in button. You should see the following page:

Now, click on the LET'S GO! button. You should see the following page:

Now, click on the Next button. You should see the following page:

Now, click on the FINISH TUTORIAL! button. You should see the Mastodon dashboard in the following page:
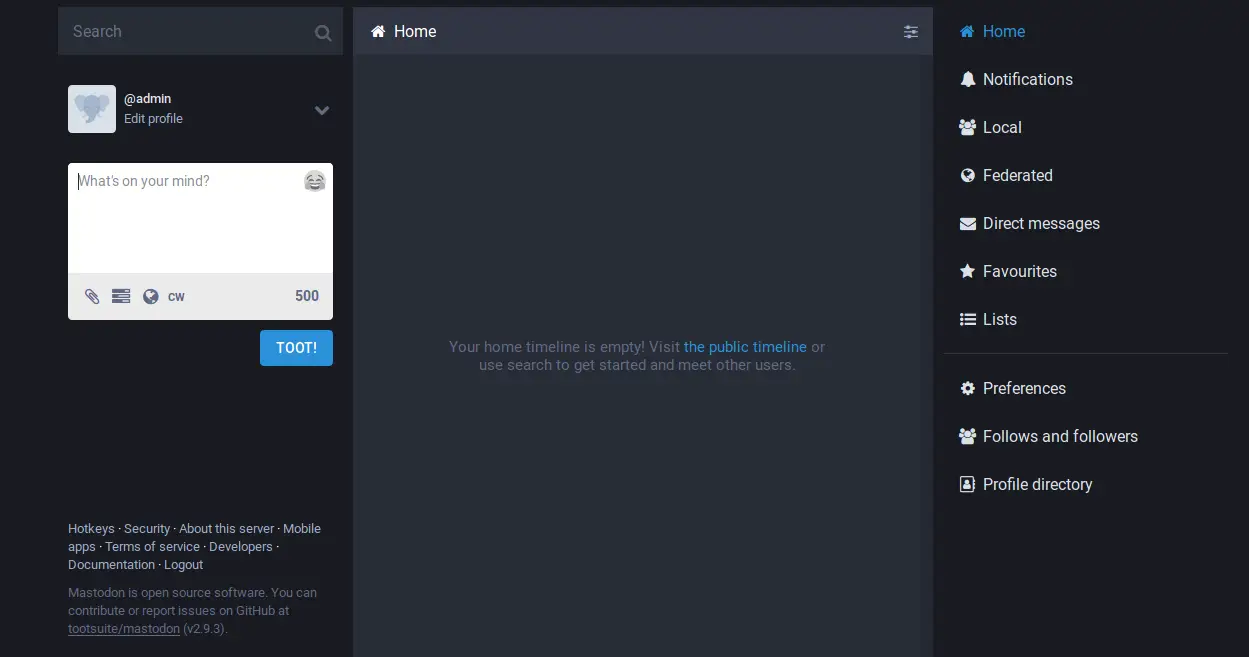
Congratulations! you have successfully installed and configured Mastodon on Debian 10 server. You can now easily create your own social media network using Mastodon. Feel free to ask me if you have any questions.

