How to create an S3 Bucket (Object Storage) on Amazon AWS
S3 (Simple Storage Service) falls under “Storage” service in AWS (Amazon Web Services). In simple words, S3 is nothing but an object storage where you can store your objects (Files, Videos, Images, Documents, and any-type-of-file). We can restrict the access to files as per our requirements. We can keep multiple versions of the file if needed. We can have access to our data whenever and wherever needed having access to the Internet at the lowest possible cost. To understand more about billing, click here.
To use S3 service and upload objects, a user can create a bucket which must have a unique name globally. By default we can create only upto 100 Buckets per AWS account, to increase the limit we need to contact AWS. To know more about this, click here.
In this article, I will show you how to create an S3 Bucket on AWS, upload an object and perform basic operations.
Pre-requisites
- AWS Account (Create if you don’t have one)
What we will do
- Login to AWS.
- Create an S3 Bucket ( We will create a Public Bucket).
- Upload an Object.
- Access the Object.
- Deal with Permissions (Change the access lever to Private)
Login to AWS
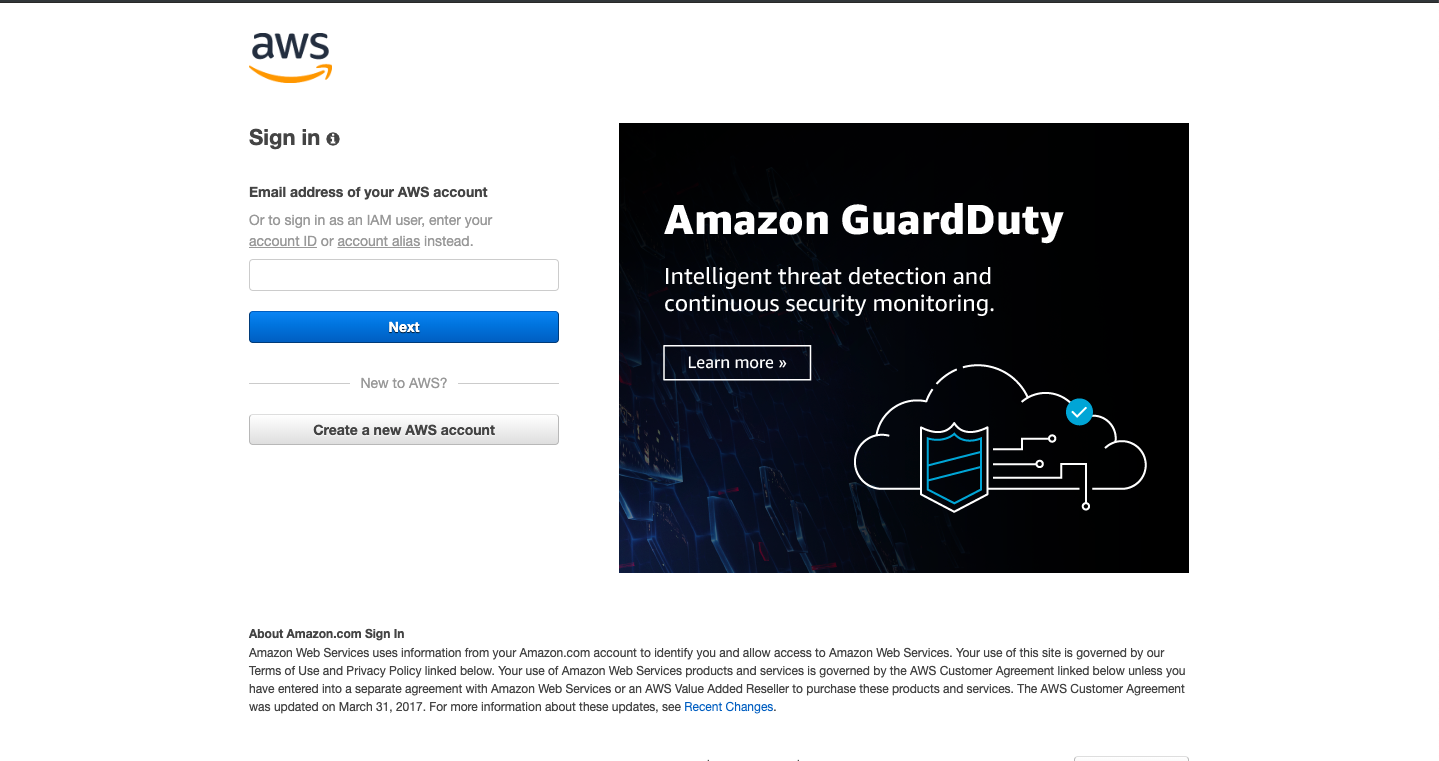
Click here to go to AWS Login Page.
When we hit the above link, we will see a web page as follows where we are required to login using our login details.
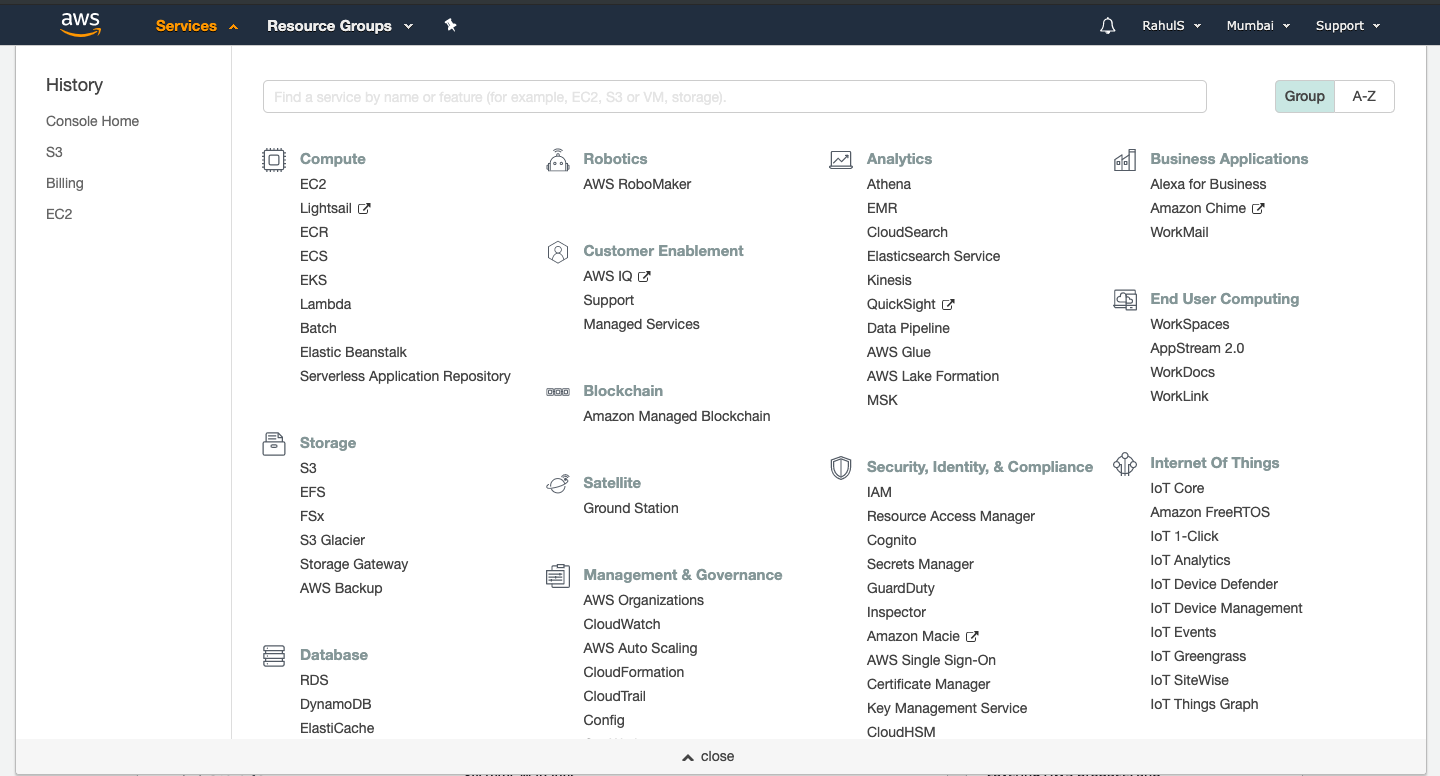
Once we login into AWS successfully, we will see the main console with all the services listed as follows.

Create an S3 Bucket
There is no need to select a region before creating an S3 Bucket but while creating a bucket we will be asked to specify the region. When we see a list of S3 buckets, all the buckets from all the region are listed.
Since there is no need to select the region, we shall move straight forward to create an S3 bucket.
To create an S3 bucket click on “Services” at the upper left corner and we will see the following screen with all the services available on AWS. Click on "S3" available under “Storage”.
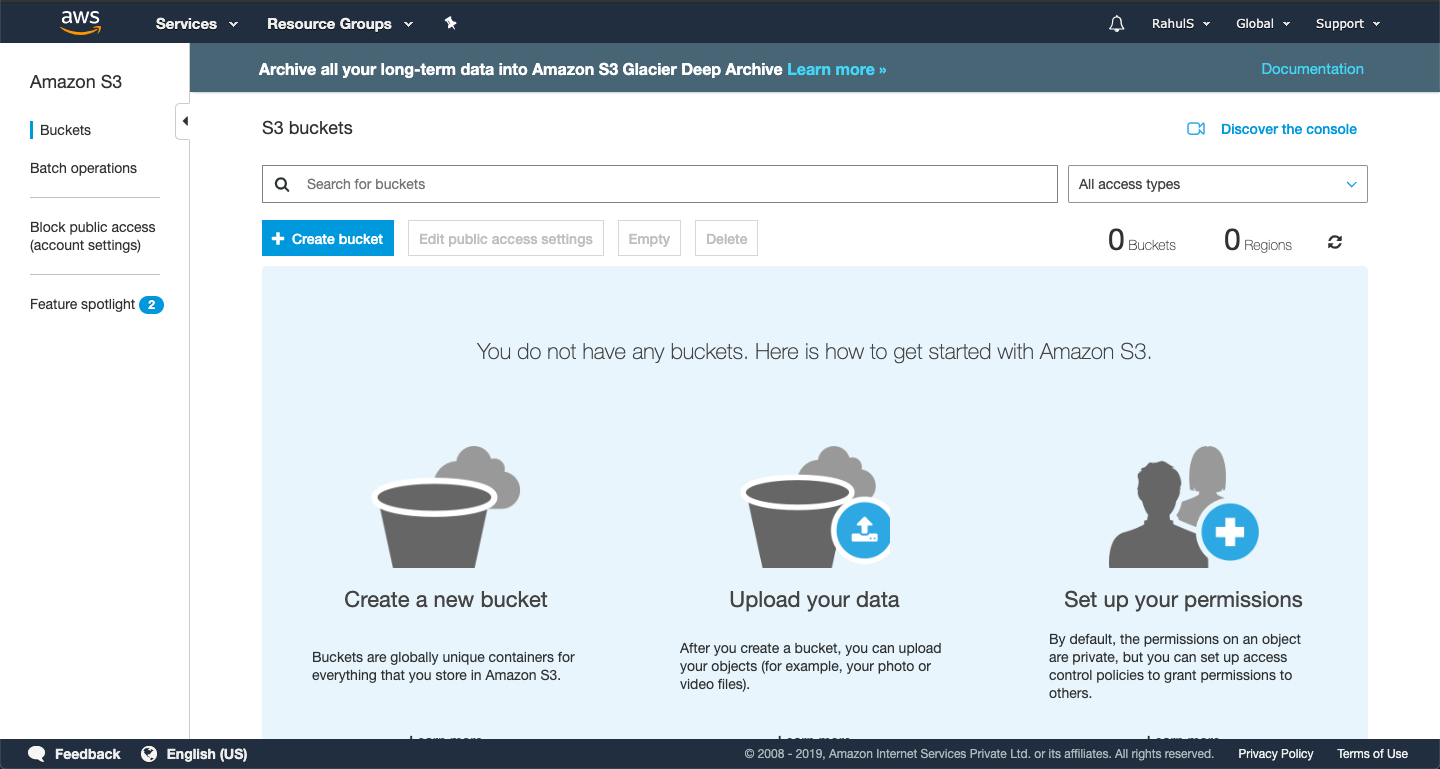
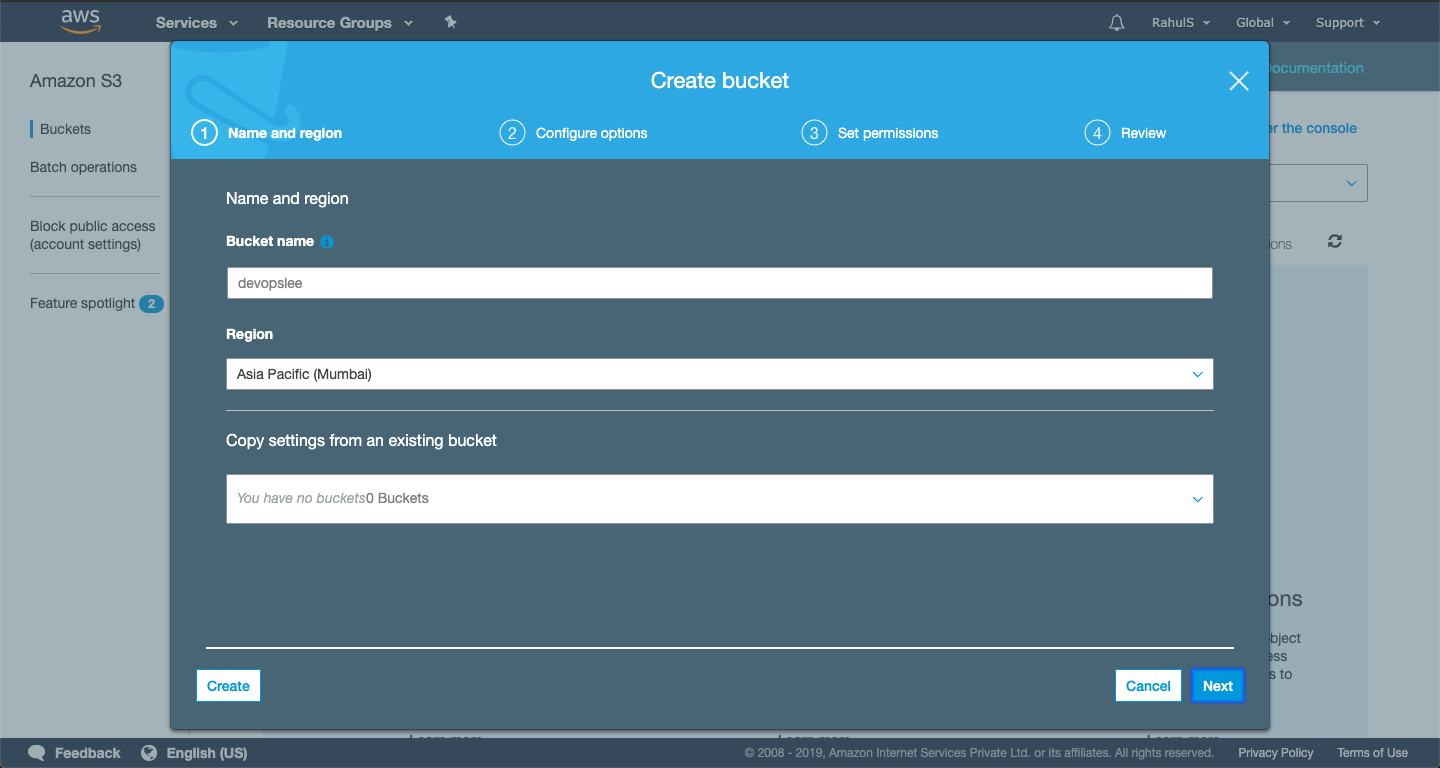
Click on “Create Bucket”. Give a name to the bucket. This name should be globally unique and bucket with the same name must not exist on AWS around the globe. Each and evey bucket on AWS has a uniqe name and does not match with any other bucket.
Choose the desired region, may be go for the closest one. Click on “Next” to proceed further.
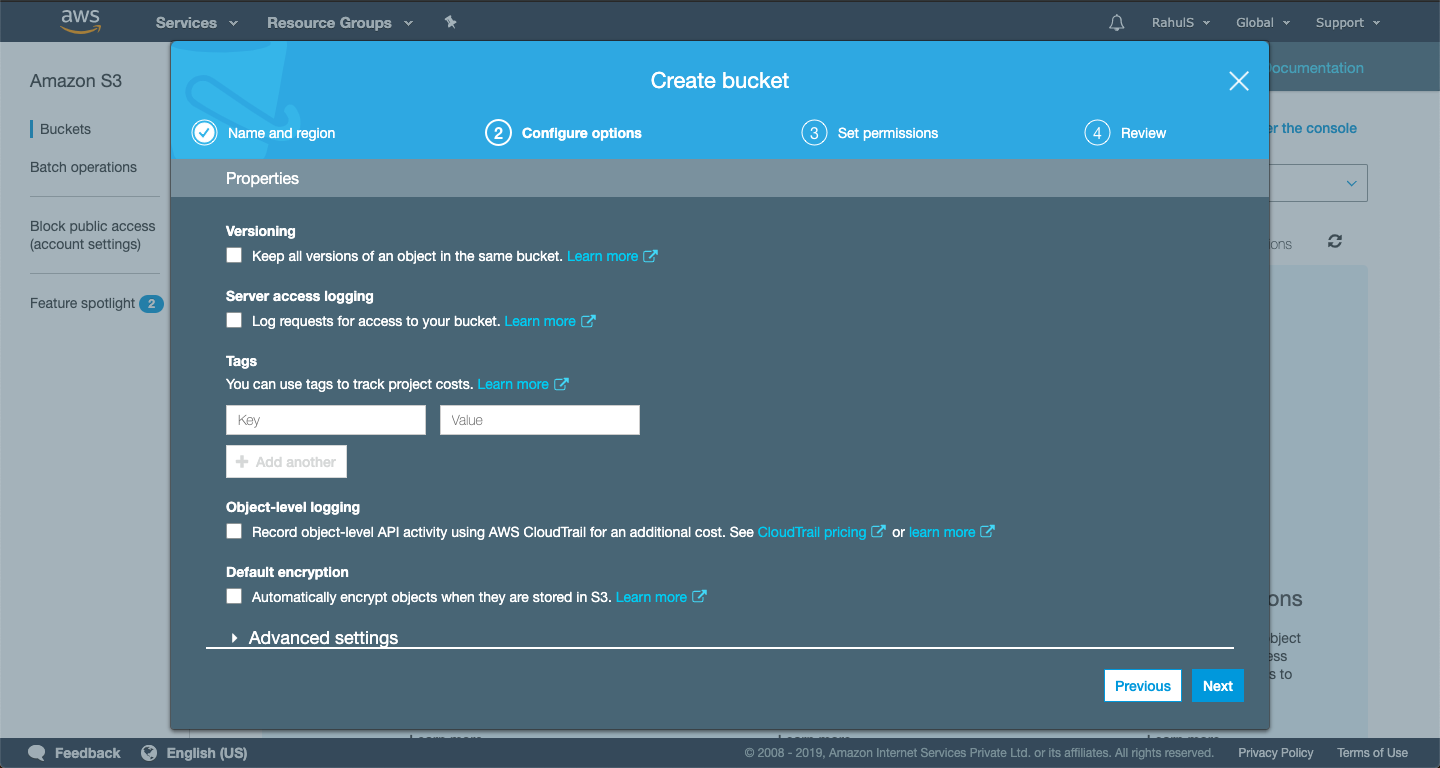
On this screen, we can configure the bucket as per our requirement. If we want to keep multiple versions of the objects, we can enable versioning. There are different options available, for now we will keep everything unticked(default) and proceed. You can try later if you want to explore S3 in detail. We can enable server access logging if we want to keep access logs to the bucket. We can tags the bucket so that we can use this tags for billing purpose. If we want to save objects in an encrypted form we can enalbe it. For now click on “Next” to proceed with the default settings.
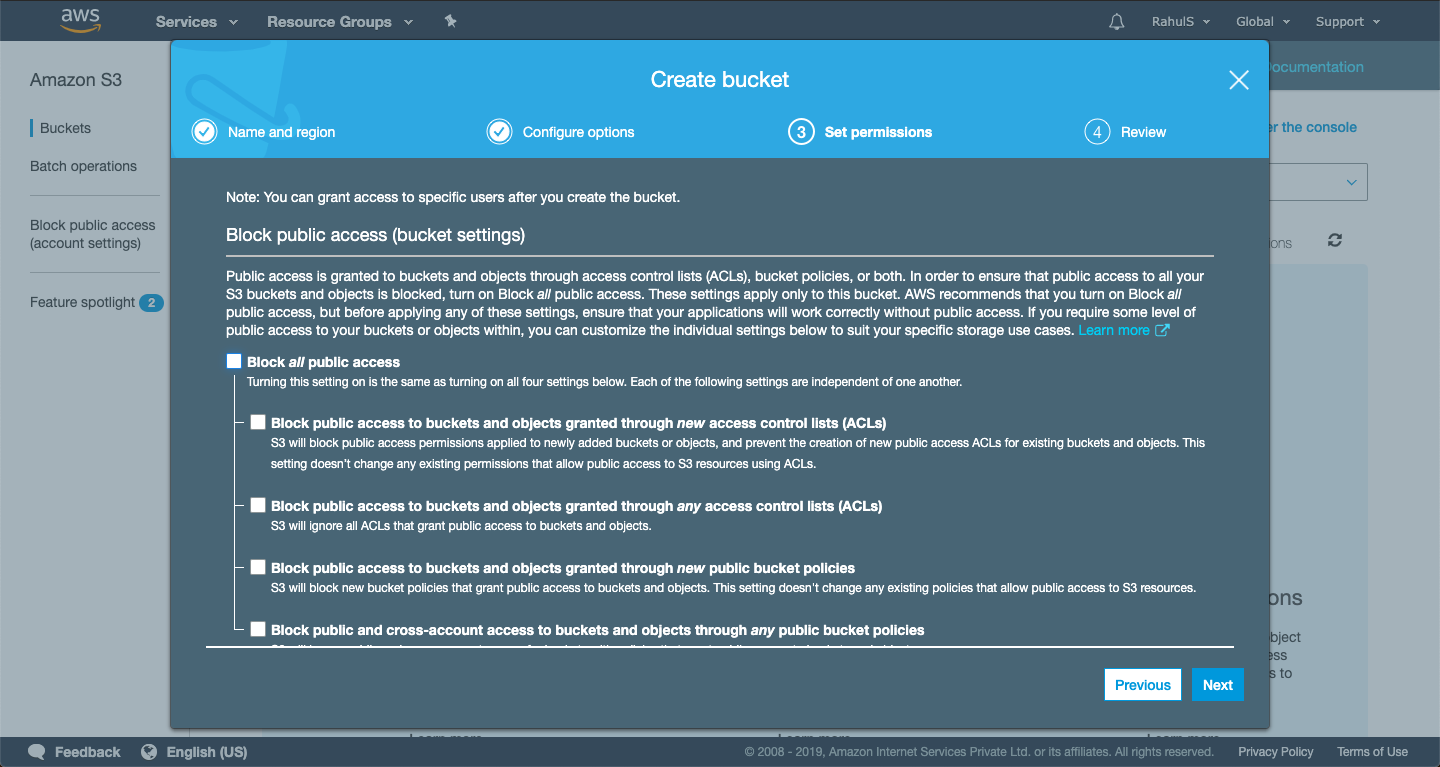
By default, S3 bucket blocks all public access to it. In this tutorial, we shall allow the public access to try out a few operations externally/publicly. To make the bucket public, untick “Block all public access” checkbox and click on “Next”
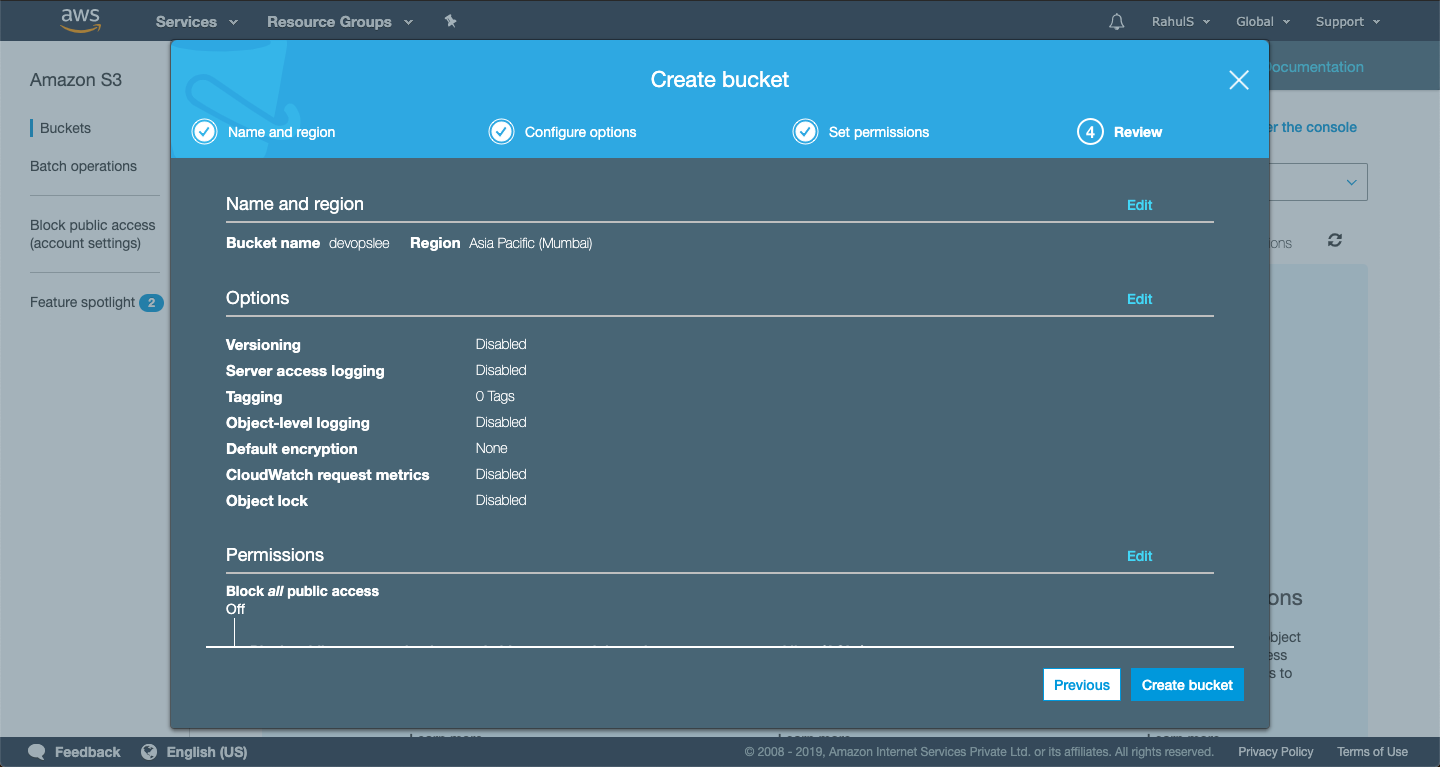
Review the settings and click on “Create bucket” if everything looks fine.
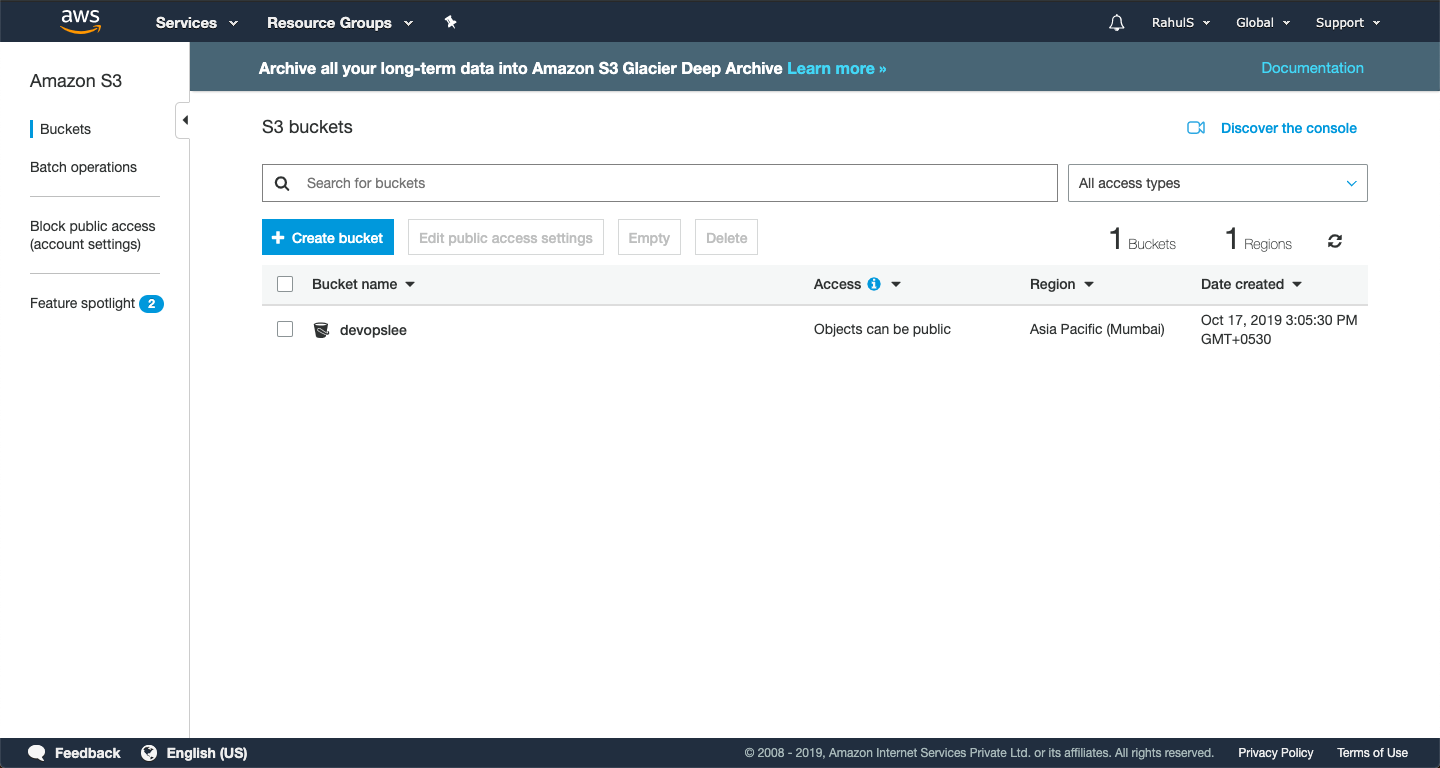
Great, we have just created a bucket available publically. To upload object, click on bucket name and get into the bucket.
Upload an Object to S3
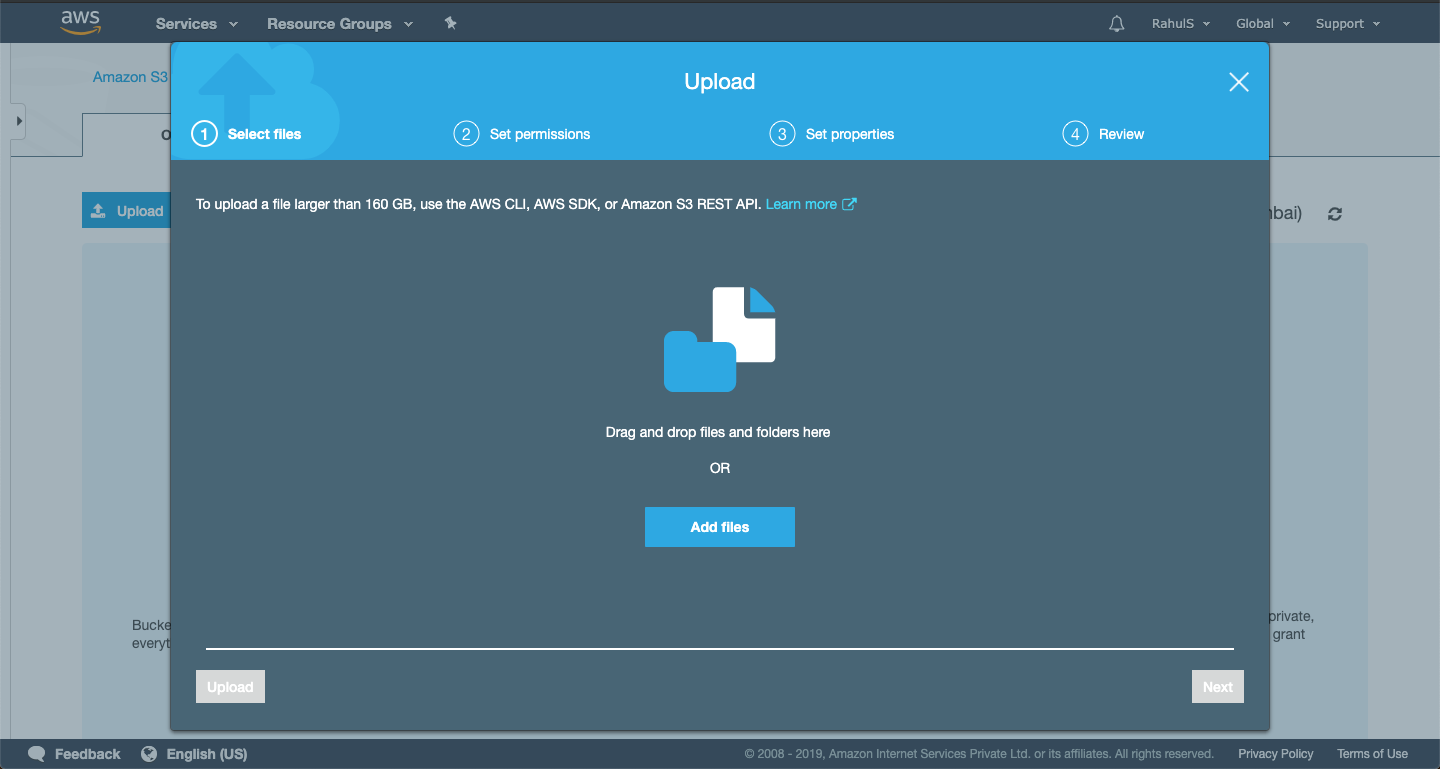
Uploading an object is very easy in S3 Bucket. To upload an object, go to the Bucket and click on “Upload”. We will get the follwing screen.

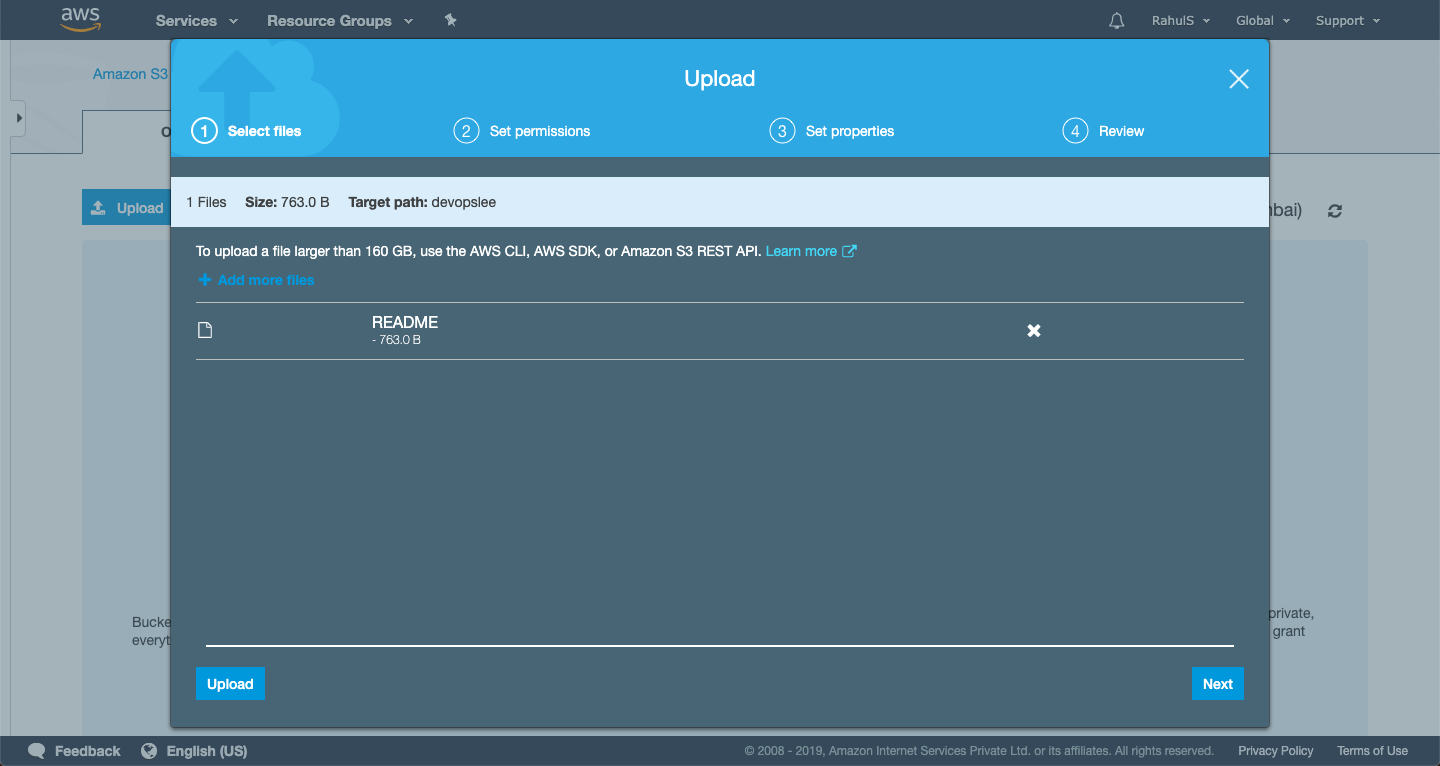
Browse the desired object by clicking on “Add Files” and click on “Next”.
Click on "Next" once you have uploaded the object.
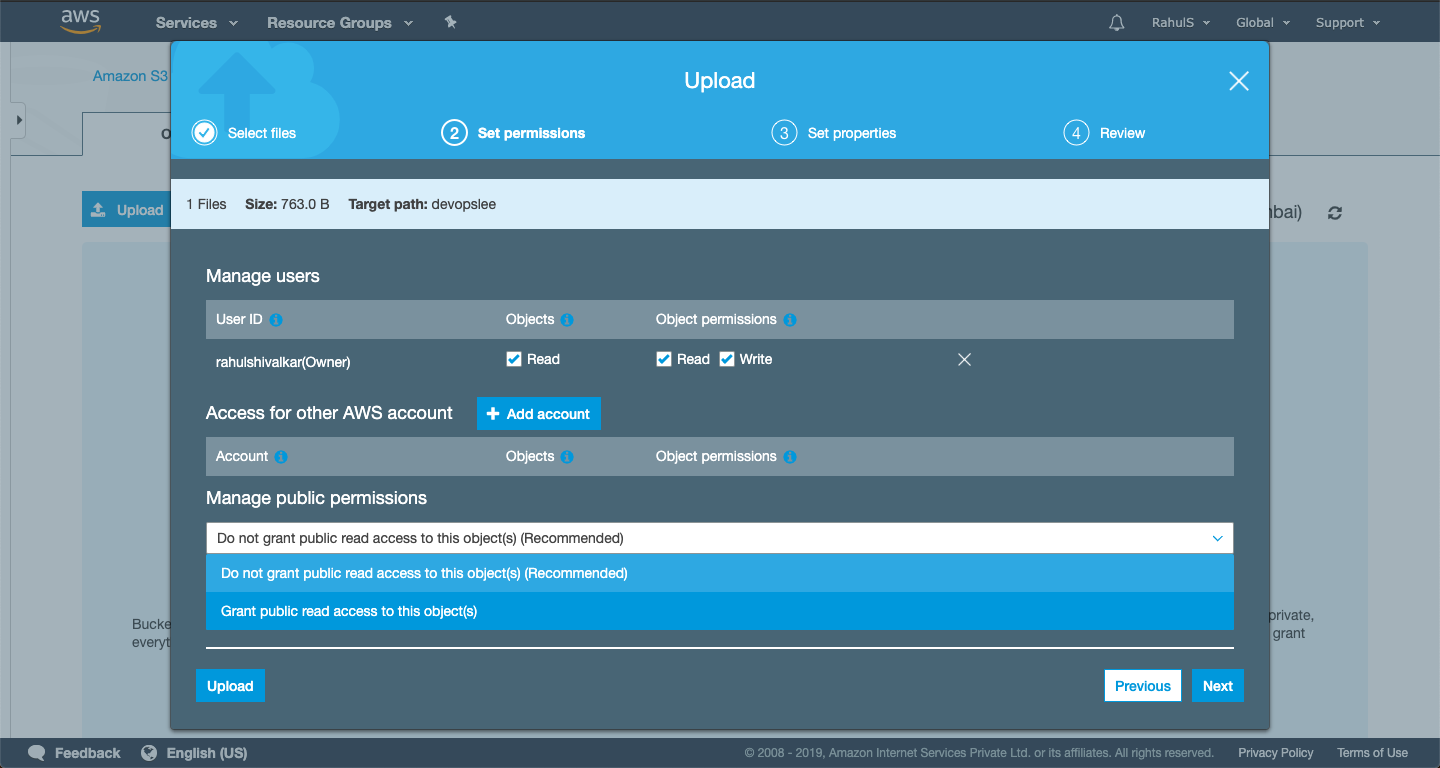
Under “Manage public permissions” Select “Grant public read access to the objects”. Click on “Next to proceed further”
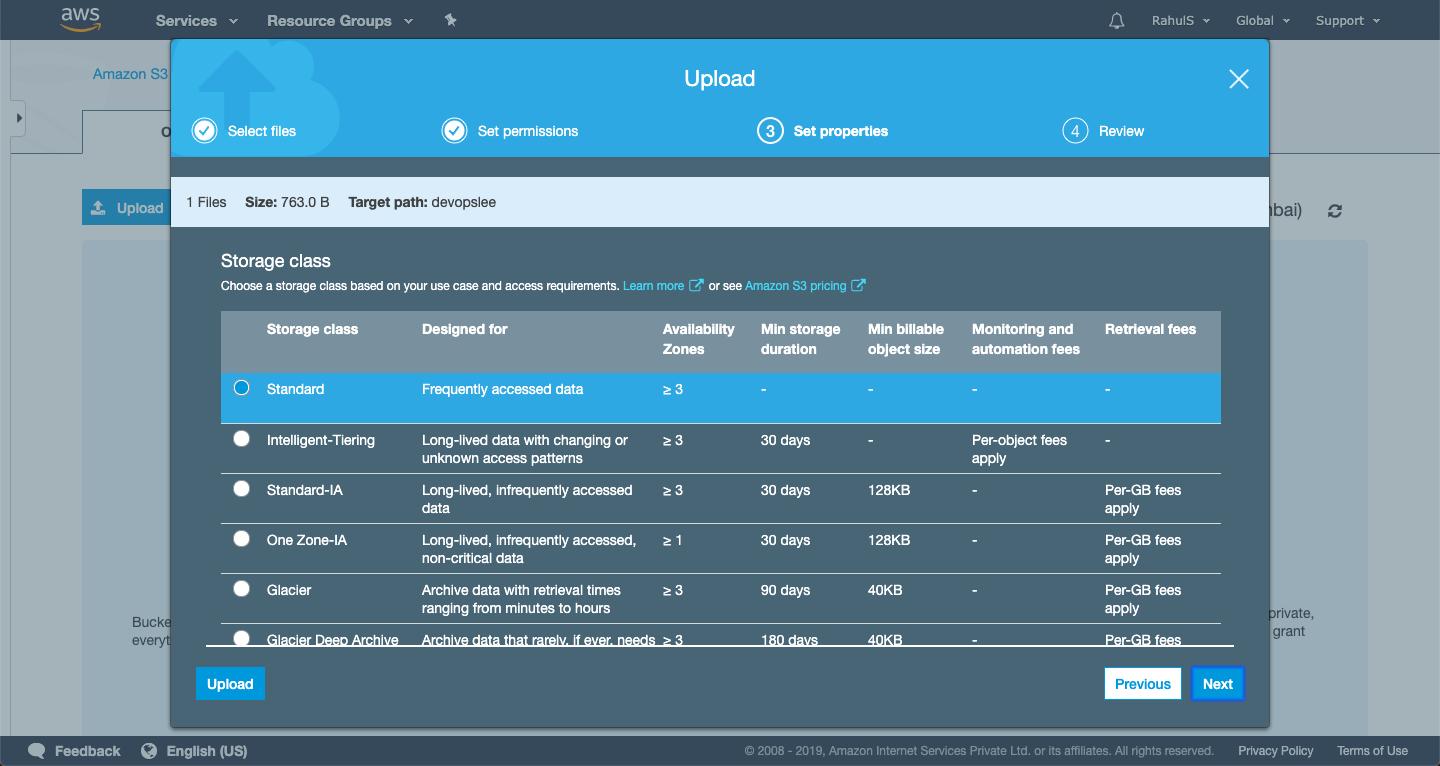
Keep default “Storage Class” to “Standard” and click on “Next”. S3 Standard is for general-purpose storage of frequently accessed data.
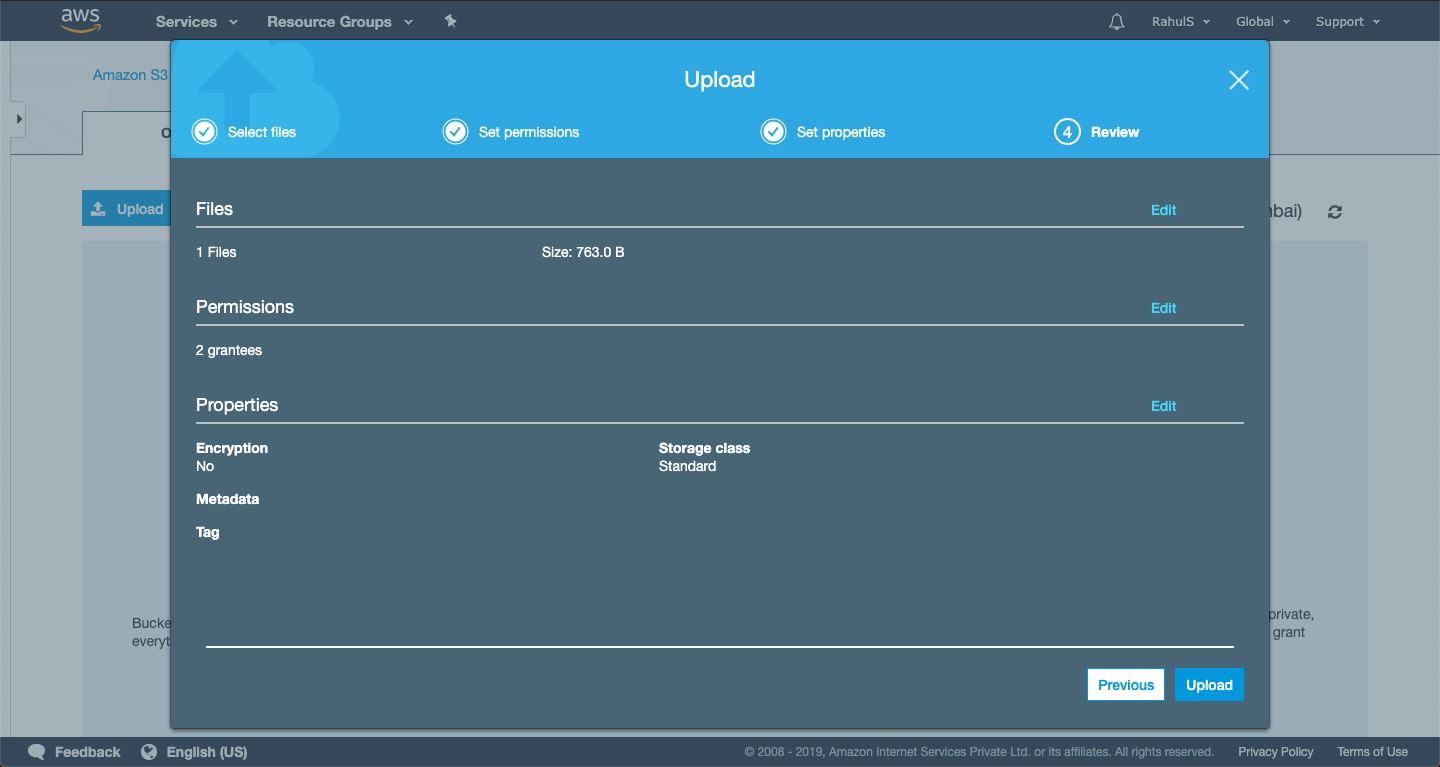
Review the settings and click on “Upload”.

Access Objects in Amazon S3
One we have uploaded the object, we can access it from anywhere as it is publicly accessible. To access the object uploaded, click on it, and under “Overview” copy “Object URL”.
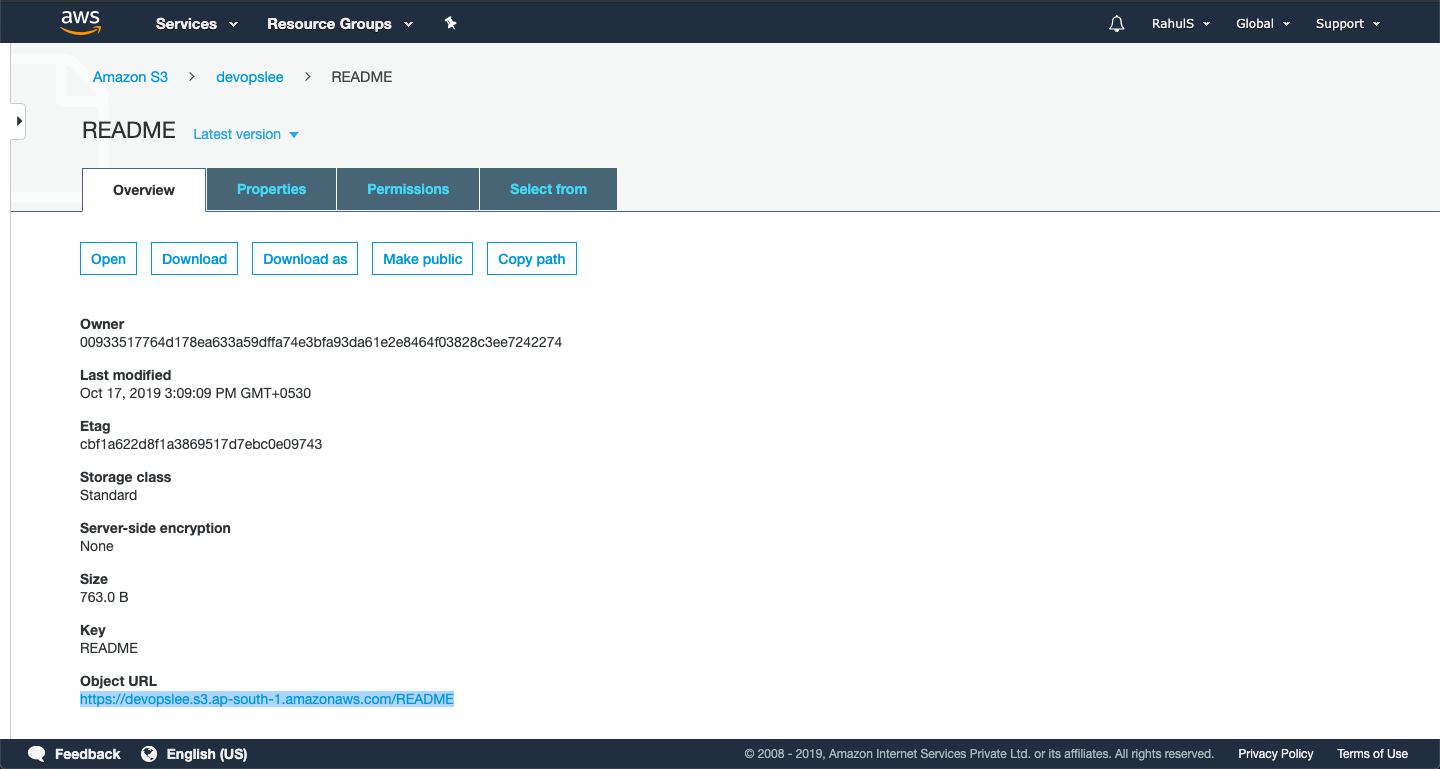
Hit this URL and the object gets downloaded.

Deal with Amazon S3 Permissions (Change to Private)
Having object publically available is not at all recommended. To restrict the access to the objects and make them accessible only by the owner, we will follow the steps mentioned below.
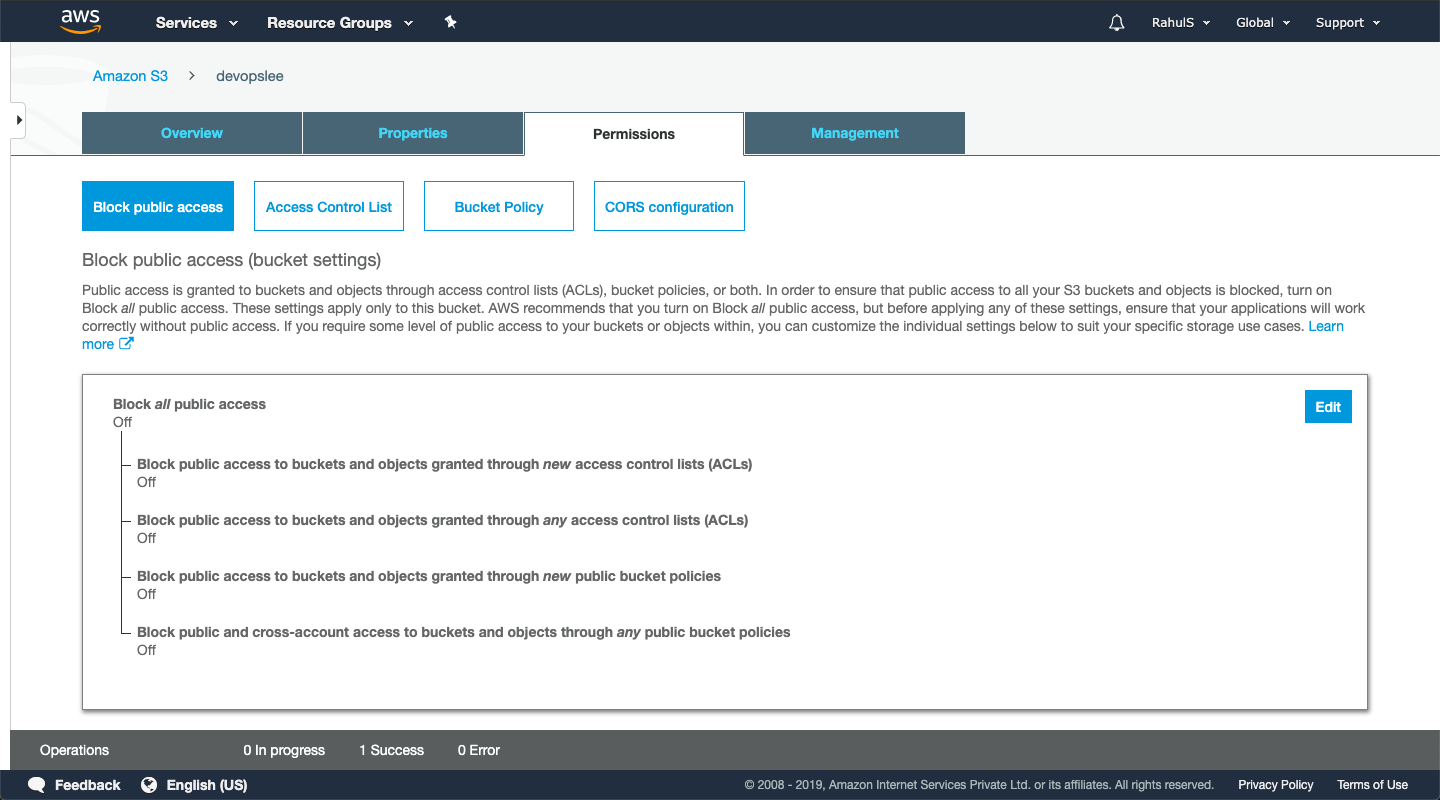
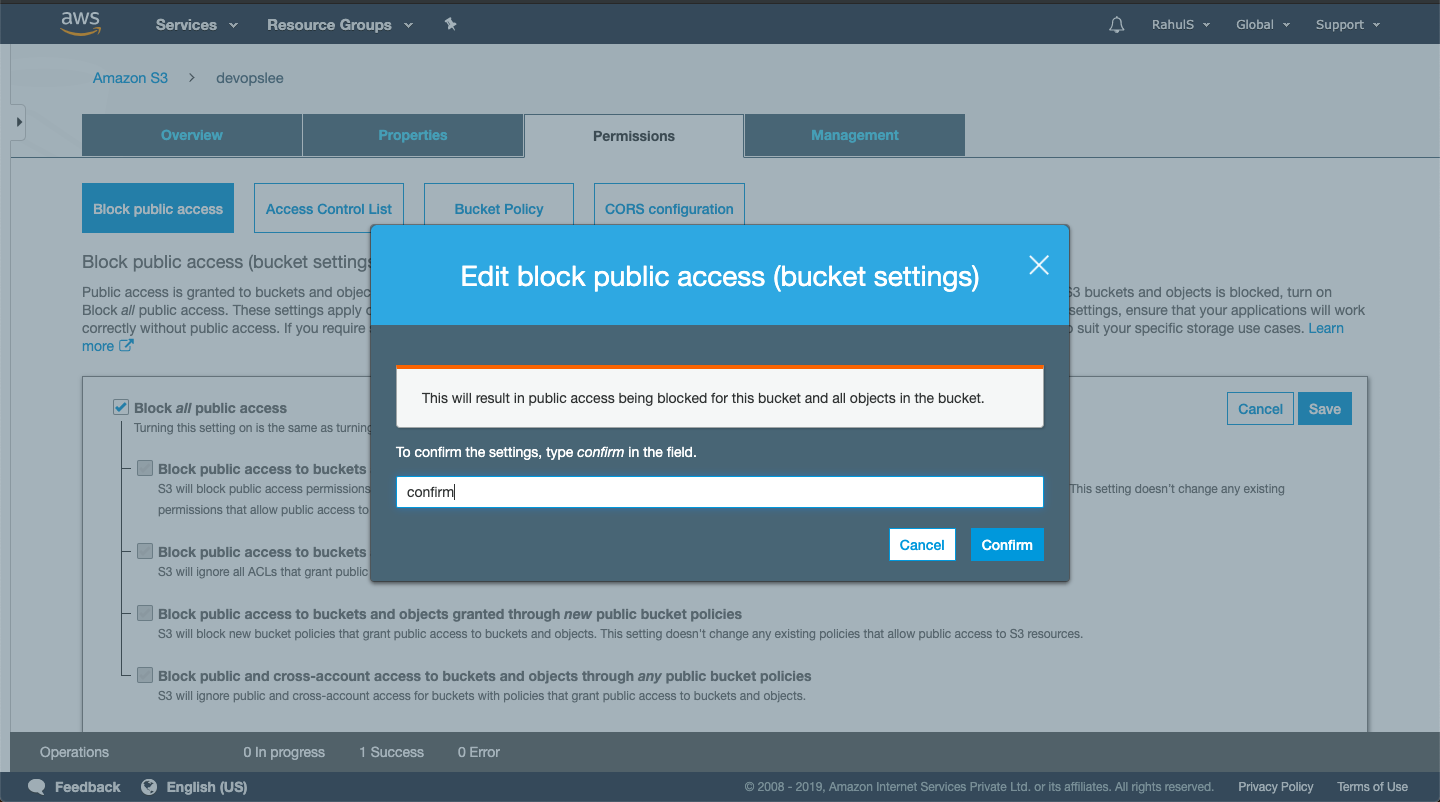
Select the desired object, click on “Permissions” and click on “Edit” to edit “Block all public access” field. Check on “Block all public access” and “Confirm” the dialogue box.
Now we can try to access the object by hitting the object URL in another window. We will see the “Access Denied” message. Now this object can only be downloaded/viewed from the object owner's account.


