How to Install OpenLiteSpeed HTTP Server with PHP on Ubuntu 18.04 LTS
This tutorial exists for these OS versions
- Ubuntu 18.04 (Bionic Beaver)
- Ubuntu 16.04 (Xenial Xerus)
On this page
OpenLiteSpeed is an open-source HTTP server developed by LiteSpeed Technologies. It is a high-performance and lightweight HTTP server with a web-based GUI for administration.
OpenLiteSpeed can handle more than a hundred thousand concurrent connections with low resource consumption (CPU and RAM) and supports many operating systems such as Linux, Mac OS, FreeBSD, and SunOS. The server can be used to run web page scripts written in PHP, Ruby, Perl, and Java.
In this tutorial, we show you how to install OpenLiteSpeed with the MariaDB database and the current PHP 7.4 on the Ubuntu 18.04 server.
Prerequisites
For this guide, we will be using the latest Ubuntu 18.04 server with 2GB of RAM, 25GB free disk space, and 2 CPUs.
What we will do:
- Install OpenLiteSpeed
- Install PHP 7.4 OpenLiteSpeed Version
- Install MariaDB Database
- Setup OpenLiteSpeed Admin
- Configure OpenLiteSpeed with PHP 7.4
- Running OpenLiteSpeed on Port 80
- Testing
Step 1 - Install OpenLiteSpeed
First, we will add the official OpenLiteSpeed repository for Ubuntu 18.04 and install the OpenLiteSpeed
To add the OpenLiteSpeed repository, download the bash script and run it using the command as below.
wget -O - http://rpms.litespeedtech.com/debian/enable_lst_debain_repo.sh | bash
After that, install the OpenLiteSpeed using the apt command below.
sudo apt install openlitespeed -y
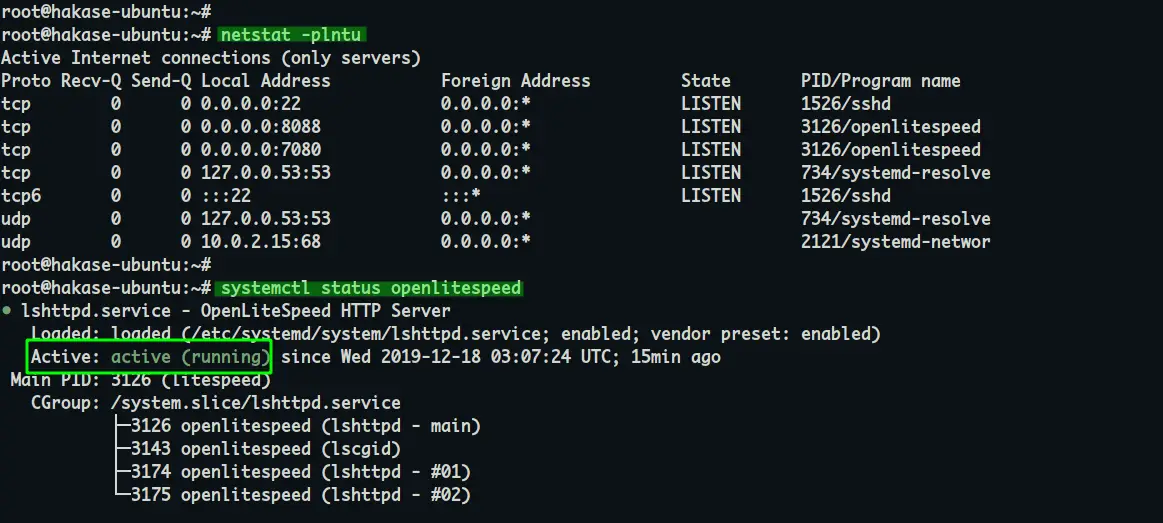
Once the installation is complete, check the OpenliteSpeed service status.
systemctl status openlitespeed
And you will get the OpenLiteSpeed is up and running.
Now check the port that used by the OpenLiteSpeed.
netstat -plntu
And you will get the OpenLiteSpeed service is using two default ports '8080' for default HTTP access, and port '8070' for the OpenLiteSpeed admin access.
Step 2 - Install PHP 7.4 OpenLiteSpeed Version
After installing the OpenLiteSpeed, we will install the latest PHP 7.4 for OpenLiteSpeed. The PHP packages for OpenLiteSpeed is called 'LSPHP' (LSAPI and PHP).
Install PHP 7.4 packages for OpenLiteSpeed using the apt command below.
sudo apt install lsphp74 lsphp74-common lsphp74-mysql lsphp74-dev lsphp74-curl lsphp74-dbg -y
Now you've installed PHP 7.4 packages for OpenLiteSpeed, it will as a system sock file.
Check it using the netstat command below.
netstat -pl | grep lsphp
And you will get the LSPHP sock file as below.

Step 3 - Install and Configure MySQL
in this step, we will install the MariaDB server and set up the root password for it.
Install the MariaDB server using the apt command below.
sudo apt install mariadb-client mariadb-server
Once the installation is complete, start the MariaDB service and add it to the boot time.
systemctl start mariadb
systemctl enable mariadb
Now the MariaDB service is up and running.
Next, we will set up the root password for the database server. And we will use the 'mysql_secure_installation' command-line tool for it.
Run the 'mysql_secure_instalaltion' command below.
mysql_secure_installation
Now type the root password and type 'Y' for the rest of all configuration.
Set a root password? [Y/n] Y
Remove anonymous users? [Y/n] Y
Remove test database and access to it? [Y/n] Y
Reload privilege tables now? [Y/n] Y
And the configuration MariaDB root password is completed.
Now log in to the MySQL shell using the root user as below.
mysql -u root -p
Type Your Root Password:
Once you've logged in, check the user on the MariaDB system using the following query.
select User, Password, Host from mysql.user;
And you will get the result as below.
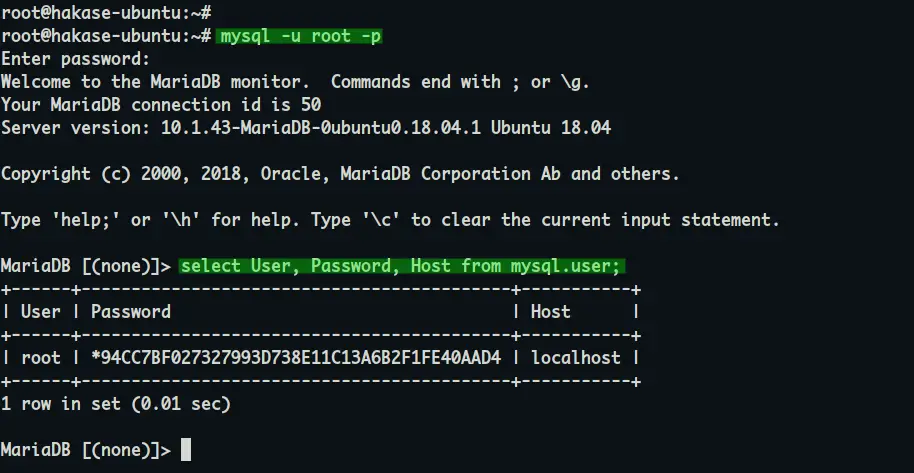
As a result, you've successfully installed the MariaDB database server and set up the root password authentication for it.
Step 4 - Setup OpenLiteSpeed Admin
OpenLiteSpeed provides a web-based dashboard for managing its configuration.
In this step, we will set up the user and password authentication for the OpenLiteSpeed dashboard.
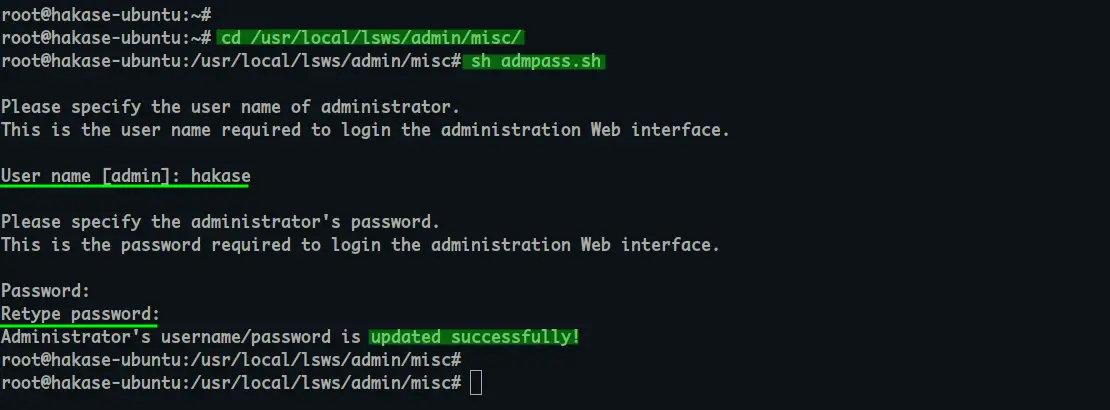
Go to the '/usr/local/lsws/admin/misc/' directory and you will get some tools, now run the bash script 'admpass.sh' as below.
cd /usr/local/lsws/admin/misc/
sh admpass.sh
Type your username and password, and you've completed the configuration of OpenLiteSpeed authentication.
Now open your web browser and type the server IP address followed by the openliteSpeed admin port '7080'. Mine is:
https://10.5.5.25:7080/
And you will get the OpenLiteSpeed admin dashboard.

Type your username and password, then click the 'Login' button.
Now you will get the OpenLiteSpeed administration dashboard as below.
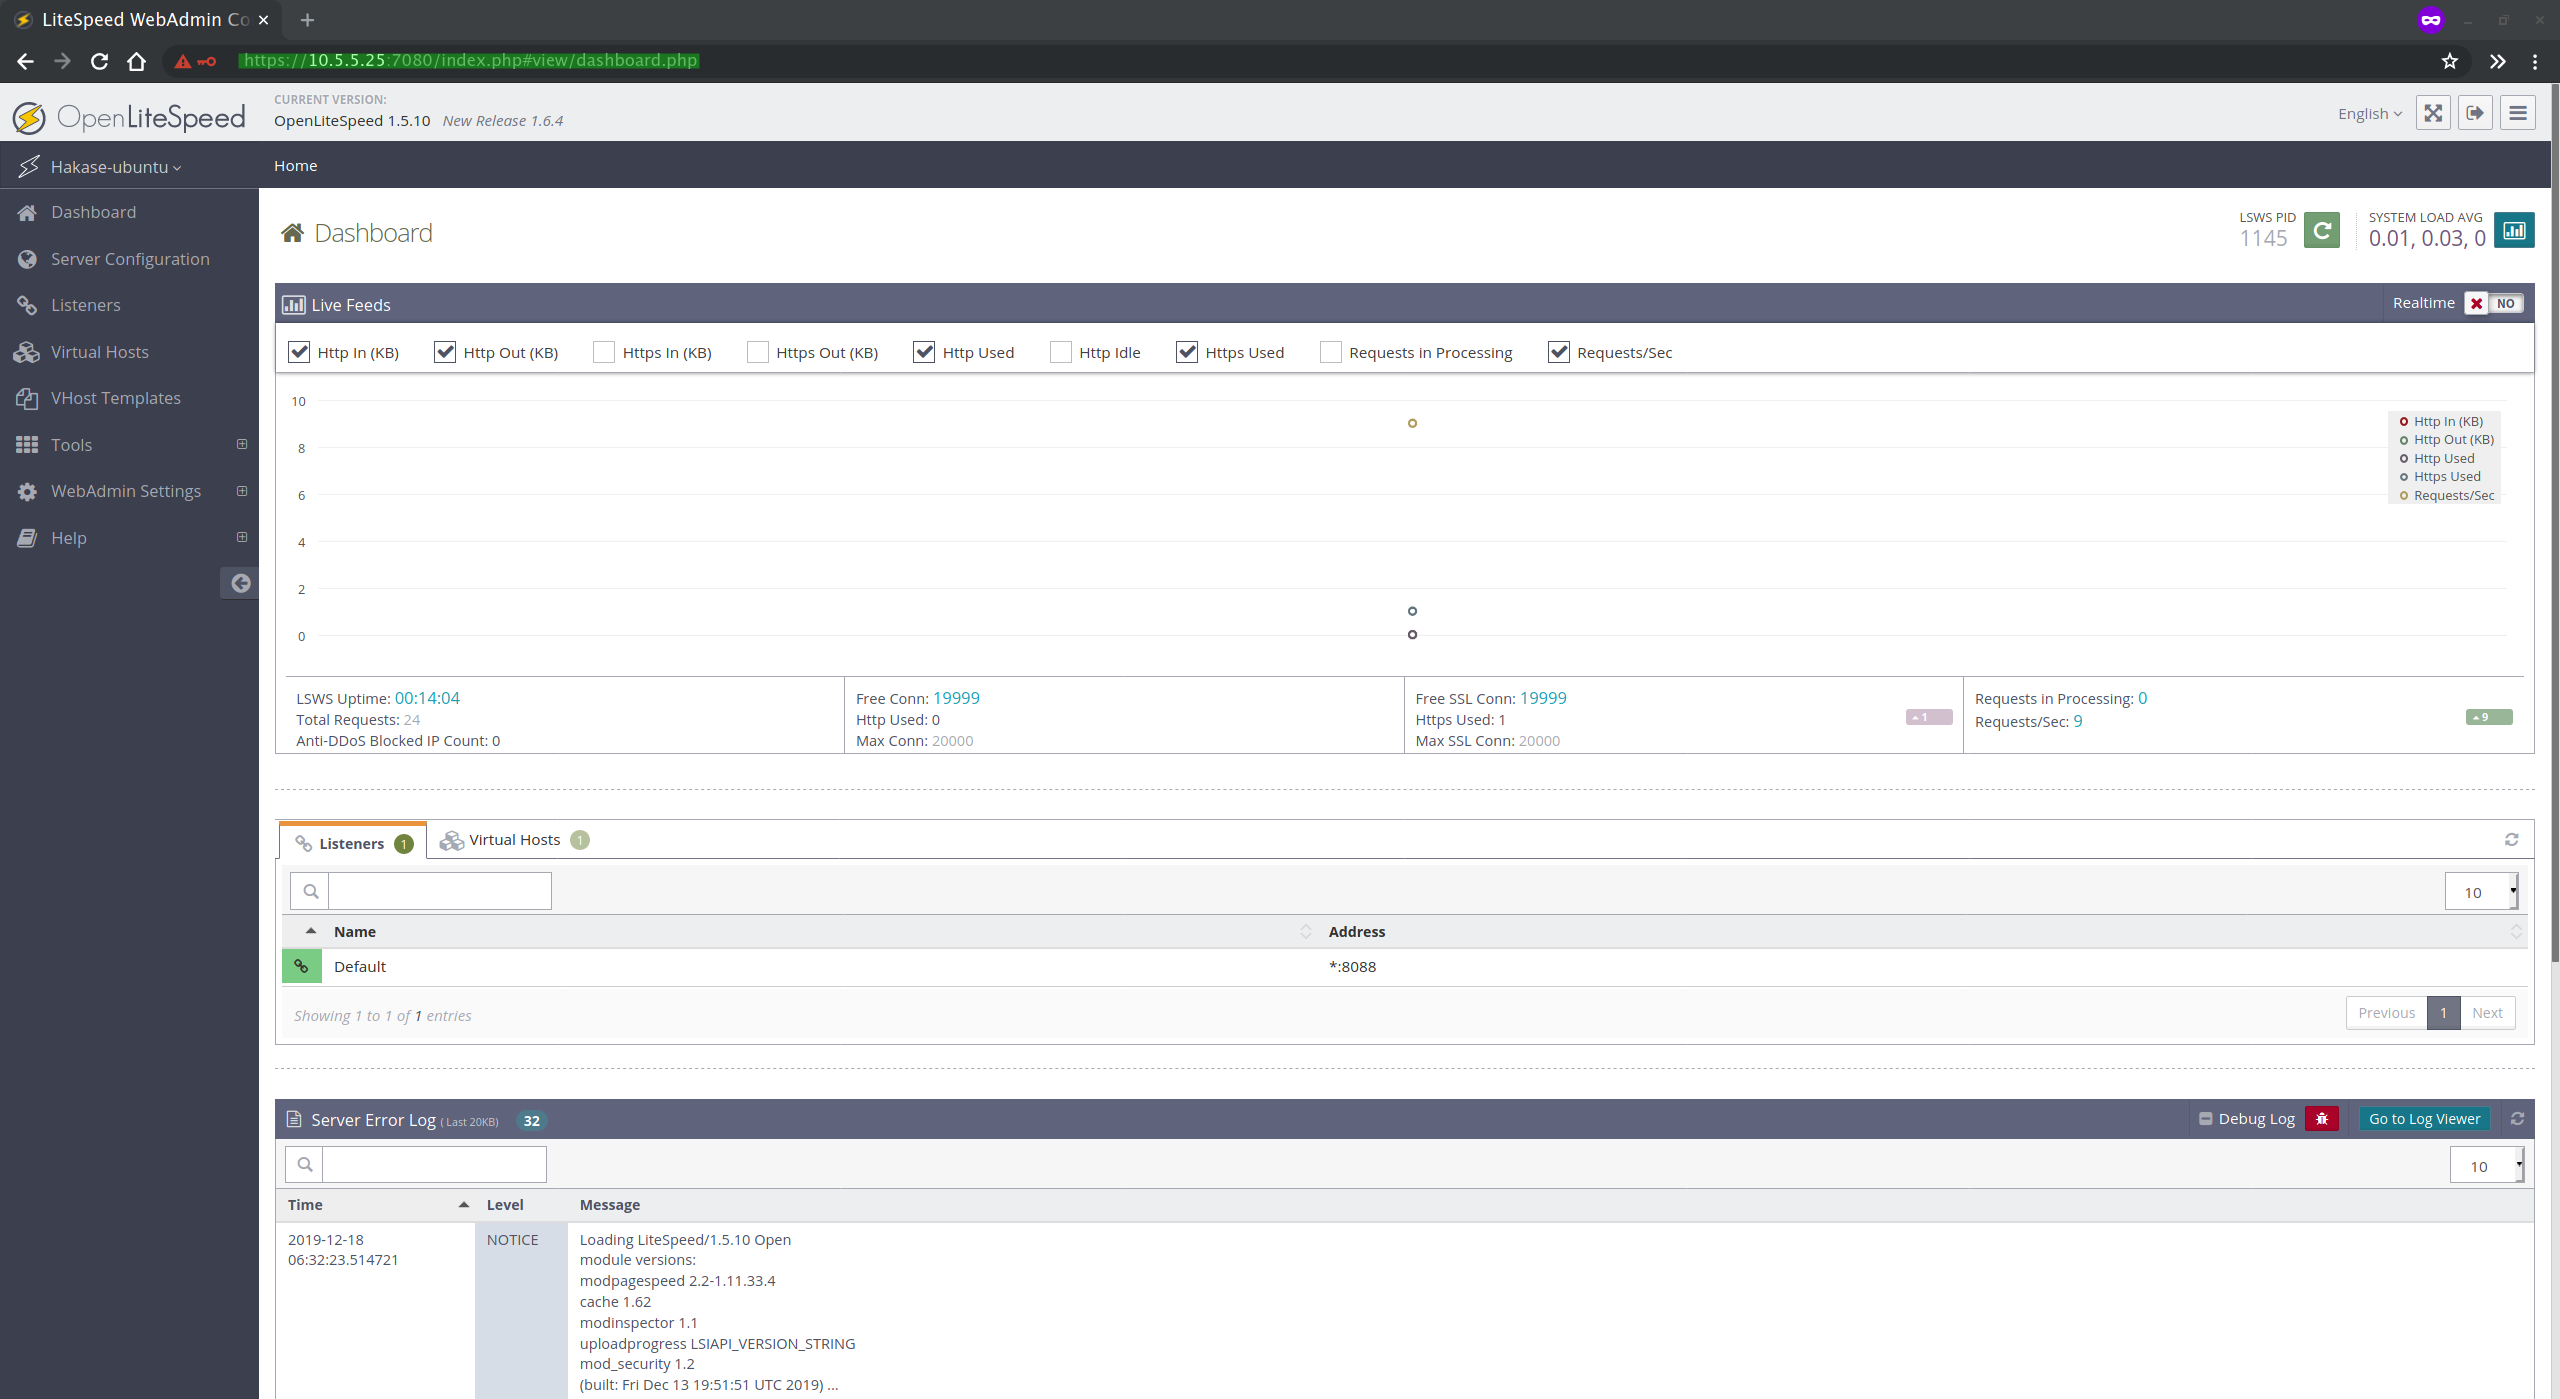
As a result, you've successfully set up authentication for the OpenLiteSpeed administration dashboard.
Step 5 - Configure OpenLiteSpeed with PHP 7.4
In this step, we will set up the PHP 7.4 for the OpenLiteSpeed using the web-based administration.
On the OpenLiteSpeed dashboard, click the 'Server Configuration' menu on the left and click the 'External App' tab.
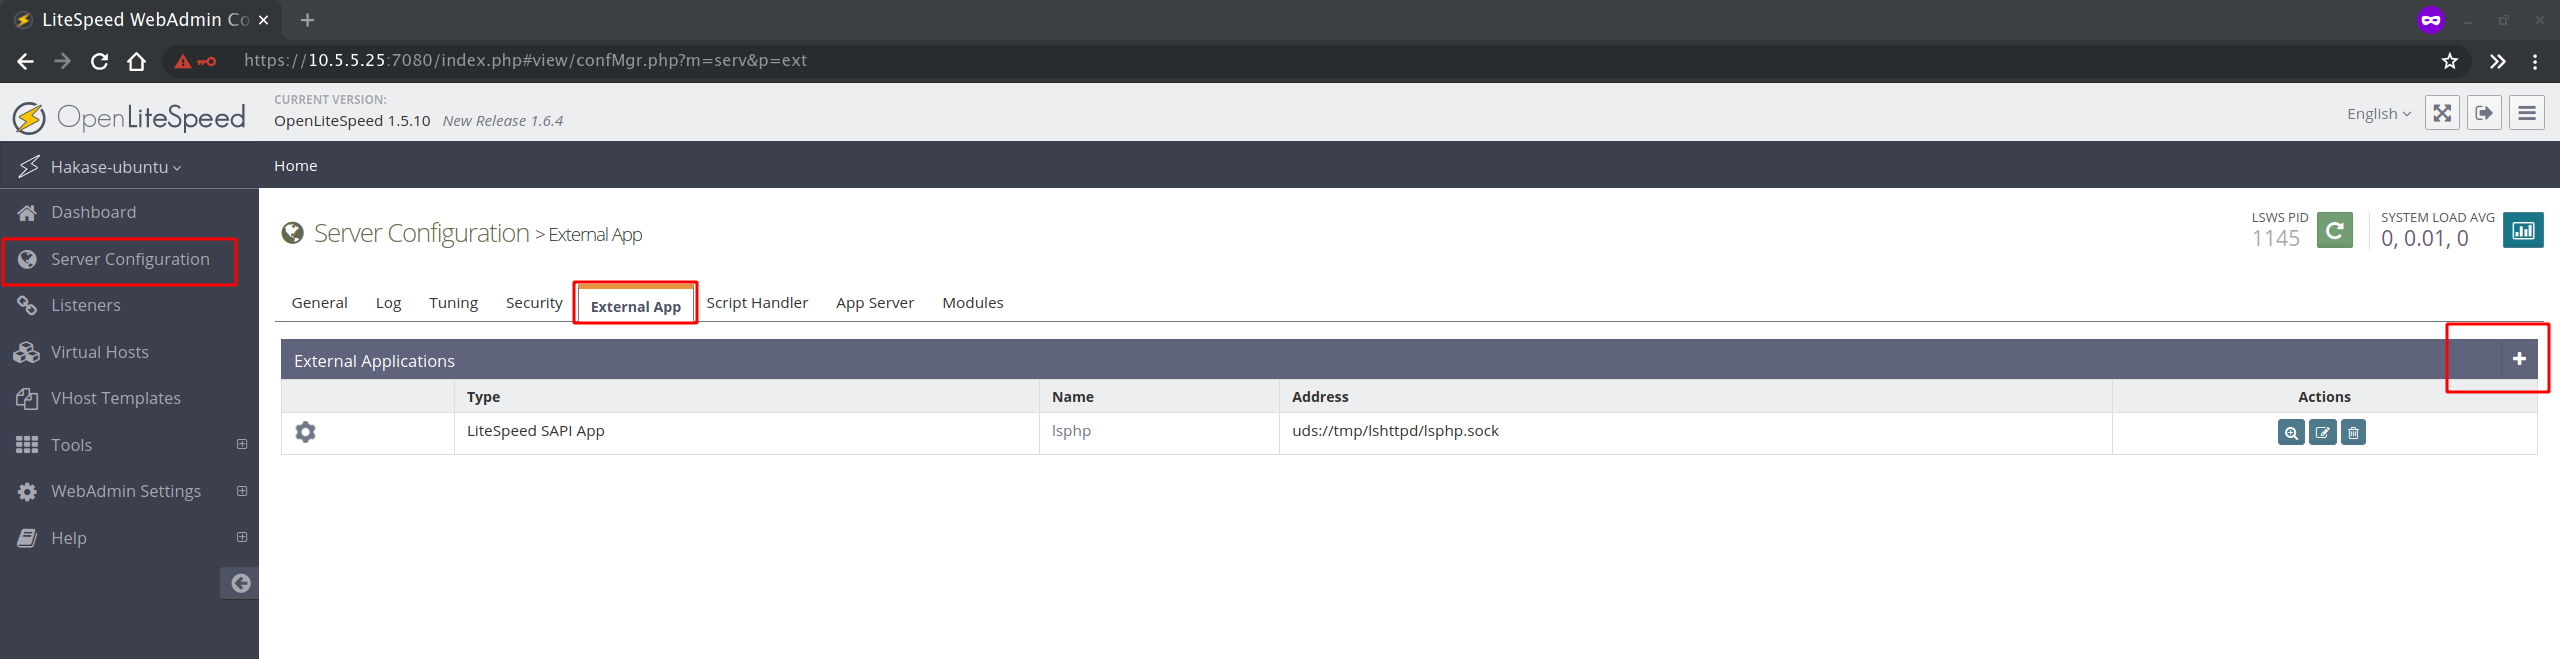
To add the new PHP 7.4 configuration, click the add '+' button on the right.
For the type, choose the 'LiteSpeed SAPI App' and click the 'Next' button.

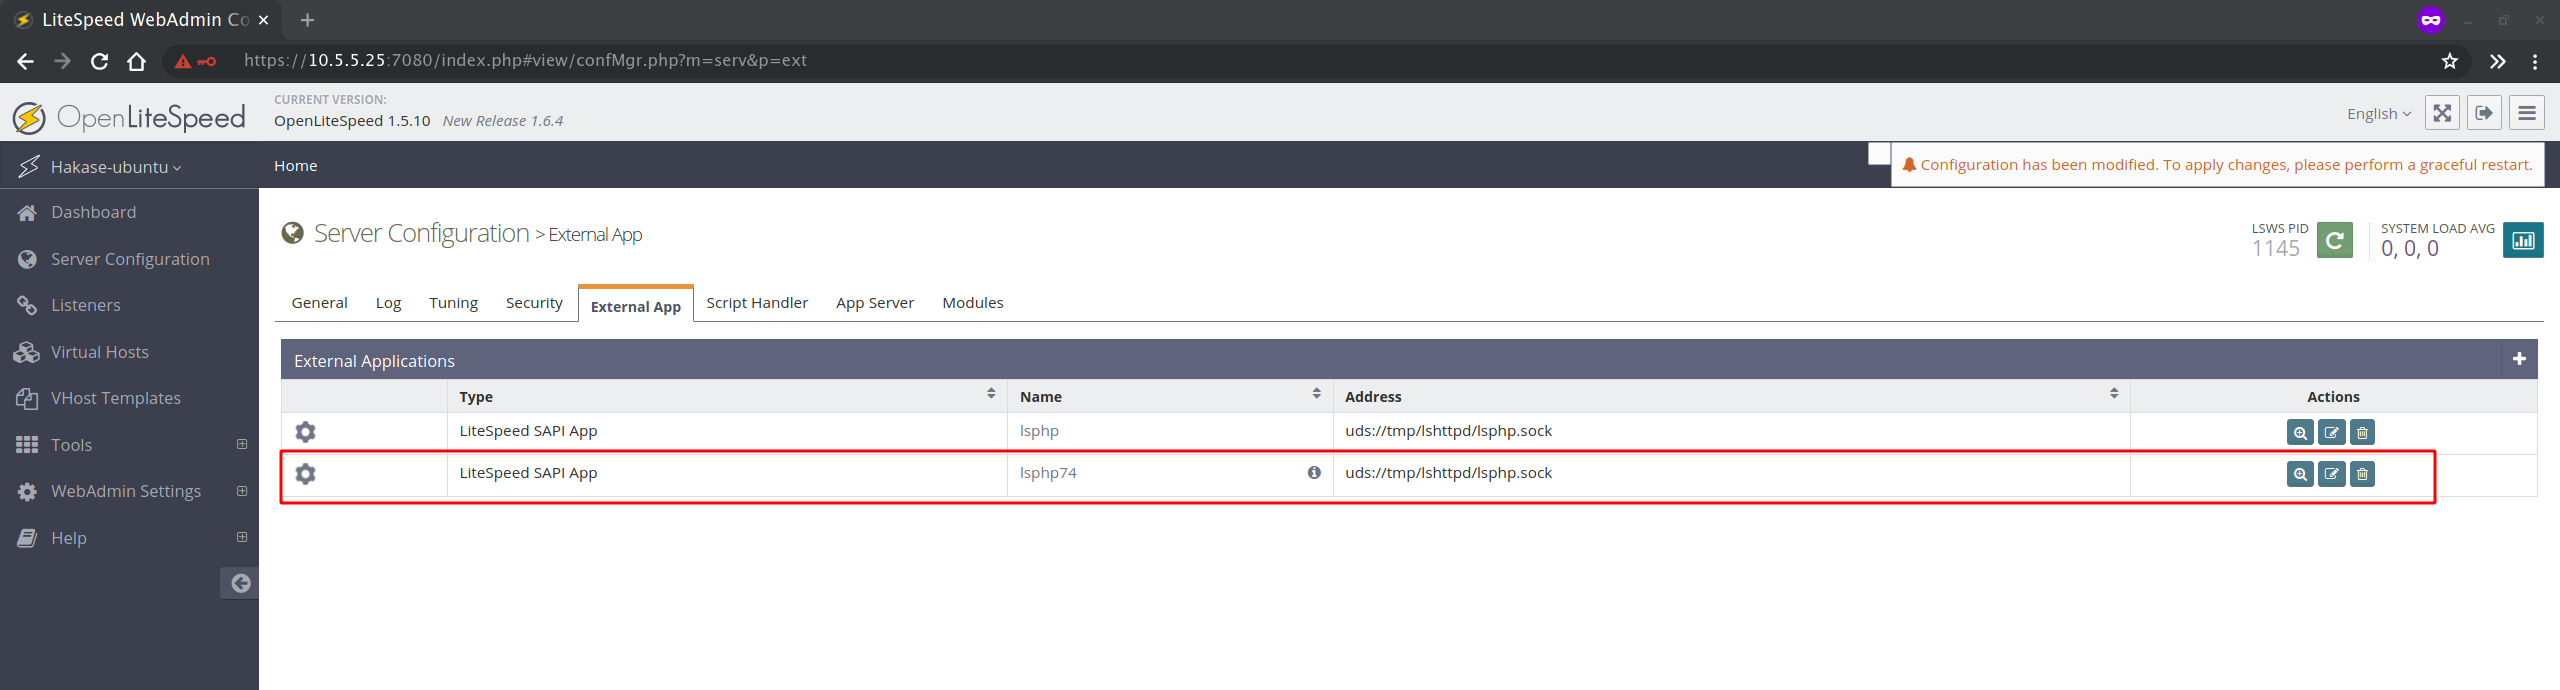
Now type details configuration as below.
Name: lsphp74
Address: uds://tmp/lshttpd/lsphp.sock
Notes: lsphp74 for OpenLiteSpeed
Max Connections: 35
Initial Request Timeout (secs): 60
Retry Timeout (secs): 0
Command: $SERVER_ROOT/lsphp74/bin/lsphp
And click the 'Save' button, and the PHP 7.4 configuration has been added.
Next, we will change the default PHP for OpenLiteSpeed to the PHP 7.4 version.
On the 'Server Configuration' menu, click the 'Script Handler' tab.

Now click the 'Edit' button on the action section.
On the 'Handler Name', choose the 'lsphp74' that we just added and click the 'Save' button.
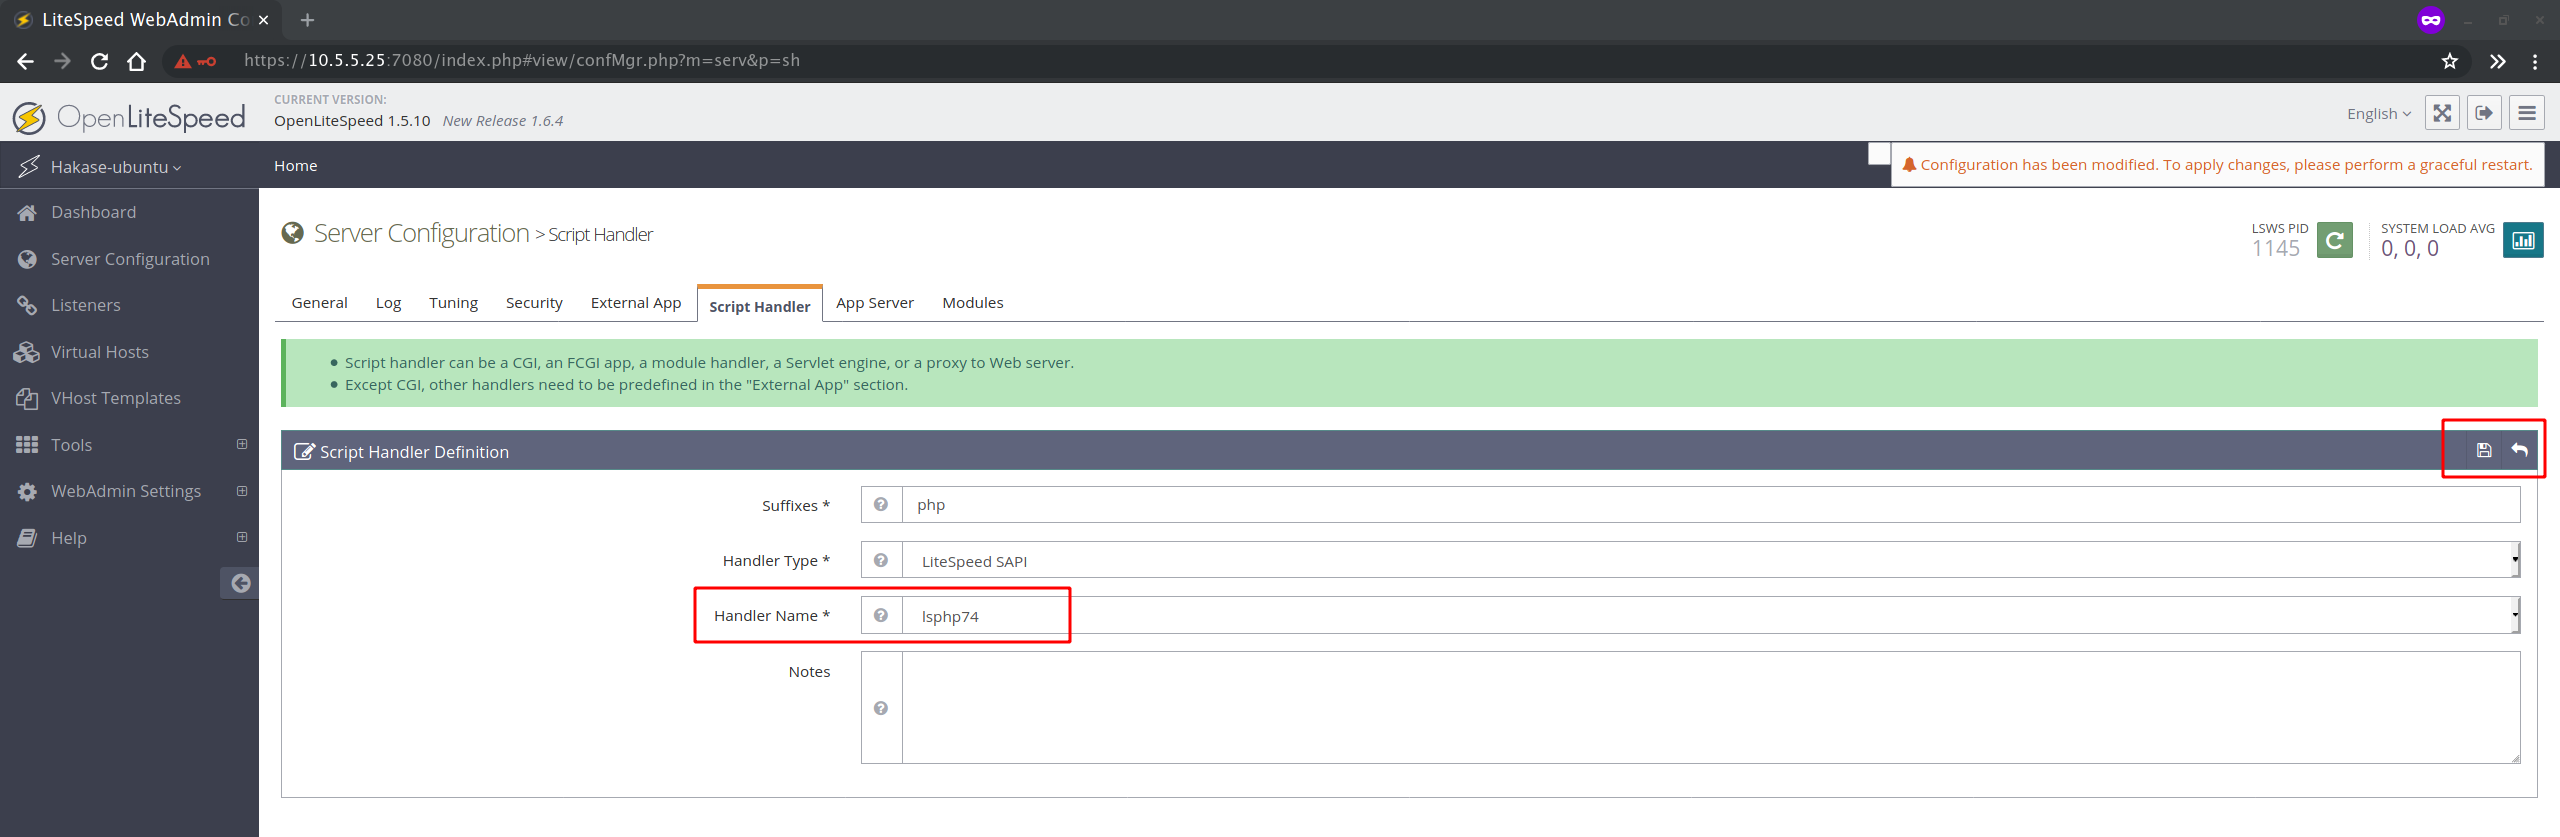
And as a result, you've added and enabled the PHP 7.4 configuration for OpenLiteSpeed.
Step 6 - Run OpenLiteSpeed on Port 80
By default, the OpenLiteSpeed is running on default port '8088'. To run the OpenLiteSpeed on default http port '80', we can use the administration dashboard to change the configuration.
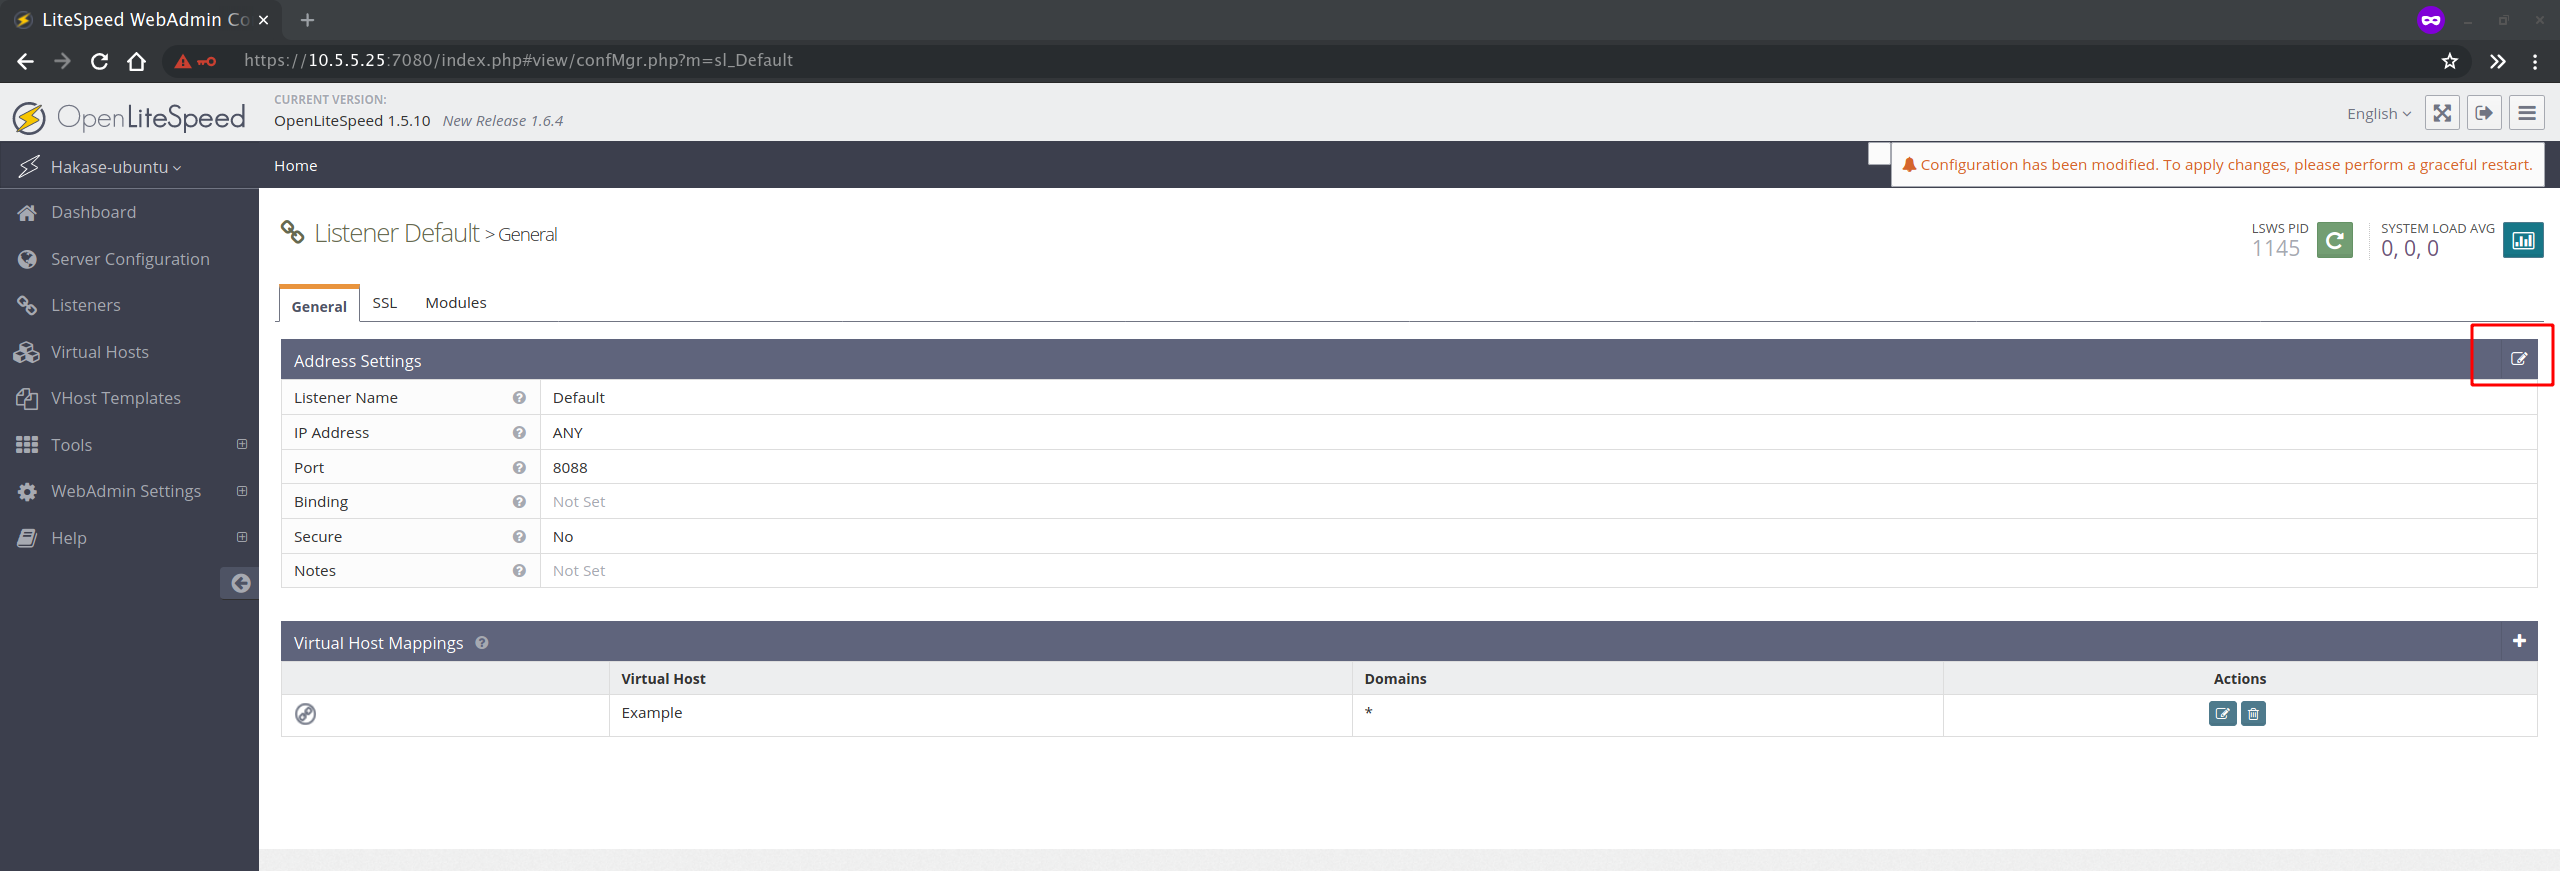
On the OpenliteSpeed dashboard, click the 'Listener' menu on the left.
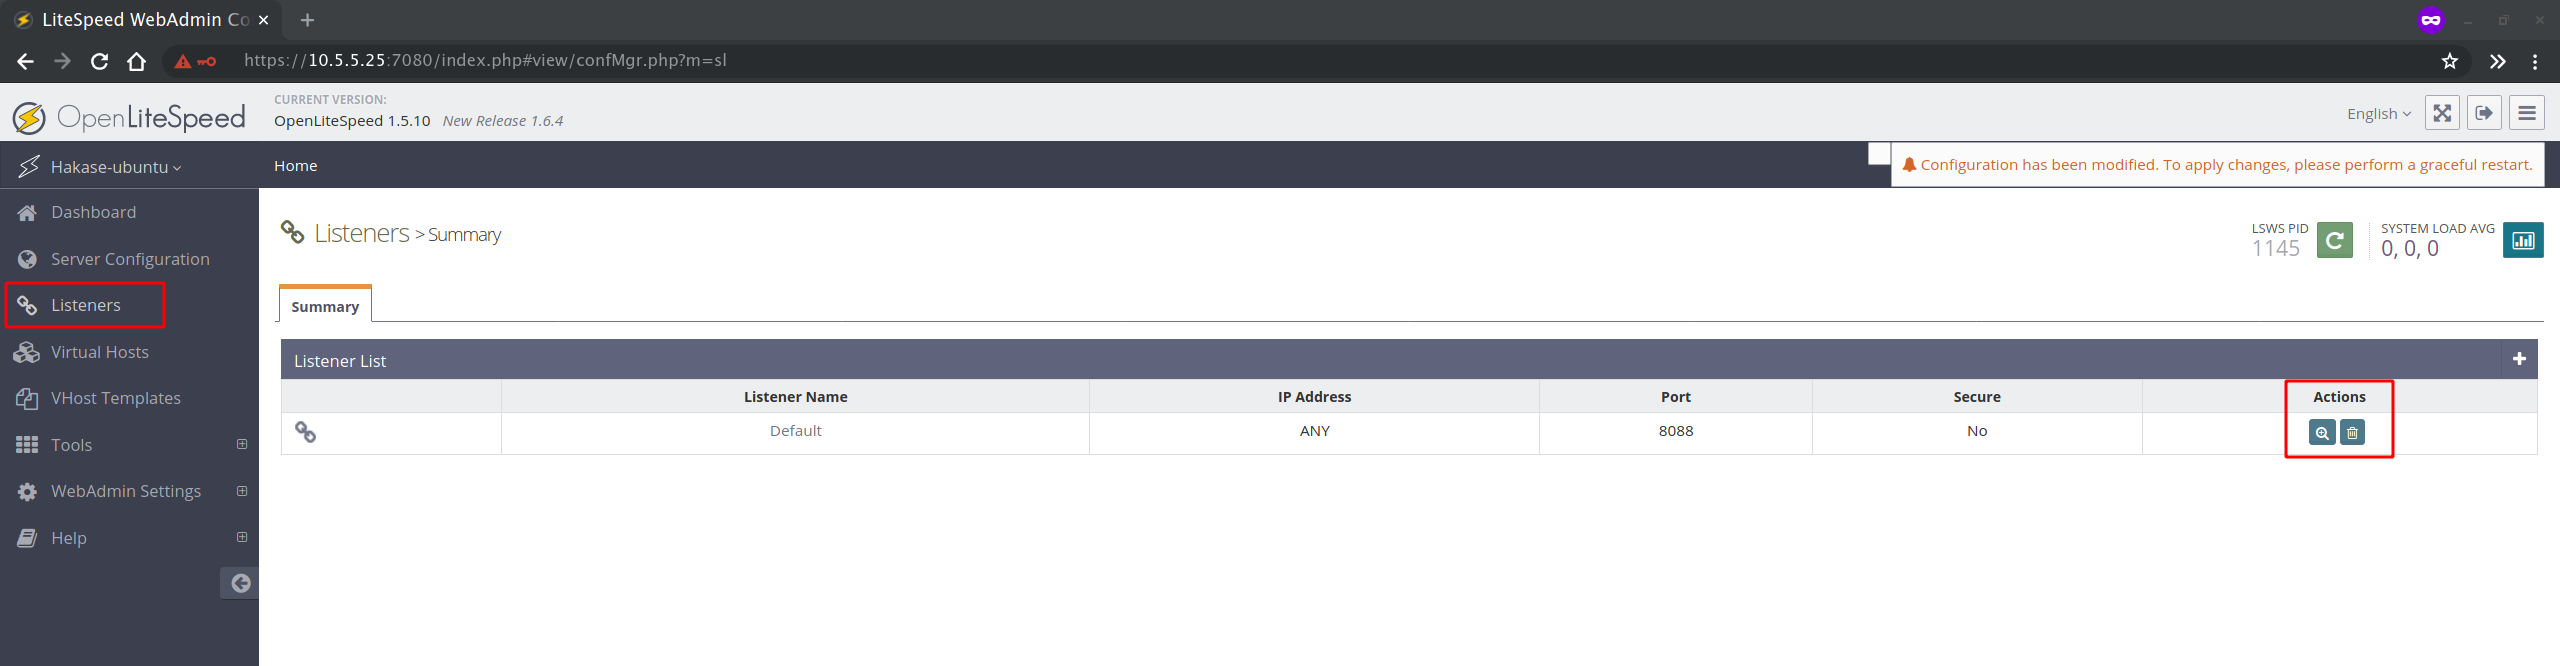
On the 'Default' listeners, click the 'view' button.
On the 'Address Settings' section, click the 'edit' button on the right side.
Now change the port to the default HTTP port '80' and click the 'Save' button.
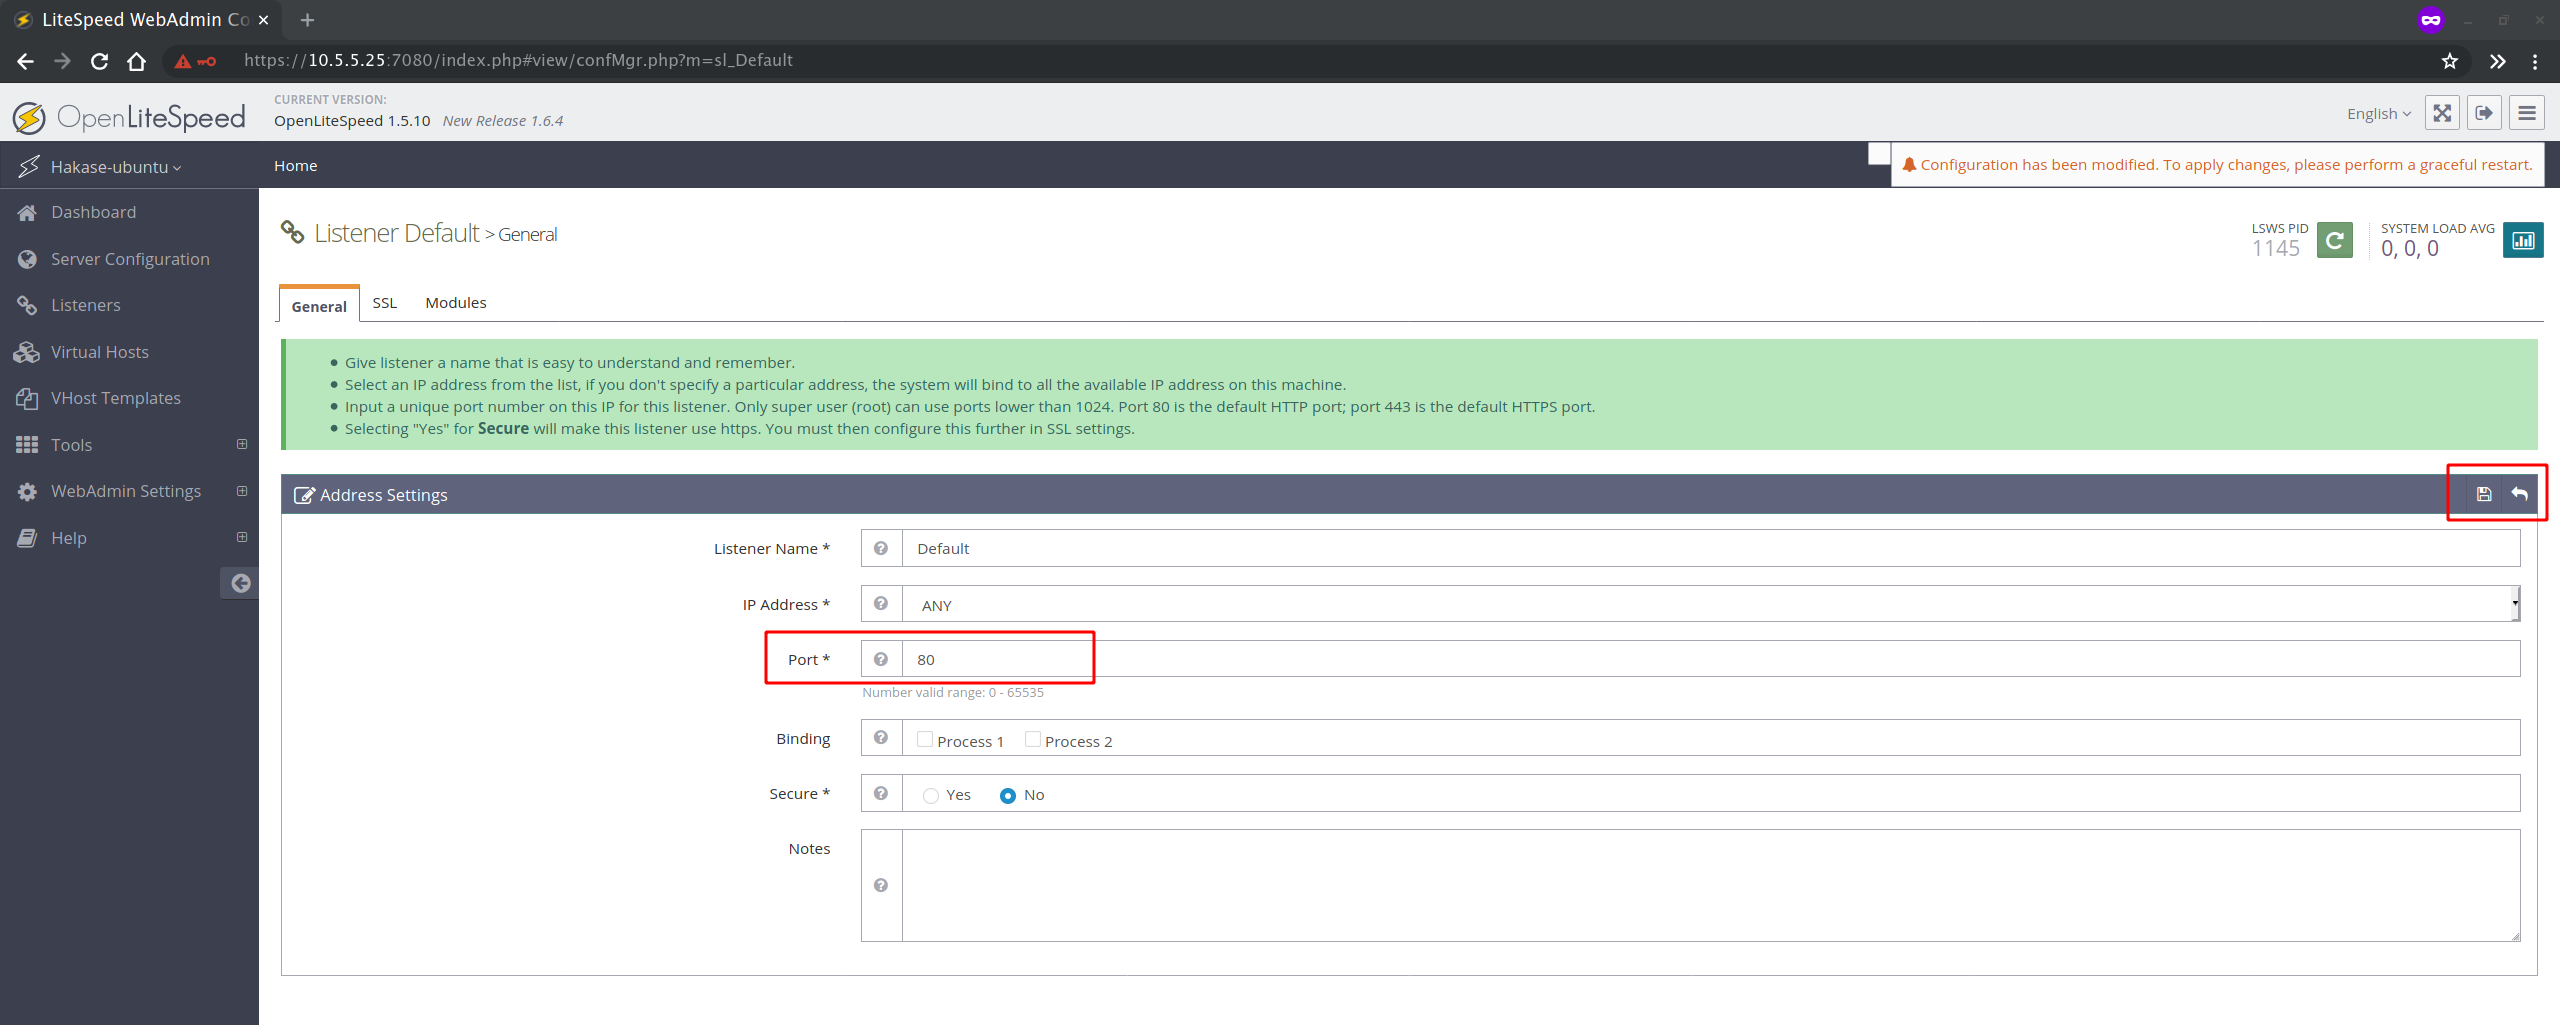
And the default OpenLiteSpeed port has been changed to default HTTP port '80'.
Now click the restart button and the OpenLiteSpeed service will be restarted.
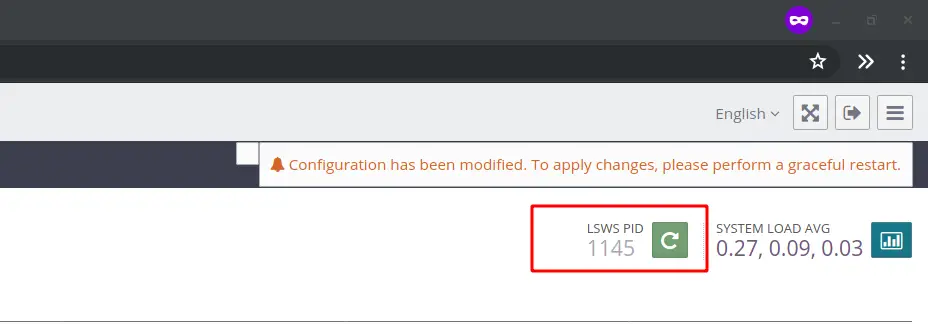
As a result, the OpenLiteSpeed is now running on default HTTP port '80'.
Step 7 - Testing
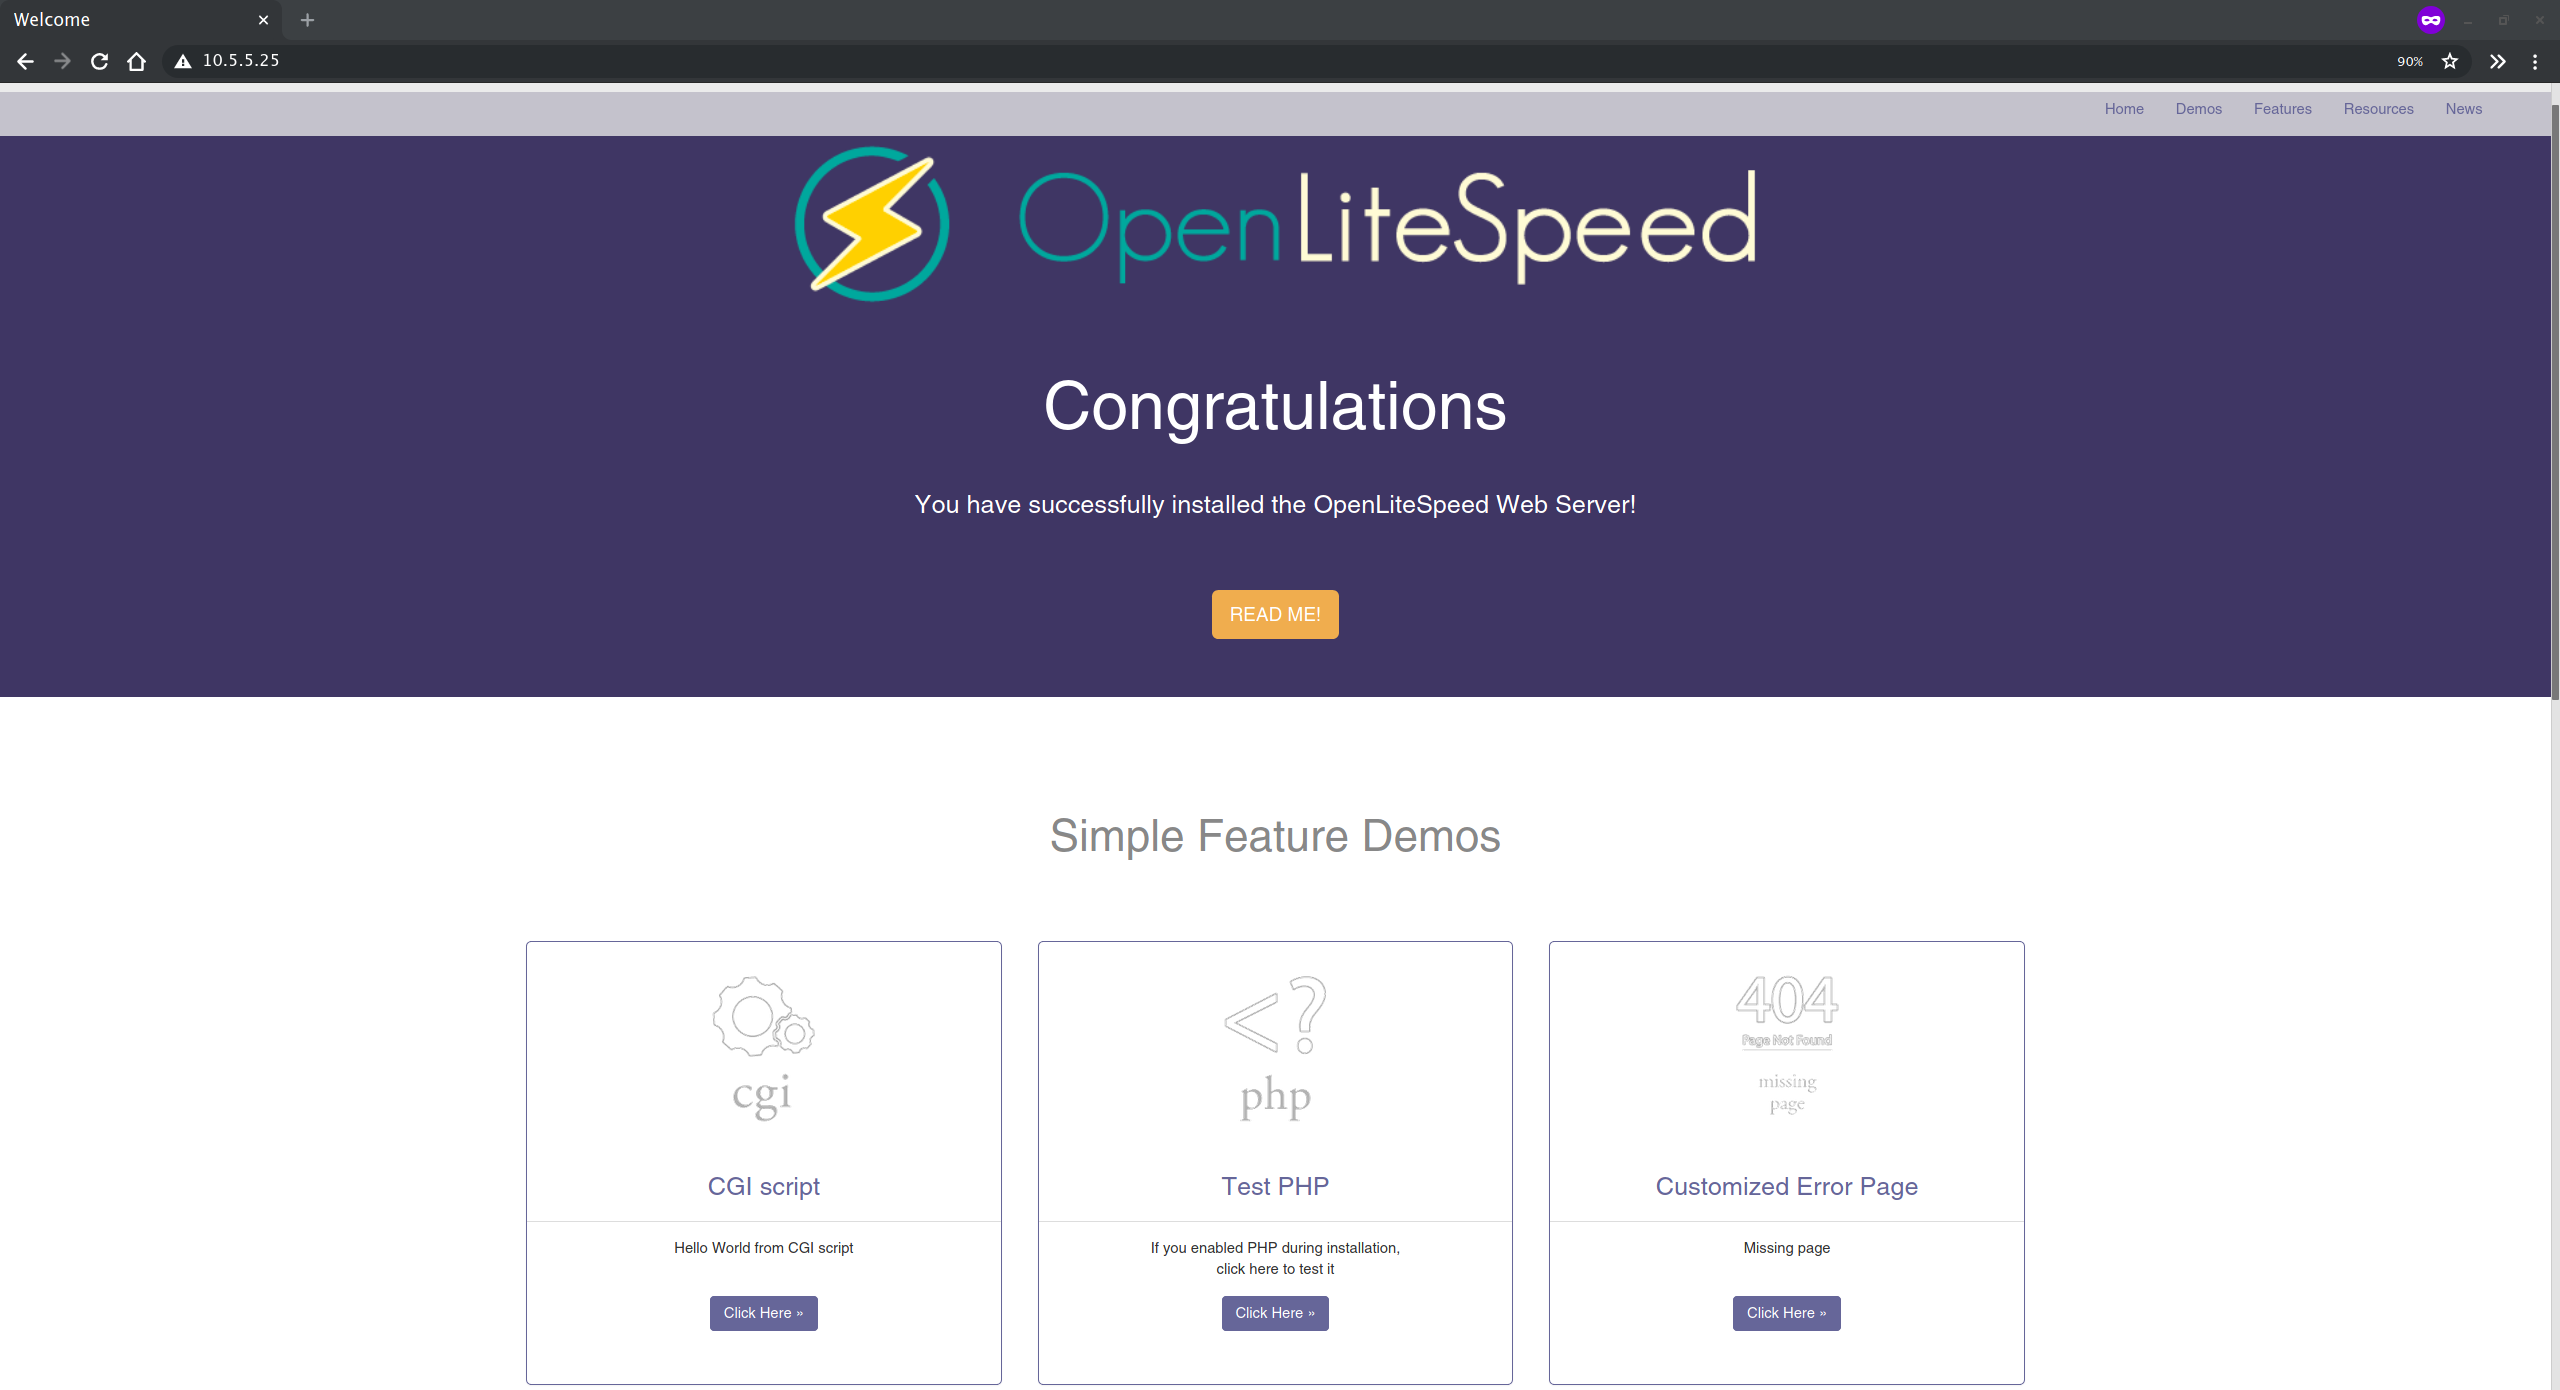
Open your web browser and type the server IP address on the address bar.
http://10.5.5.25/
And you will get the default index page of OpenLiteSpeed.
Next, we will test the PHP configuration and make sure it works.
On the 'Test PHP' section, click the button 'click here'.
And you will get the phpinfo page as below.
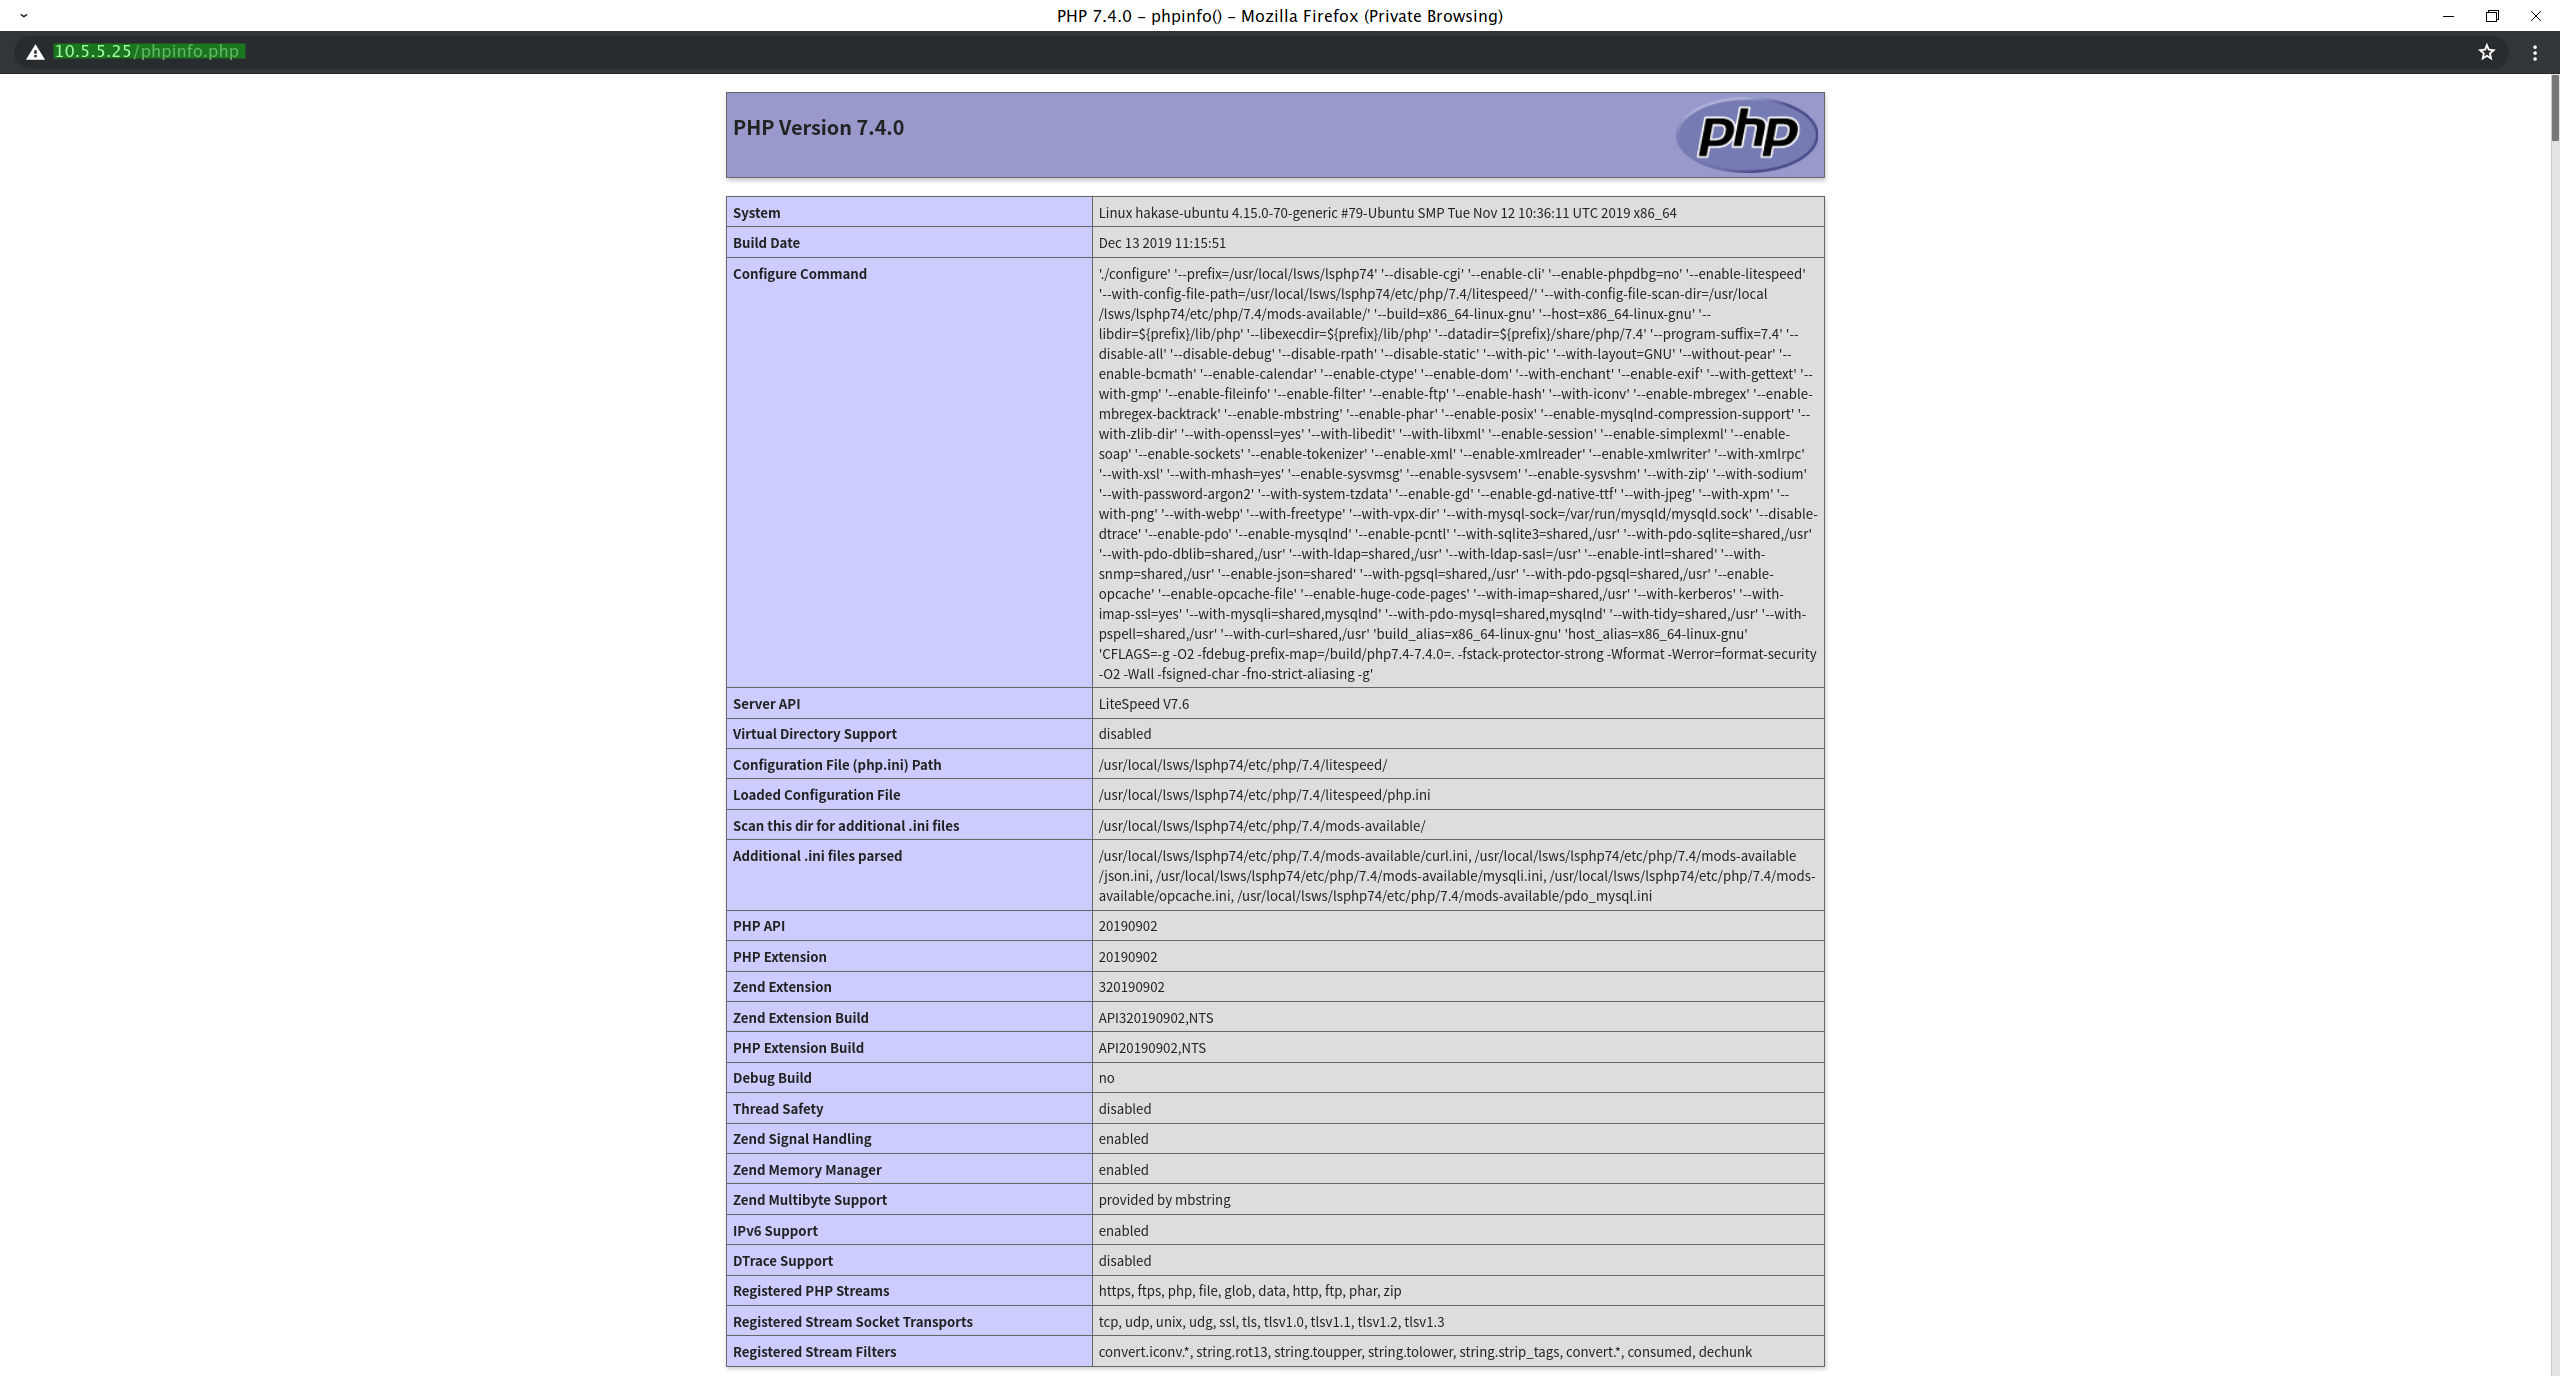
As a result, you've installed the OpenLiteSpeed web server with the MariaDB database and PHP 7.4 on Ubuntu 18.04 Server.

