How to setup EC2 Auto Scaling Group (ASG) on AWS
ASG(Auto Scaling Group) feature comes along with EC2 (Elastic Compute Cloud) service of AWS(Amazon Web Services) Cloud. An ASG contains a collection of EC2 instances that are treated as a logical grouping for the purpose of automatic scaling. An ASG enables to use EC2 Auto Scaling features such as health check replacements and scaling policies. It helps to maintain the number of instances in an ASG and automatic scaling of the EC2 Auto Scaling service. To create and ASG, we first need to create a Launch Configuration.
A launch configuration is a configuration template that an ASG uses to launch EC2 instances. When we create a launch configuration, we specify information for instances such as Amazon Machine Image (AMI), the instance type, a key pair, security groups, etc.
Auto Scaling monitors our applications and automatically adjusts the desired capacity if there is any difference in the count.
There are no additional charges for Auto Scaling. We need to pay only for the AWS resources needed to run the applications and Amazon CloudWatch monitoring fees.
To know more about the billing related to ASG, click here.
In this article, we will see how to create an ASG and see how the number of instances can be maintained if the count decreases or load on the system increases.
Pre-requisites
- AWS Account (Create if you don’t have one).
What we will do?
- Login to AWS.
- Create a Launch Configuration
- Create an Auto Scaling Group
- Terminate the instance to let ASG manage the instance count.
- Increase the load on servers to let ASG increase the instance count.
- Delete the Auto Scaling Group.
Login to AWS
- Click here to go to AWS Login Page.
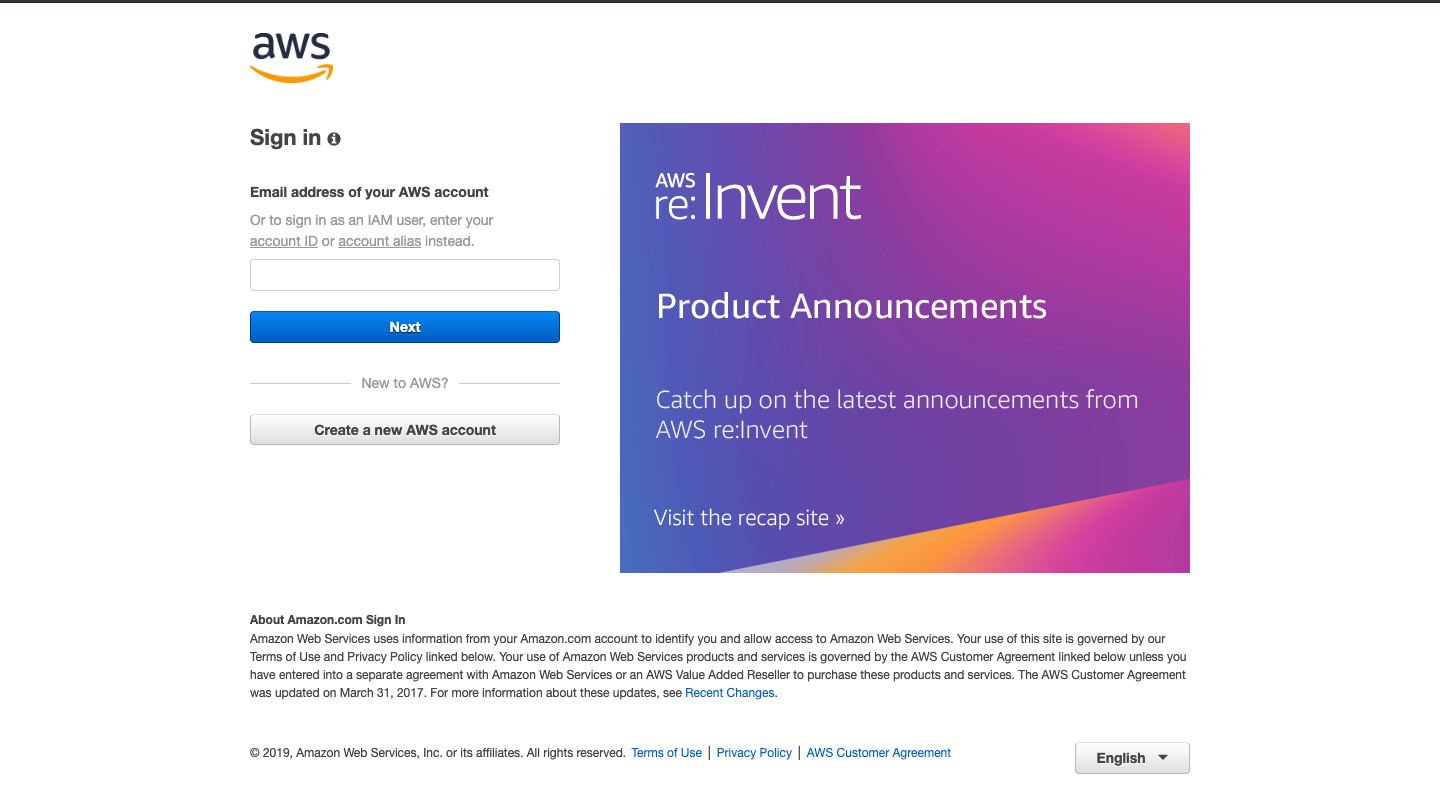
When we hit the above link, we will see a web page as follows where we are required to login using our login details.
Once we login into AWS successfully, we will see the main console with all the services listed as follows.

Create a Launch Configuration
To create a Launch Configuration, click on “Services” on the navigation bar at the top of the screen and click on “EC2” to go to EC2 console.

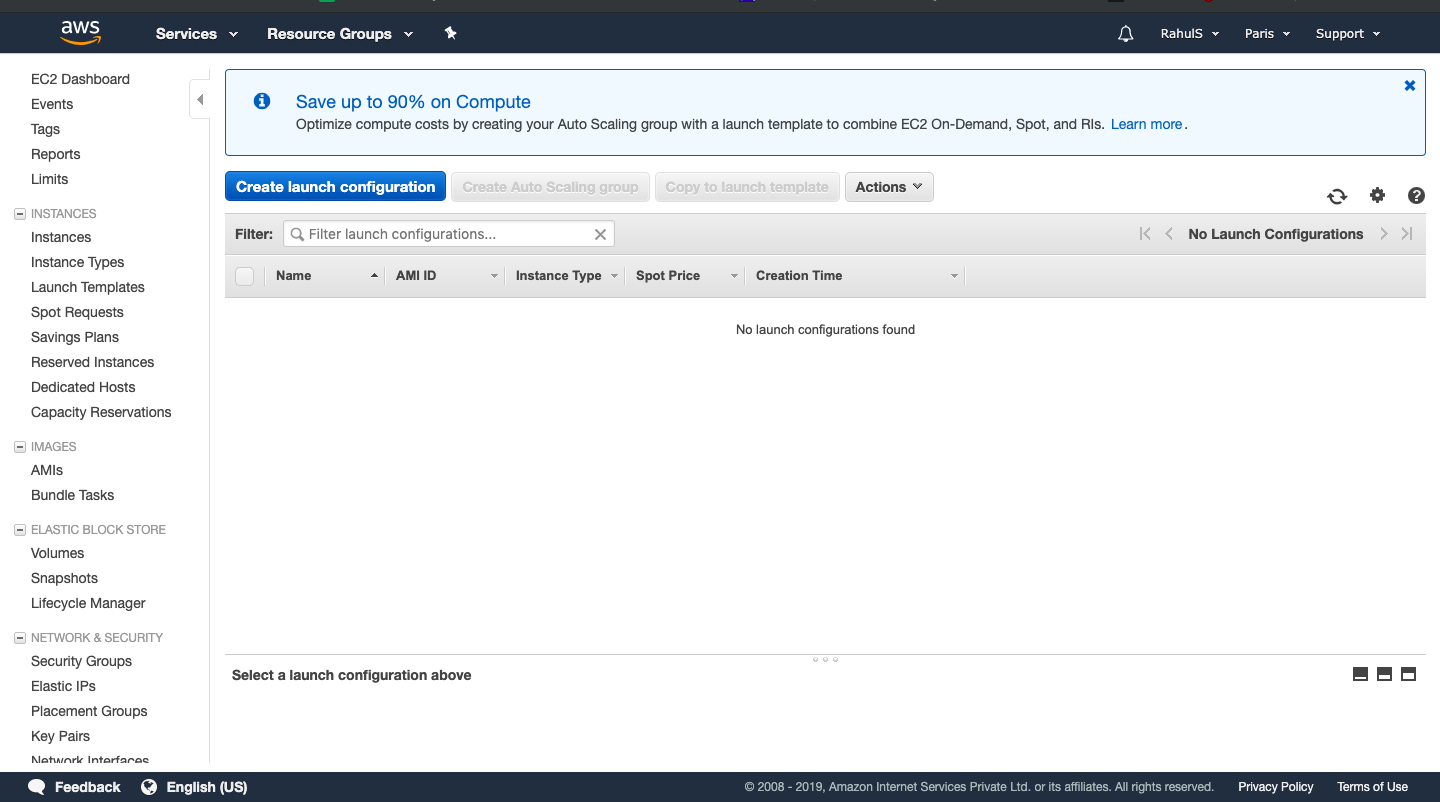
On the navigation pane on the left of the screen, under “Auto Scaling”, choose “Launch Configurations”.

On the next page, choose “Create launch configuration”.
On the Choose AMI page, select an AMI. You can even select the AMI from My AMIs if you have your own AMI. Here, I am choosing an Ubuntu Server 18.04 LTS AMI which is applicable for Free Tier.

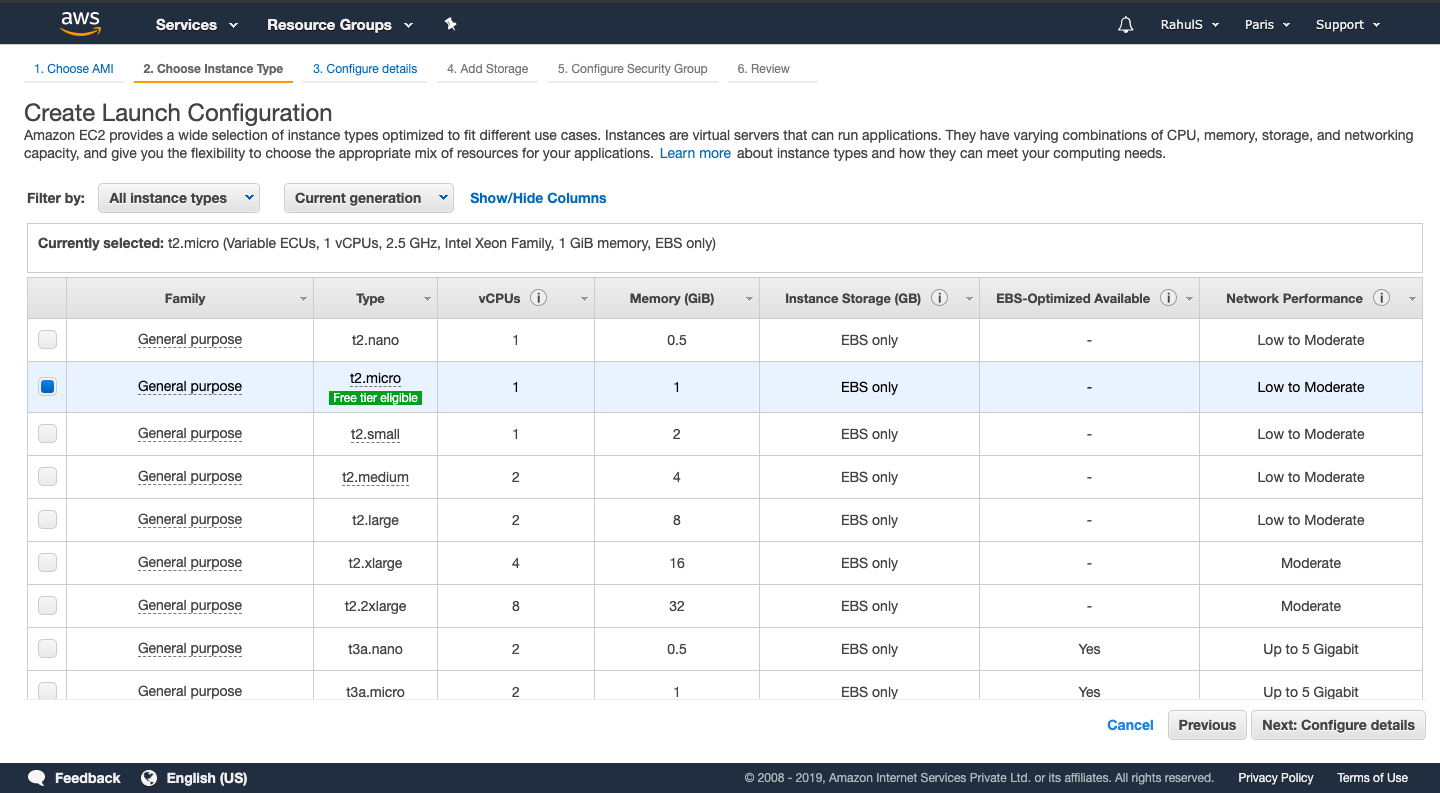
On the Choose Instance Type page, select a hardware configuration for your instance. Click on “Next: Configure” details.
Here, I am selecting an Instance Type which is applicable for Free Tier. You can choose an instance type of your choice.
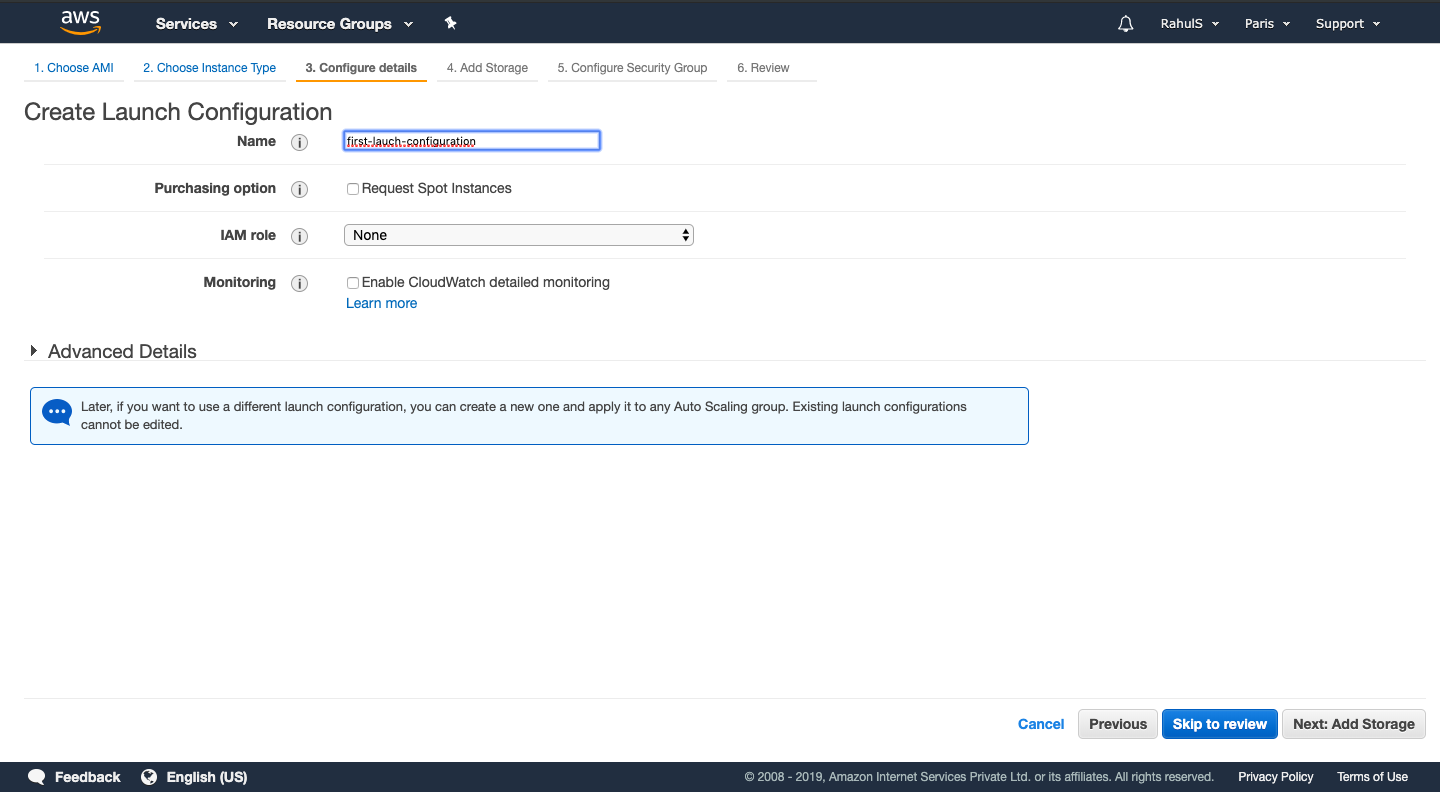
On this page, give a name to the Launch Configuration to be created and keep the rest as is. Click on “Next: Add storage”.
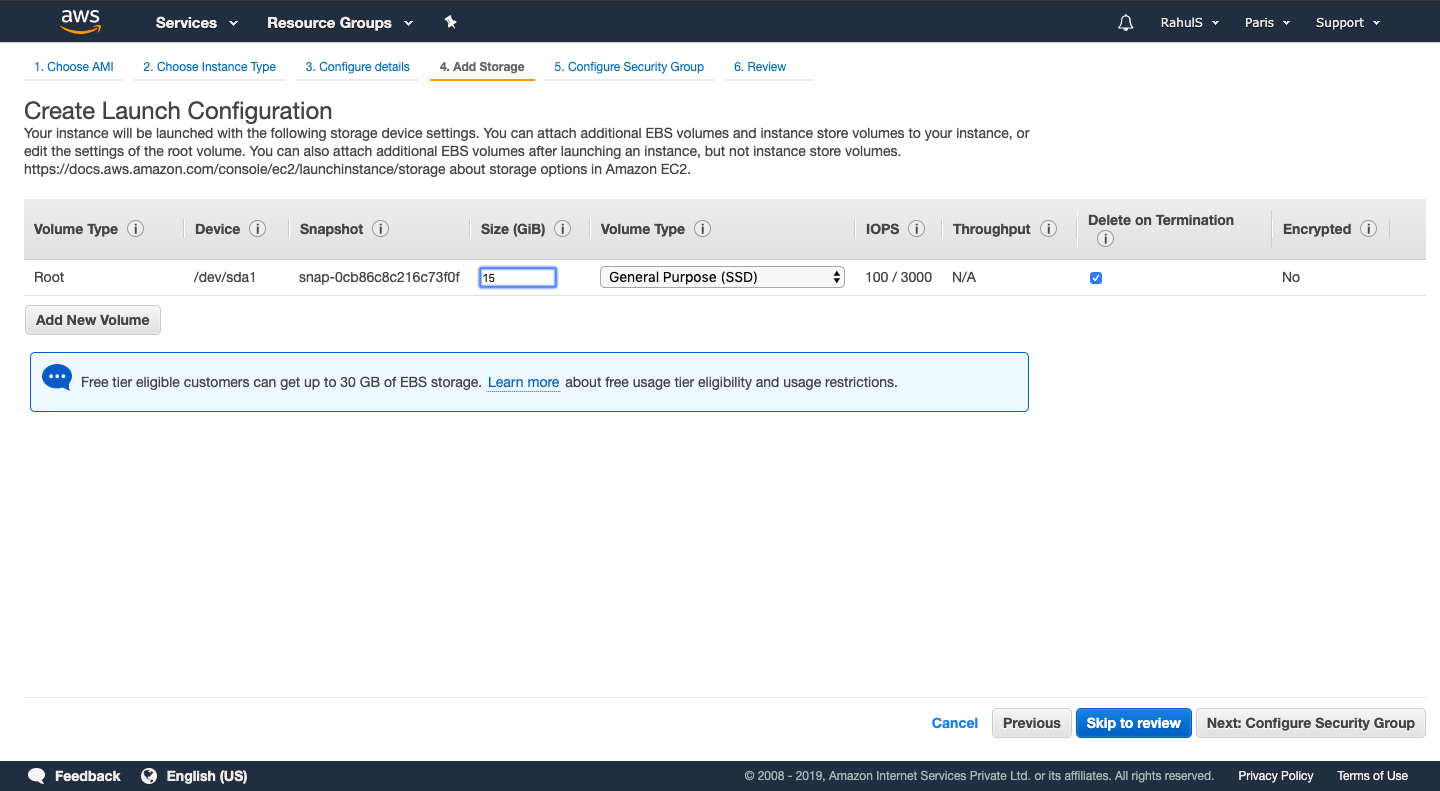
Specify the desired Disk Space you want and click on “Next: Configure Security Group”.
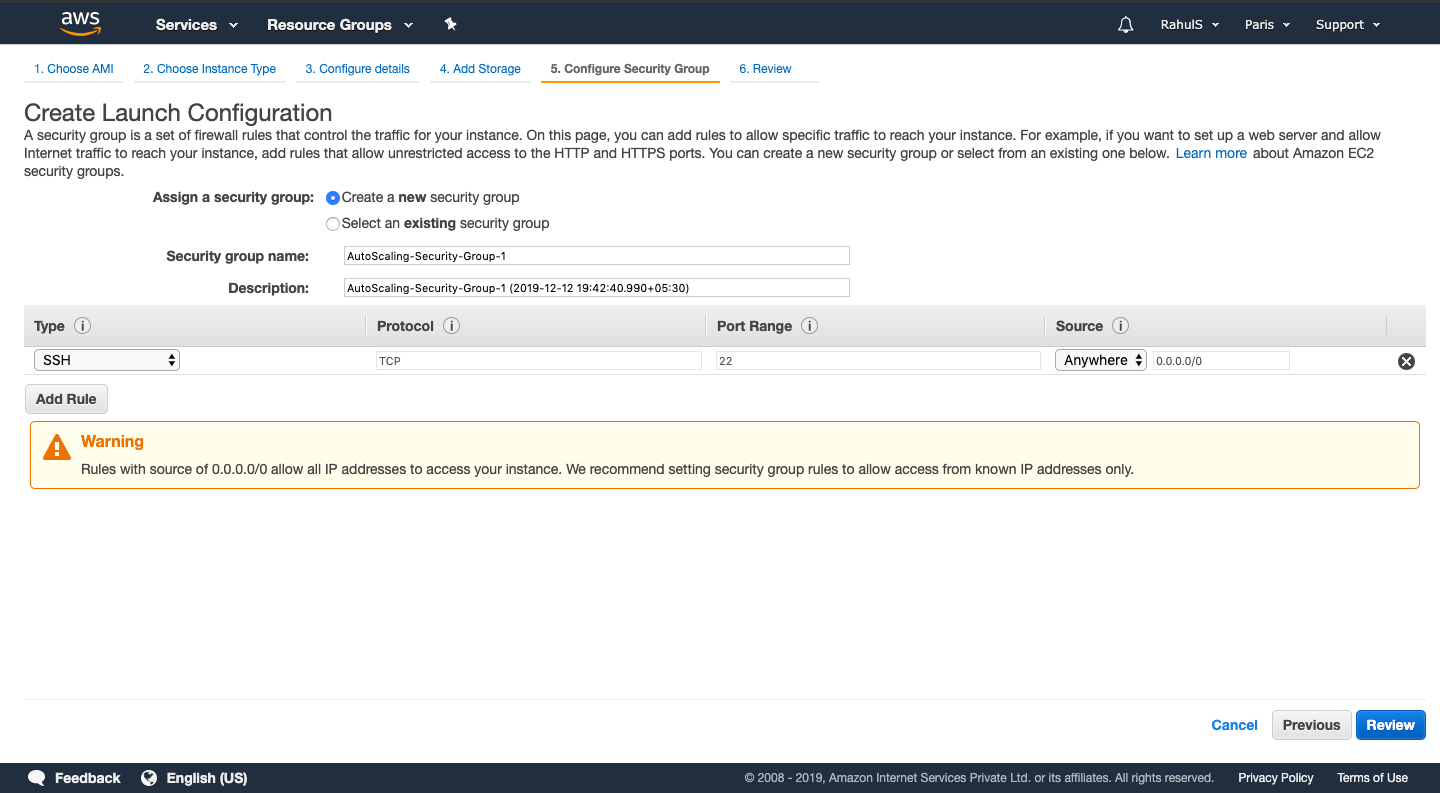
On the Review page, select “Create a new security group”, and then click on Review. This will help to allow take ssh access to the server from anywhere as the source is 0.0.0.0/0.
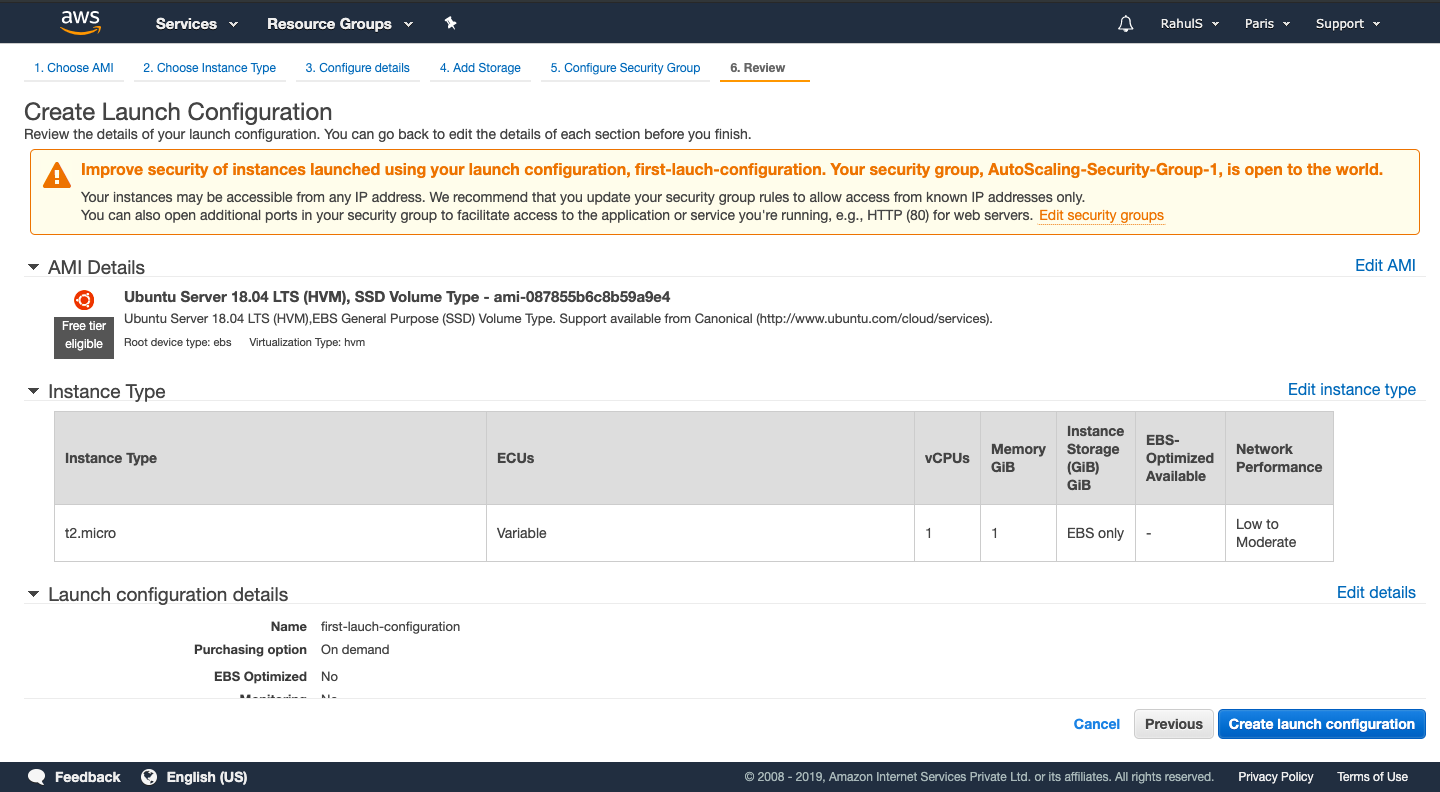
On the Review page, choose “Create launch configuration”.
To select an existing key pair or create a new key pair, select one of the listed options of your choice and then select the acknowledgment check box, and then choose Create launch configuration.

Create an Auto Scaling Group
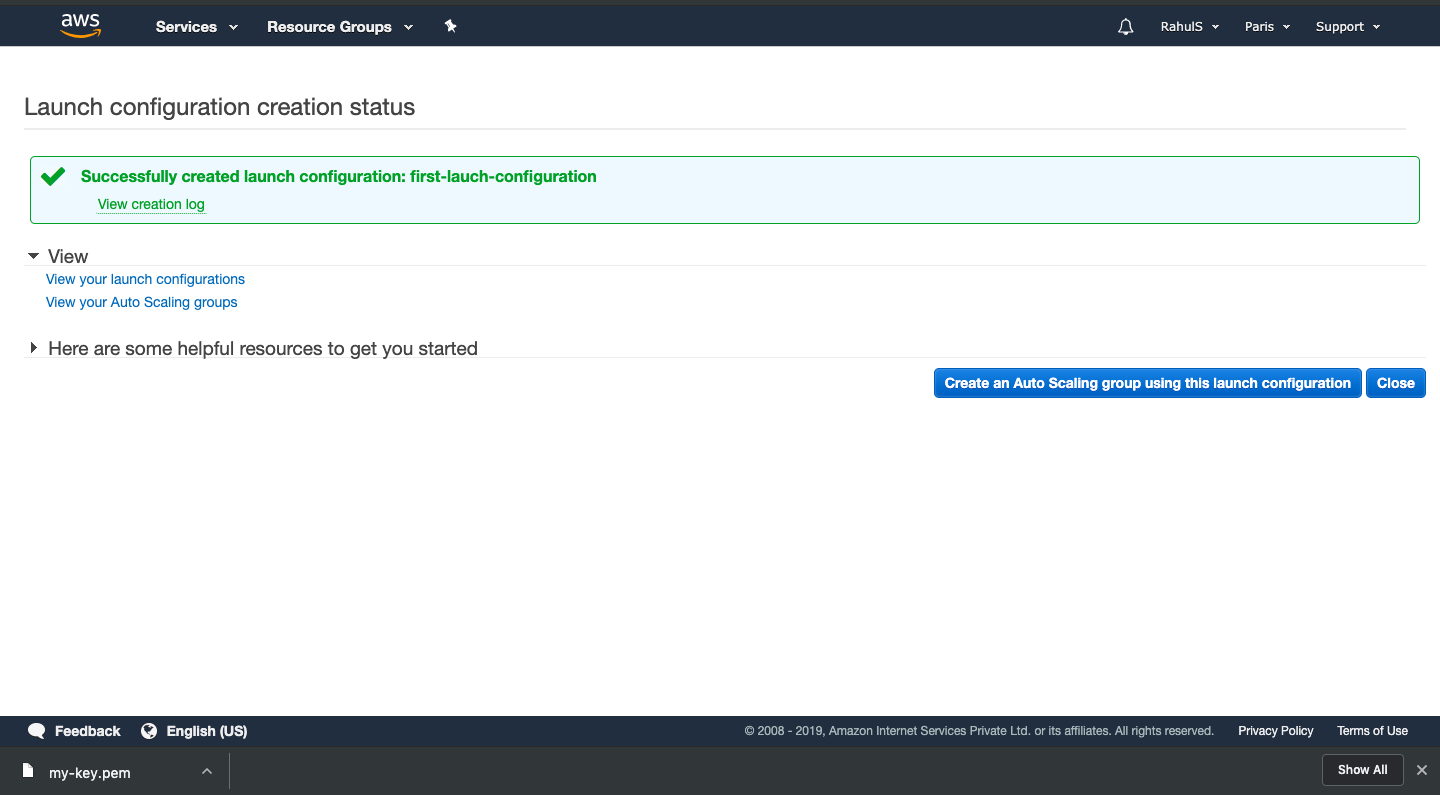
Once you are done with creating a Launch Configuration, you will see the following screen. To create an ASG, click on “Create an Auto Scaling Group using this launch configuration”.
Give a name the ASG to be created and select the existing subnets from your VPC for High Availability and click on “Next: configure scaling policies”.

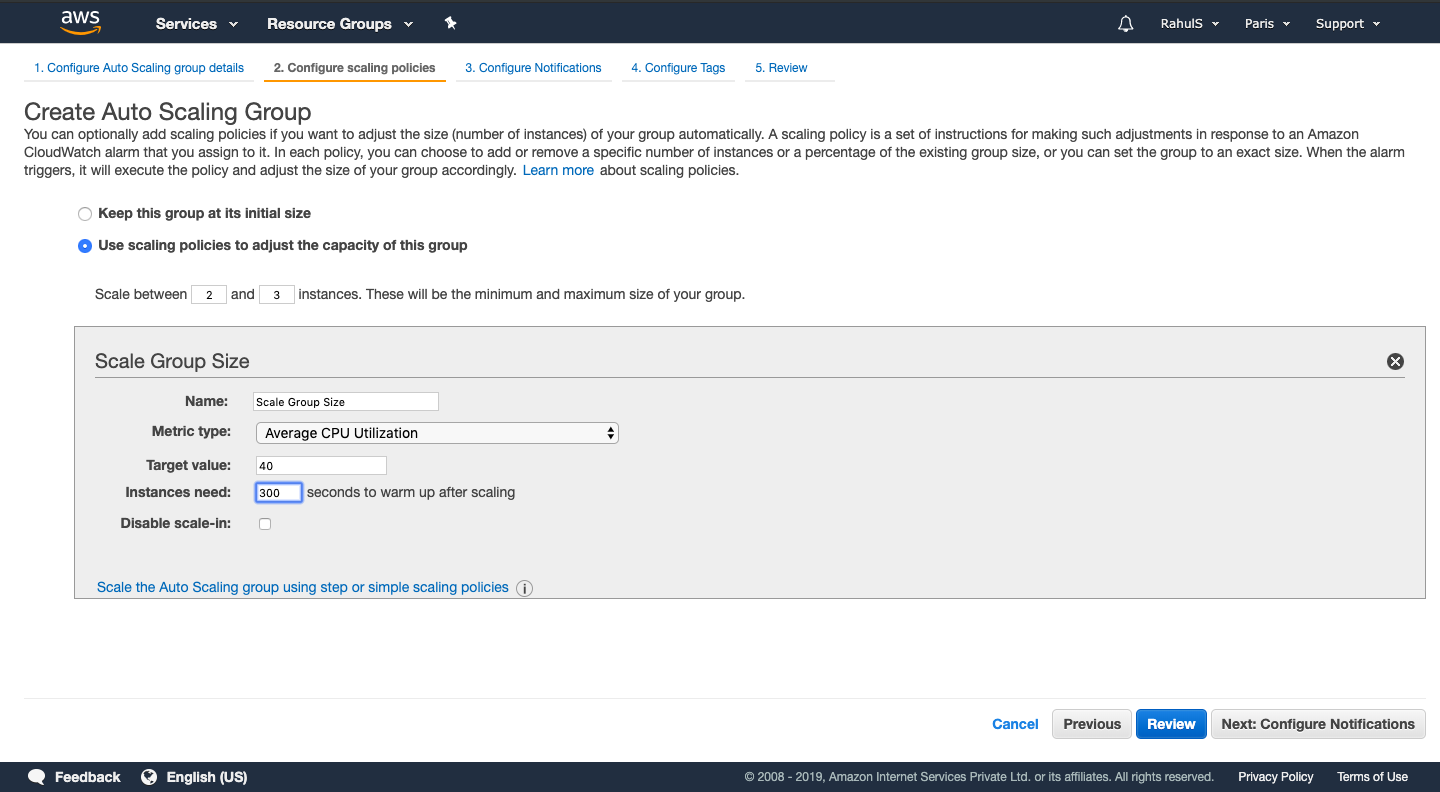
On this page, select “use scaling policies to adjust the capacity of this group” and specify the instance count to scale between the desired and the maximum number of instances in the ASG. In the metric type keep “Average CPU utilization” and specify the “Target Value” of your choice. This will increase the instance count in the Group if CPU load exceeds the specified target value in % for the specified period. Click on “Next: configure notification”.
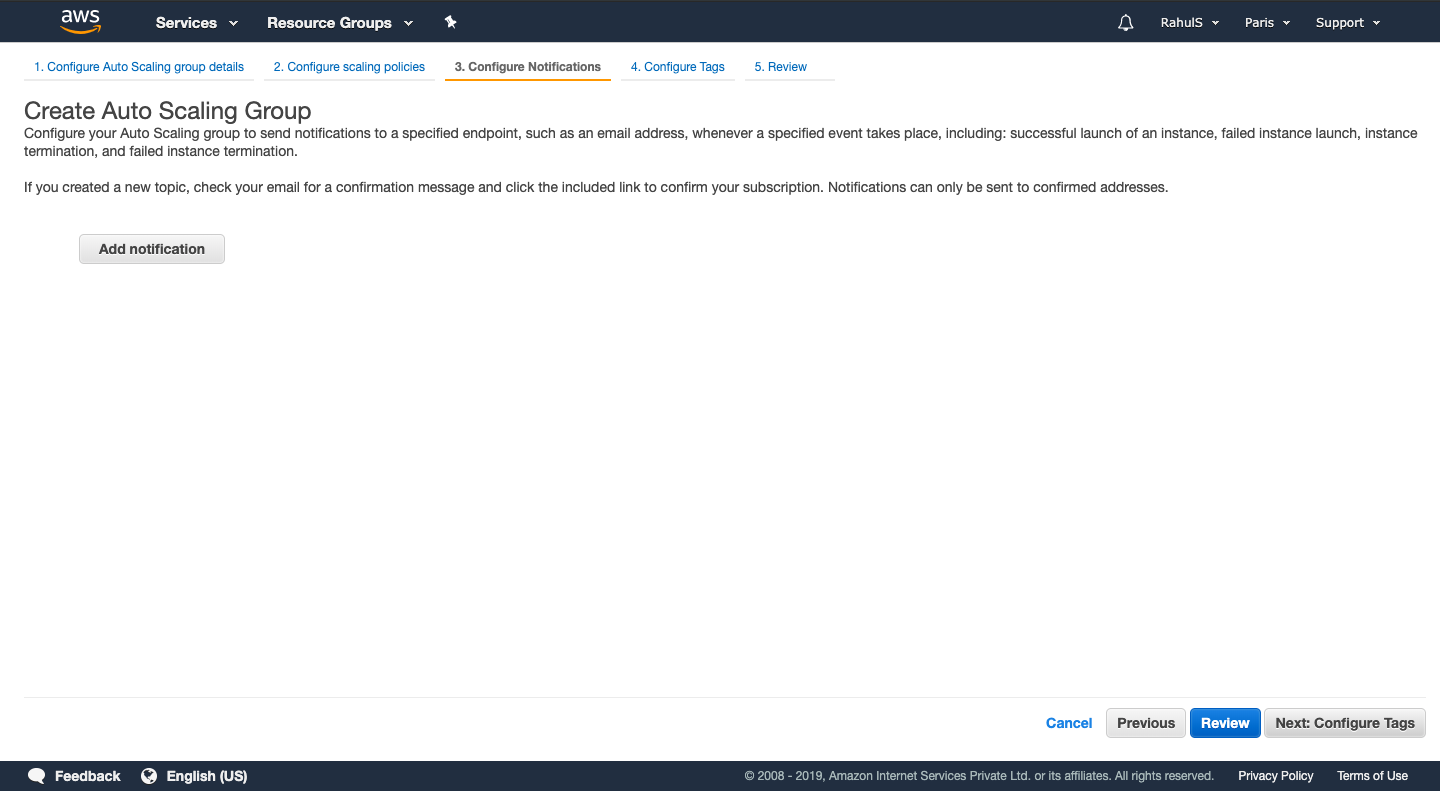
This is an optional step which help receive the notifications. I am not configuring this as it is an optional. Click on “Next: Configure tags”.
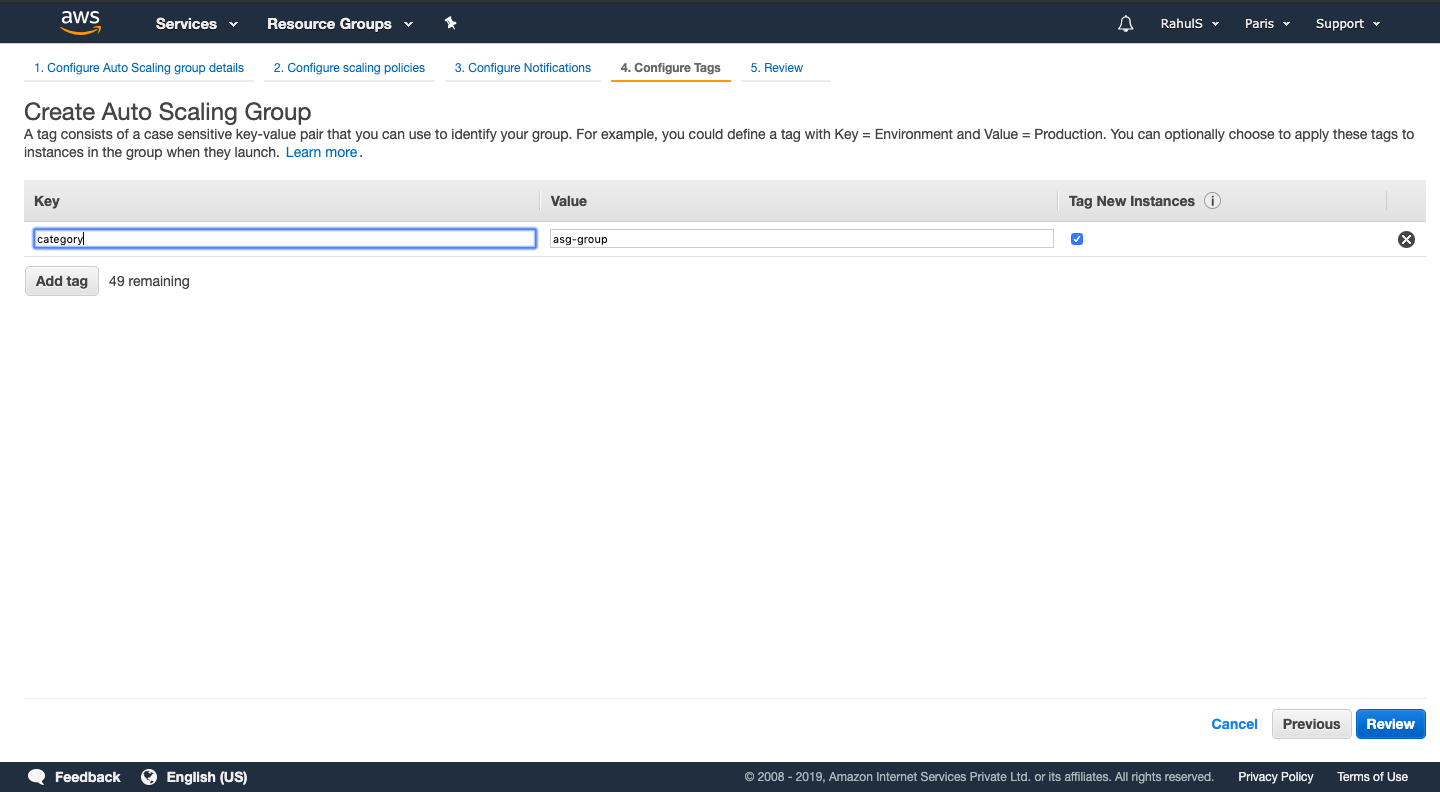
This is also an optional step. To add tags, choose Edit tags, provide a tag key and value for each tag, and then choose Review.
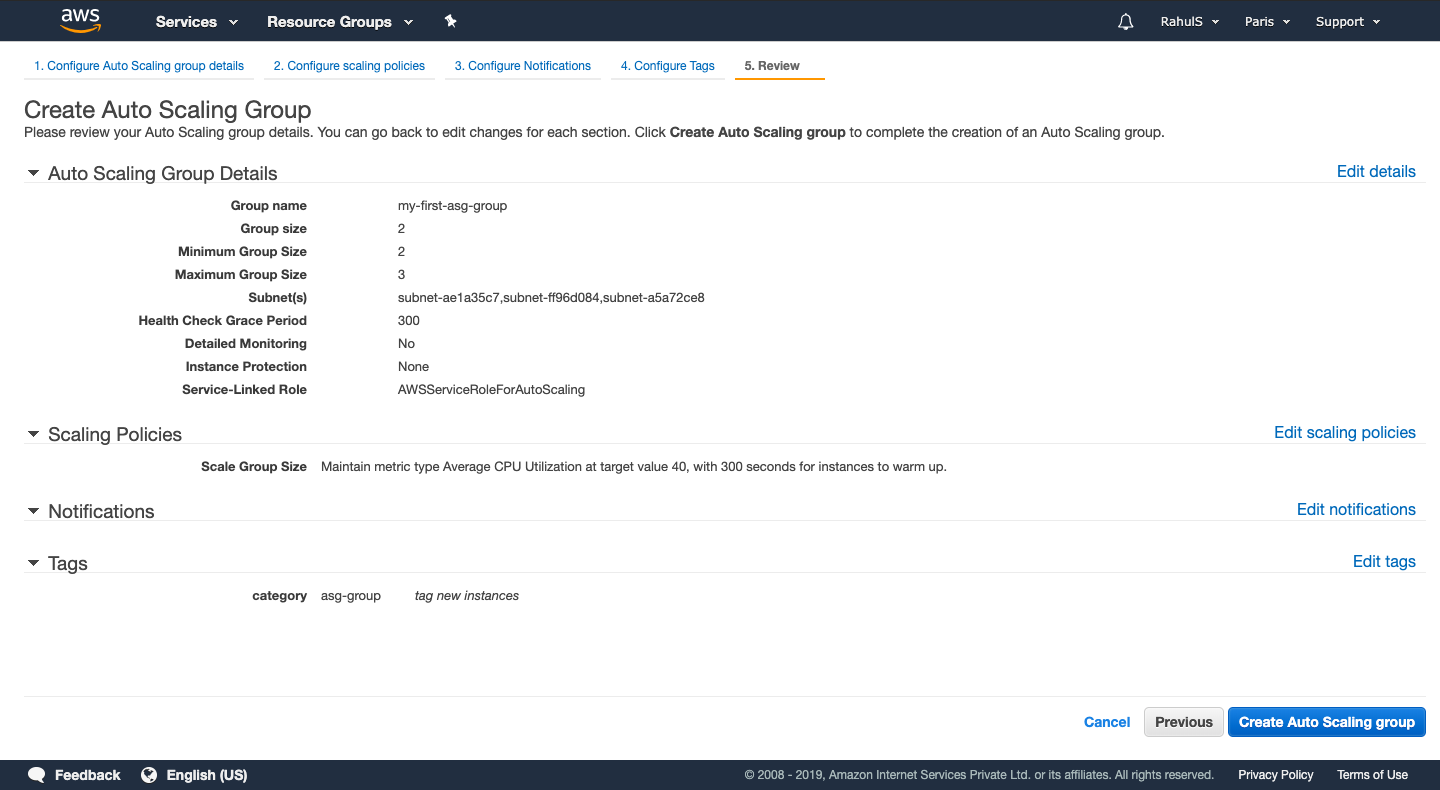
On the Review page, click on “Create Auto Scaling group” button.
If you get “Failed to create Auto Scaling group”, do not panic and just click on Retry.

Now, go to Auto Scaling Page and you can see the status of the Auto Scaling group, click on Activity History to see the status.
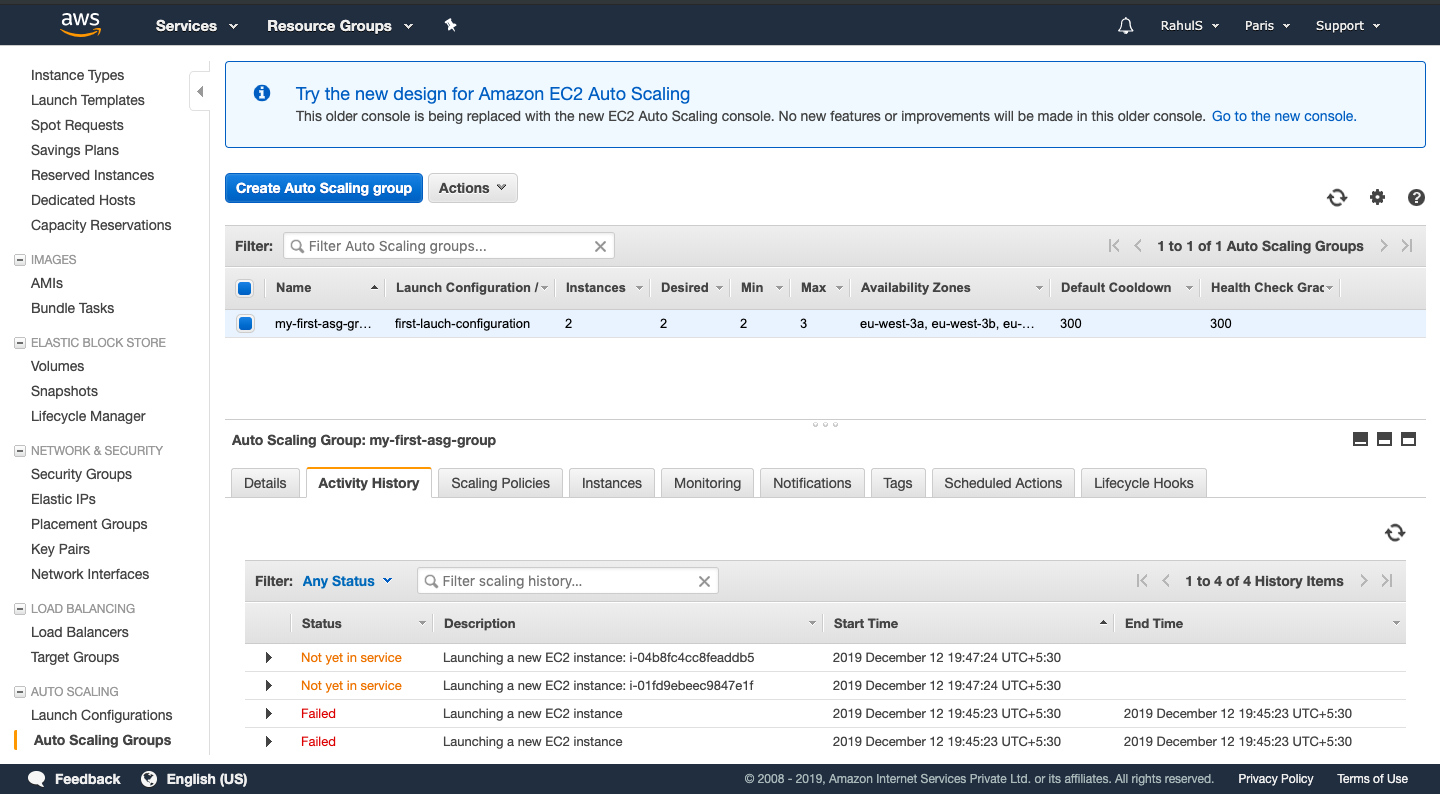
You can also see the instance state and the number of instances from the Instance Page.

Terminate the instance to let ASG manage the instance count.
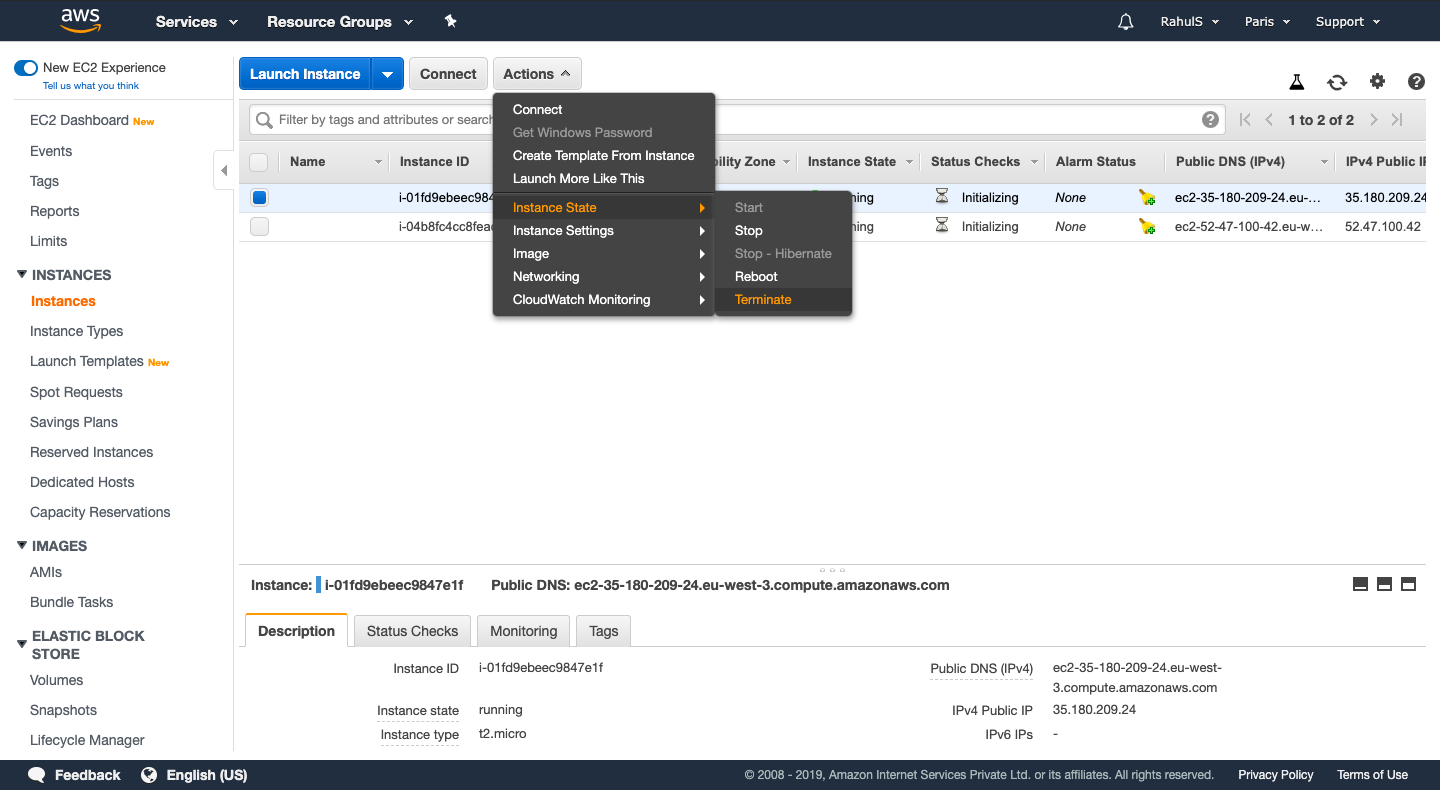
To see if the ASG is working as expected, terminate one of the instances. Select the instance and click on Actions -> Instance State -> Terminate and when prompted click on “Yes, Terminate”.
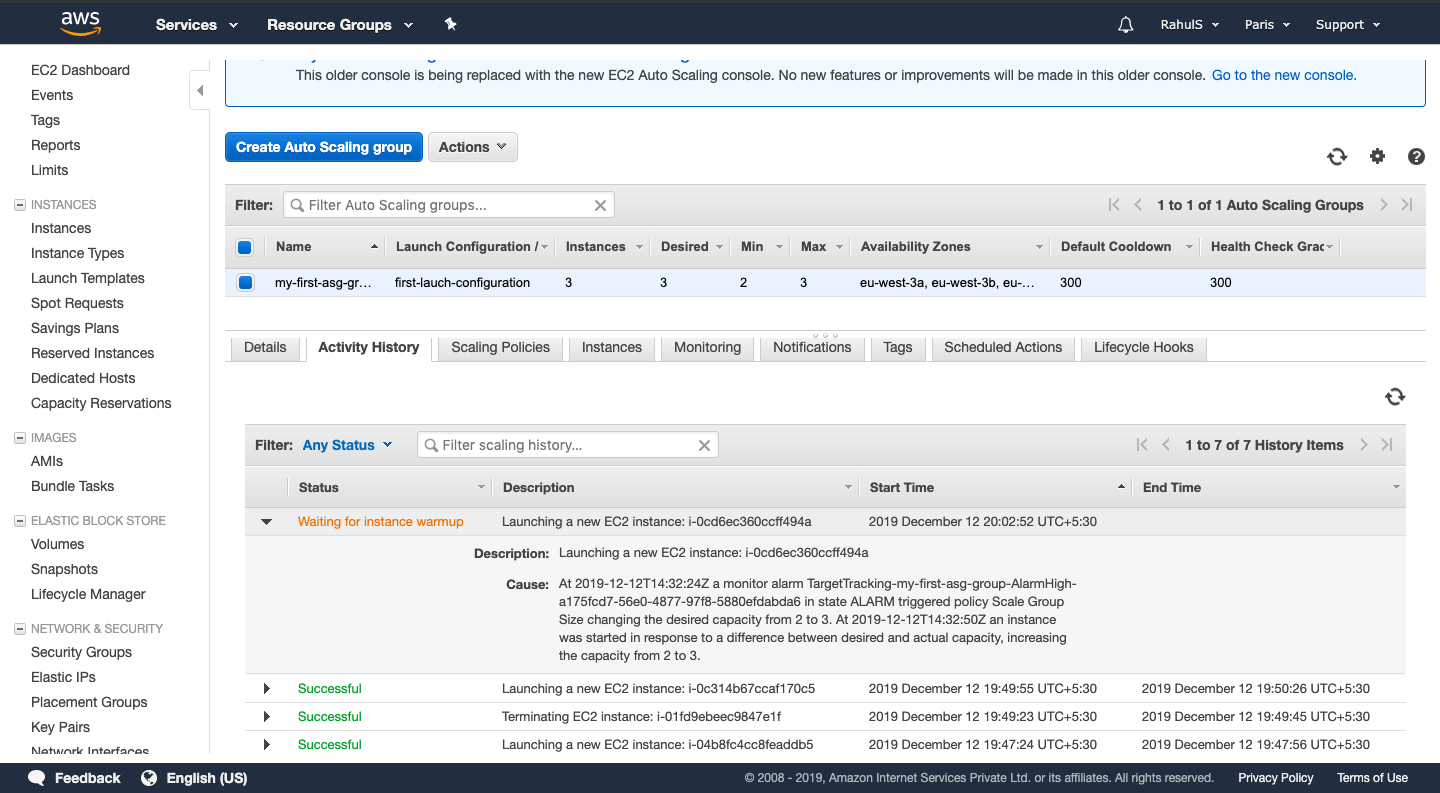
We had specified 2 as our desired/minimum count in the scaling policies which means our ASG must always have 2 instances in the healthy state. Once the terminate goes down ASG will wait for 300 seconds which we had specified in Scaling Policy before performing any scaling activity.
After waiting for 300 seconds, ASG gets invoked and try to launch a new instance to maintain the desired count. You can check the status in Activity history of ASG.

Increase the load on instances to let ASG increase the instance count.
Now, we will see how ASG the instance count if the load on the servers crosses the target value we specified in scaling policy we created.
To increase the load on the server login into both the EC2 instances.
To know learn to create an EC2 instance and know the steps to connect to it, click here.
Once you login, install the package required to increase the load using following commands.
sudo apt-get update
sudo apt-get install stress
Increase the CPU load using the following command.
stress --cpu 50 --timeout 400
This command will increase the CPU load to 50% for 400 seconds.
We had specified the target value as 40% in ASG. Once the CPU load crosses the target value, ASG will wait for 300 seconds which we had specified in Scaling Policies before performing any scaling activity.
After waiting for 300 seconds, ASG gets invoked and try to launch a new instance to meet the requirement.
You can check the status in Activity history of ASG.
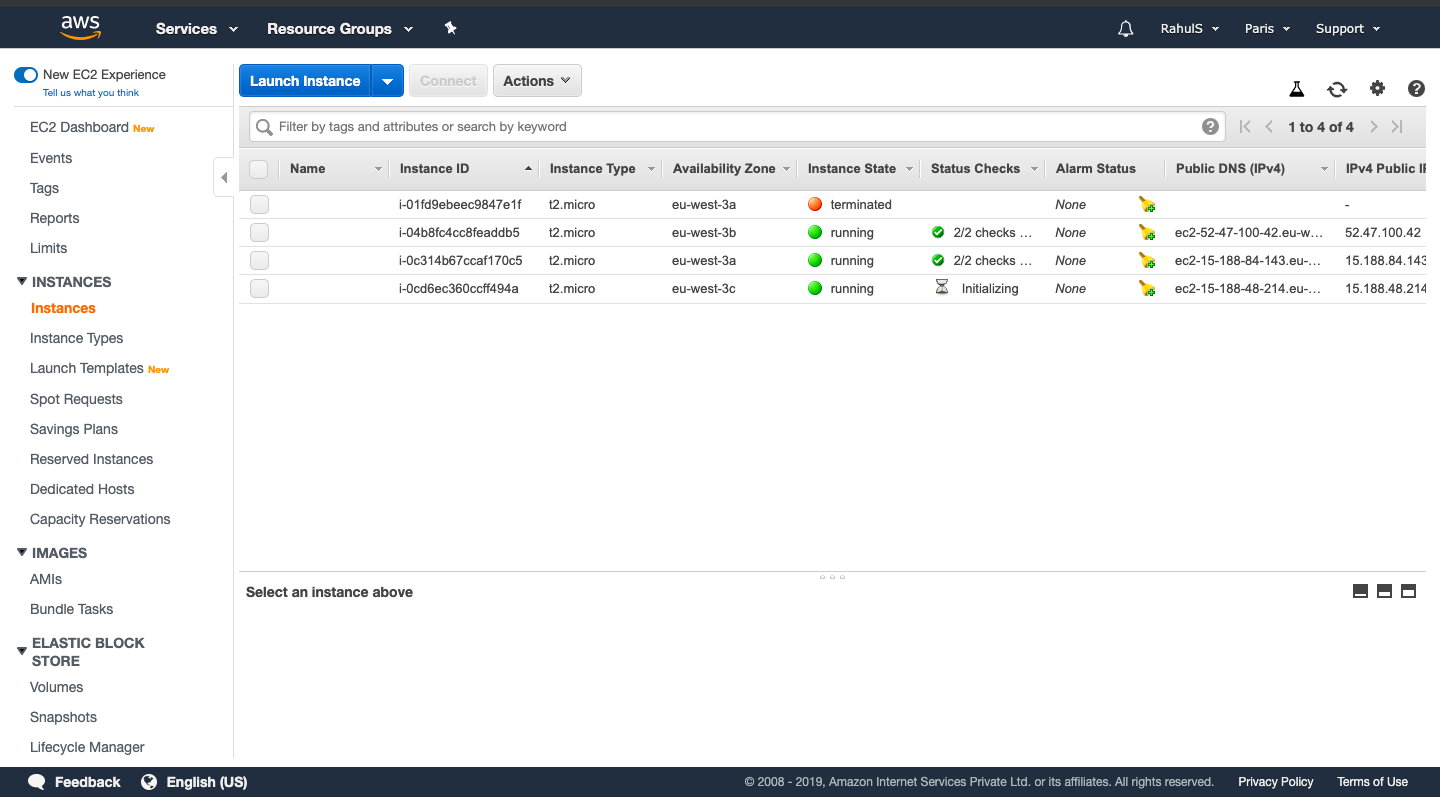
You can also see the instance count on instance page.
Delete the Auto Scaling Group
Just deleting all the instances is not sufficient to clean up the resources. ASG will recreate the instance to match the desired state. To clean up the resource, we need to delete the ASG.
To delete the ASG, go to ASG we created and click on Actions -> Delete and when prompted click on “Yes, Delete”.

Conclusion:
In this article, we have created a Launch Configuration and created an ASG using it. We saw how ASG updates the desired state and increases the instance count to meet the scaling policy. We also saw how an ASG can be deleted.

