How to Install and Configure Mattermost on CentOS 8
Mattermost is a free, open-source and self-hosted enterprise team collaboration messaging system. It is written in Golang and React, and uses MySQL/MariaDB/PostgreSQL as a database backend. It offers desktop clients for Windows, macOS, and Linux and mobile applications for iOS and Android It is very similar to Slack and brings all your team communication into one place. It offers very useful features including, one-to-one and group messaging, file sharing, video calls, custom emojis, webhooks & commands, and many more.
In this tutorial, we will show you how to install Mattermost on CentOS 8.
Prerequisites
- A server running CentOS 8.
- A root password is configured on your server.
Install and Configure the MariaDB Database
Mattermost uses MariaDB/MySQL as a database backend. So MariaDB must be installed on your server. If not installed, you can install it with the following command:
dnf install mariadb-server -y
Once installed, start the MariaDB service and enable it to start after system reboot with the following command:
systemctl start mariadb
 systemctl enable mariadb
By default, MariaDB is not secured and the root password is not set in CentOS 8. So you can set it with the following command:
mysql_secure_installation
Answer all the questions as shown below:
Enter current password for root (enter for none):
Set root password? [Y/n] Y
New password:
Re-enter new password:
Remove anonymous users? [Y/n] Y
Disallow root login remotely? [Y/n] Y
Remove test database and access to it? [Y/n] Y
Reload privilege tables now? [Y/n] Y
Once you are done, log in to the MariaDB with root user:
mysql -u root -p
Provide your root password then create a database and user for Mattermost with the following command:
MariaDB [(none)]> CREATE DATABASE mattermostdb;
 MariaDB [(none)]> GRANT ALL PRIVILEGES ON mattermostdb.* TO mattermost@localhost IDENTIFIED BY 'password';
Next, flush the privileges and exit from the MariaDB shell with the following command:
MariaDB [(none)]> FLUSH PRIVILEGES;
 MariaDB [(none)]> EXIT;
Once you are finished, you can proceed to the next step.
Install Mattermost
First, you will need to create a separate user to run Mattermost. You can create it with the following command:
useradd -d /opt/mattermost -U -M mattermost
Next, download the latest version of Mattermost with the following command:
wget https://releases.mattermost.com/5.21.0/mattermost-5.21.0-linux-amd64.tar.gz
Once the download is completed, extract the downloaded file with the following command:
tar -xvzf mattermost-5.21.0-linux-amd64.tar.gz
Next, move the extracted directory to the /opt with the following command:
mv mattermost /opt/
Next, create a data directory inside mattermost and give proper permissions to the mattermost with the following command:
mkdir /opt/mattermost/data
 chown -R mattermost:mattermost /opt/mattermost
 chmod -R g+w /opt/mattermost
Once you are finished, you can proceed to the next step.
Configure Mattermost
Next, you will need to define your database in Mattermost. You can do it by editing the file config.json:
nano /opt/mattermost/config/config.json
Change the following lines as per your database settings:
  "SqlSettings": {
    "DriverName": "mysql",
    "DataSource": "mattermost:password@tcp(localhost:3306)/mattermostdb?charset=utf8mb4,utf8\u0026readTimeout=30s\u0026writeTimeout=30s",
Save and close the file when you are finished. Then, change the directory to /opt/mattermost and start the Mattermost server with the following command:
cd /opt/mattermost
 sudo -u mattermost bin/mattermost
Once the server has been started successfully, you should get the following output:
{"level":"info","ts":1585379681.8383002,"caller":"utils/i18n.go:83","msg":"Loaded system translations","for locale":"en","from locale":"/opt/mattermost/i18n/en.json"}
{"level":"info","ts":1585379681.83874,"caller":"app/server_app_adapters.go:58","msg":"Server is initializing..."}
{"level":"info","ts":1585379681.8470004,"caller":"sqlstore/supplier.go:221","msg":"Pinging SQL","database":"master"}
{"level":"info","ts":1585379684.7858346,"caller":"sqlstore/upgrade.go:112","msg":"The database schema version has been set","version":"5.21.0"}
{"level":"error","ts":1585379690.8182986,"caller":"app/server_app_adapters.go:129","msg":"SiteURL must be set. Some features will operate incorrectly if the SiteURL is not set. See documentation for details: http://about.mattermost.com/default-site-url"}
{"level":"info","ts":1585379690.821083,"caller":"app/license.go:39","msg":"License key from https://mattermost.com required to unlock enterprise features."}
Next, press CTRL + C to stop the Mattermost server.
Create a Systemd Service File for Mattermost
Next, you will need to create a systemd service file to manage the Mattermost service. You can create it with the following command:
nano /etc/systemd/system/mattermost.service
Add the following lines:
[Unit]
Description=Mattermost
After=syslog.target network.target mariadb.service

[Service]
Type=notify
WorkingDirectory=/opt/mattermost
User=mattermost
ExecStart=/opt/mattermost/bin/mattermost
PIDFile=/var/run/mattermost.pid
TimeoutStartSec=3600
LimitNOFILE=49152

[Install]
WantedBy=multi-user.target
Save and close the file when you are finished. Then, reload the systemd daemon with the following command:
systemctl daemon-reload
Next, start the Mattermost service and enable it to start after system reboot with the following command:
systemctl start mattermost
 systemctl enable mattermost
You can also verify the status of the Mattermost service with the following command:
systemctl status mattermost
You should get the following output:
? mattermost.service - Mattermost
   Loaded: loaded (/etc/systemd/system/mattermost.service; disabled; vendor preset: disabled)
   Active: active (running) since Sat 2020-03-28 03:17:07 EDT; 14s ago
 Main PID: 15204 (mattermost)
    Tasks: 21 (limit: 25028)
   Memory: 120.8M
   CGroup: /system.slice/mattermost.service
           ??15204 /opt/mattermost/bin/mattermost
           ??15214 plugins/com.mattermost.nps/server/dist/plugin-linux-amd64

Mar 28 03:17:07 centos8 mattermost[15204]: {"level":"info","ts":1585379827.1131086,"caller":"app/server.go:247","msg":"Printing current workin>
Mar 28 03:17:07 centos8 mattermost[15204]: {"level":"info","ts":1585379827.1131282,"caller":"app/server.go:248","msg":"Loaded config","source">
At this point, the Mattermost server is running and listening on port 8065. You can check it with the following command:
netstat -antup | grep 8065
You should get the following output:
tcp6 0 0 :::8065 :::* LISTEN 15204/mattermost
Configure Nginx as a Reverse Proxy for Mattermost
It is a good idea to install and configure Nginx as a reverse proxy for better performance and security.
First, install the Nginx web server with the following command:
dnf install nginx -y
After installing the Nginx web server, start the Nginx service and enable it to start after system reboot with the following command:
systemctl start nginx
 systemctl enable nginx
Next, create a new Nginx virtual host file for Mattermost with the following command:
nano /etc/nginx/conf.d/mattermost.conf
Add the following lines:
upstream mattermost {
   server 127.0.0.1:8065;
   keepalive 32;
}

proxy_cache_path /var/cache/nginx levels=1:2 keys_zone=mattermost_cache:10m max_size=3g inactive=120m use_temp_path=off;

server {
   listen 80;
   server_name    mattermost.example.com;

   location ~ /api/v[0-9]+/(users/)?websocket$ {
       proxy_set_header Upgrade $http_upgrade;
       proxy_set_header Connection "upgrade";
       client_max_body_size 50M;
       proxy_set_header Host $http_host;
       proxy_set_header X-Real-IP $remote_addr;
       proxy_set_header X-Forwarded-For $proxy_add_x_forwarded_for;
       proxy_set_header X-Forwarded-Proto $scheme;
       proxy_set_header X-Frame-Options SAMEORIGIN;
       proxy_buffers 256 16k;
       proxy_buffer_size 16k;
       client_body_timeout 60;
       send_timeout 300;
       lingering_timeout 5;
       proxy_connect_timeout 90;
       proxy_send_timeout 300;
       proxy_read_timeout 90s;
       proxy_pass http://mattermost;
   }
   location / {
       client_max_body_size 50M;
       proxy_set_header Connection "";
       proxy_set_header Host $http_host;
       proxy_set_header X-Real-IP $remote_addr;
       proxy_set_header X-Forwarded-For $proxy_add_x_forwarded_for;
       proxy_set_header X-Forwarded-Proto $scheme;
       proxy_set_header X-Frame-Options SAMEORIGIN;
       proxy_buffers 256 16k;
       proxy_buffer_size 16k;
       proxy_read_timeout 600s;
       proxy_cache mattermost_cache;
       proxy_cache_revalidate on;
       proxy_cache_min_uses 2;
       proxy_cache_use_stale timeout;
       proxy_cache_lock on;
       proxy_http_version 1.1;
       proxy_pass http://mattermost;
   }
}
Save and close the file when you are done. Then, check the Nginx for any syntax error with the following command:
nginx -t
You should get the following output:
nginx: the configuration file /etc/nginx/nginx.conf syntax is ok
nginx: configuration file /etc/nginx/nginx.conf test is successful
Finally, restart the Nginx service to apply the changes:
systemctl restart nginx
At this point, the Nginx web server is configured to serve Mattermost. You can now proceed to the next step.
Configure SELinux and Firewalld
By default, SELinux is enabled in CentOS 8. It is recommended to disable it for Mattermost. You can disable it by editing /etc/selinux/config file:
nano /etc/selinux/config
Find the following line:
SELINUX=enforcing
And, replace it with the following line:
SELINUX=permissive
Save and close the file when you are finished. Then, restart your system to apply the changes.
Next, you will need to allow port 80 through firewalld. You can allow it with the following command:
firewall-cmd --add-service=http --permanent
Next, reload the firewalld to apply the changes:
firewall-cmd --reload
Access Mattermost Web Interface
Now, open your web browser and type the URL http://mattermost.example.com. You should see the Mattermost user creation page:
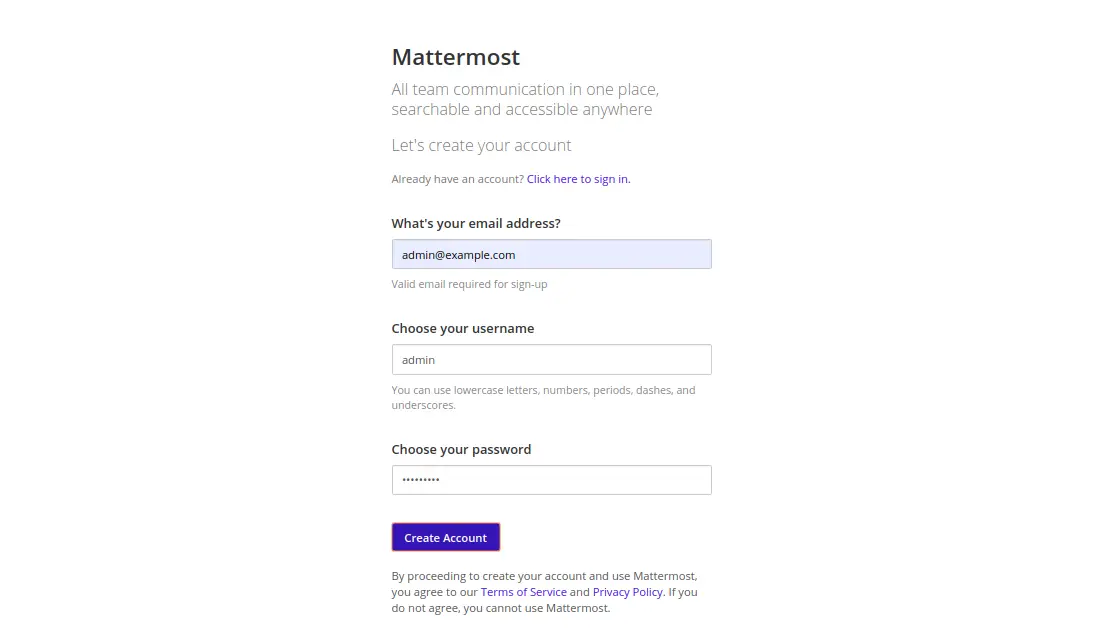
Provide your email address, username, password and click on the Create Account button. You should see the following page:

Next, click on the Create a new team to create your team. You should see the following page:
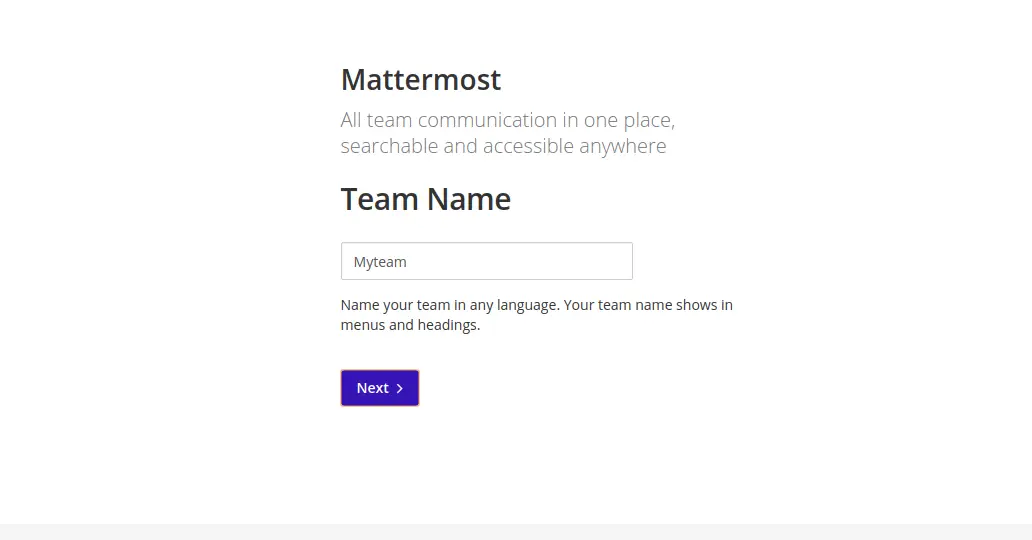
Provide your team name and click on the Next button. You should see the following page:
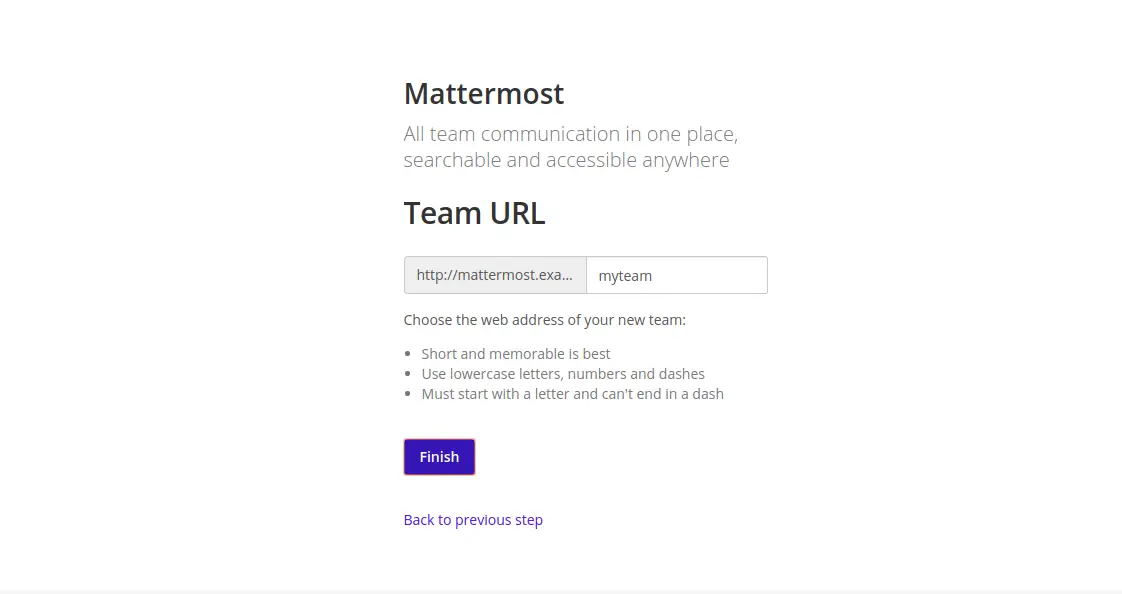
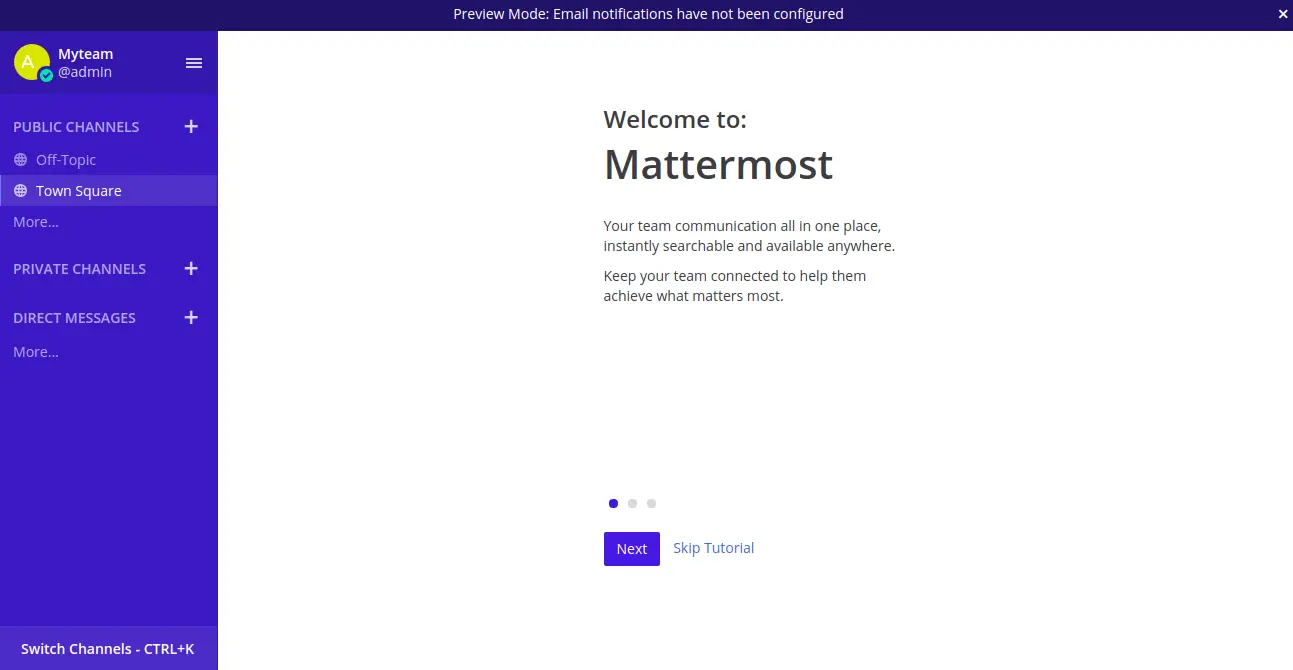
Provide your team URL and click on the Finish to complete the installation. You should see the Mattermost dashboard in the following page:
Conclusion
Congratulations! you have successfully installed and configured Mattermost on CentOS 8 server. You can now create a team for your organization and start collaborating with your team.

