How to Install and Use BackupPC Backup Software on Ubuntu 20.04 LTS
BackupPC is a free, open-source and web-based backup software suite that can be used for backing up Linux, Windows and macOS PCs and laptops. It is written in Perl and uses Rsync, Samba or tar over ssh/rsh/nfs protocol. It provides a powerful web interface that allows you to view log files, configuration, current status and allows users to initiate and cancel backups and browse and restore files from backups. It is a high-performance and enterprise-grade backup system to backup a large number of machines onto a server's local disk or network storage.
In this tutorial, we will show you how to install BackupPC on Ubuntu 20.04 server.
Prerequisites
- Two server running Ubuntu 20.04.
- A root password is configured on each server.
Install BackupPC
By default, BackupPC is available in the Ubuntu 20.04 default repository. You can install it by just running the following command:
apt-get install backuppc -y
During the installation, you will be asked to select the type of the mail configuration as shown below:
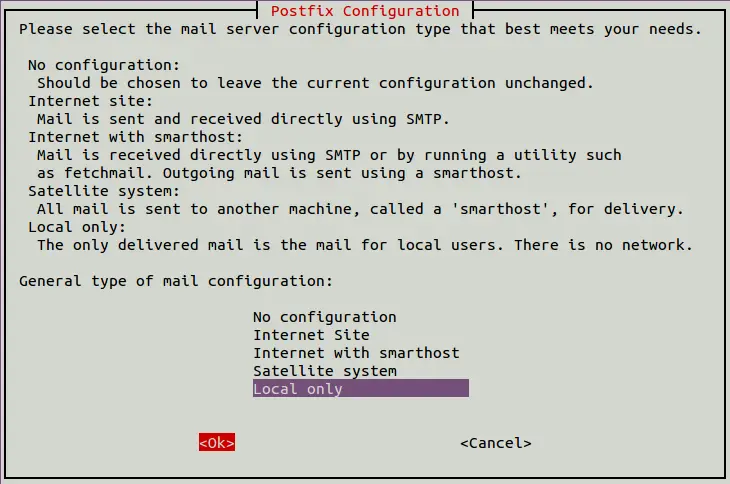
Select Local only and hit Enter. You will be asked to provide the system mail name as shown below:
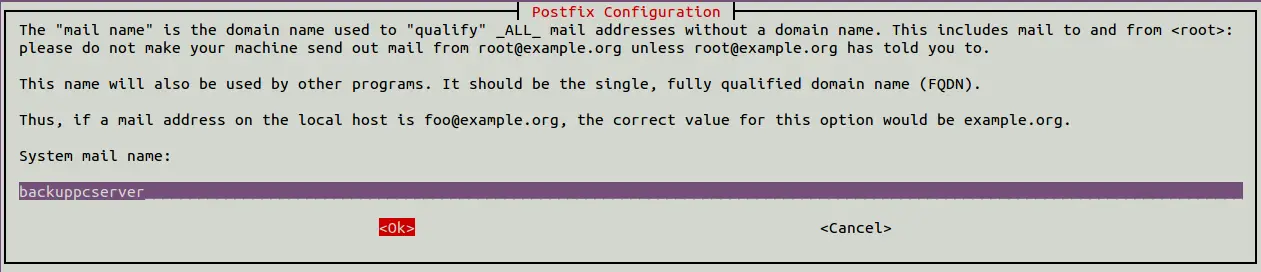
Provide your desired name and hit Enter. You will be asked to select the webserver you want to configure as shown below:

Select Apache and hit Enter to start the installation. BackupPC will also set up an administrative user named backuppc with a password to administer various tasks such as access the BackupPC web dashboard. Once the installation is completed, you should see the following screen:
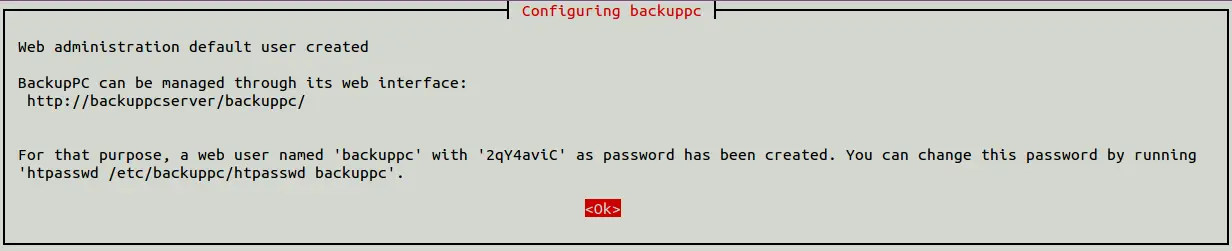
Now, hit Enter to finish the installation.
Change the BackupPC Default Password
If you want to change the password of backupc. You can change it with the following command:
htpasswd /etc/backuppc/htpasswd backuppc
Output:
New password:
Re-type new password:
Updating password for user backuppc
Manage BackupPC Service
You can also manage the BackupPC service with systemd.
For example, you can start the BackupPC service with the following command:
systemctl start backuppc
To check the status of the BackupPC service, run the following command:
systemctl status backuppc
You should see the following output:
? backuppc.service - LSB: Launch backuppc server
     Loaded: loaded (/etc/init.d/backuppc; generated)
     Active: active (running) since Sat 2020-07-25 13:59:33 UTC; 6min ago
       Docs: man:systemd-sysv-generator(8)
      Tasks: 2 (limit: 2353)
     Memory: 22.0M
     CGroup: /system.slice/backuppc.service
             ??4463 /usr/bin/perl /usr/share/backuppc/bin/BackupPC -d
             ??4464 /usr/bin/perl /usr/share/backuppc/bin/BackupPC_trashClean

Jul 25 13:59:32 backuppcserver systemd[1]: Starting LSB: Launch backuppc server...
Jul 25 13:59:32 backuppcserver backuppc[4442]:  * Starting backuppc...
Jul 25 13:59:33 backuppcserver backuppc[4442]:    ...done.
Jul 25 13:59:33 backuppcserver systemd[1]: Started LSB: Launch backuppc server.
To enable the BackupPC service at system startup, run the following command:
systemctl enable backuppc
Configure SSH Access to Client Computers
There are several ways for servers and clients can communicate to authenticate and transfer data. In this tutorial, we will use Rsync protocol as a backup method. So you will need to configure passwordless SSH authentication for each client to access the client system without password.
On the BackupPC server, switch the user to backuppc and generate an SSH key-pair with the following command:
su - backuppc
ssh-keygen
You should see the following output:
Generating public/private rsa key pair.
Enter file in which to save the key (/var/lib/backuppc/.ssh/id_rsa):
Created directory '/var/lib/backuppc/.ssh'.
Enter passphrase (empty for no passphrase):
Enter same passphrase again:
Your identification has been saved in /var/lib/backuppc/.ssh/id_rsa
Your public key has been saved in /var/lib/backuppc/.ssh/id_rsa.pub
The key fingerprint is:
SHA256:kFWEjgktEgzWGFelWdY1B0w4WANvPJxM83X79FJA6GE backuppc@ubuntu2004
The key's randomart image is:
+---[RSA 3072]----+
|.==o.o.=*OB=.=o. |
|..+.o *+B+=.E ...|
|   . =o+ O.+ . .o|
|      o.o . .  oo|
|        S     . o|
|               . |
|                 |
|                 |
|                 |
+----[SHA256]-----+
Next, copy the generated SSH key to the client system with the following command:
ssh-copy-id root@backuppc-client-ip
You should see the following output:
/usr/bin/ssh-copy-id: INFO: Source of key(s) to be installed: "/var/lib/backuppc/.ssh/id_rsa.pub"
The authenticity of host 'backuppc-client-ip (backuppc-client-ip)' can't be established.
ECDSA key fingerprint is SHA256:UMxtsszZC/MuEiAnSgV2q5tdckXnEw7MXTVBhtJCeEE.
Are you sure you want to continue connecting (yes/no/[fingerprint])? yes
/usr/bin/ssh-copy-id: INFO: attempting to log in with the new key(s), to filter out any that are already installed
/usr/bin/ssh-copy-id: INFO: 1 key(s) remain to be installed -- if you are prompted now it is to install the new keys
[email protected]'s password:

Number of key(s) added: 1

Now try logging into the machine, with:   "ssh 'root@backuppc-client-ip'"
and check to make sure that only the key(s) you wanted were added.
Disable Forwarding
Next, you will also need to disable ssh agent-forwarding, port-forwarding or even the pty for backuppc user logging into the client from BackupPC.
On the Client system, edit the ssh authorized key file with the following command:
nano .ssh/authorized_keys
Add the following line before ssh-rsa word:
from="your-server-ip",no-agent-forwarding,no-port-forwarding,no-pty
Configure Apache for BackupPC
By default, BackupPC is accessible only from the localhost. So you will need to edit the Apache configuration file to allow BackupPC from the external IP. You can do that by editing the following file on the server machine:
nano /etc/apache2/conf-available/backuppc.conf
Find the following line:
Require local
Replace it with the following line:
Require all granted
Save and close the file when you are finished. Then, restart the Apache service to apply the changes:
systemctl restart apache2
At this point, your BackupPC server is accessible from the external IP.
Access BackupPC Web Interface
Now, open your web browser and type the URL http://backuppc-server-ip/backuppc. You should see the BackupPC login screen:
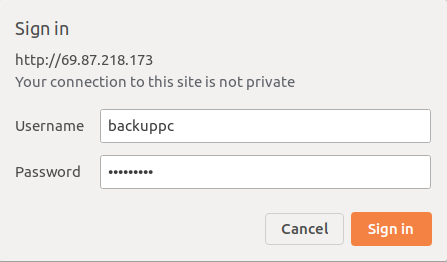
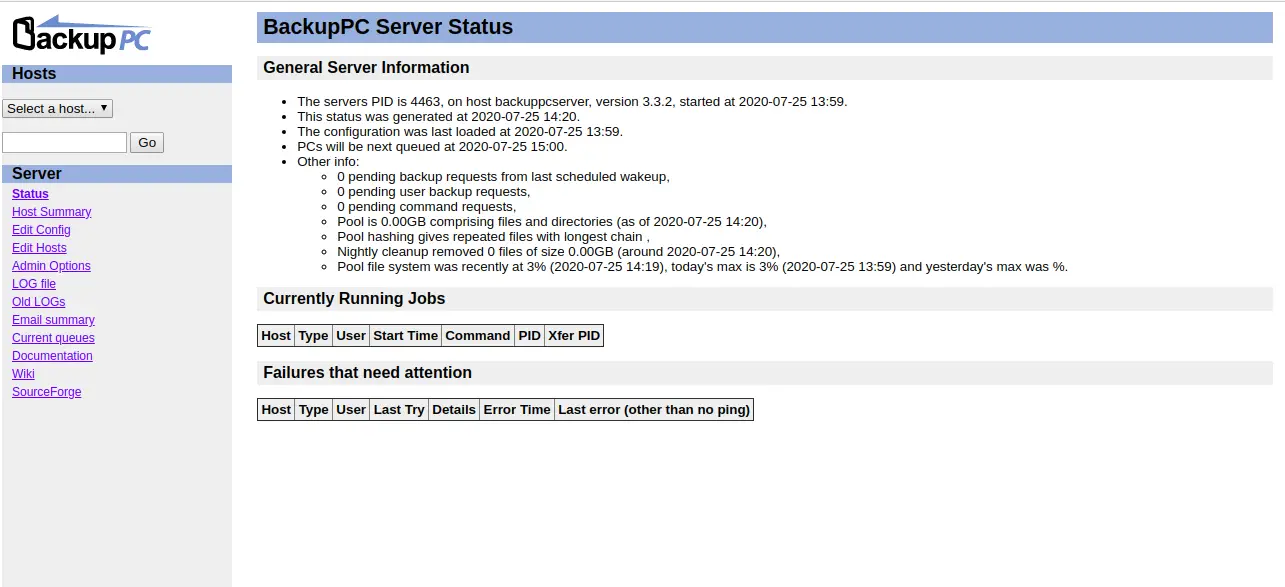
Provide your BackupPC admin username, password and click on the Sign in button. You should see the BackupPC dashboard in the following screen:
Add Client Machine to BackupPC
Next, you will need to add the client machine that you want to backup with BackupPC.
On the BackupPC dashboard, click on the Edit Hosts on the left panel. You should see the hosts configuration editor in the following screen:
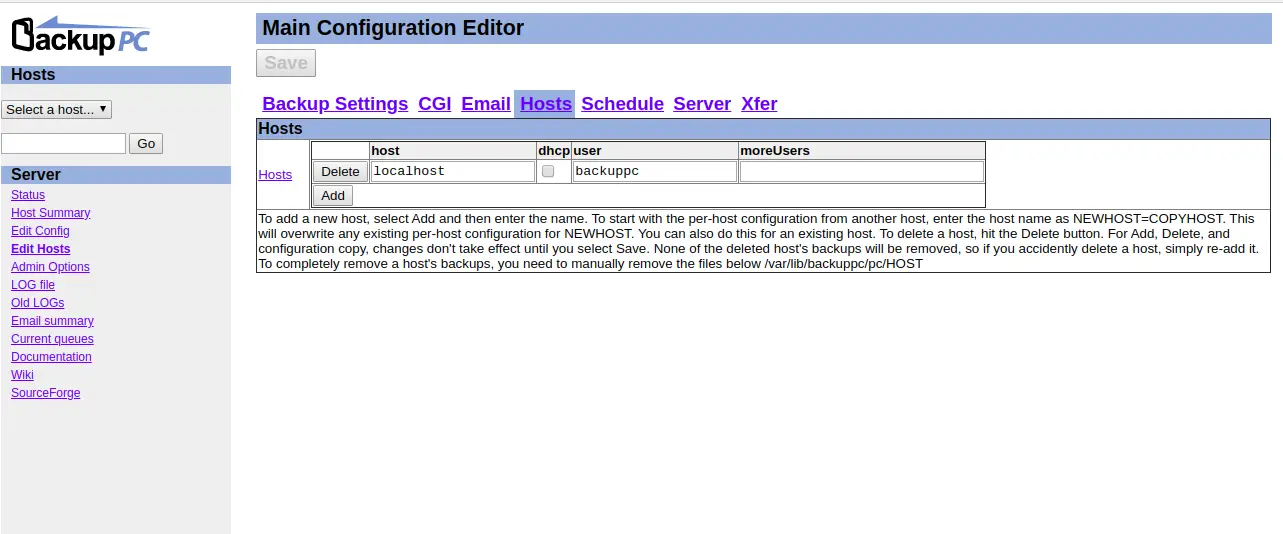
You can see localhost is already added as the client. However, we only need to backup remote client so delete the localhost by clicking the delete button. Then, click on the add button to add the remote client machine as shown below:
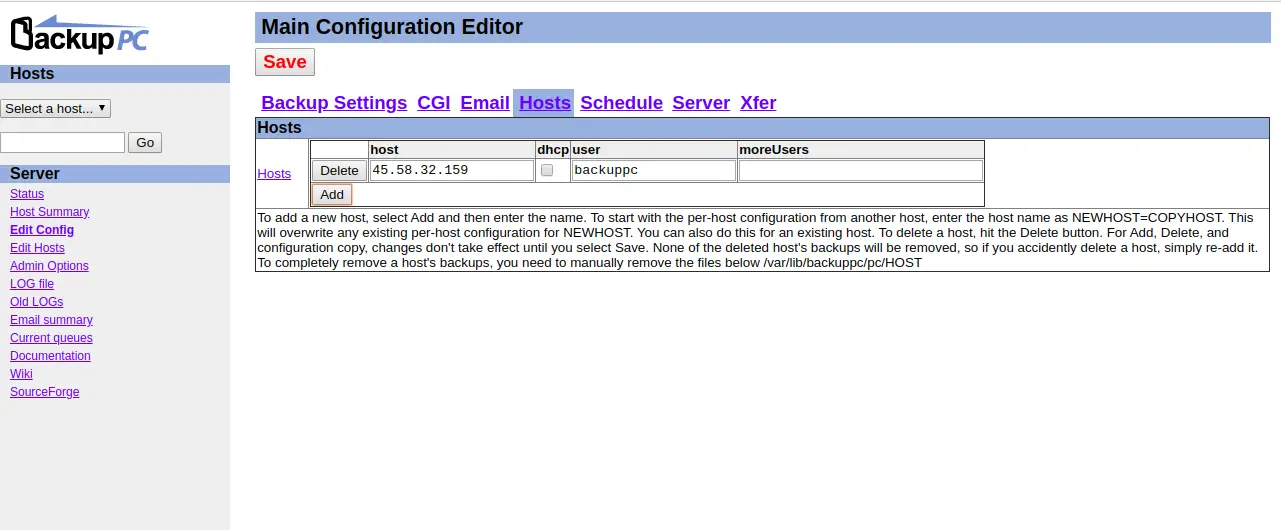
Now, provide your remote client IP and click on the Save button to save the configuration.
Next, you will need to set up a backup data transfer method. In this tutorial, we will use Rsync protocol for data transfer. So click on the Xfer tab to configure database transfer method. You should see the following screen:
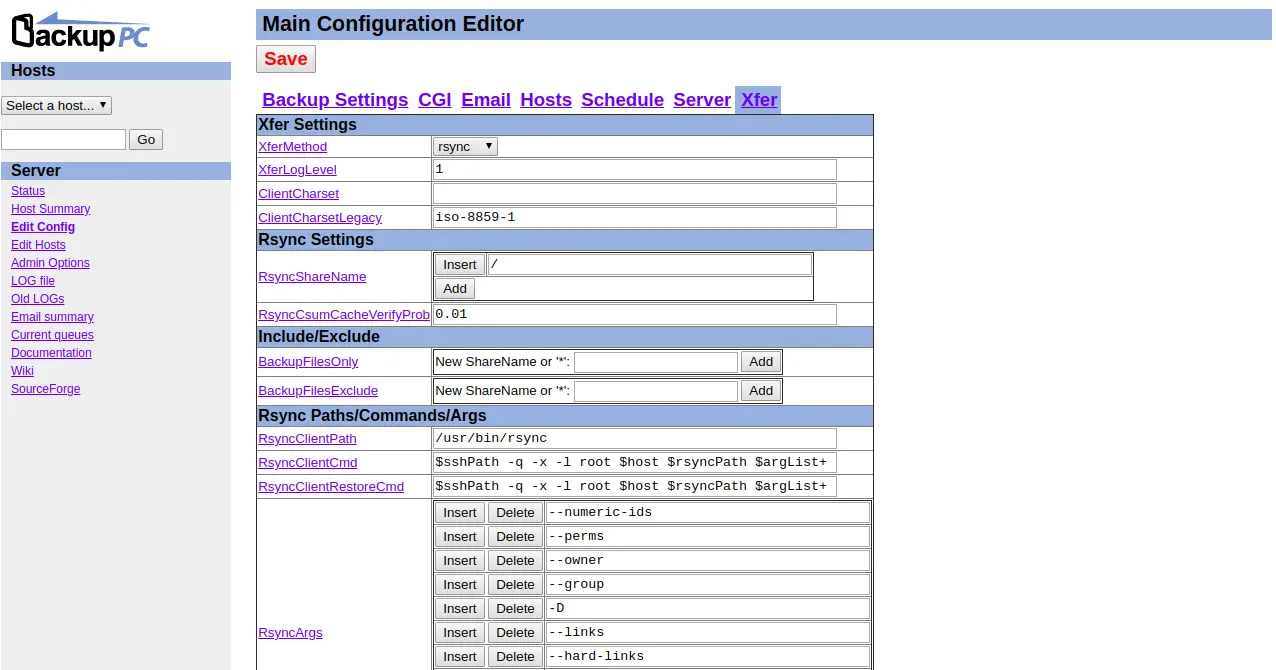
Select Rsync under Xfer Settings and click on the Save button to save the changes.
Next, you will need to define the directory path of the client system that you want to backup.
On the left pane, under Hosts, click on the dropdown button and select a client host. You should see the following screen:
Now, click on Edit Config and click on the Xfer tab. You should see the following screen:
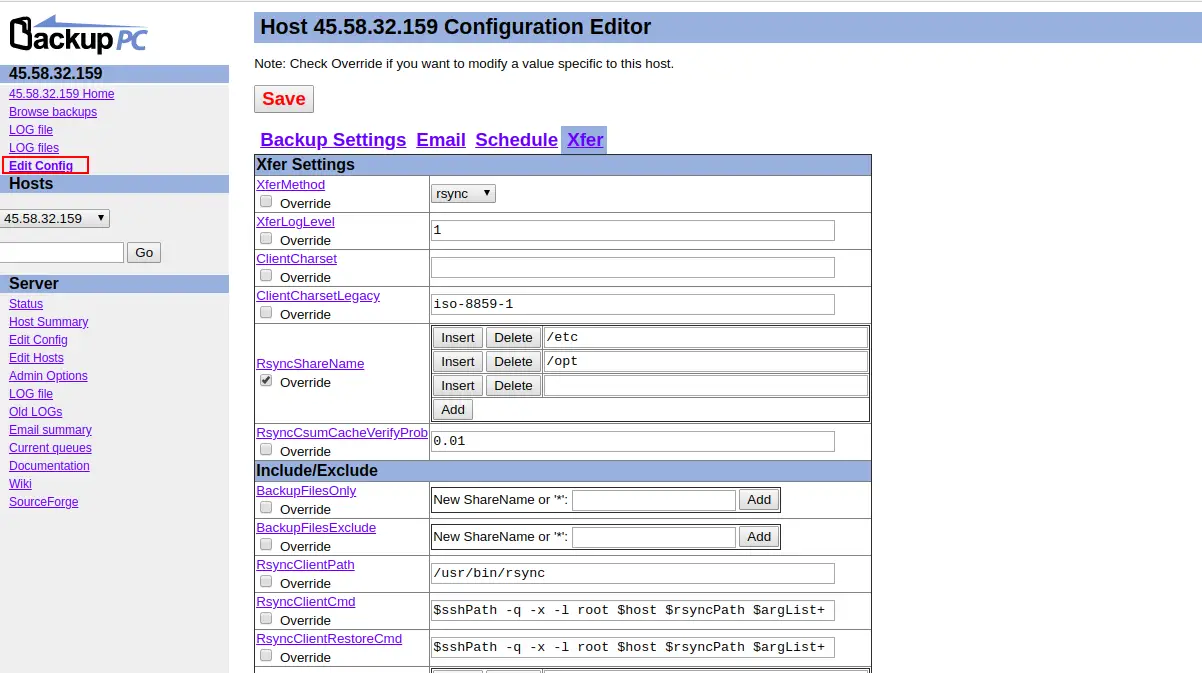
Under Xfer Settings, check the overide box under RsyncShareName and type the path of the directory that you want to backup. Once you are finished, click on the Save button to apply the changes.
Next, you will need to configure backup schedule.
On the left pane, under Server settings, click on the Edit Config and click on the Schedule tab. You should see the following screen:
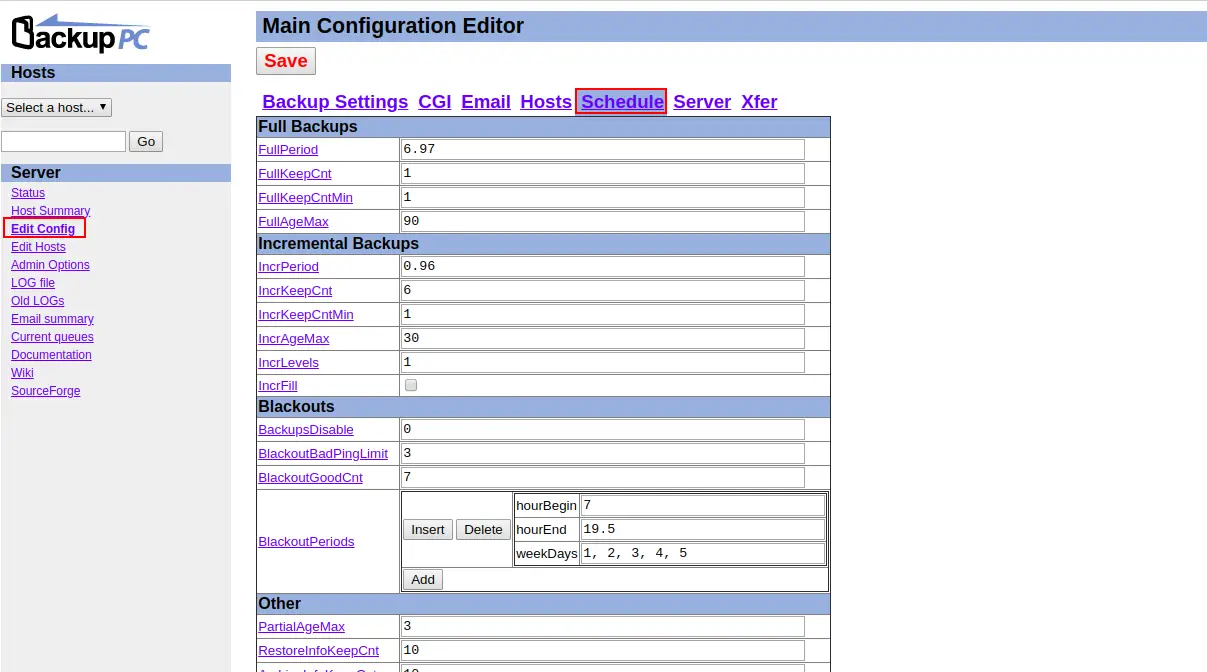
Provide your desired backup settings and click on the Save button to apply the changes.
Now, you will need to run a manual backup on your client.
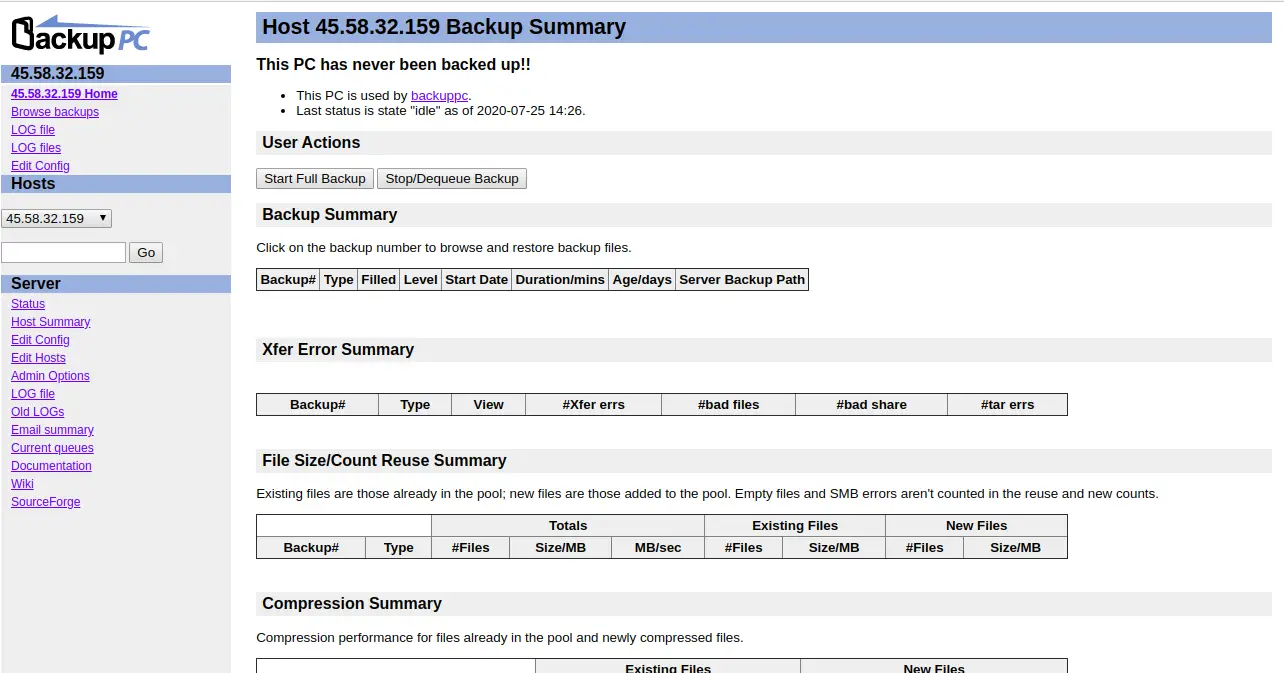
On the left pane, under Hosts, click on the dropdown button and select a client host. You should see the following screen:
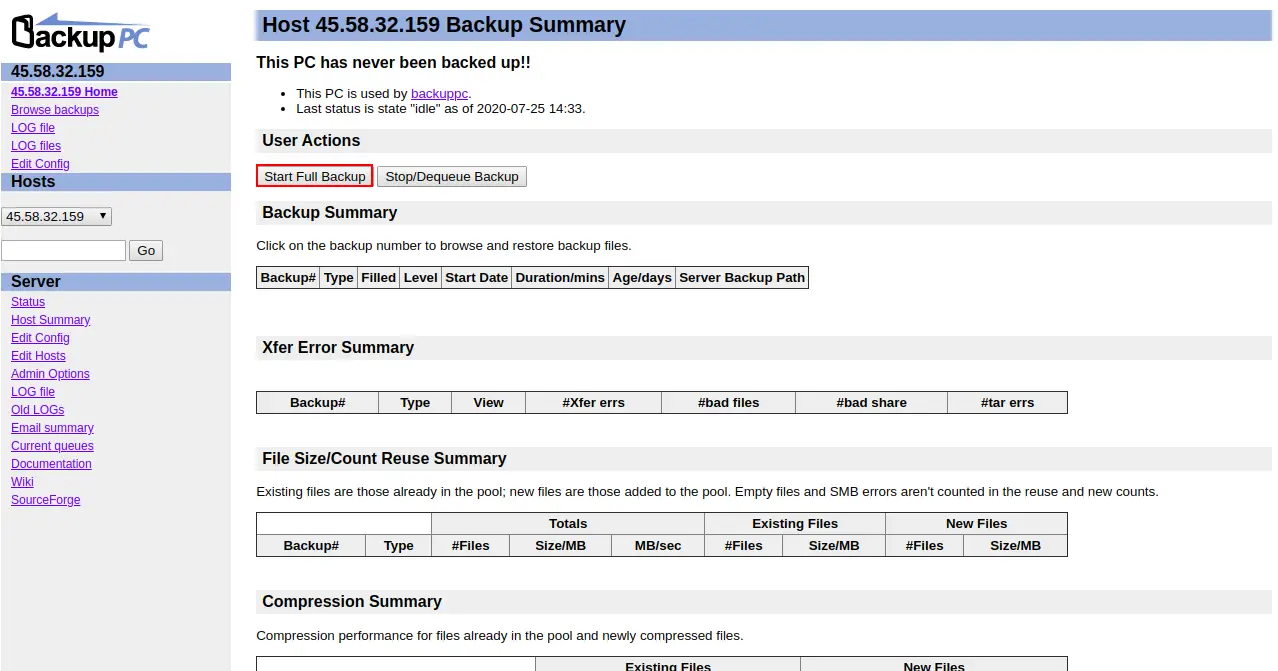
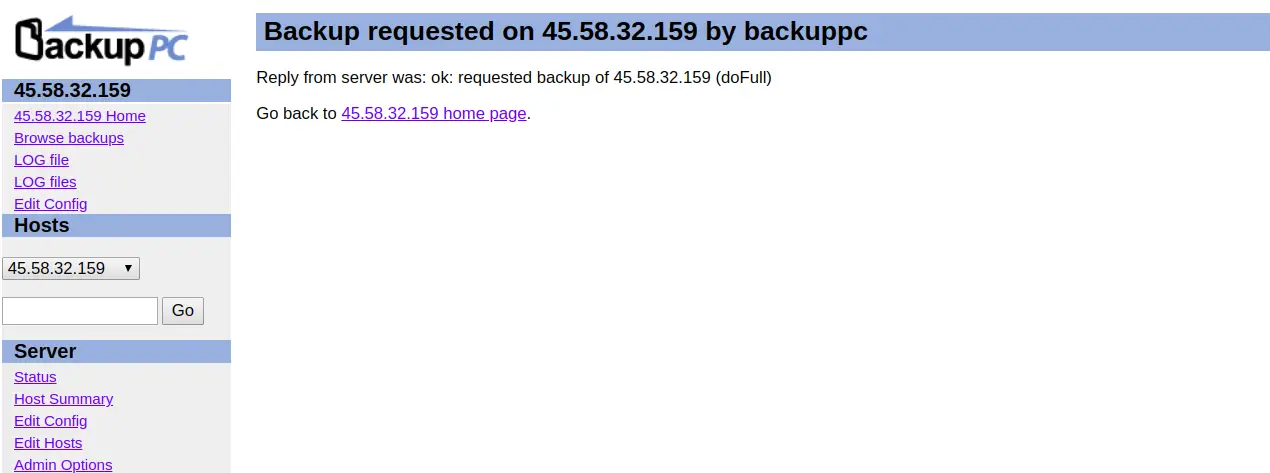
Under the Backup Summary > User Actions, click Start Full Backup and if everything is okay. You should see the following screen:

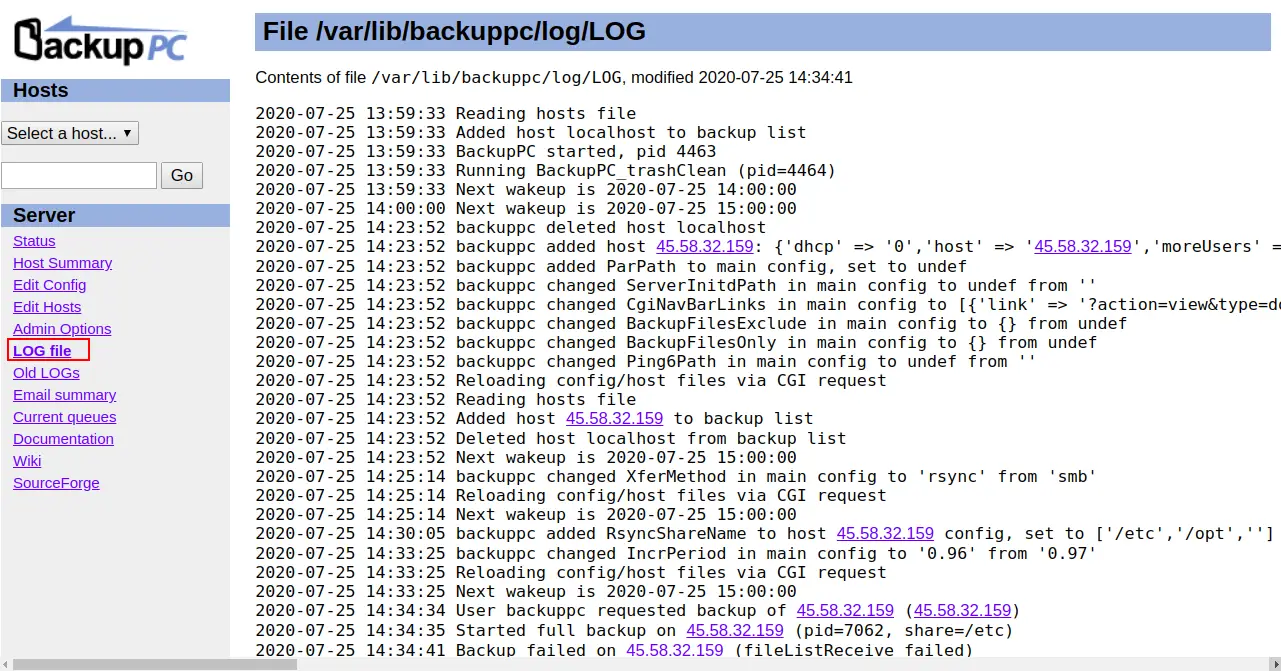
On the left pane, click on the LOG file to check the backup logs. You should see the full backup log in the following screen:
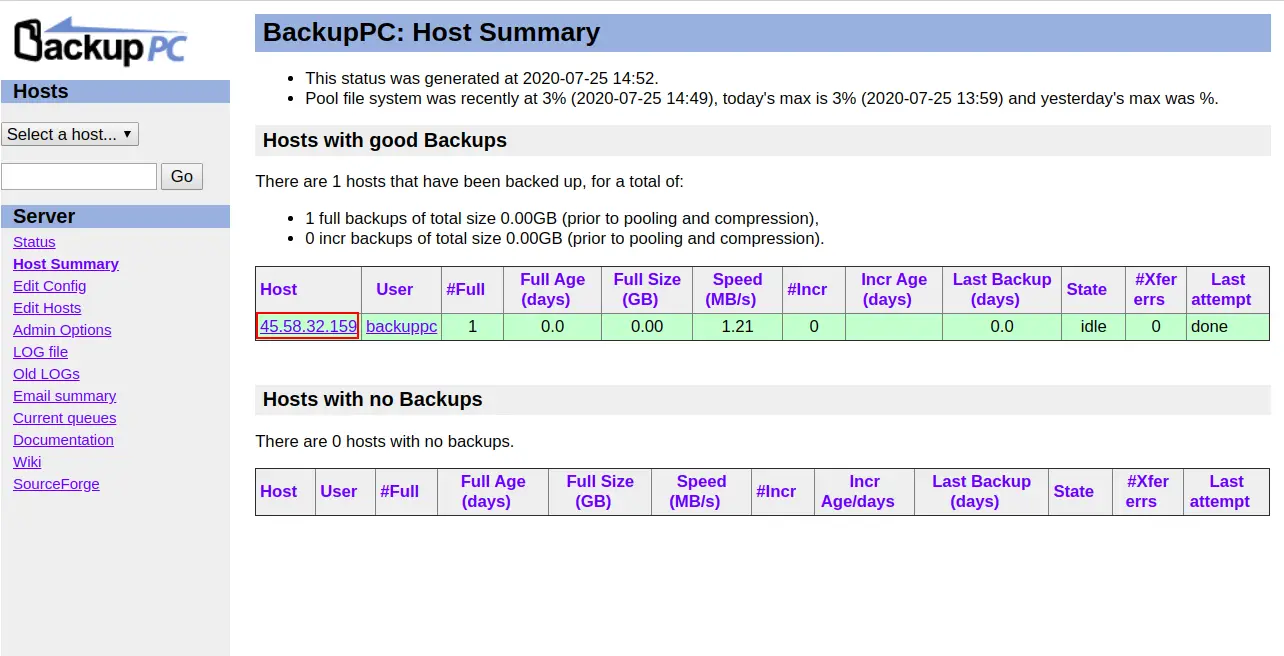
To check the backup summary, click the Host Summary link on the left pane, under Server. You should see the following screen:
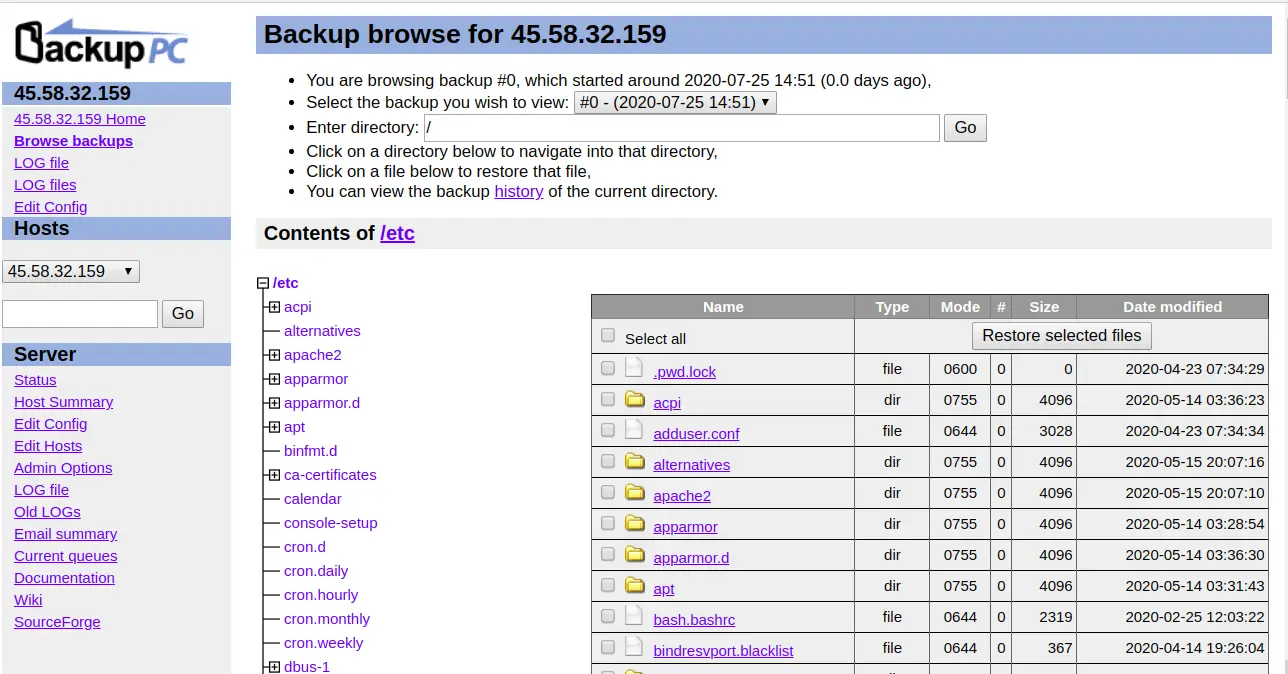
To see a list of all backup files, click the host IP as shown in the summary above, then click Browse Backups > Backup number. You should see your all backup files in the following screen:
Conclusion
In this tutorial, you learned how to configure BackupPC on Ubuntu 20.04 server. You also learned how to add a client computer to the BackupPC through a web browser and perform a backup operating. I hope this tool will help you to set up a centralized backup system. Feel free to ask me if you have any questions.

