How to install and use AWStats Web Analytics on CentOS 8
AWStats is an open-source advanced web analytics tool that generates advanced web, streaming, FTP, or mail server statistics graphically. It is written using the Perl language and works as a CGI or from the command line. AWStats analyzes server log files and produces HTML reports in a nice graphical display.
AWSTATS has the following features.
- It supports most web server log file formats including Apache, IIS, and many other web server log formats.
- It can show you the number of visits, and unique visitors, visit duration
- Most viewed, exit pages
- Display information about visitors (OS, browser, IP address, screen size, search engine, keyphrase, and keywords used to find your website)
- it will be useful for monitoring website traffic, how many visitors are on a site in a day/week/month, what web browser they are using, etc.
Step 1 – Setup EPEL Repository
By default, the AWStats package is not available in the CentOS 8 repository. You will need to install the EPEL Yum repository on the server.
dnf install epel-release
Step 2 – Install Apache Server
AWStats required the Apache webserver to be running. Run the following command to install Apache Server.
sudo dnf install httpd
Next check apache service, start apache manually, and enable apache service at startup/boot time.
sudo systemctl status httpd
sudo systemctl start httpd
sudo systemctl enable httpd
Step 3: Install AWStats
Now you can install AWStats using yum command as below:-
sudo dnf install awstats
Step 4: Configure AWStats For Apache
By default AWStats generates an Apache configuration file /etc/httpd/conf.d/awstats.conf. The default configuration of Awstats use allows from all access. If you want to access Awstats from the particular network then modify the allow from IP with your system or network IP.
<Directory "/usr/share/awstats/wwwroot">
    Options None
    AllowOverride None
    <IfModule mod_authz_core.c>
        # Apache 2.4
        Require ip 192.168.1.0/24
    </IfModule>
    <IfModule !mod_authz_core.c>
        # Apache 2.2
        Order allow,deny
        Allow from 127.0.0.1
        Allow from 192.168.1.0/24
    </IfModule>
</Directory>
Next, you need to restart the Apache service to reload new settings
sudo apachectl restart
Step 5: Create the AWStats Configuration File
You need to create a configuration file for each website for which you wish to view statistics. Here, we will create a configuration file for the example.com domain.
First, create a copy of the default AWStats configuration file with your domain name:-
sudo cp /etc/awstats/awstats.localhost.localdomain.conf /etc/awstats/awstats.example.com.conf
Next, you will need to make some changes in the config file:-
sudo vim /etc/awstats/awstats.example.com.conf
Edit the following lines
# Change to Apache log file, by default it's /var/log/apache2/access.log
LogFile="/var/log/httpd/access.log"

# Change to the website domain name
SiteDomain="example.com"
HostAliases="www.example.com localhost 127.0.0.1"


#set AllowToUpdateStatsFromBrowser=0 to AllowToUpdateStatsFromBrowser=1
AllowToUpdateStatsFromBrowser=1
Save and close the file. Restart the Apache service to reload the new settings.
sudo apachectl restart
Next, you need to build your initial statistics, which will be generated from the current logs on your server.
Run the following command for this,
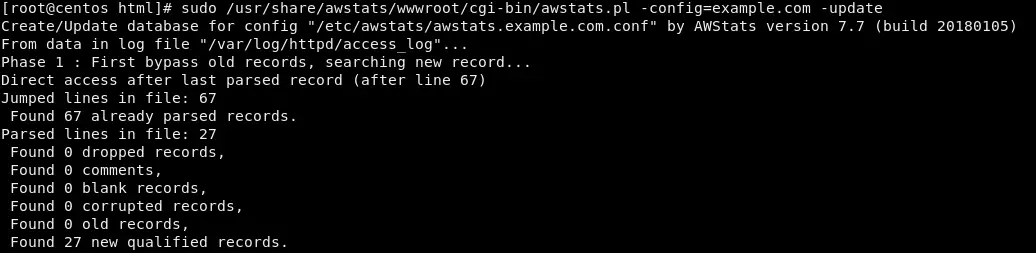
sudo /usr/share/awstats/wwwroot/cgi-bin/awstats.pl -config=example.com -update
The output looks like the following screenshot,
Step 6: Set Up Cron To Update The Logs
Now we need to setup cronjob to regularly update the AWStats database using newly-created log entries.
Next, run the following command as root to setup cronjob
crontab -e
and add following line
*/30 * * * * root /usr/share/awstats/wwwroot/cgi-bin/awstats.pl -config=example.com -update
save and exit the file.
Step 7: Access AWStats In A Web Browser
Now you can access AWStats using the following URL in your web browser:-
http://your.server.ip/awstats/awstats.pl?config=example.com/
You need to replace example.com with your domain name in this tutorial.
AWStats page will look like the following screenshot:
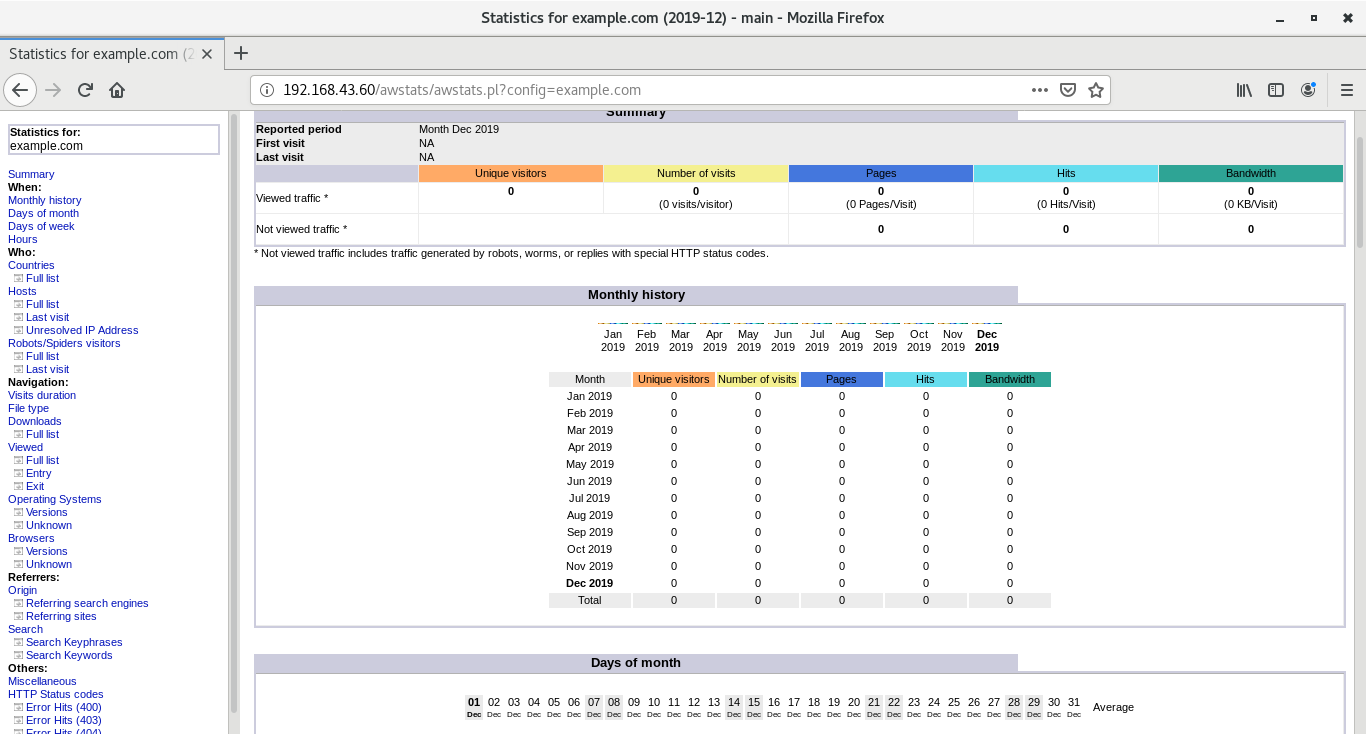
Finally, you have configured AWStats in your system successfully!.

