How to create and store secrets using Secret Manager in AWS
Application secrets or credentials can be stored using the AWS Secret Manager securely. Secrets can be rotated, managed, and retrieved throughout their lifecycle using AWS Secret Manager. Access to secrets can also be restricted using AWS Identity and Access Management (IAM) policies and resource-based policies. For using AWS Secrets Manager, the user needs to pay only for the number of secrets managed in Secrets Manager and Secrets Manager API calls made.
To know more about AWS Secret Manager in detail, visit the official documentation here.
In this article, we will see the steps to create a secret and delete it. We will also see the steps to cancel the secret deletion or undo the deletion operation.
Pre-requisites
- AWS Account (Create if you don’t have one).
What will we do?
- Login to AWS.
- Create a secret.
- Delete the secret.
- Cancel deletion of the secret.
Login to AWS
Click here to go to AWS Login Page.
When we hit the above link, we will see a web page as follows where we are required to log in using our login details.

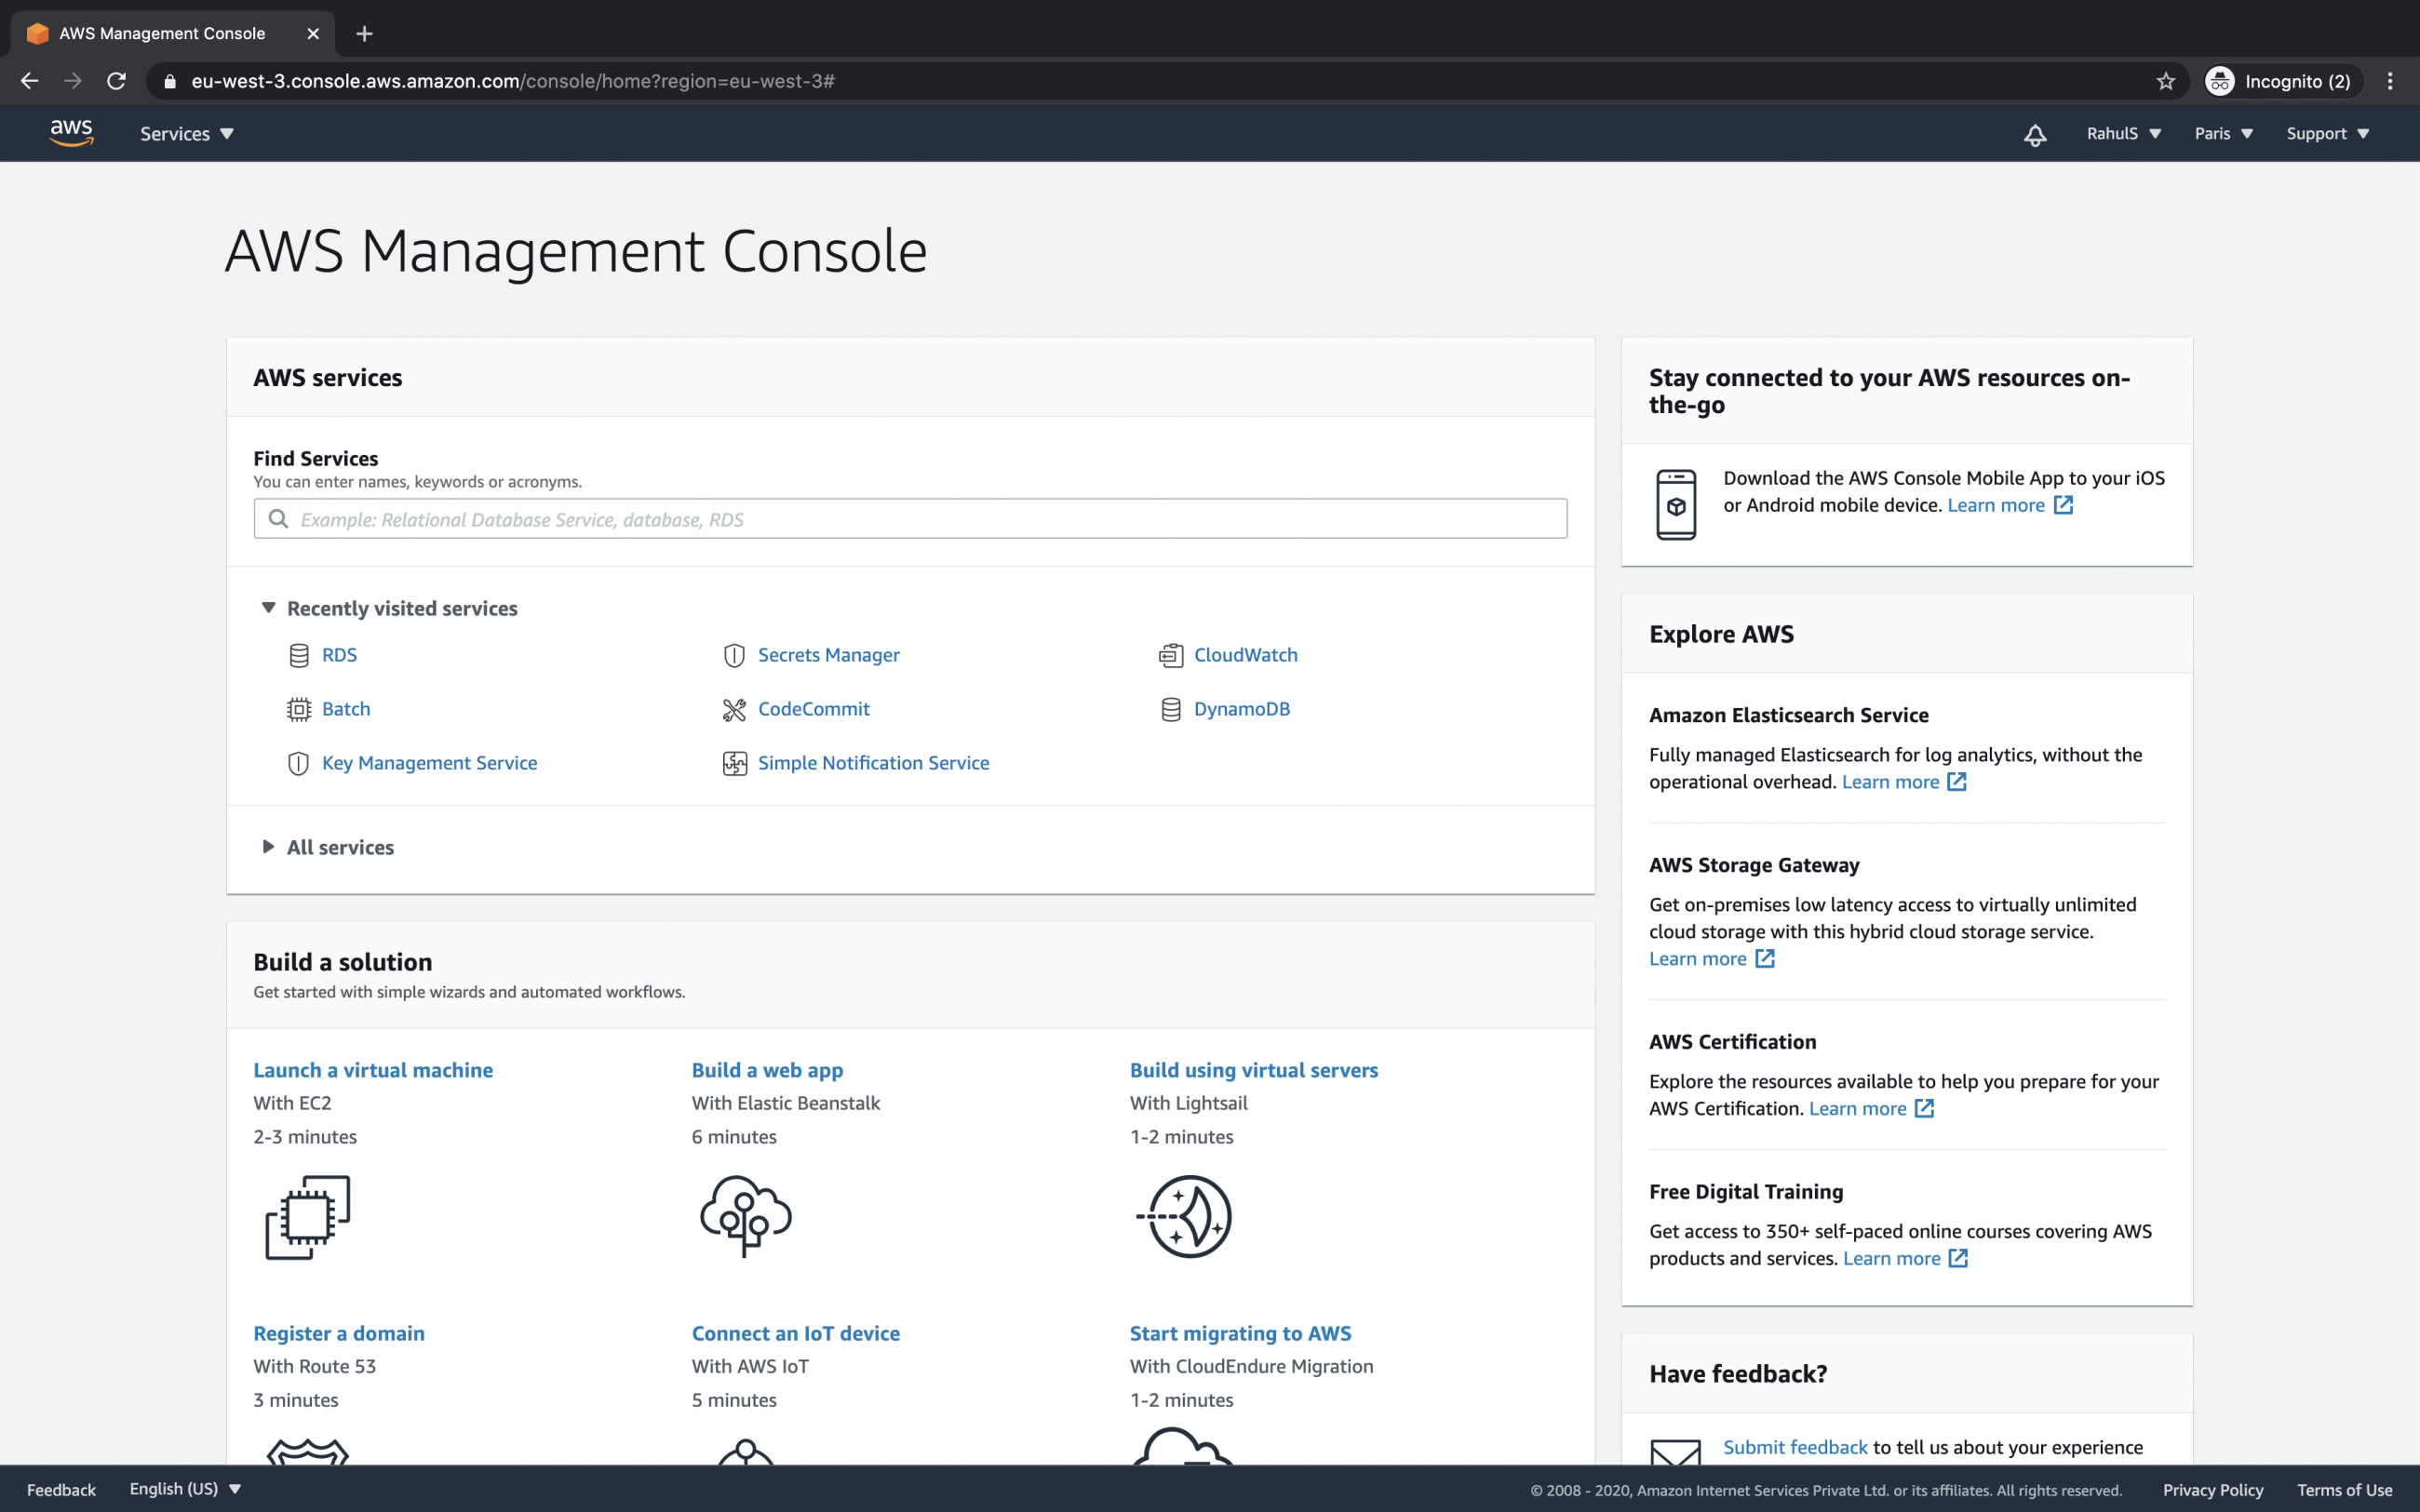
When you successfully login into an AWS account you will see the main AWS management console as follows.
Create a secret
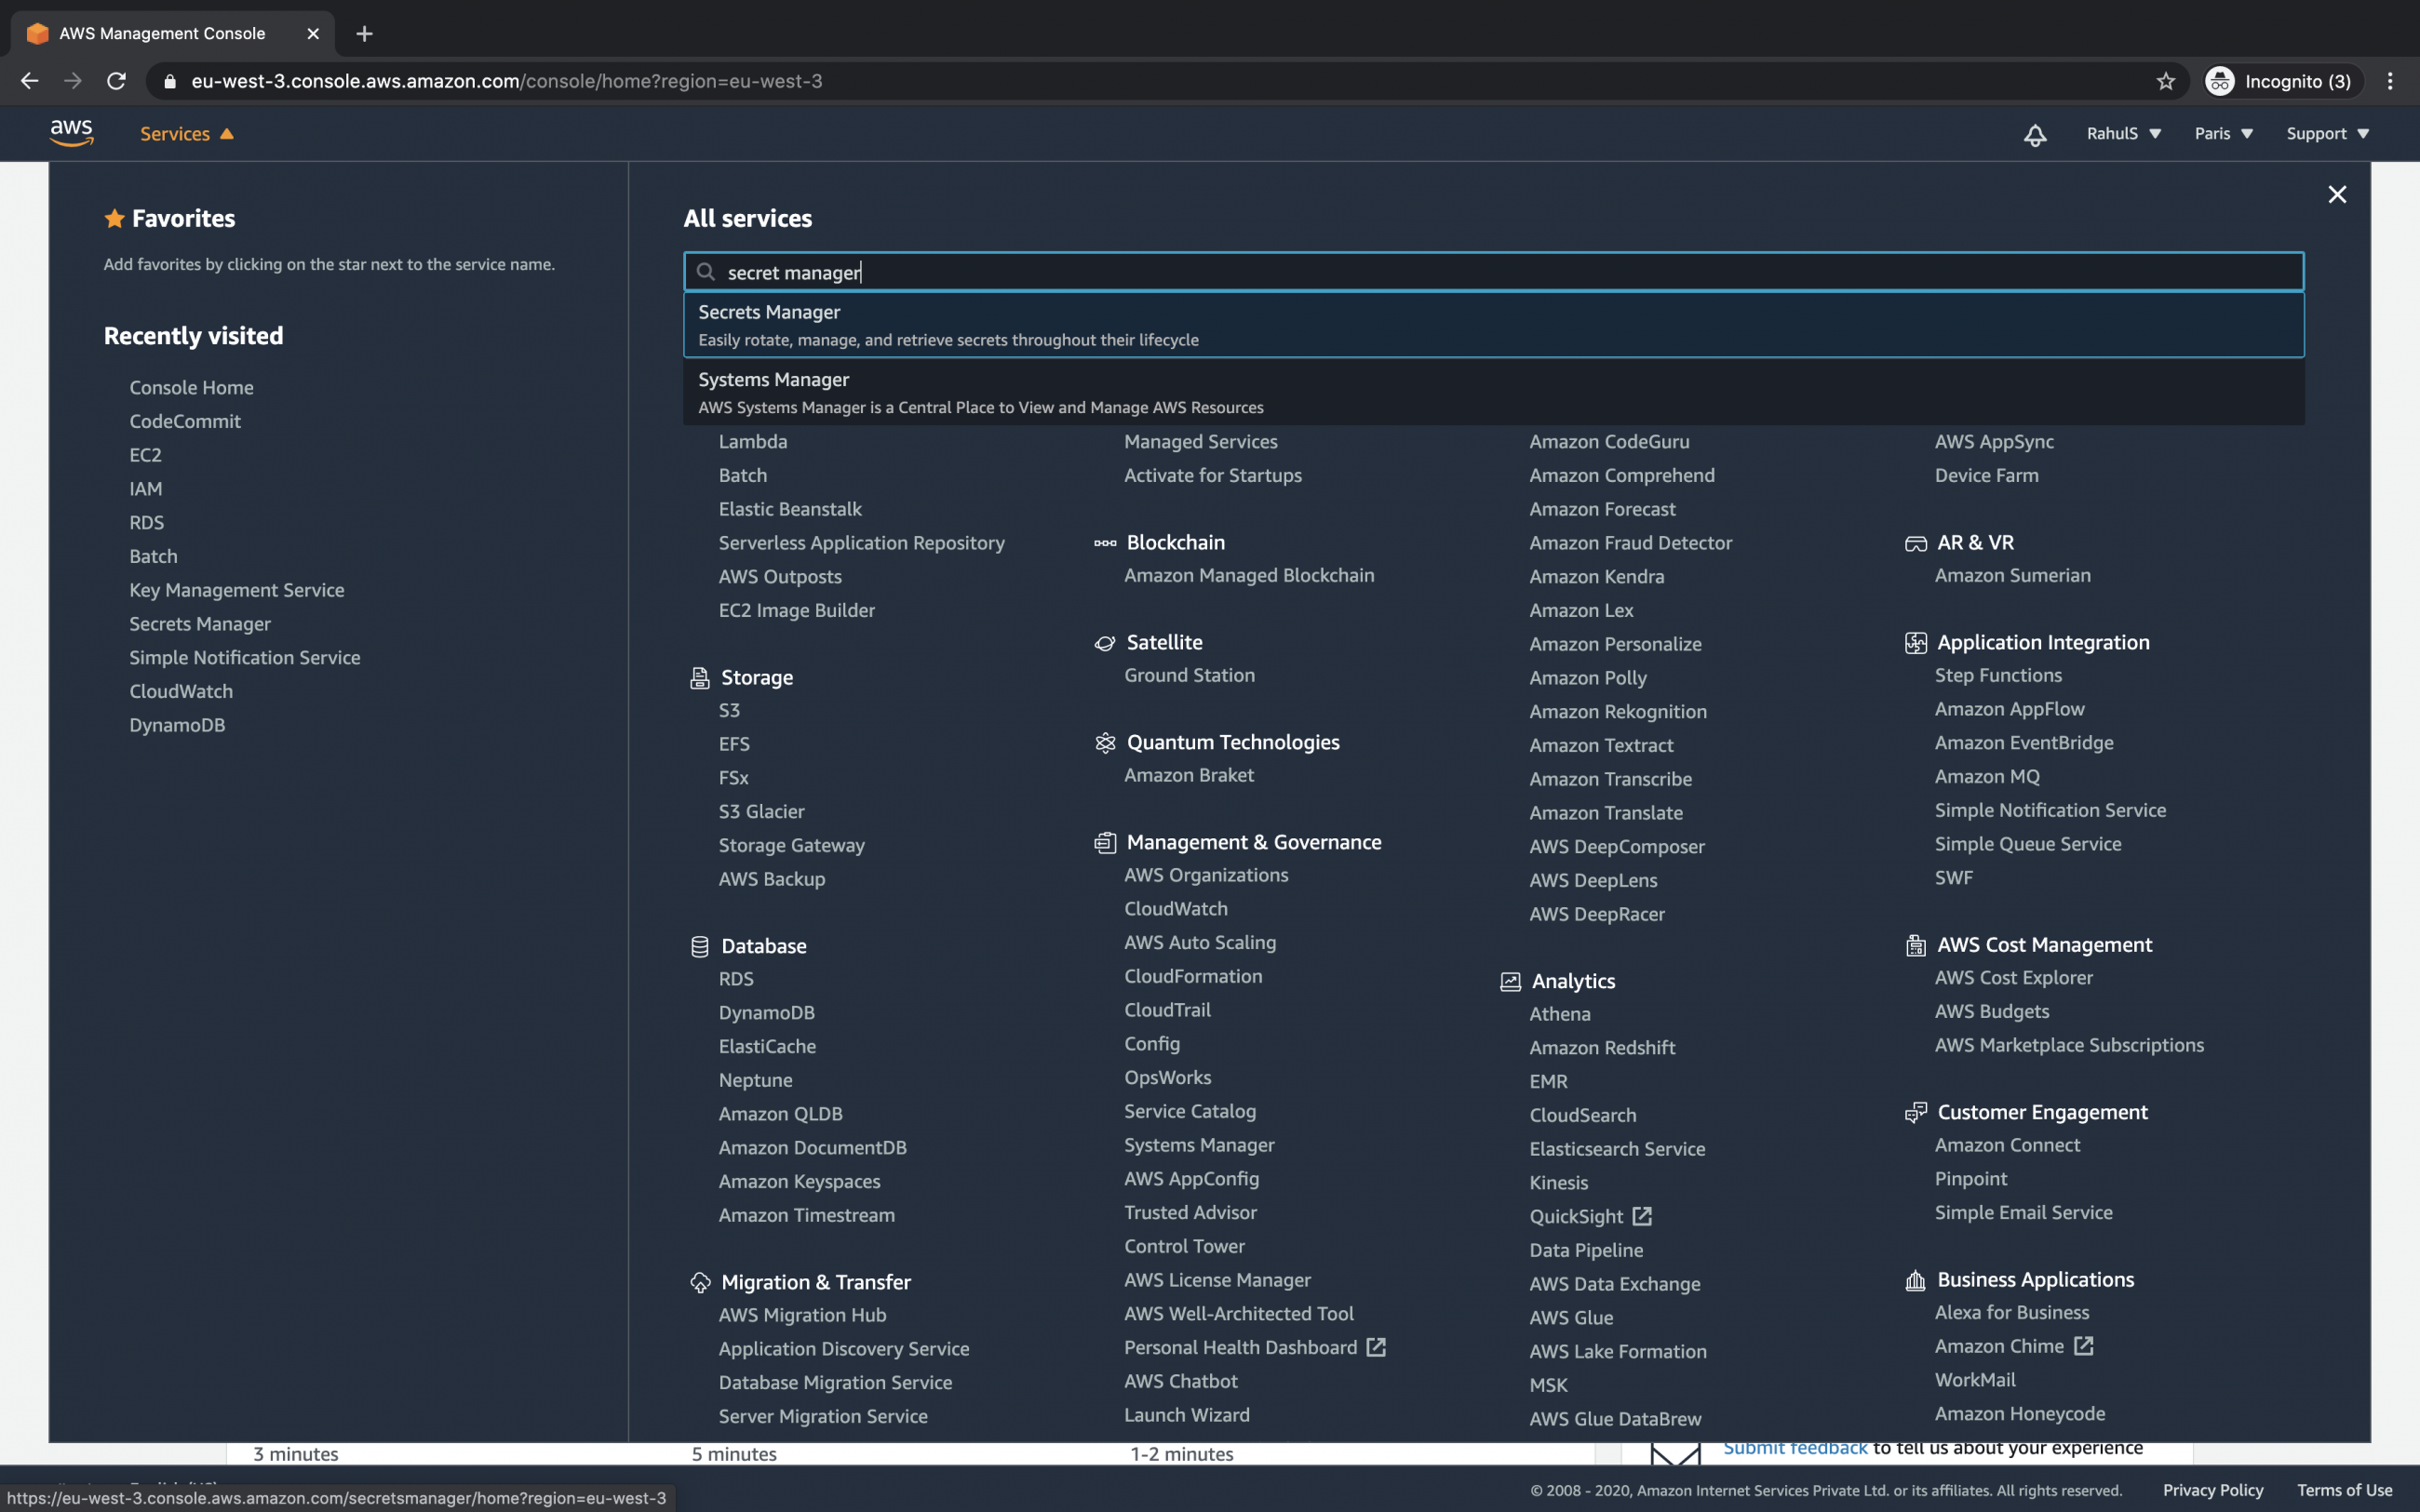
To create a secret and store credentials, click on services at the top left of the screen and search for secret manager in the search box.
Click on the "Secret Manager" to go to the console to create your first secret.
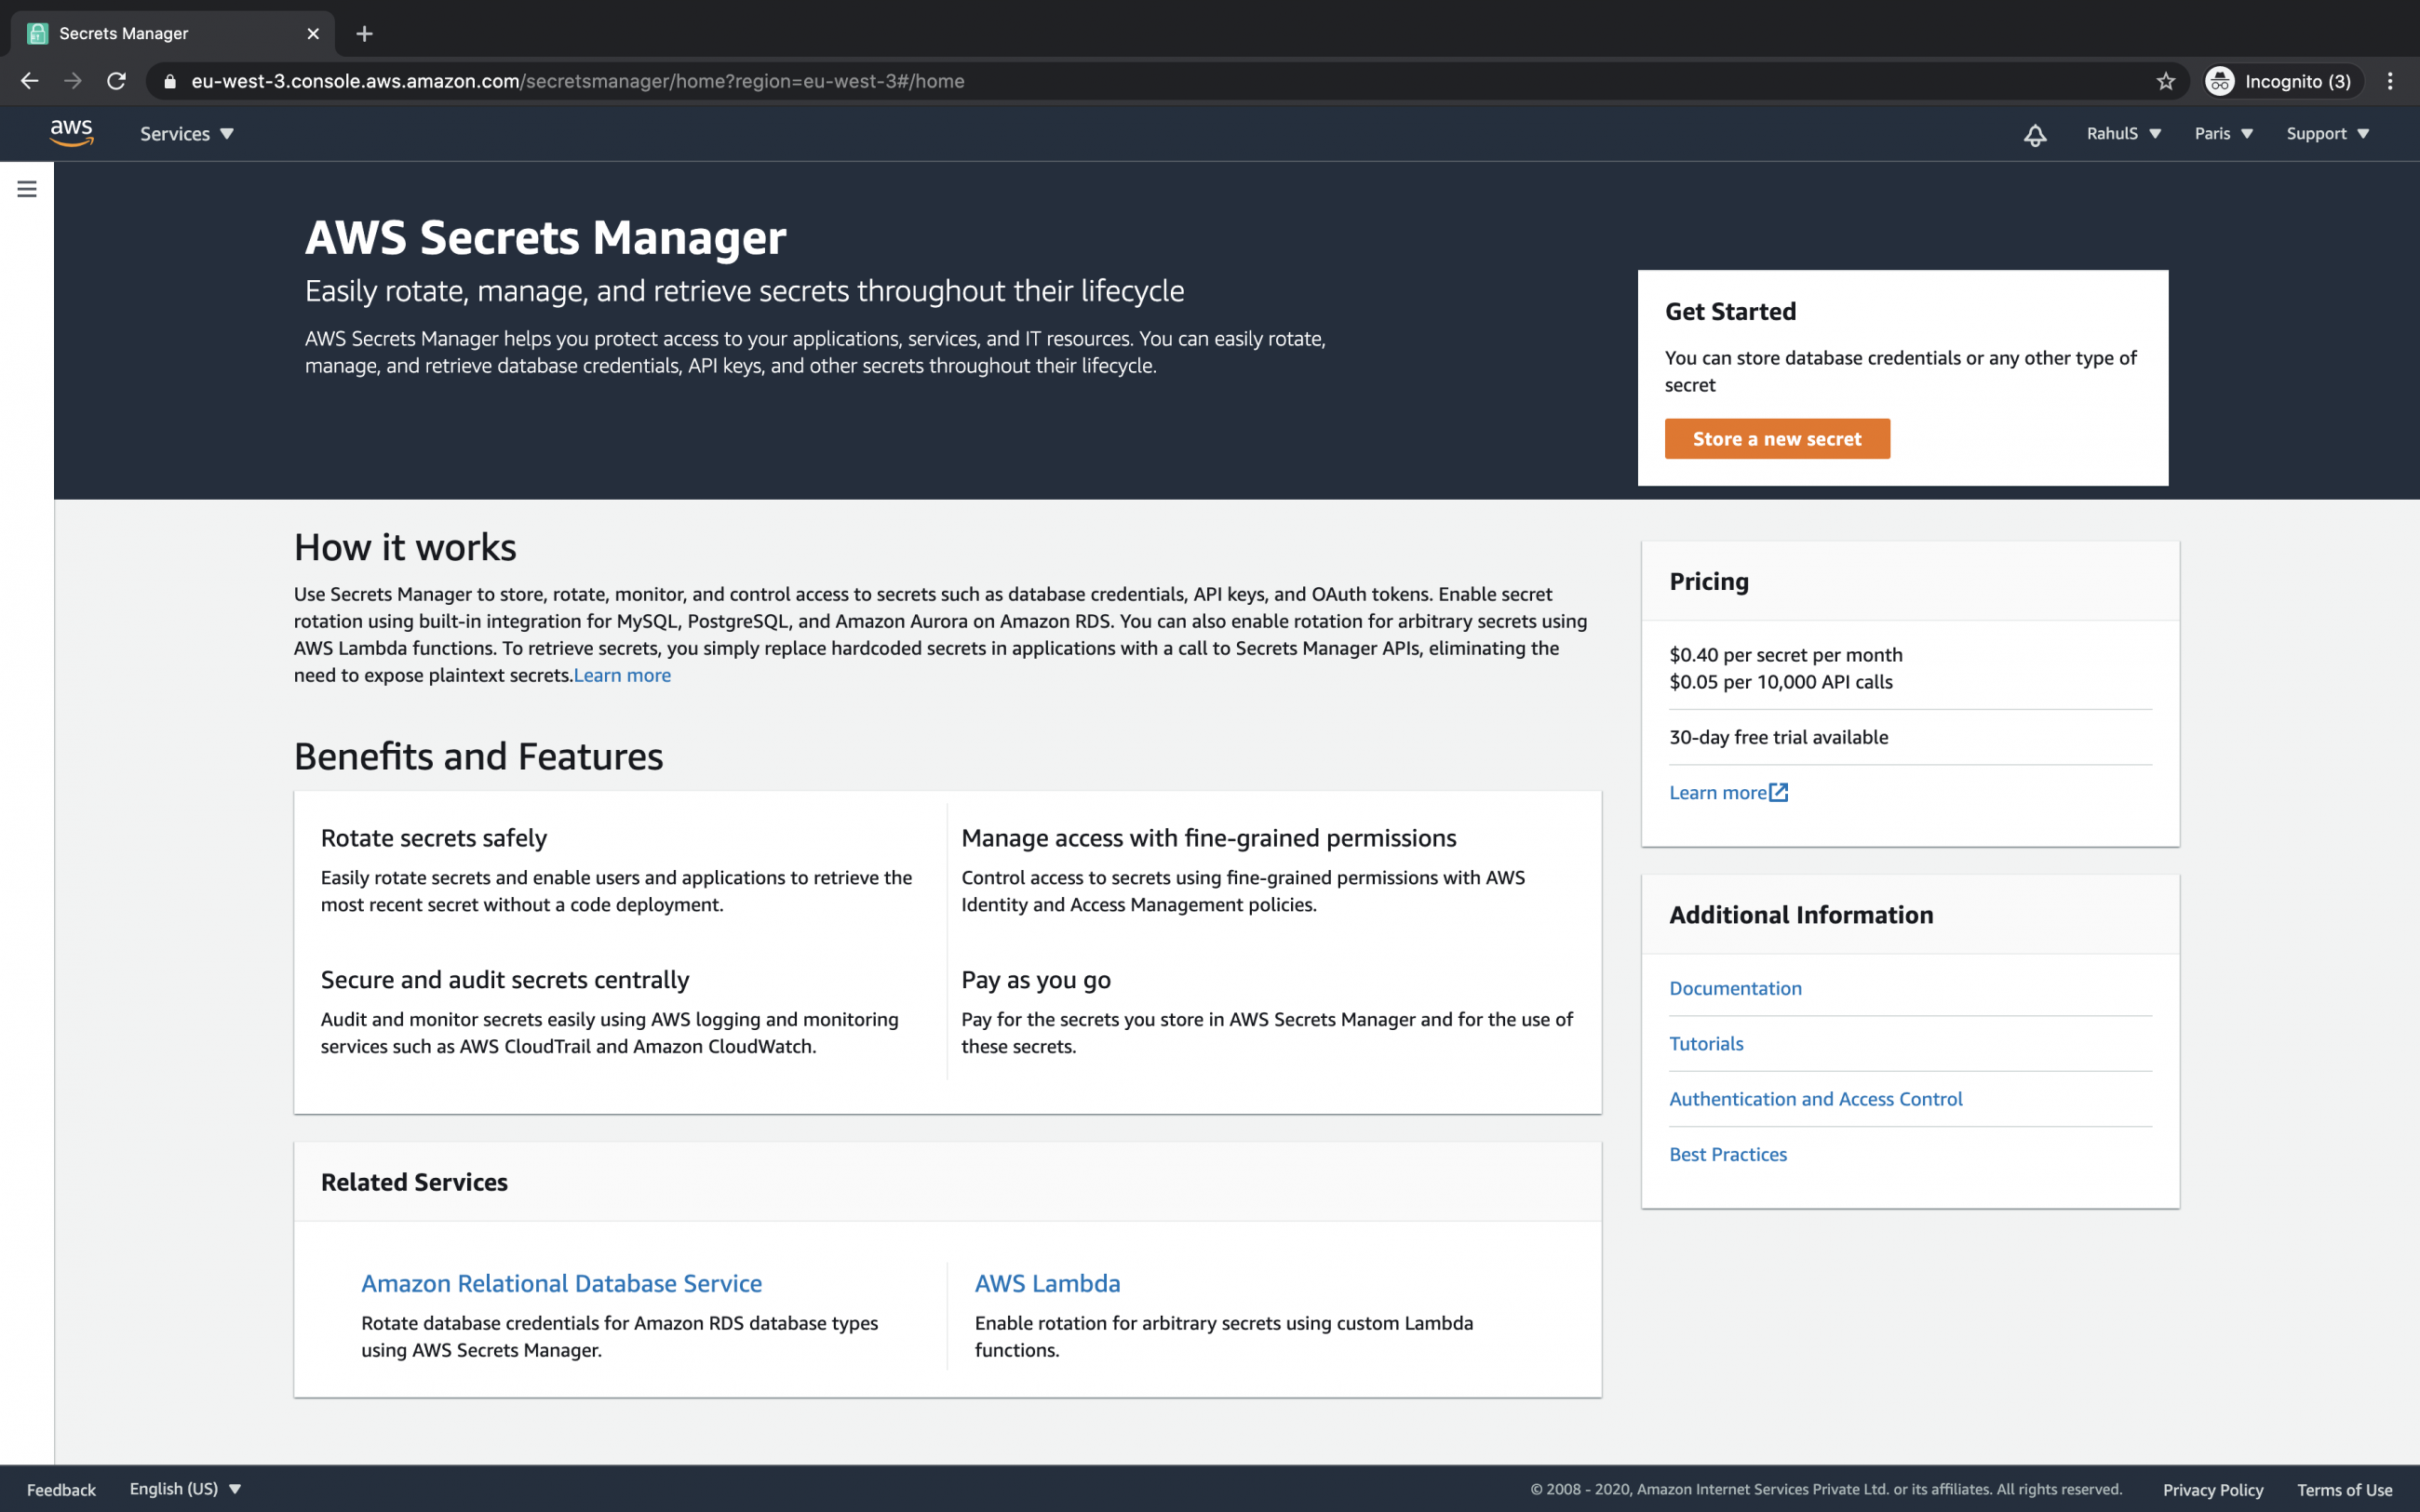
This is the console of the AWS secret manager. Click on "Store a new secret".
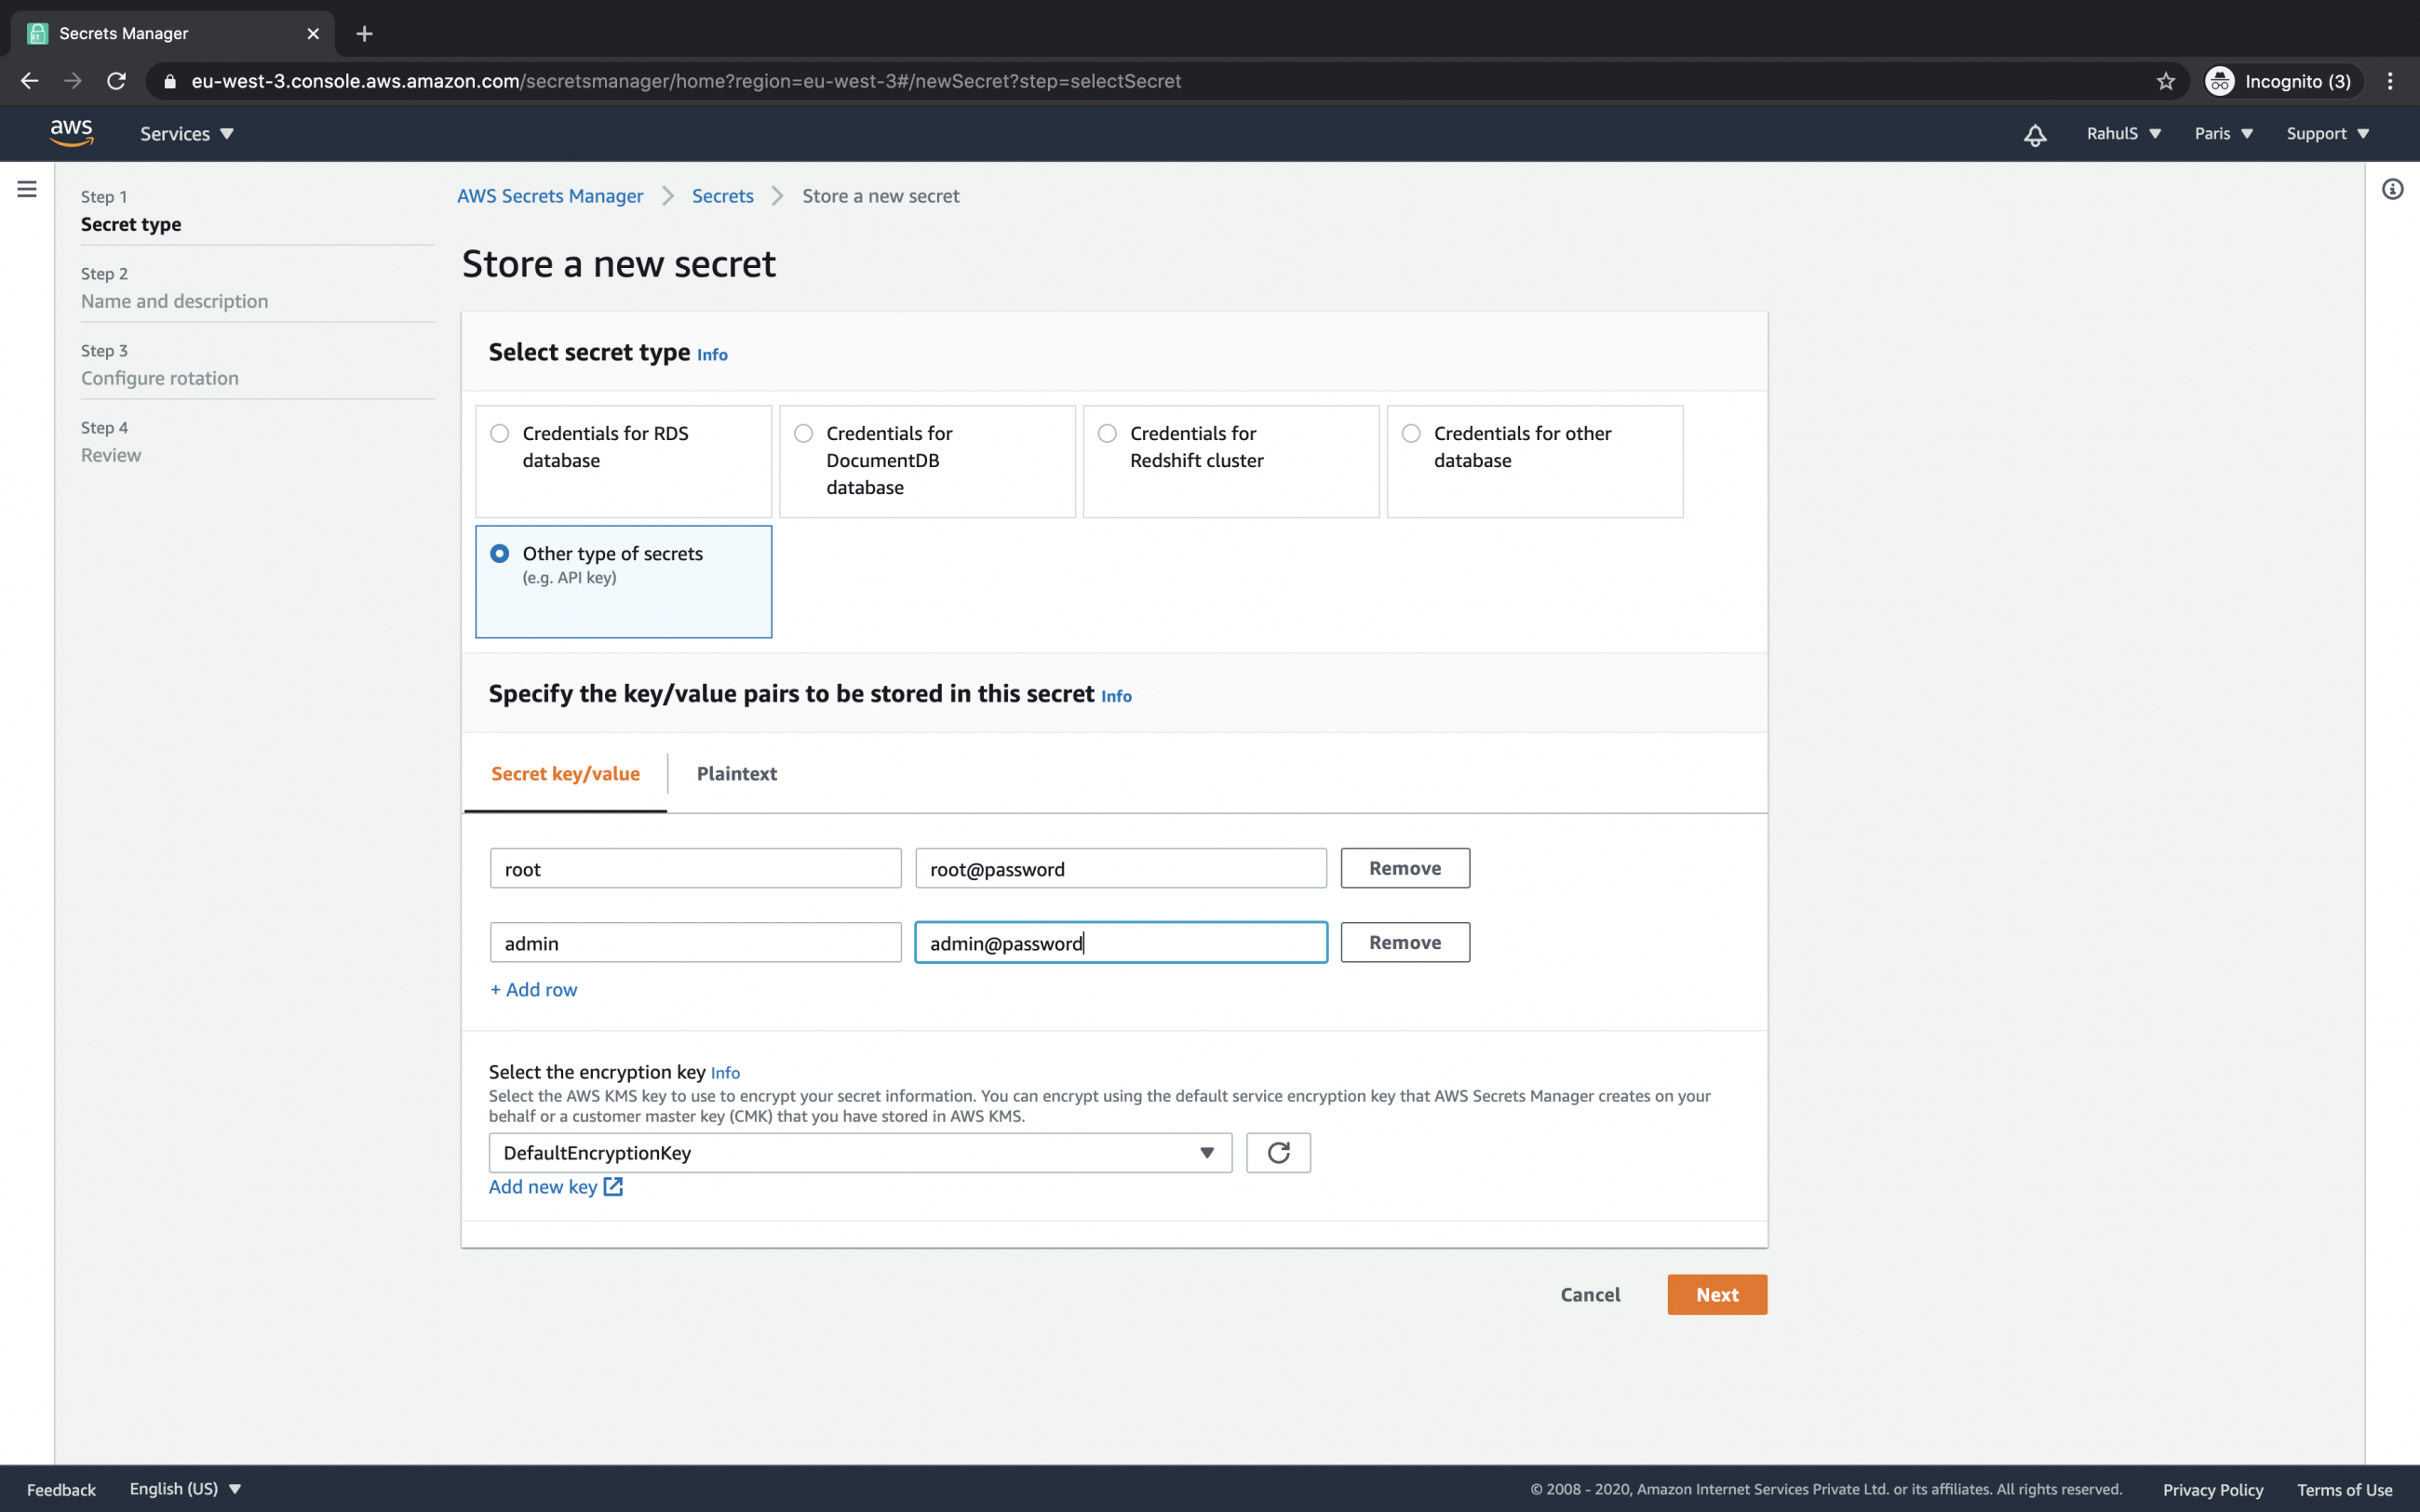
Here, you will see different secret types that can be stored. If you have any of the databases mentioned, you can select the particular database instance and store its secrets.
We will see how to store secrets in terms of key:value pair.
Click on "Other type of secrets" radio button. You will get text boxes to store credentials in a key:value pair.
You can add multiple key:value paired credentials and store them under a single secret.
You can choose the encryption key that you want to be used to store the secrets in encrypted form.
Click on the "Next" button.
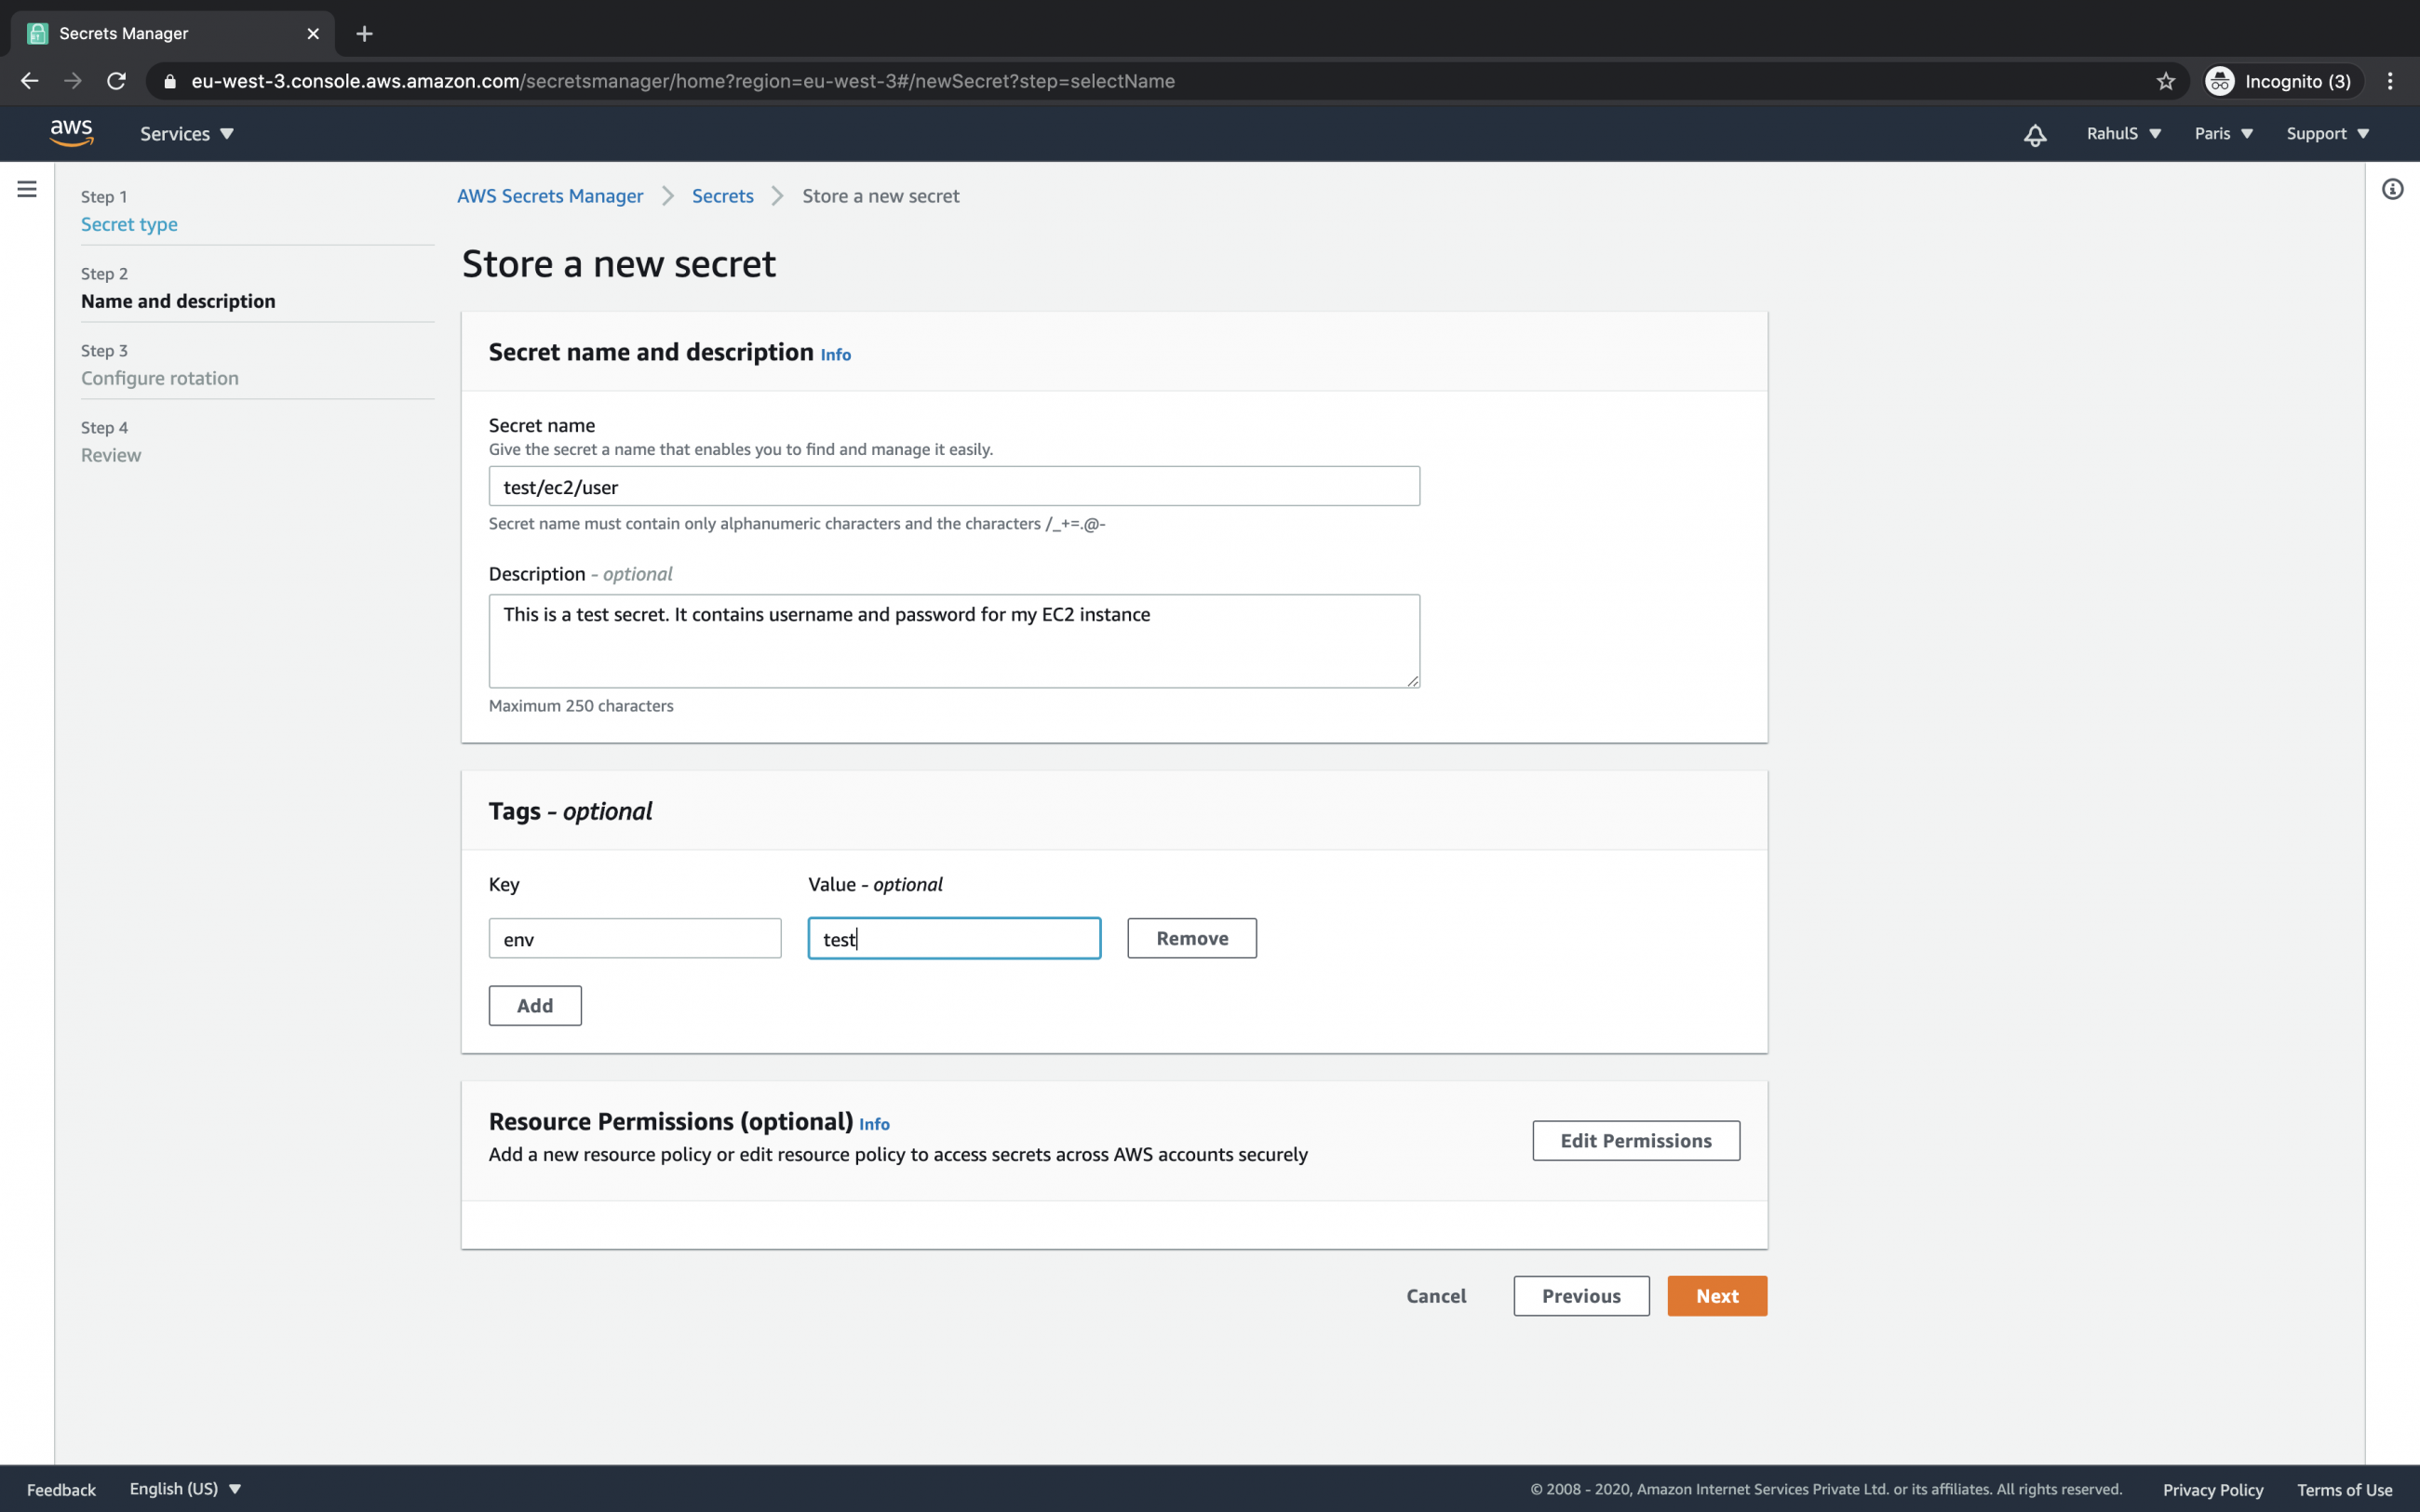
Give a name to the secret and add a description to it. You can add tags to the secret. You can also add resource permissions to restrict access to the secret. Click on the "Next" button to proceed.
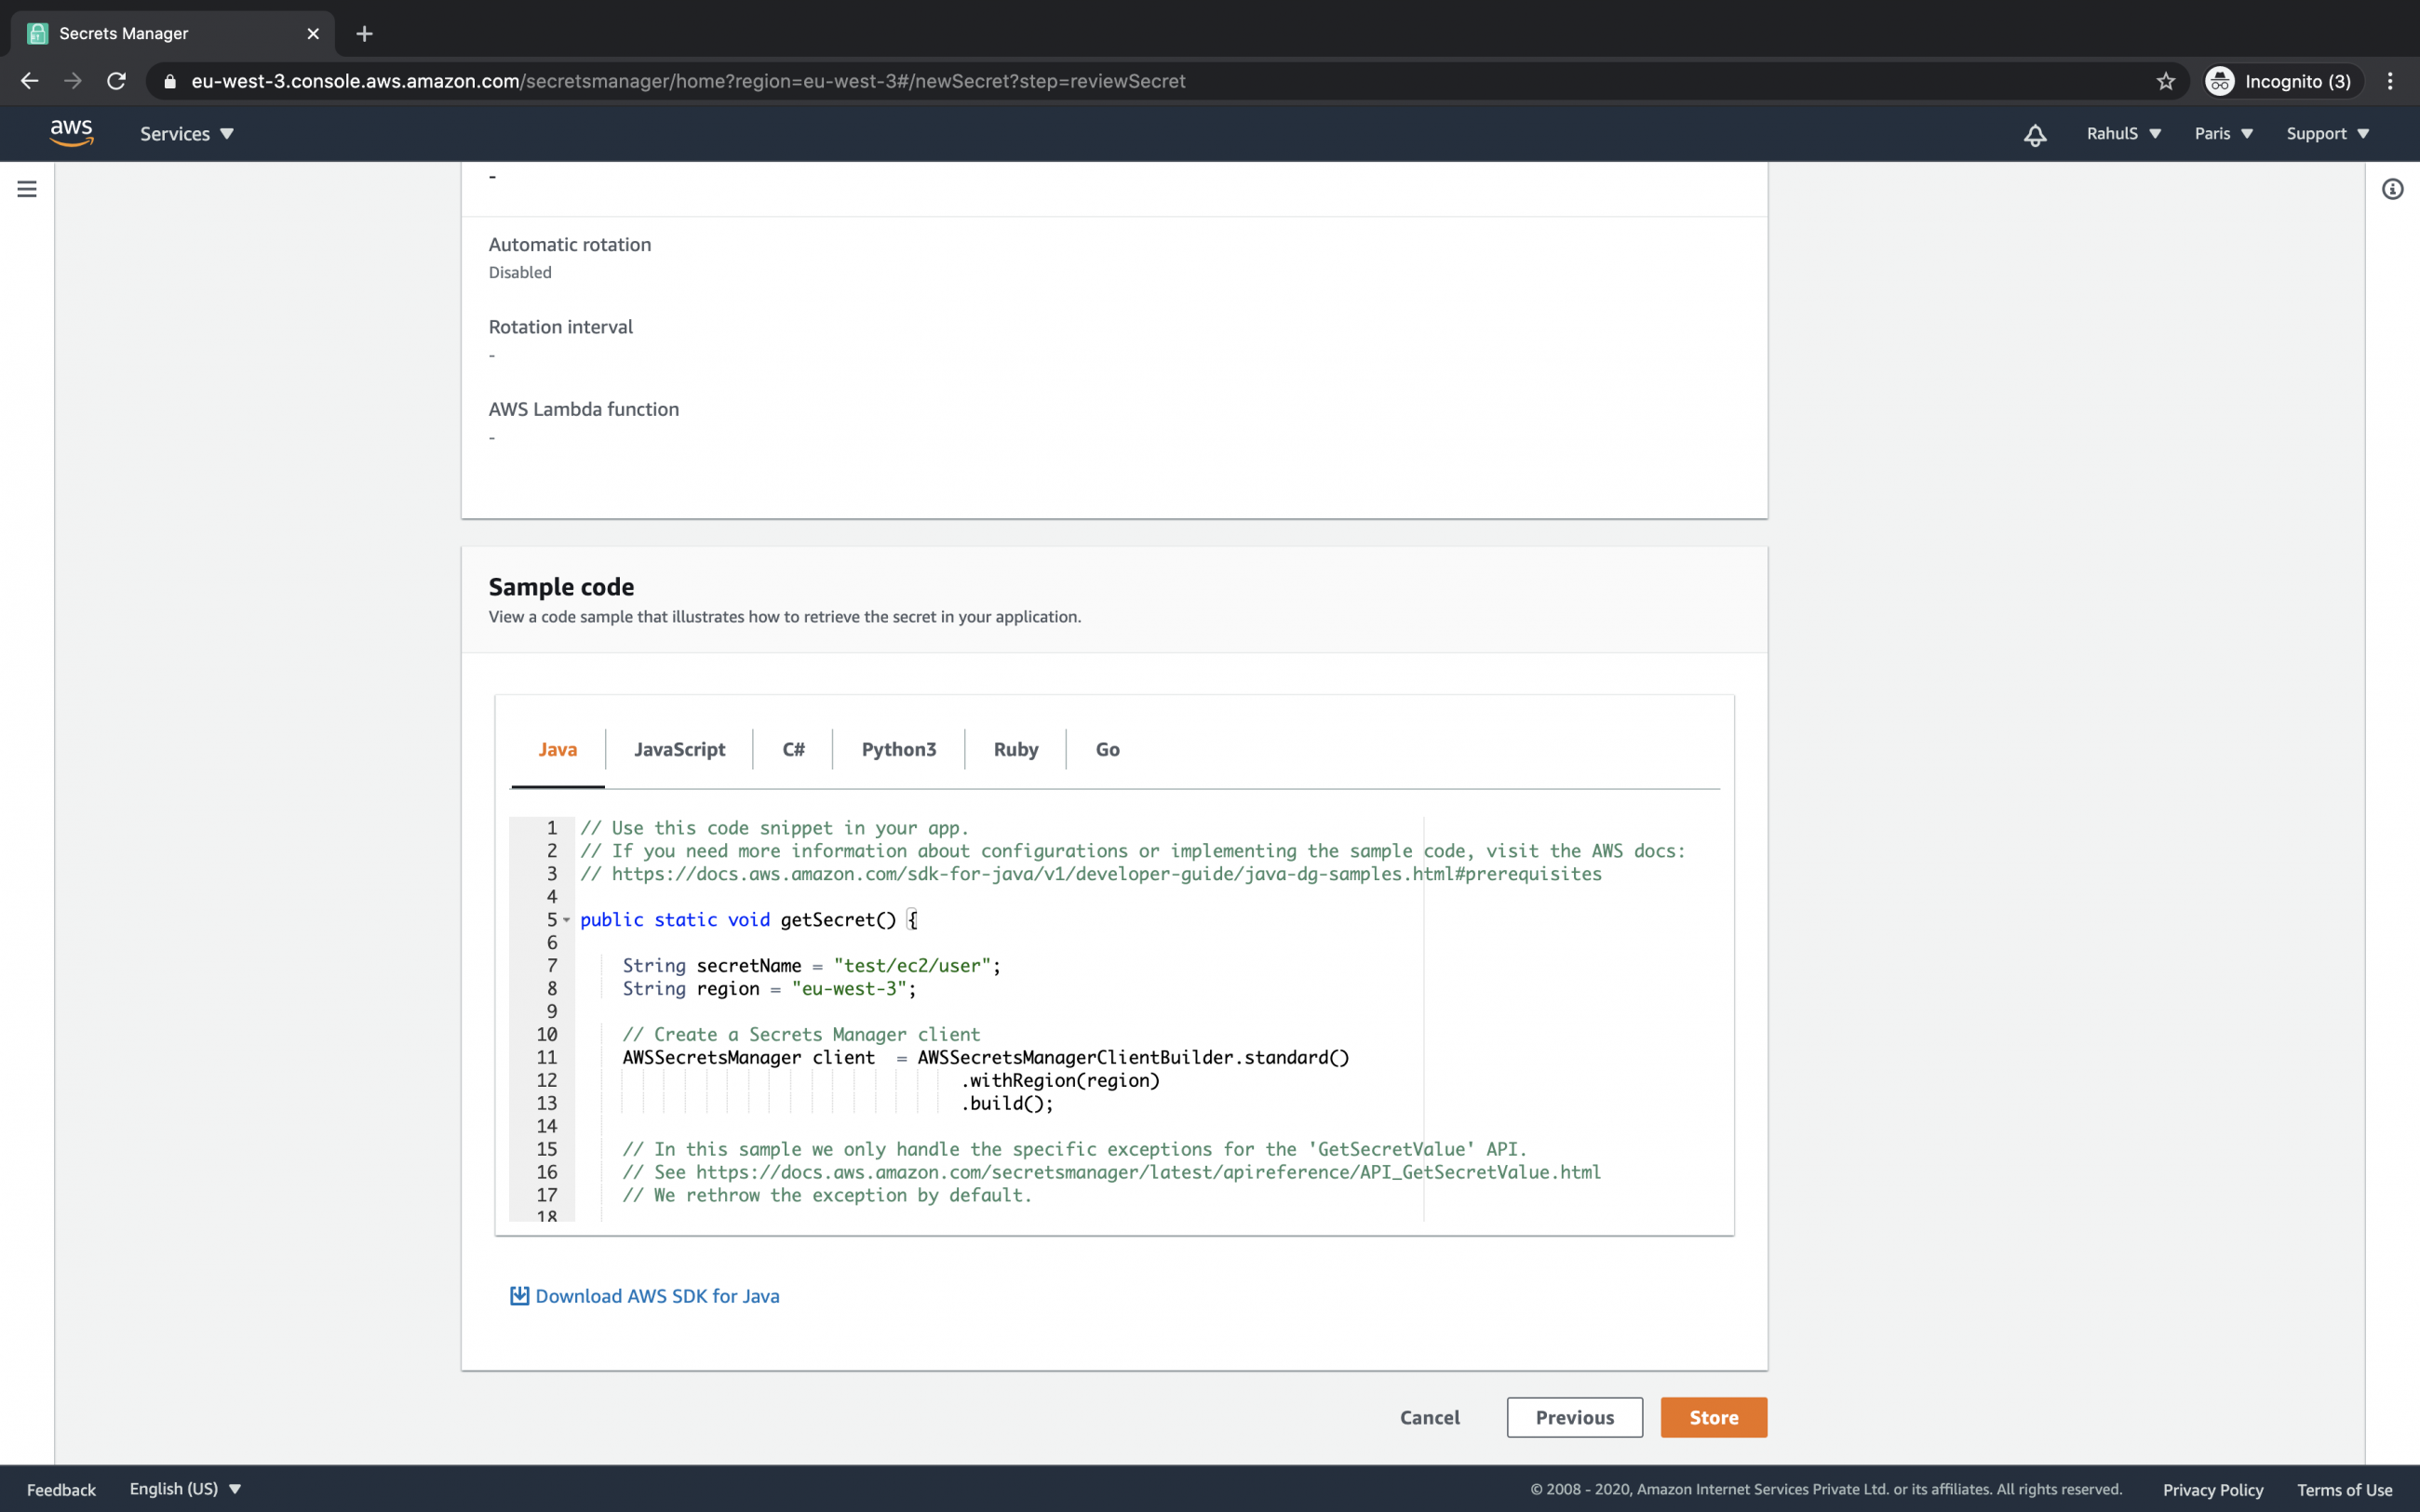
You can enable or disable automatic rotation for secrets. Click on the "Next" button. Here we will proceed with the " Disable automatic rotation" option.

You will get a sample code to access your secrets. Finally, click on the "Store" button to create a secret containing your credentials.
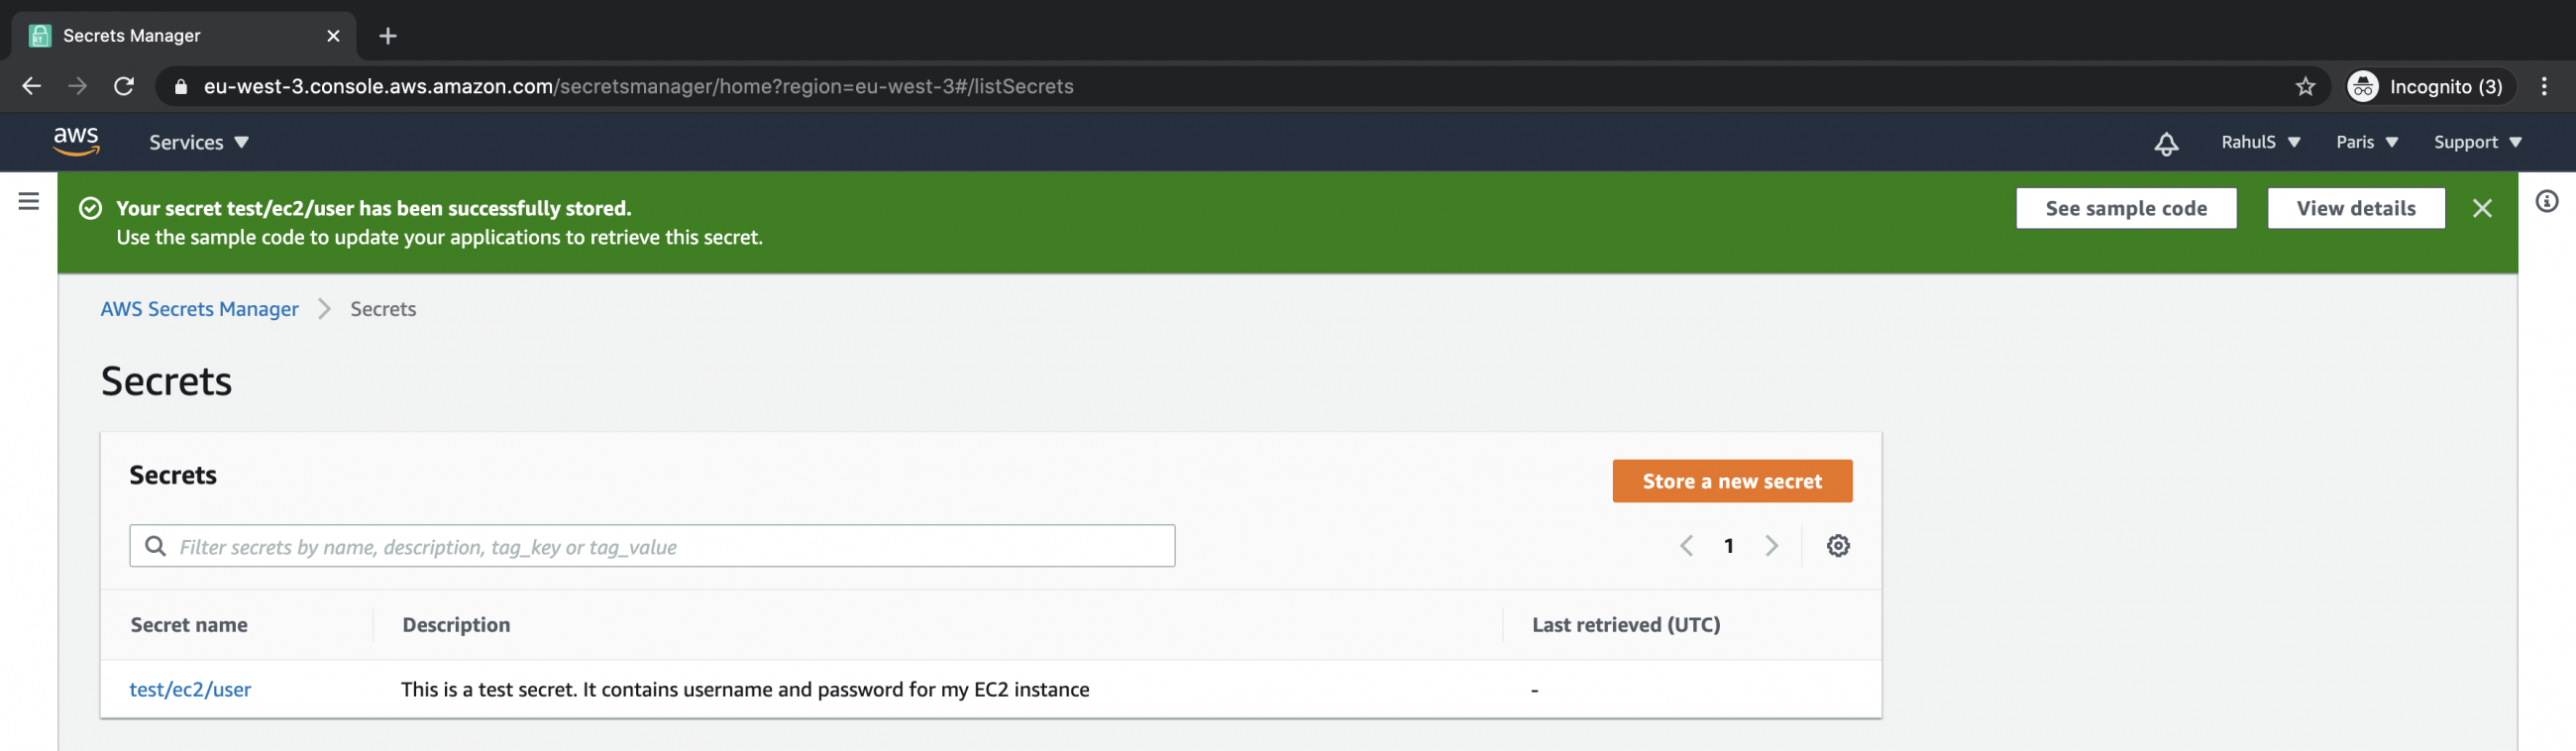
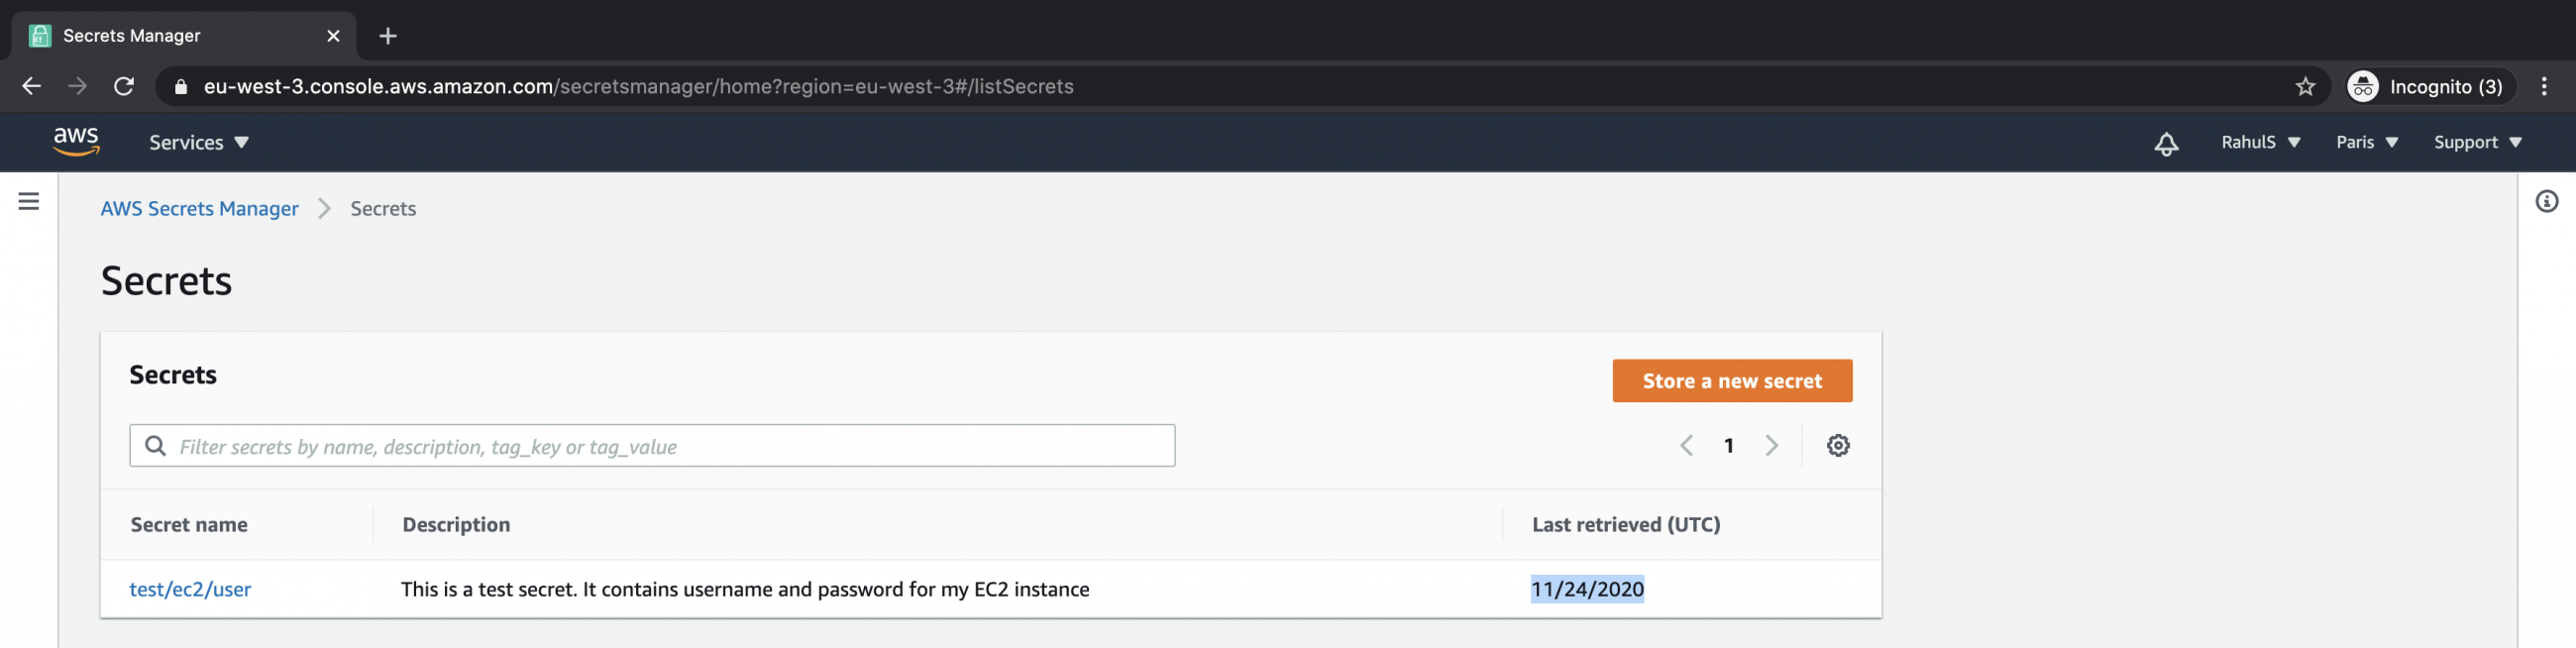
Now that you have successfully created your secret, you can retrieve your credentials from it.
Click on the secret name.
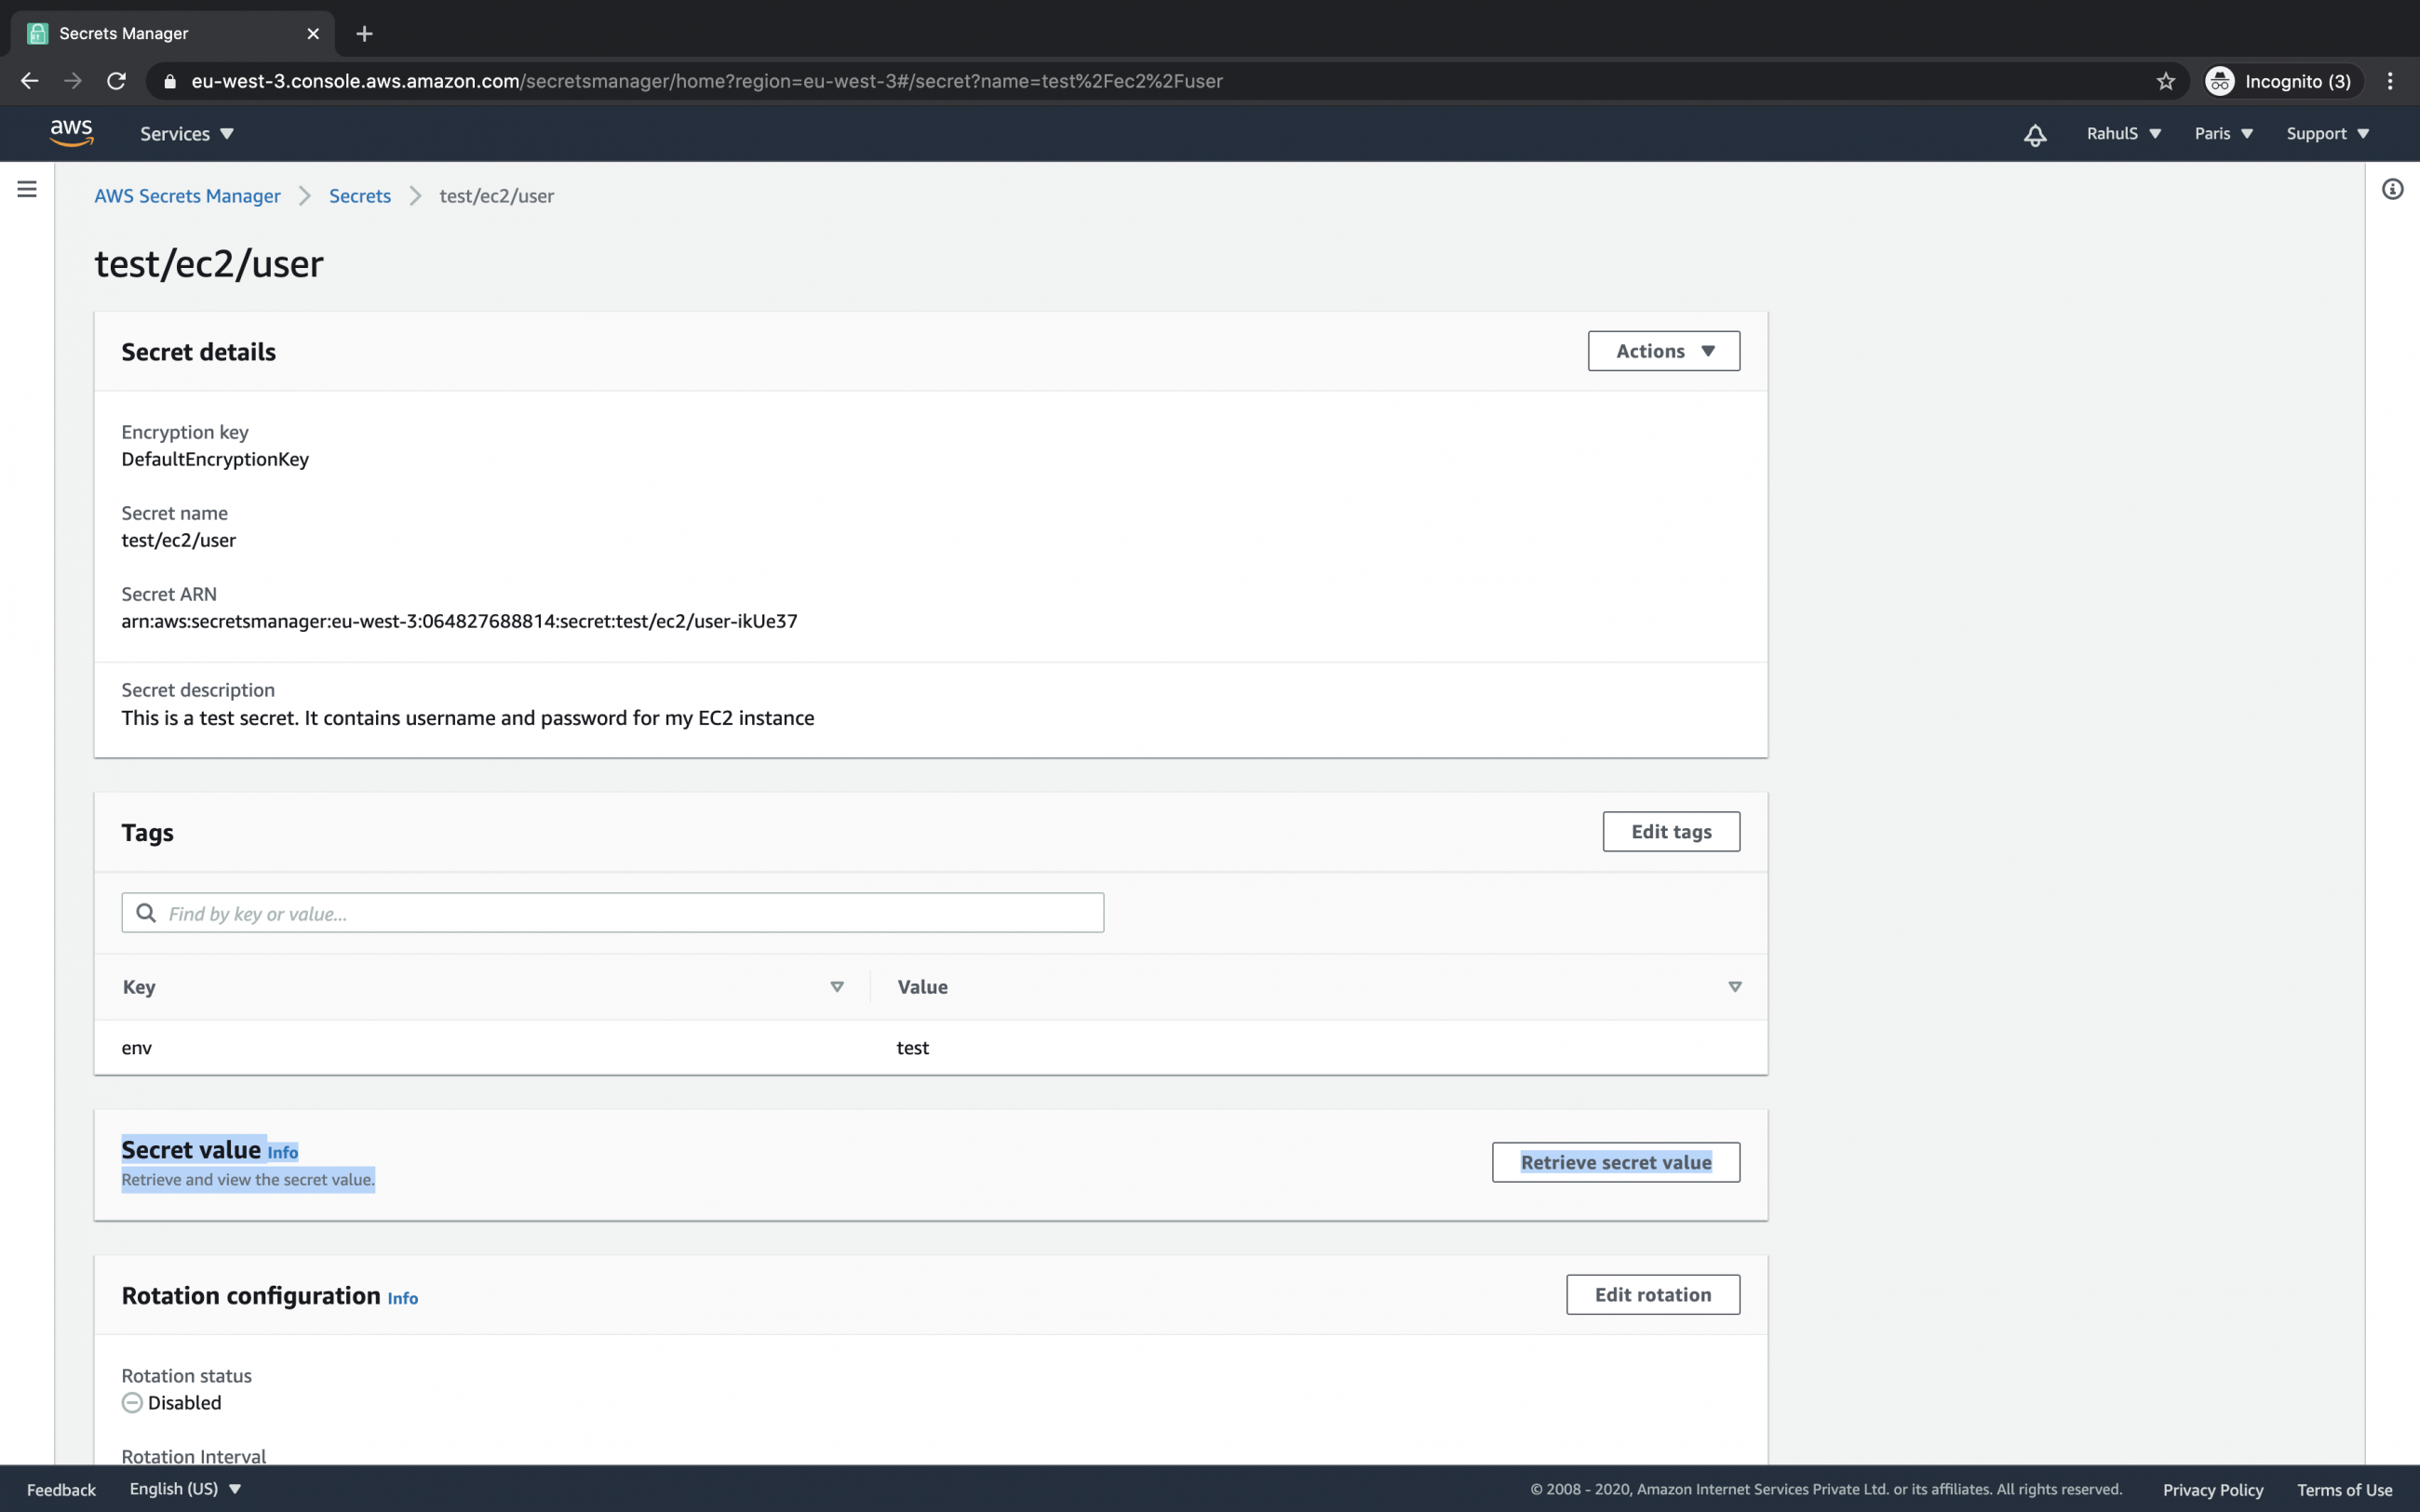
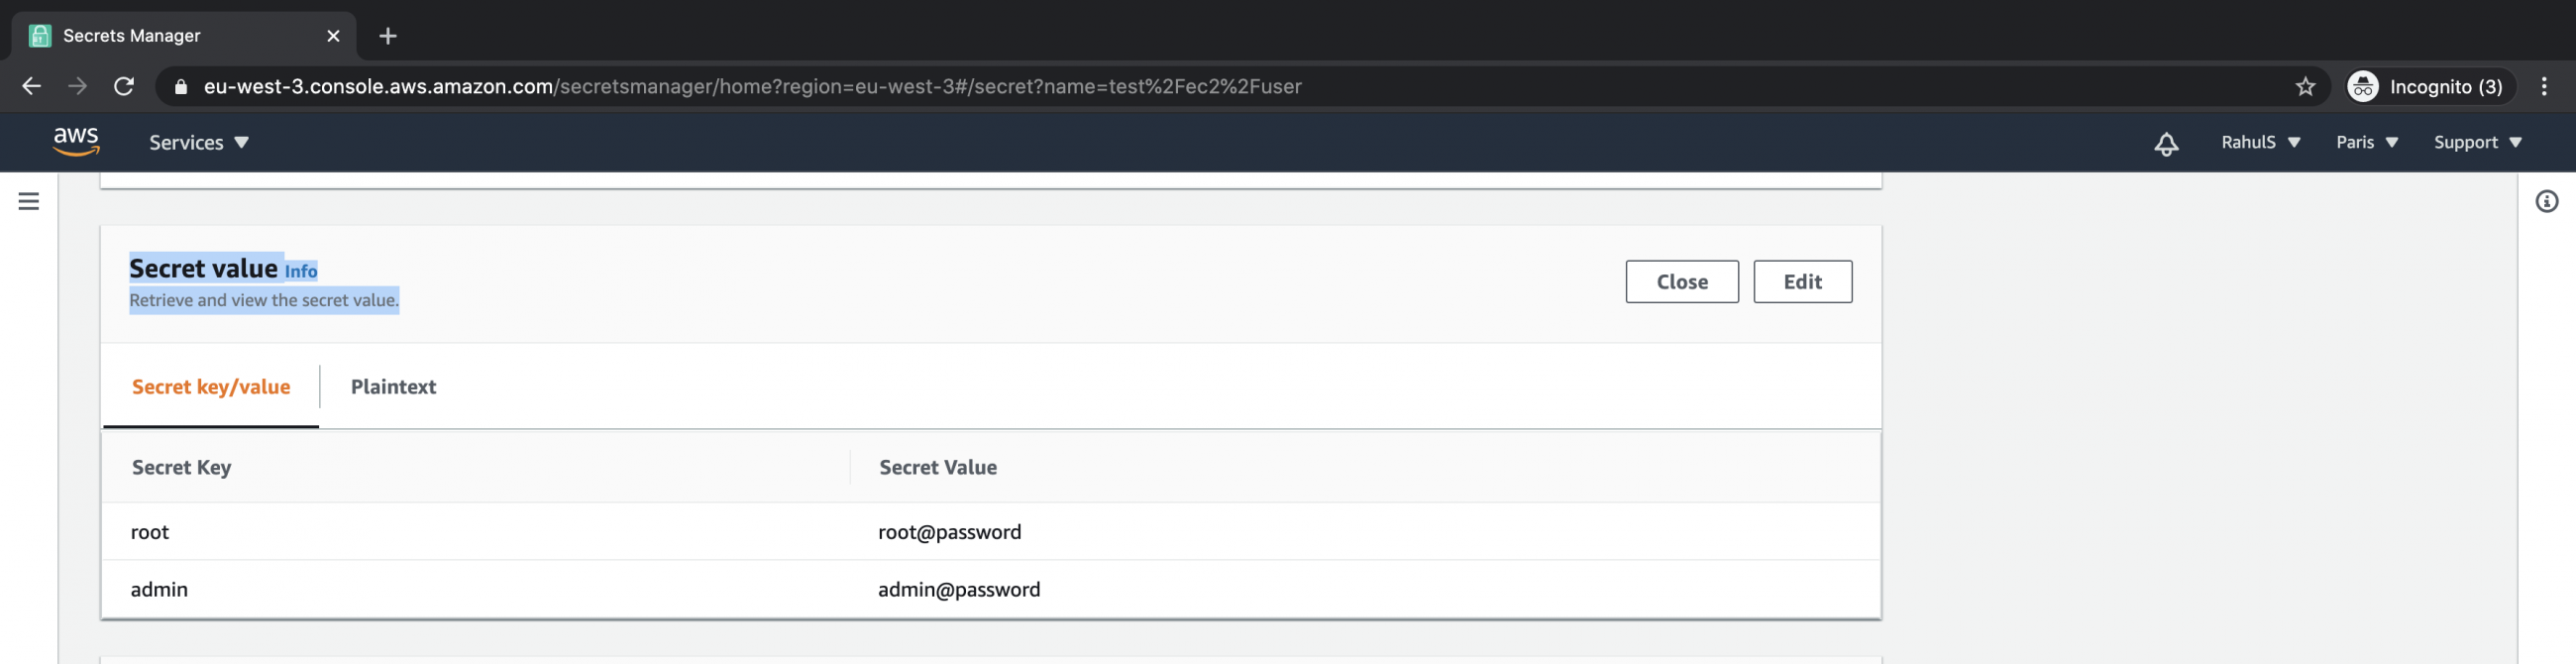
Here, if you click on "Retrieve secret value" you can read the credentials that you have stored in the secret.
This is how you can see your credentials when you retrieve them.
You can even see the time when your secrets were accessed previously.
Delete the secret
When you no longer need your secrets it is better to delete them so that you are not billed by AWS.
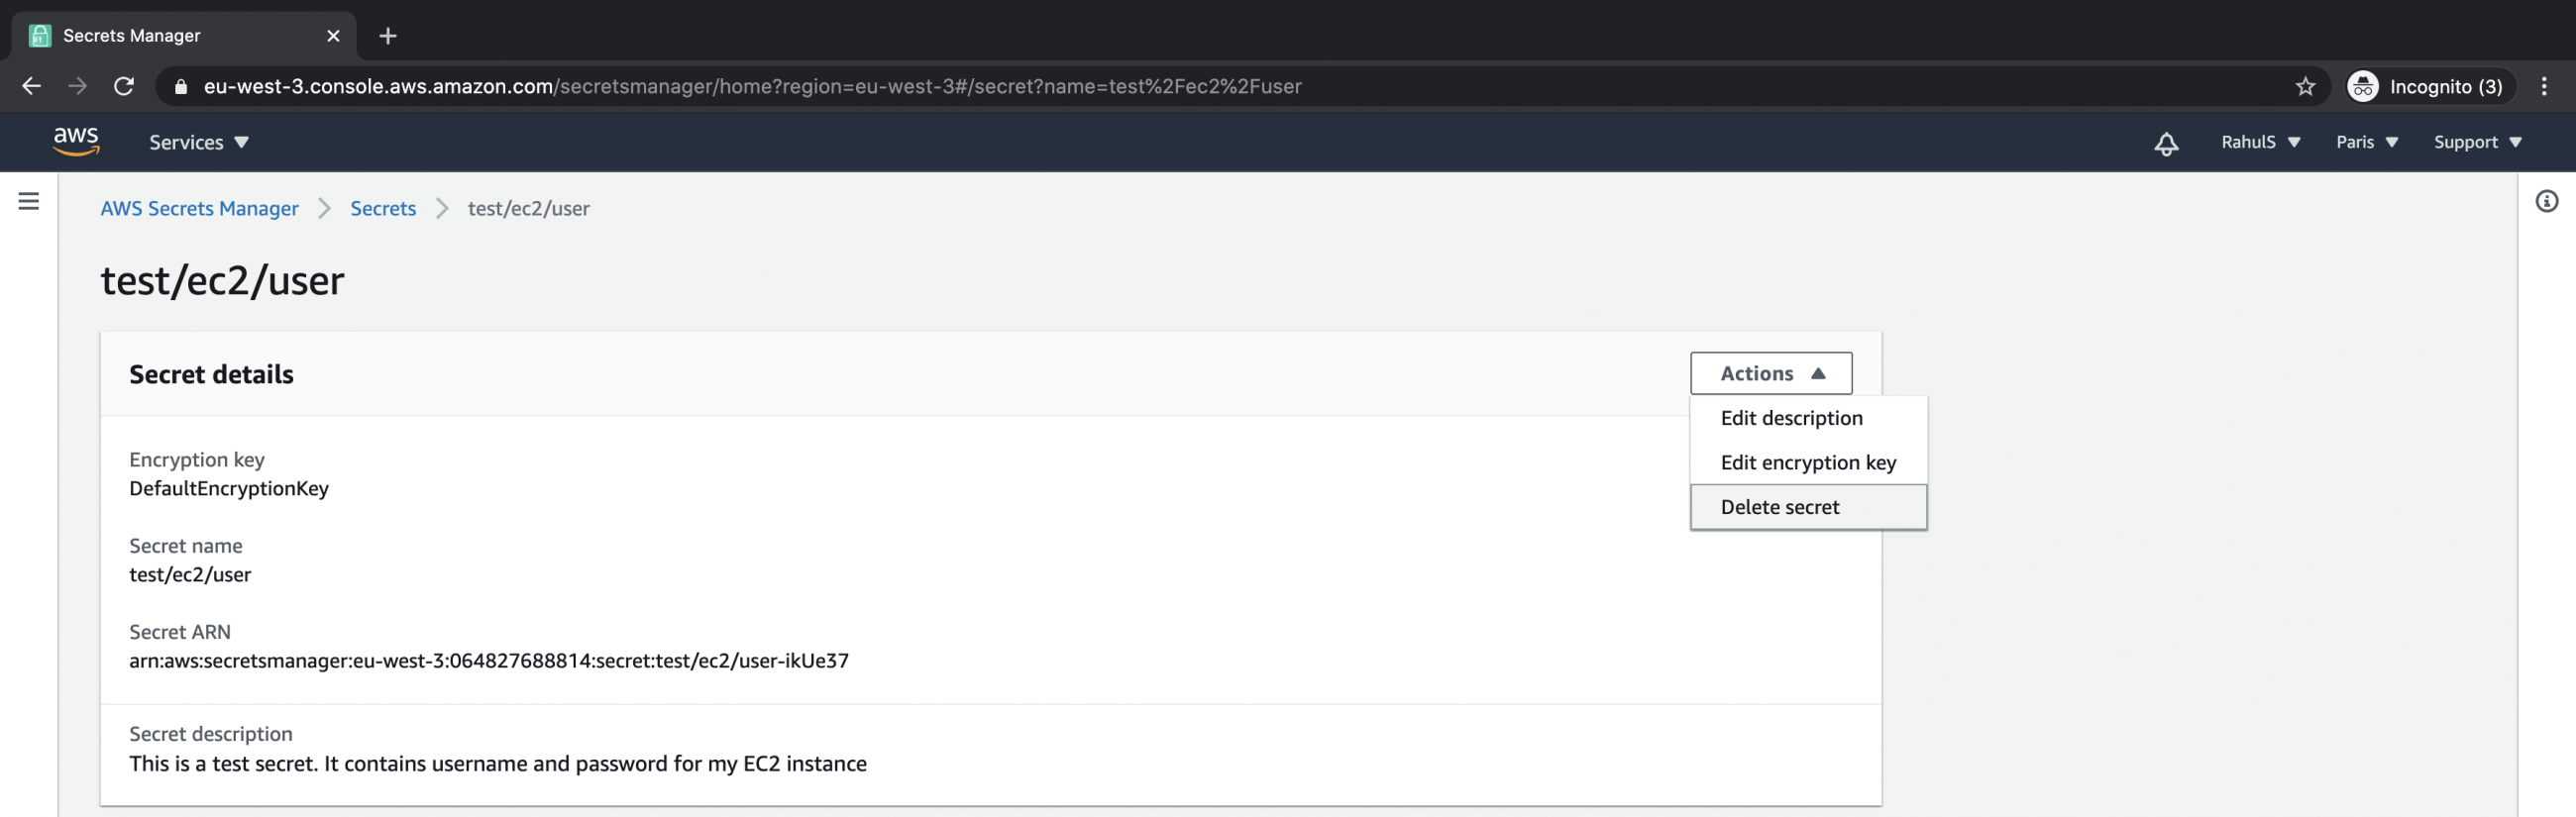
To delete the secret click Actions -- > Delete secret.
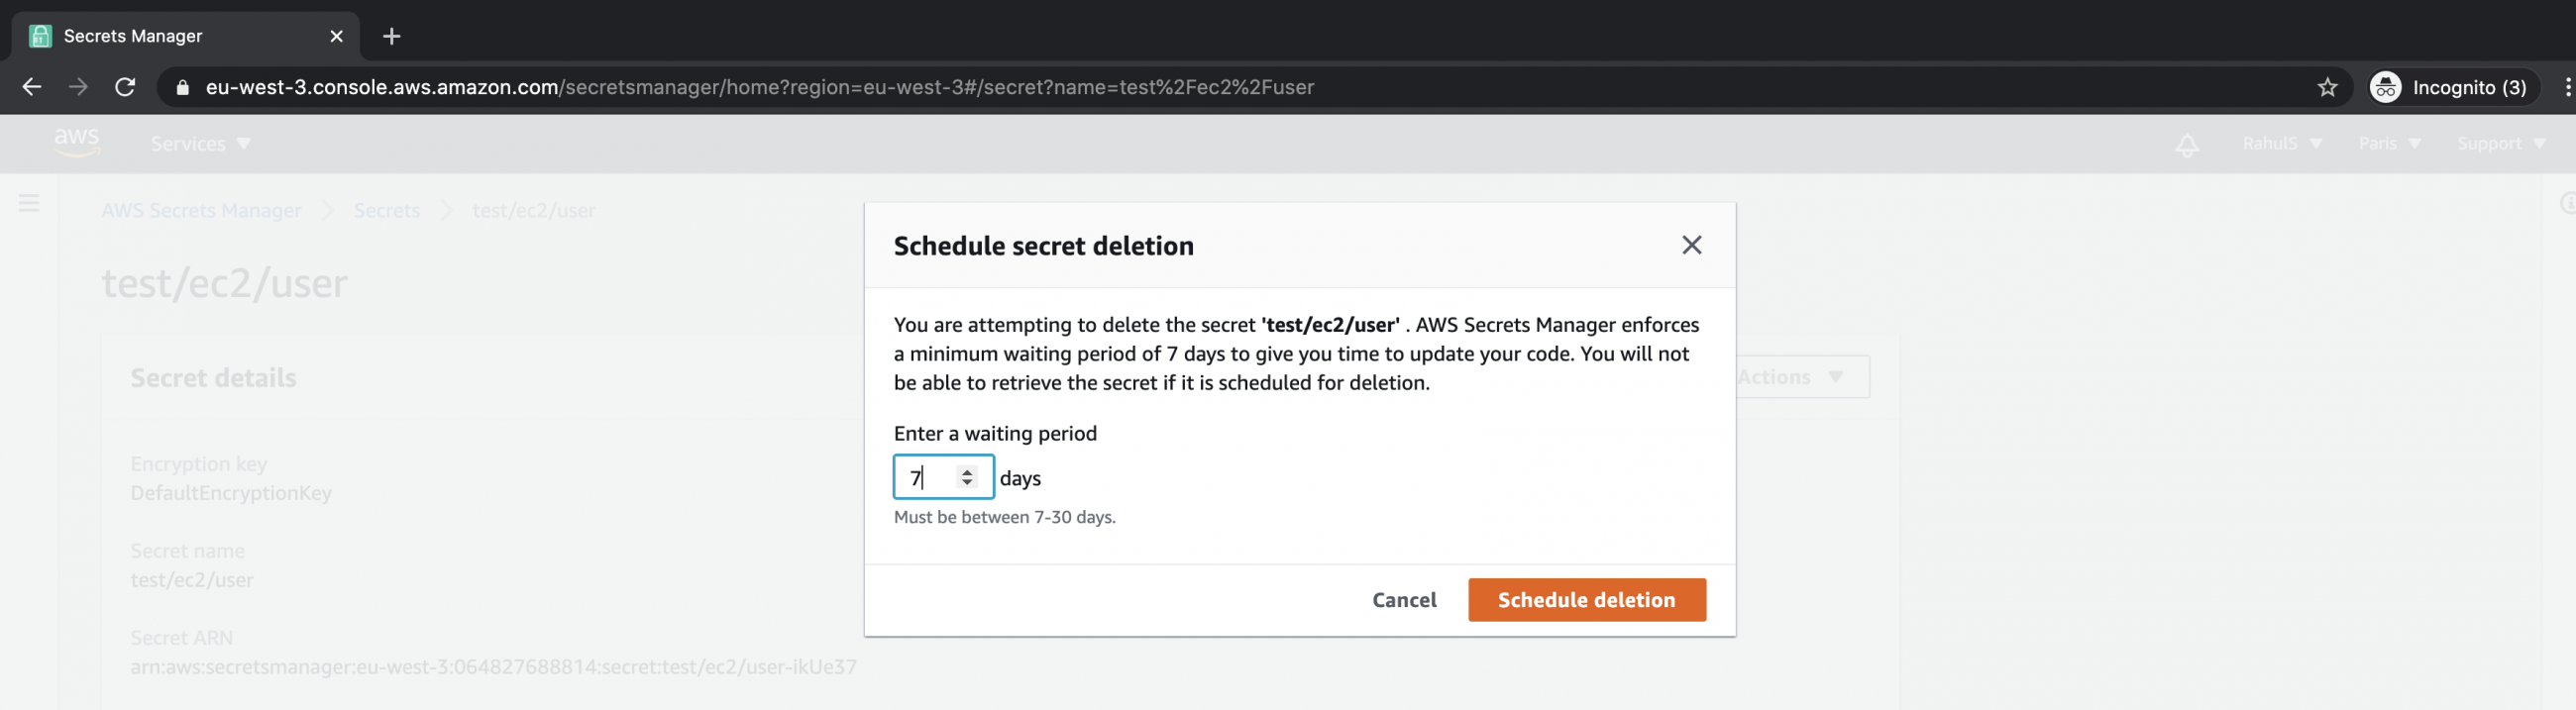
There is a minimum waiting period of seven days to a maximum of 30 days till which the secrets are preserved in AWS even after they are deleted. Once you schedule a secret for deletion you cannot retrieve it.
Enter a working period in the number of days and click on "Schedule deletion".
You will get the following screen after you schedule deletion of the secret.

Cancel deletion of the secret
If you have accidentally scheduled your secrets for deletion you can undo the deletion. You can either do it right after you schedule the secret for deletion in the screen that you get as shown above or you can see secrets that have been scheduled for deletion and then cancel the deletion.
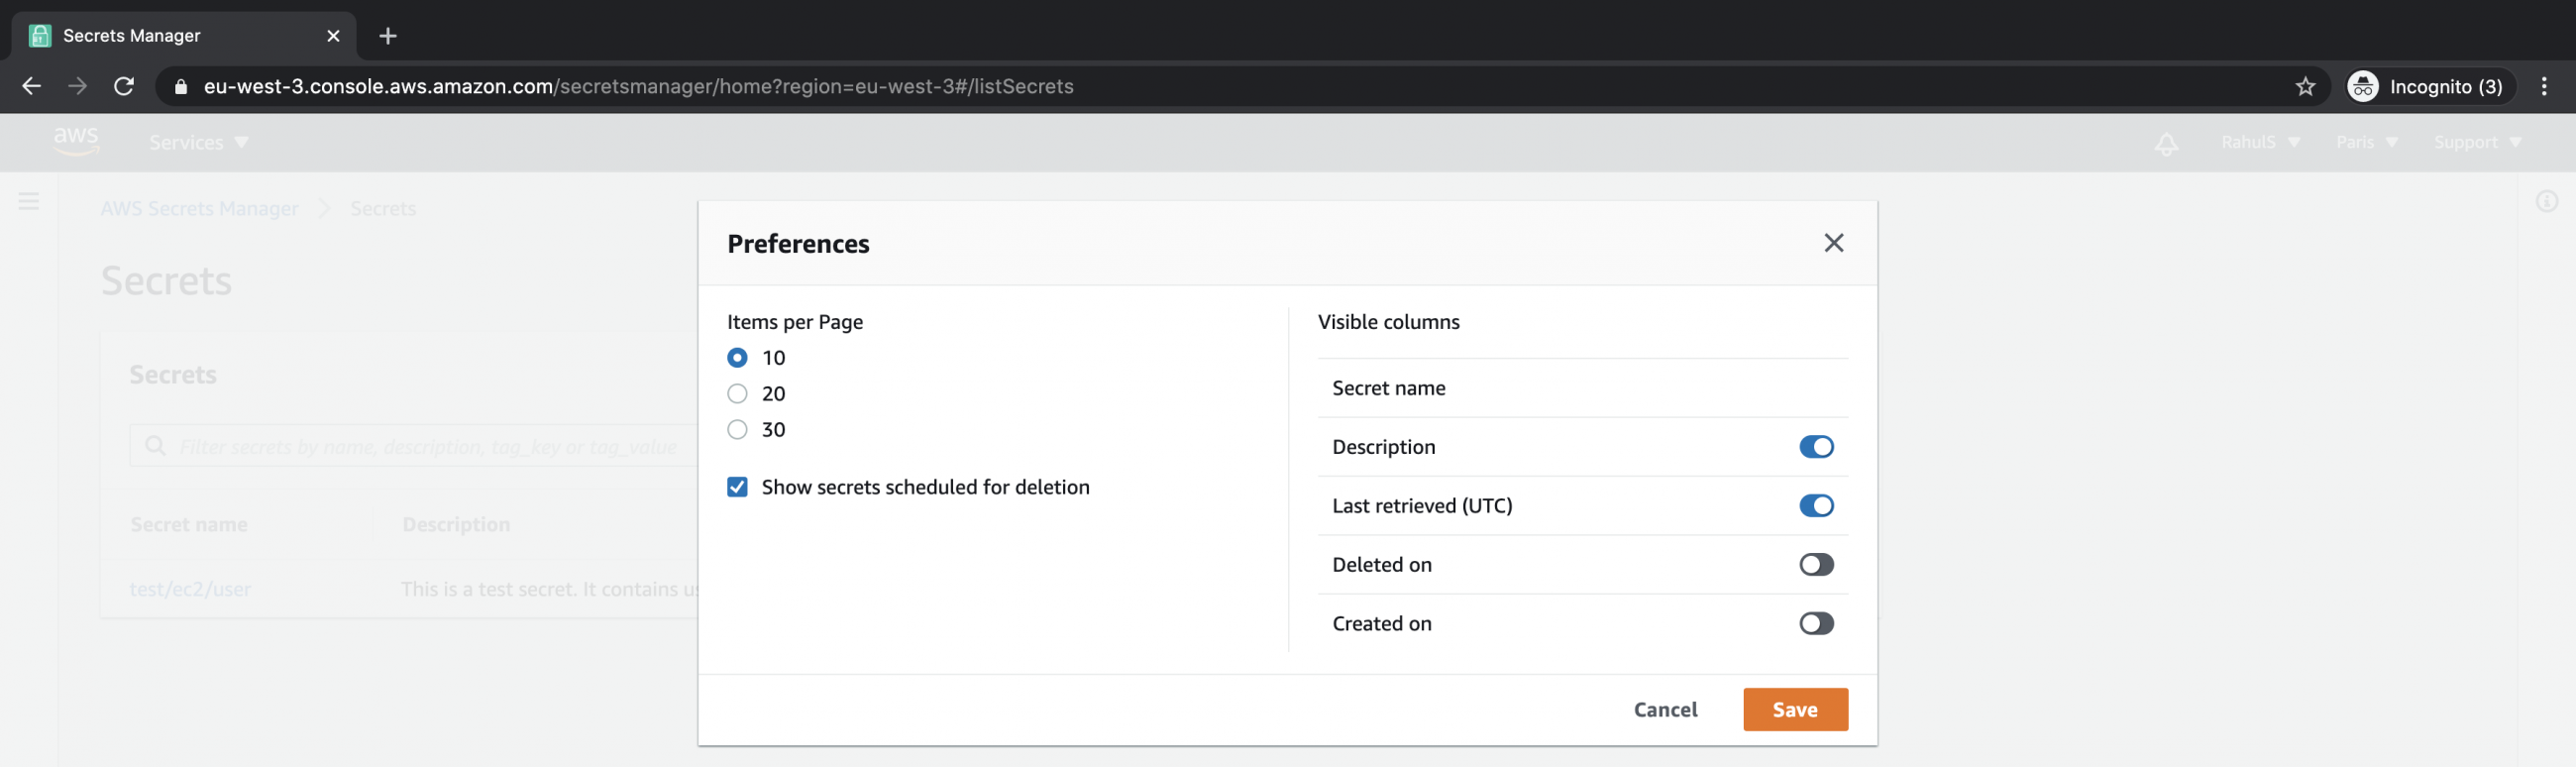
By default, you do not see the secrets which have been scheduled for deletion. To see the secrets which have been scheduled for deletion click on the gear/setting icon.

Upon clicking on the gear icon you will see the screen as follows. Here, tick on the "Show secrets scheduled for deletion' check box and save the setting.
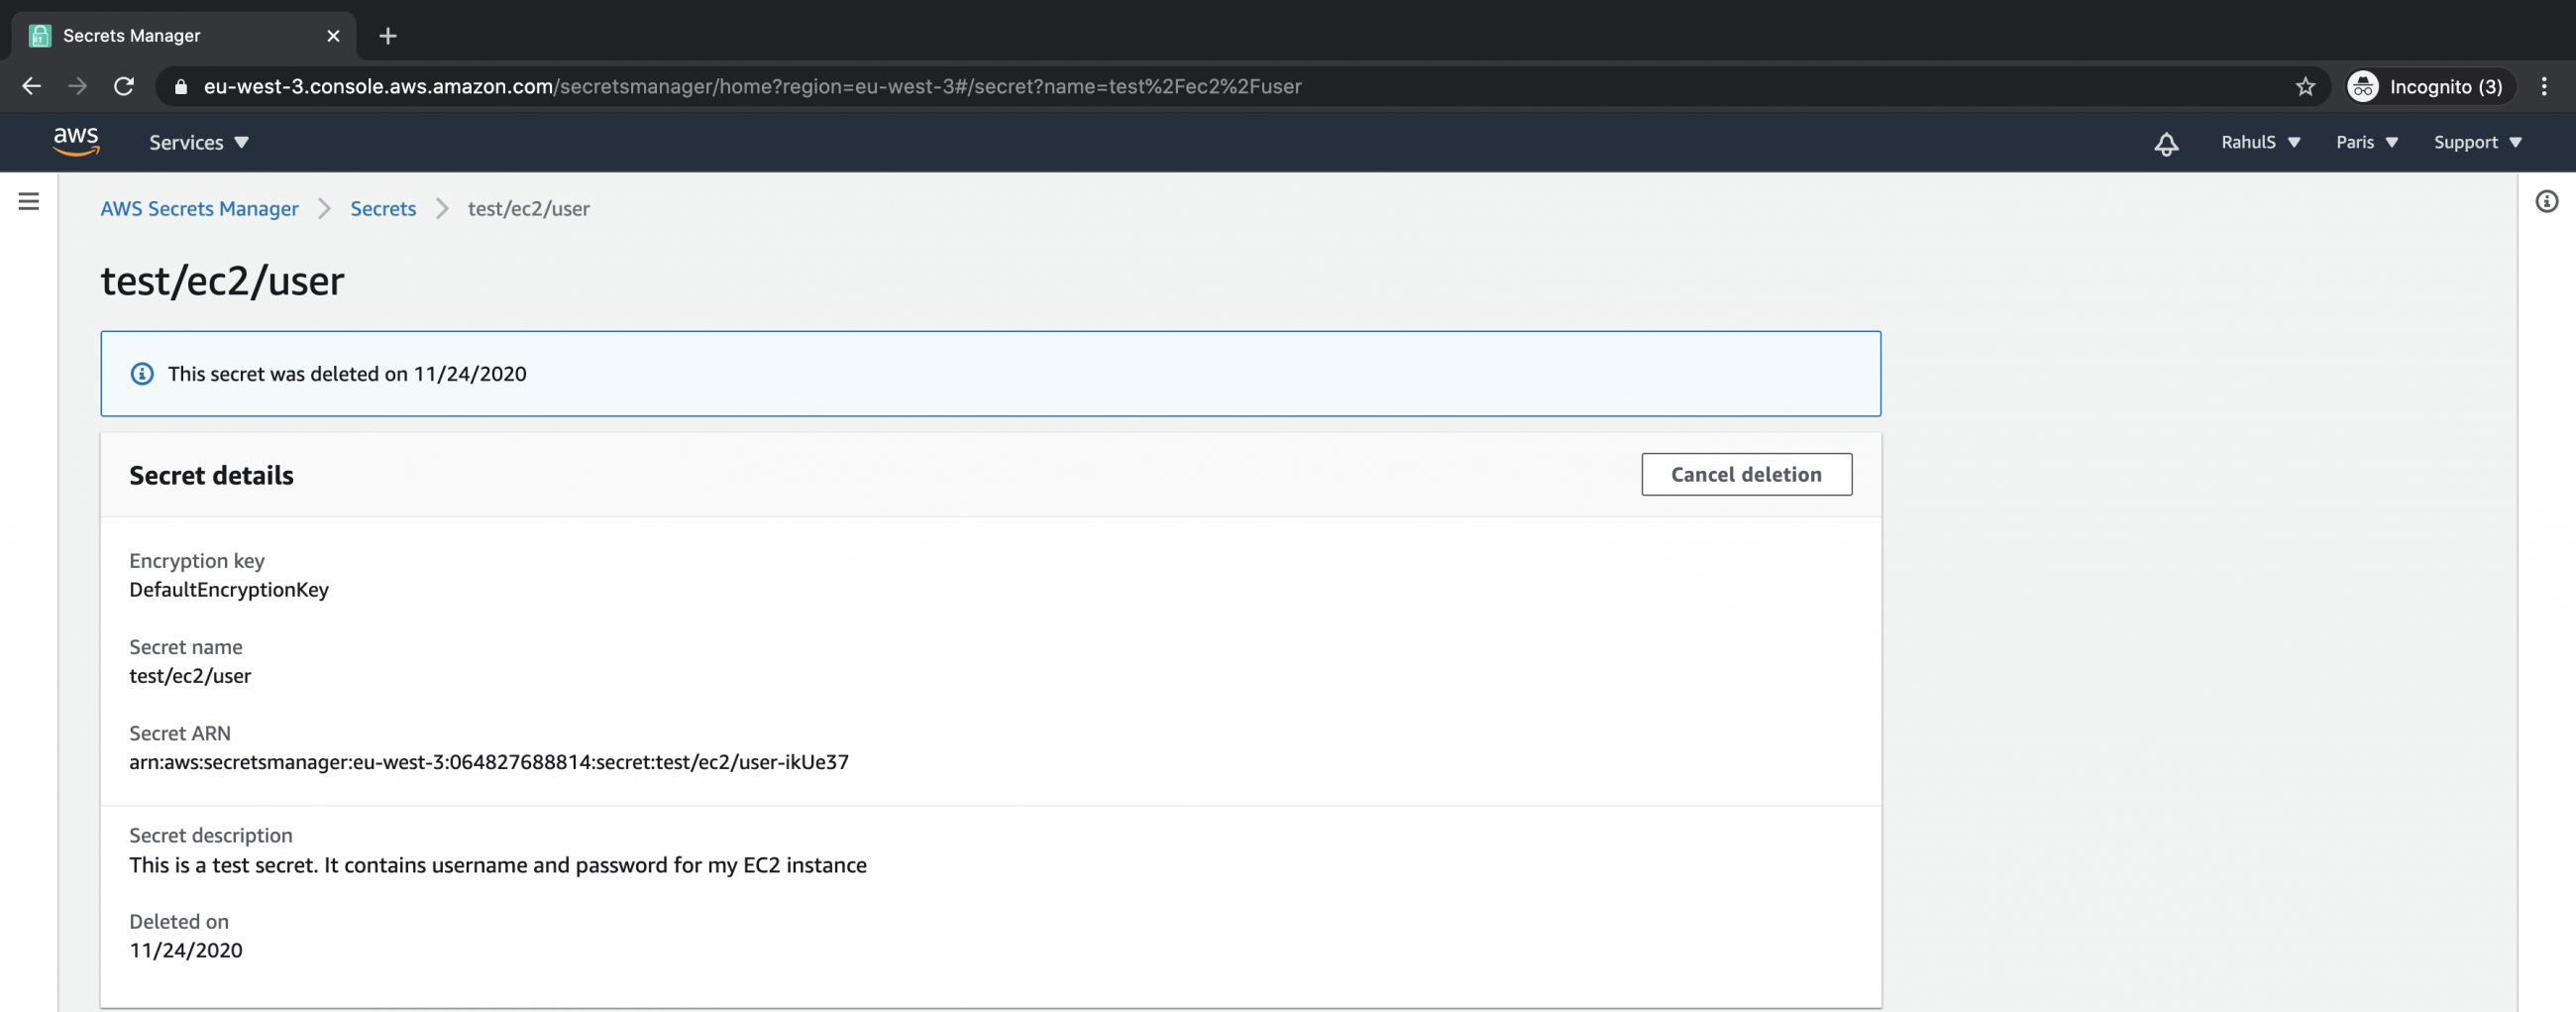
Now you can see the secrets which have been scheduled for deletion. Click on the secret that you want to cancel from deletion.

Here, you see the same screen that you saw after you have scheduled the secret for deletion.
Click on the "Cancel deletion" button.
This will undo the deletion task and you will be able to retrieve your credentials from the secret.
Click on "Cancel deletion" to confirm your operation.

You have successfully restored your secret and now you can retrieve your credentials at any time.
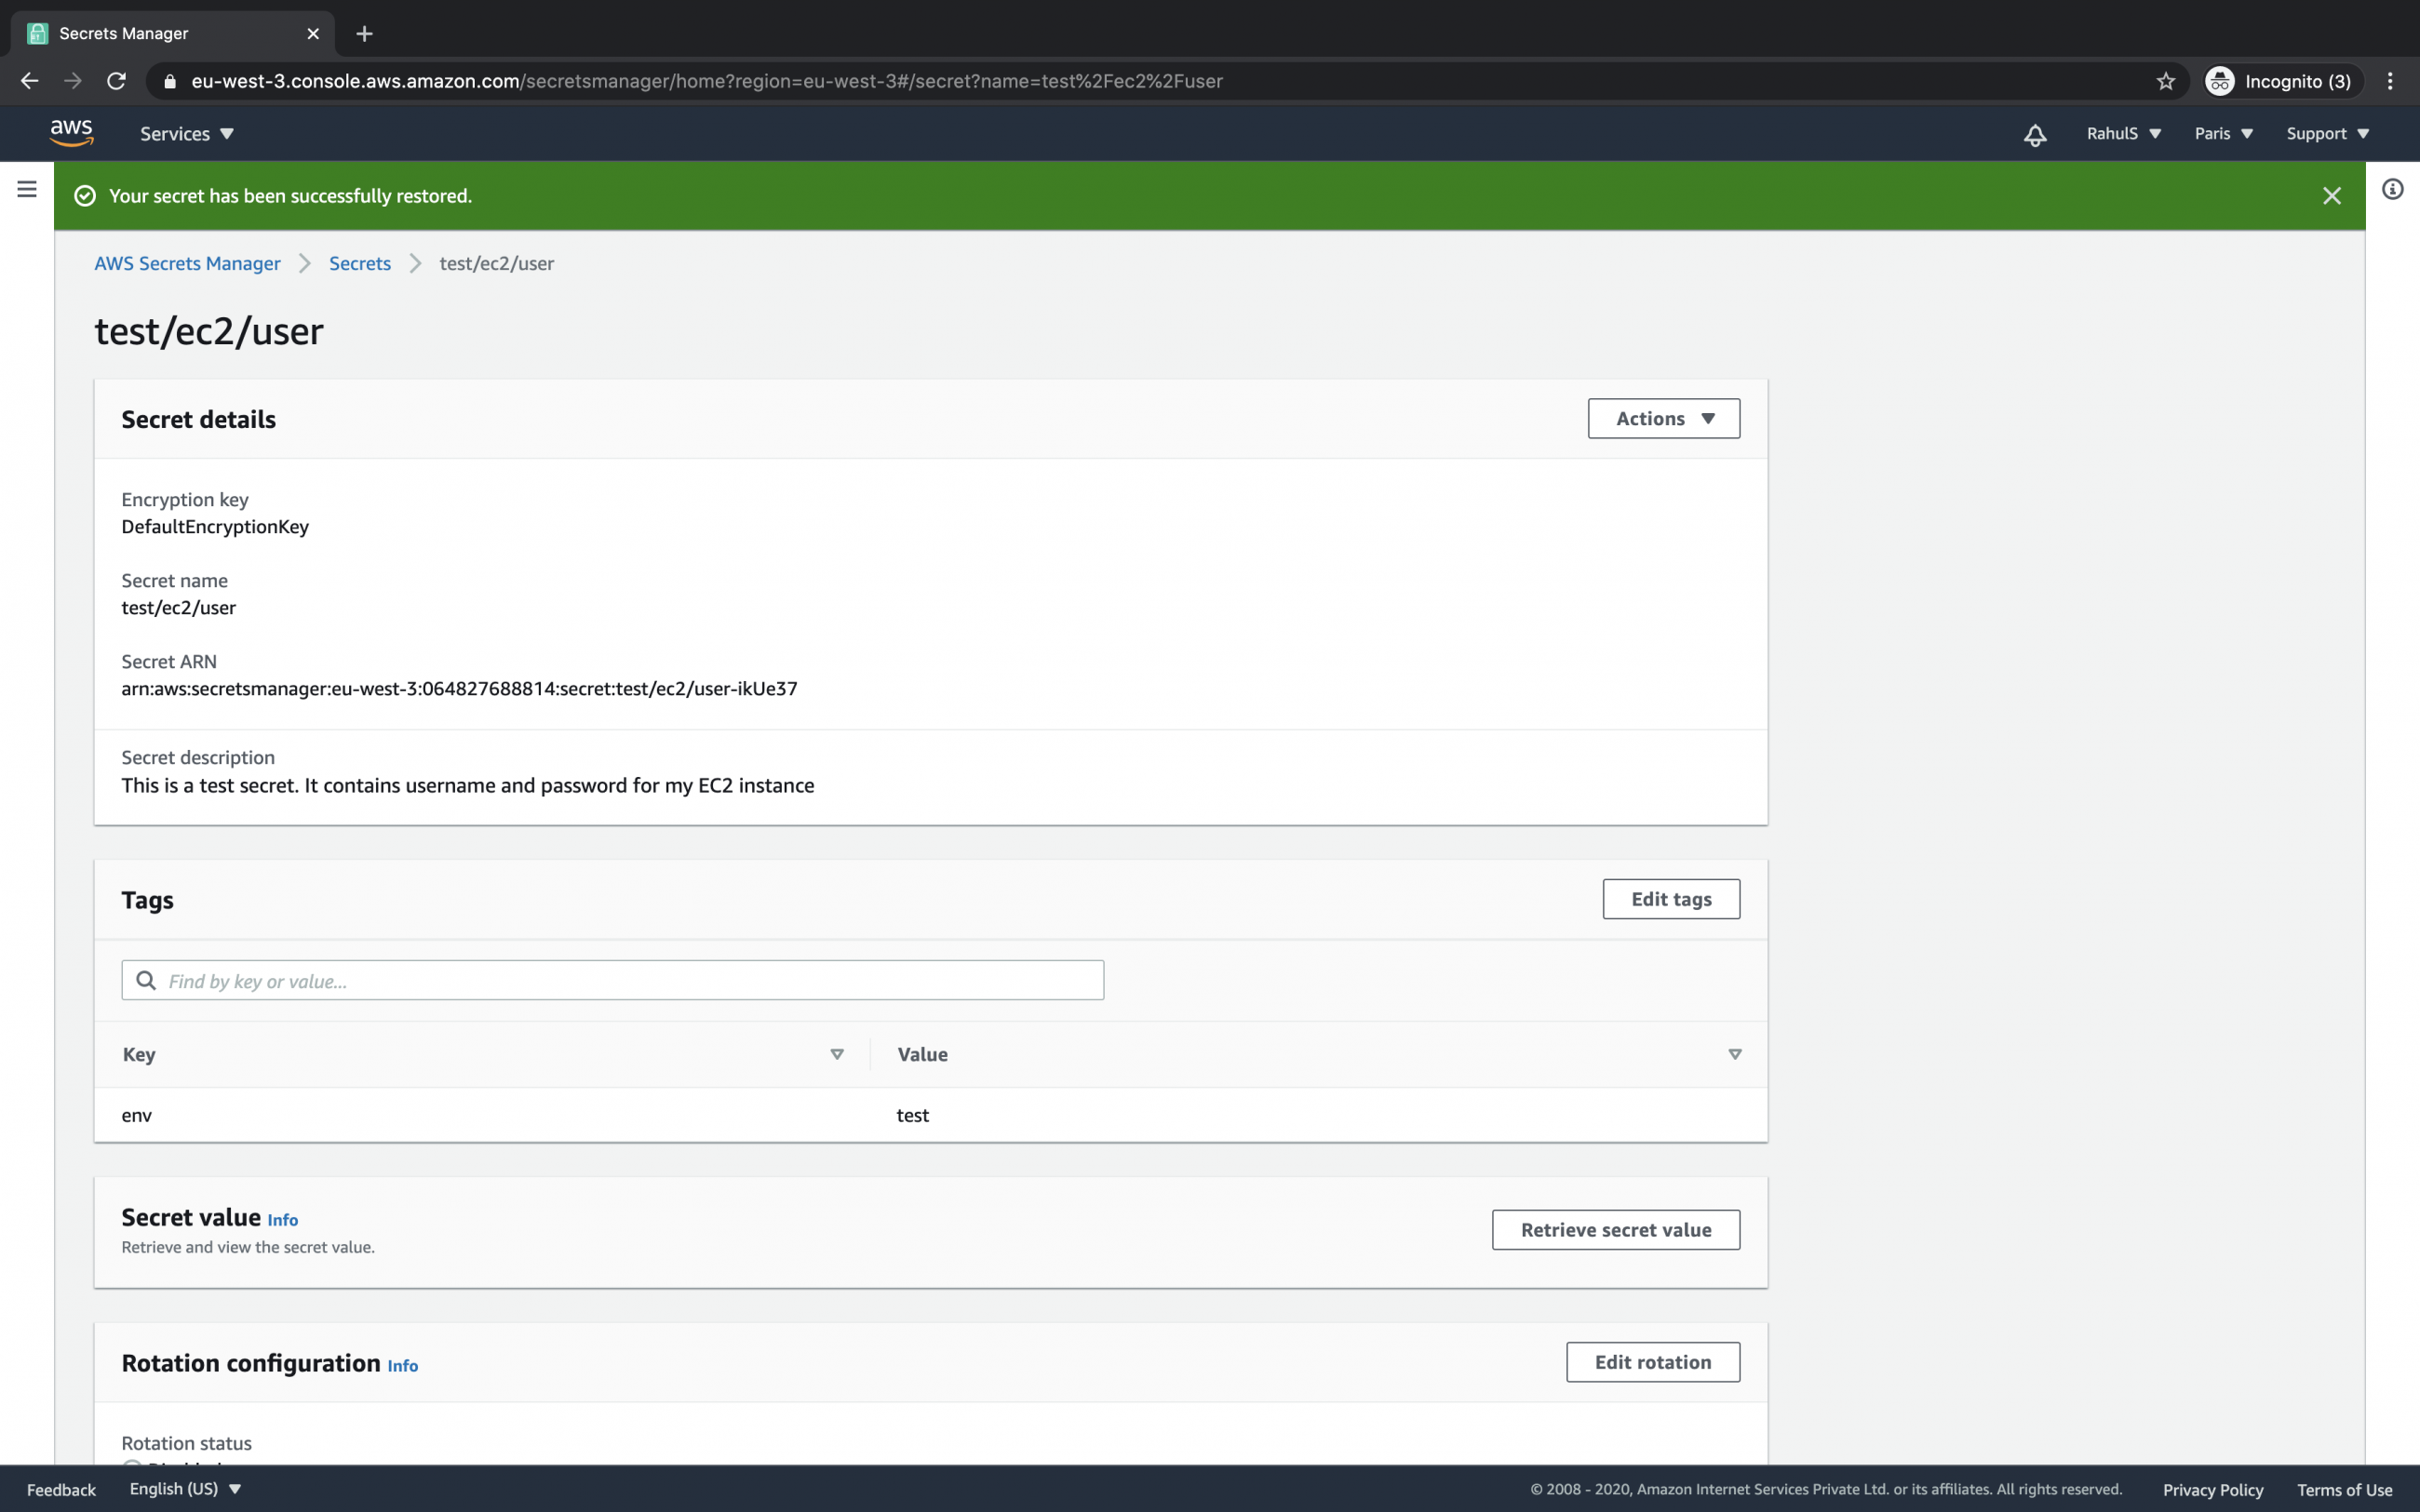
Now, do not forget to schedule deletion for your secret otherwise you will be billed for it.
Conclusion
In this article, we learned to create AWS Secret and store credentials in it. We saw the steps to delete the secret and cancel the deletion if we change our mind and want to undo the deletion.

