How to Setup APT Proxy on Ubuntu 22.04 LTS
A proxy server is an intermediate server that sits between the client computer and the internet. Generally, it is used in internal networks for unexpected access and to prevent attacks. It is also used to control internet access, bandwidth control, and content filtering and blocking.
If your office or home network is behind a proxy server then you will need to set up a proxy in your web browser or network proxy setting to access the internet.
In this tutorial, we will show you how to set up proxy settings and apt-proxy in Ubuntu 22.04 Server and Desktop system. The same steps are working on Ubuntu 20.04 as well.
Prerequisites
- Ubuntu 22.04 desktop or Ubuntu 20.04 Desktop installed on your pc.
- Root access via sudo.
Setup Proxy on Ubuntu Desktop
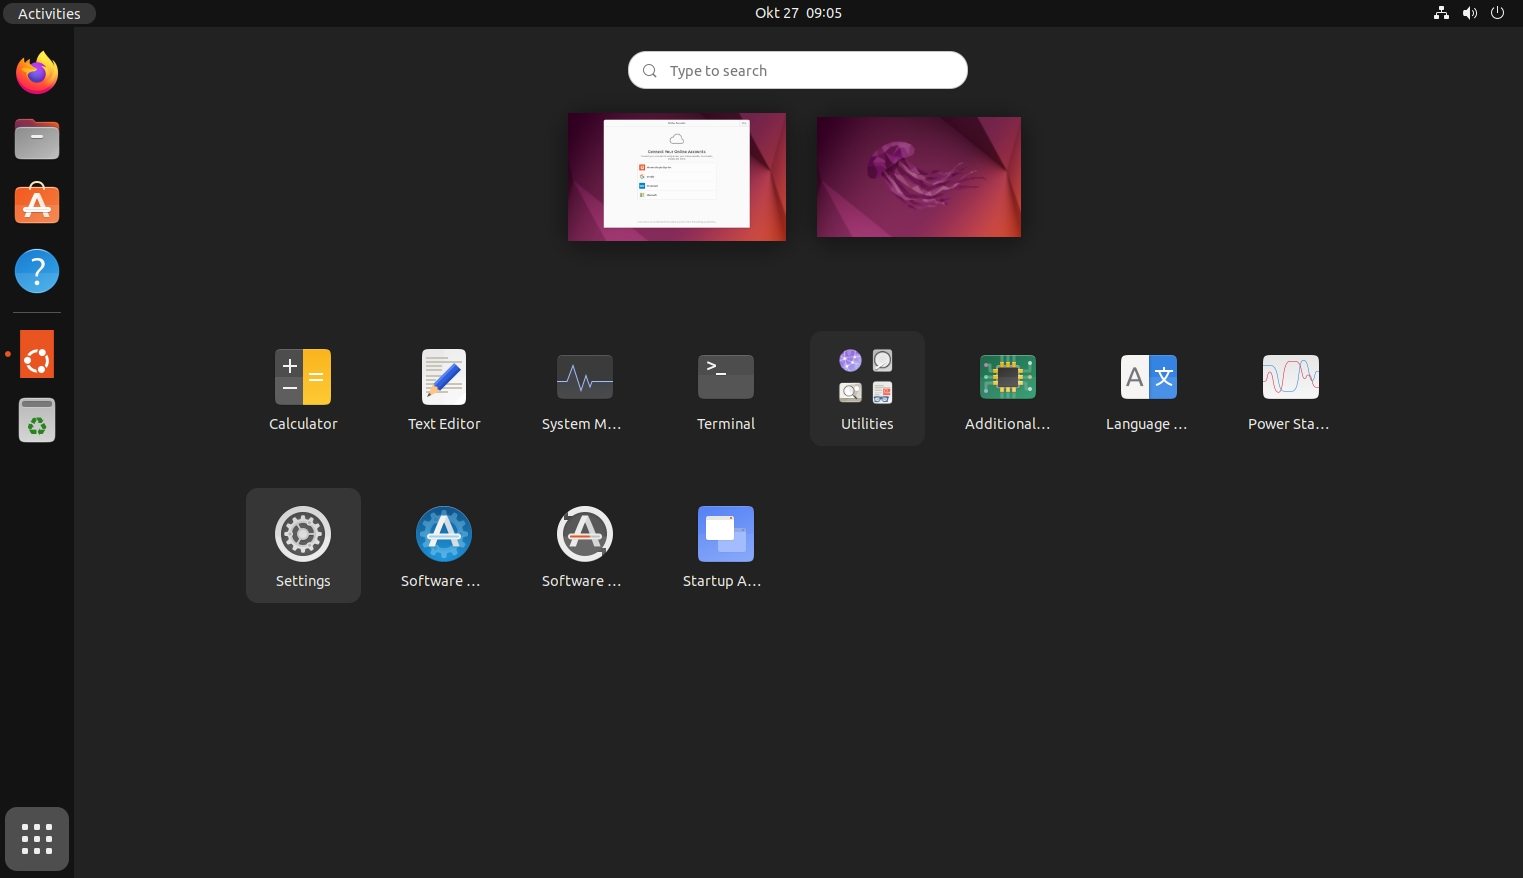
In order to set up a proxy on an Ubuntu desktop, open the System Settings as shown below:
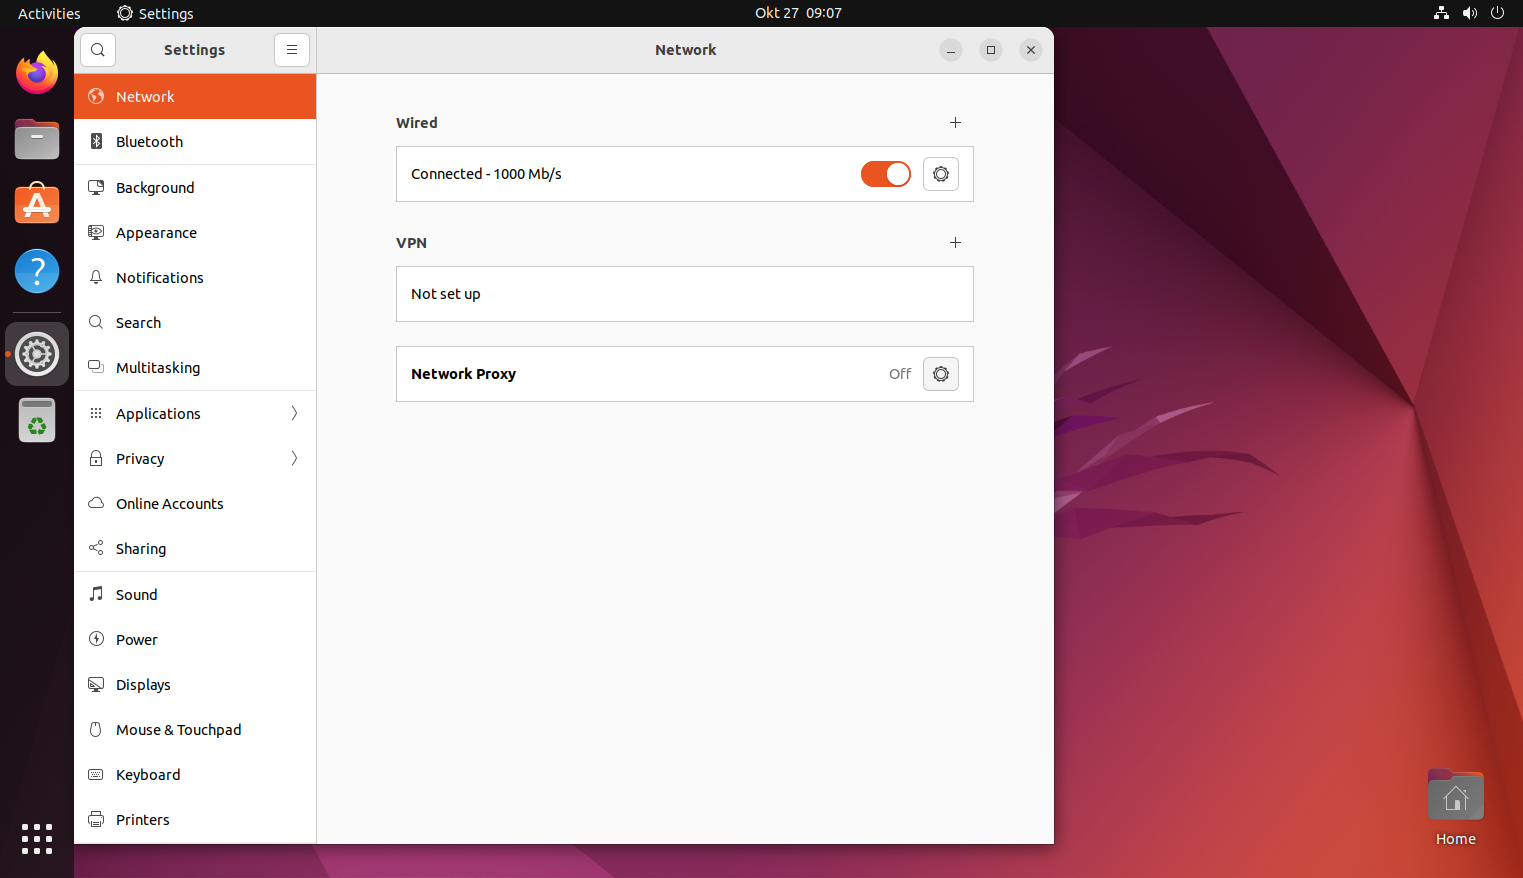
Click on the Network => Network proxy. You should see the following screen:
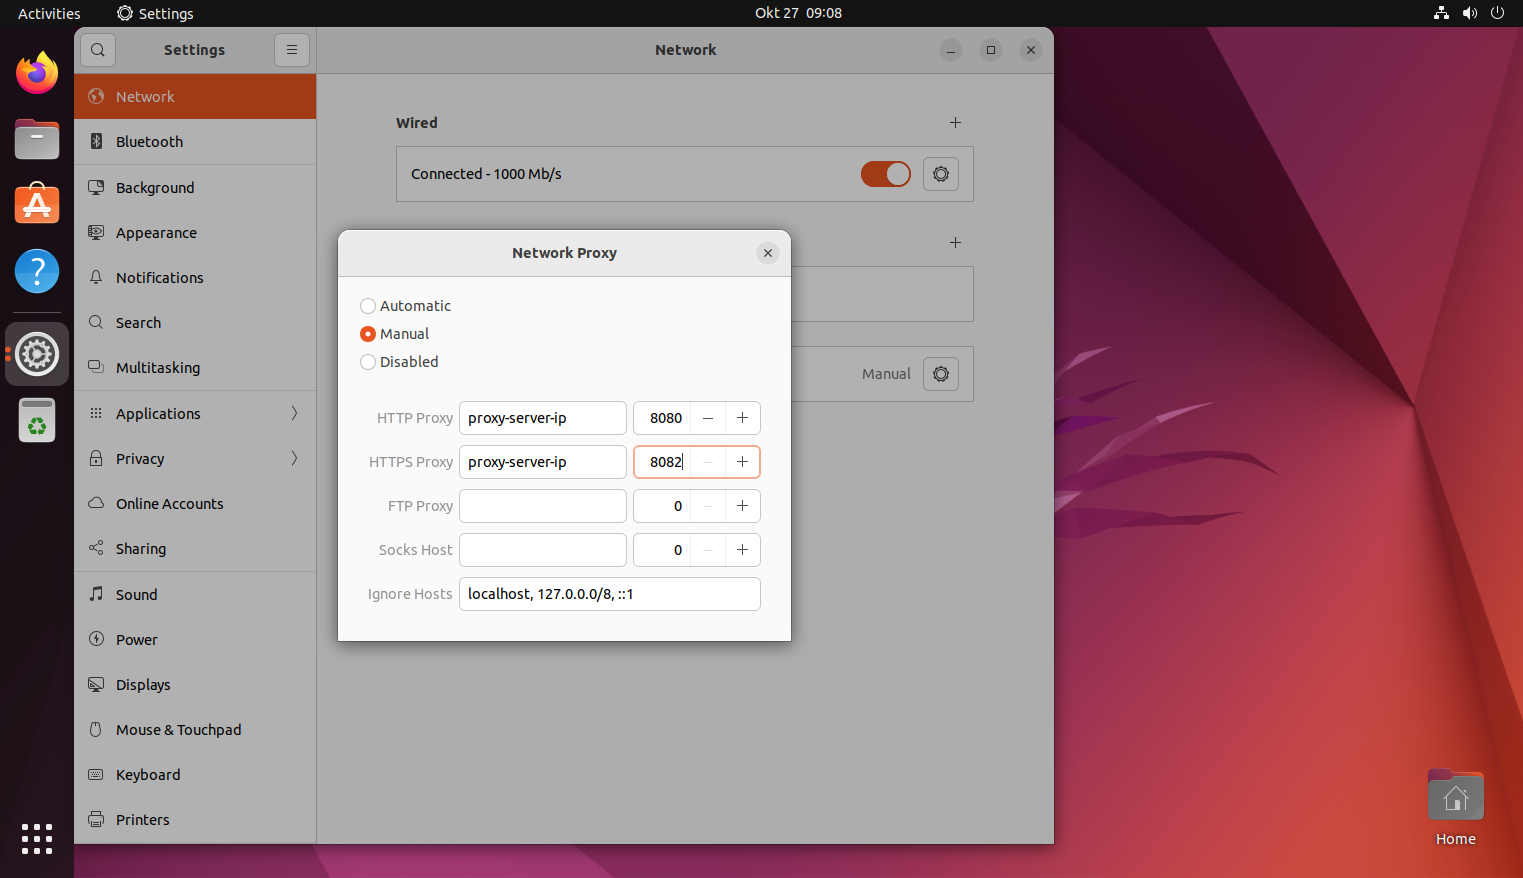
In the "Method" drop-down list, select Manual, provide your proxy server IP, and port number and click on the "Apply system-wide" button to apply the changes.
Setup Proxy for Single User
In some cases, you don't want to use a proxy every time. In that case, you can set up a temporary proxy from the terminal windows.
To export the HTTP_PROXY variable temporarily, run the following command in your terminal:
export HTTP_PROXY=username:password@proxy-server-ip:8181
To export the HTTPS_PROXY variable temporarily, run the following command in your terminal:
export HTTPS_PROXY=username:password@proxy-server-ip:8182
If you want to set up a permanent proxy for a single user. You can do it by editing the file ~/.bashrc for a specific user:
nano ~/.bashrc
Add the following lines at the end of the file:
export http_proxy=username:password@proxy-server-ip:8181
export https_proxy=username:password@proxy-server-ip:8182
Save and close the file then activate the new proxy setting with the following command:
source ~/.bashrc
Setup Permanent Proxy for All User
If you want to set up a proxy setting for all users then you can set up it by editing the /etc/environment file:
nano /etc/environment
Add the following lines at the end of the file:
export http_proxy=username:password@proxy-server-ip:8181
export https_proxy=username:password@proxy-server-ip:8182
Save and close the file then activate the new proxy setting with the following command:
source /etc/environment
Setup Proxy for APT
You will need to set up a proxy for APT if you want to install the package from the Ubuntu repository. You can do it by creating a new configuration file at /etc/apt/apt.conf.d/:
nano /etc/apt/apt.conf.d/proxy.conf
Add the following lines:
Acquire::http::Proxy "http://username:password@proxy-server-ip:8181/";
Acquire::https::Proxy "https://username:password@proxy-server-ip:8182/";
Save and close the file when you are finished. You can now install any packages from the Ubuntu repository in your system
Frequently Asked Questions
What is an APT Proxy and why would I need one?
An APT Proxy allows Ubuntu systems to fetch packages from a centralized proxy server. This setup is useful in environments with multiple Ubuntu machines, reducing bandwidth usage and speeding up package downloads by caching.
What should I do if my client Ubuntu machine cannot connect to the APT Proxy?
Ensure the proxy server is running and accessible over the network. Check firewall settings and verify the IP address and port in the client's configuration.
Can I use an APT Proxy with machines outside my local network?
Yes, but this requires additional network configuration, like port forwarding and secure access rules, to ensure security and efficiency.
Are there any security concerns with using an APT Proxy?
Generally, APT Proxies are secure, but it's important to limit access to trusted machines, especially if your proxy is accessible over the internet.
Conclusion
In the above guide, I have shown you how to set up a proxy on Ubuntu using different methods. I hope you have now enough knowledge of the proxy settings.

