How to update the ONLYOFFICE Docs Docker version on Ubuntu
ONLYOFFICE Docs is an open-source office suite distributed under GNU AGPL v3.0. It comprises web-based collaborative editors for text documents, spreadsheets, and presentations highly compatible with OOXML formats (docx, xlsx, pptx).
ONLYOFFICE Docs can be used with various cloud storage platforms such as Nextcloud, ownCloud, Seafile, Alfresco, HumHub, Plone, etc., as well as embedded into your own solution. ONLYOFFICE Docs can also be used together with ONLYOFFICE Groups, a free open-source collaboration platform distributed under Apache 2.0 (the complete solution is available as ONLYOFFICE Workspace).
In this tutorial, we’ll learn how to update the Docker version of ONLYOFFICE Docs. If you’re new to ONLYOFFICE Docs, learn how to install the suite on your Ubuntu machine in this article.
What's new in ONLYOFFICE Docs 6.2
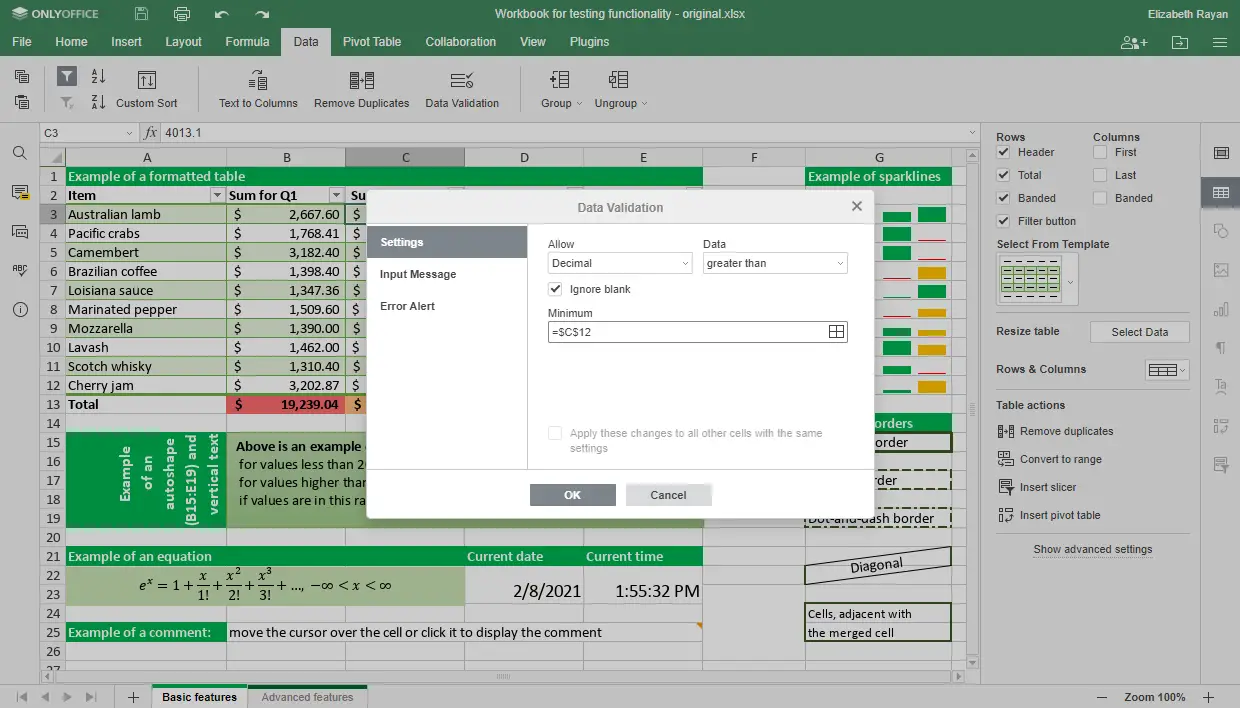
- Data validation settings to control the parameters of the information entered in cells by other users.
- Table of Figures in docs to organize illustrations and navigate between them.
- Slicers for Pivot tables to indicate the filtering state to understand what data is currently displayed.
- Ability to set a custom number format for cells.
- New functions: GROWTH, TREND, LOGEST, UNIQUE, MUNIT, and RANDARRAY.
- New proofing options in presentations to choose where you want to use autocorrect as you type.
- New interface languages: Belarusian, Catalan, Greek, Lao, and Romanian.
Update the Docker version of ONLYOFFICE Docs
Step 1: Shut down ONLYOFFICE Docs
sudo docker exec {{DOCUMENT_SERVER_ID}} documentserver-prepare4shutdown.sh
In this script, {{DOCUMENT_SERVER_ID}} stands for the current ONLYOFFICE Docs container name or ID. To find it out, use the following Docker command:
sudo docker ps -a
Step 2: Make sure all the container volumes used to store ONLYOFFICE Docs data are mounted
sudo docker inspect --format='{{range $p,$conf:=.HostConfig.Binds}}{{$conf}};{{end}}' {{DOCUMENT_SERVER_ID}}
Step 3: Stop the current ONLYOFFICE Docs Docker container
sudo docker stop {{DOCUMENT_SERVER_ID}}
Step 4: Download the latest ONLYOFFICE Docs image
docker pull onlyoffice/documentserver:latest
Step 5: Run the new image with the same map paths
sudo docker run -i -t -d -p 80:80 --restart=always \
    -v /host_folder:/volume \
    -v /host_folder:/volume onlyoffice/documentserver
Run the new image with the folder paths mapped exactly as they had been mounted for the previous version. Specify the -v option arguments replacing the /host_folder:/volume values with the actual paths.
In case the previous version of ONLYOFFICE Docs was used with a different port or HTTPS, configure the necessary parameters following the instructions from one of our previous tutorials.
Once done, run ONLYOFFICE Docs and check it for correct work.
Optional step: Remove the old ONLYOFFICE Docs container and image
After you make sure the updated version works correctly, you are able to remove the old ONLYOFFICE Docs container:
sudo docker rm {{OLD_DOCUMENT_SERVER_CONTAINER_ID}}
{{OLD_DOCUMENT_SERVER_CONTAINER_ID}} stands for the previous ONLYOFFICE Docs container name or ID.
To remove the old ONLYOFFICE Docs image, display all docker images:
sudo docker images -a
Find the unnecessary image ID in the image list and remove it:
sudo docker rmi {{OLD_DOCUMENT_SERVER_IMAGE_ID}}
That’s all! Now you can use all the newly added features and edit and collaborate on your docs efficiently.

