How to Install Apache Tomcat 10 on Debian 10
Apache Tomcat is open-source and the most popular web application server used to host Java-based applications. It comes with Java Servlet, JavaServer Pages (JSP), Java EL, and provides an environment to run Java codes. Tomcat offers a rich set of features including, lightweight, highly flexible, well-documented, offers extra level of security, mature and more.
In this tutorial, we will explain how to install Apache Tomcat 10 on a Debian 10 server.
Prerequisites
- A server running Debian 10.
- A valid domain name pointed with your server IP.
- A root password is configured on the server.
Getting Started
Before starting, update your system packages to the latest version with the following command:
apt-get update -y
Once all the packages are updated, you can proceed to the next step.
Install Java
Apache Tomcat is a Java-based application. So you will need to install Java on your server. You can install Java with the following command:
apt-get install default-jdk -y
After the installation, verify the Java version using the command below:
java --version
The following output will show you the Java version installed on your server.
openjdk 11.0.11 2021-04-20
OpenJDK Runtime Environment (build 11.0.11+9-post-Debian-1deb10u1)
OpenJDK 64-Bit Server VM (build 11.0.11+9-post-Debian-1deb10u1, mixed mode, sharing)
Once you are finished, you can proceed to the next step.
Install Apache Tomcat
At the time of writing this tutorial, the latest available version of Apache Tomcat is 10.0.7.
First, add the user to run Apache Tomcat using the following command:
useradd -m -d /opt/tomcat -U -s /bin/false tomcat
Next, download the Apache Tomcat 10 using the following command:
wget https://mirrors.estointernet.in/apache/tomcat/tomcat-10/v10.0.7/bin/apache-tomcat-10.0.7.tar.gz
Once the download is completed, extract the downloaded file to the /opt/tomcat directory using the following command:
tar -xzvf apache-tomcat-10.0.7.tar.gz -C /opt/tomcat --strip-components=1
Next, set proper ownership to the /opt/tomcat directory using the following command:
chown -R tomcat:tomcat /opt/tomcat/
Once you are finished, you can proceed to the next step.
Create Tomcat Web Admin User
Next, you will need to create an admin user to access the Tomcat admin interface. You can create it by editing the tomcat-users.xml file:
nano /opt/tomcat/conf/tomcat-users.xml
Add the following lines before the last line:
<role rolename="manager-gui" />
<user username="manager" password="pasword" roles="manager-gui" />

<role rolename="admin-gui" />
<user username="admin" password="password" roles="manager-gui,admin-gui" />
Save and close the file after you finished. You can now proceed to the next step.
Allow Remote Access of Tomcat
By default, Tomcat is configured to access only from the local system. So you will need to configure Tomcat so it can be accessed from the remote system.
First, edit the context.xml file to allow remote access to the Tomcat manager application:
nano /opt/tomcat/webapps/manager/META-INF/context.xml
Remove or comment out the following lines:
  <Valve className="org.apache.catalina.valves.RemoteAddrValve"
         allow="127\.\d+\.\d+\.\d+|::1|0:0:0:0:0:0:0:1" />
Save and close the file then edit the context.xml file to allow remote access to the Tomcat host manager application:
nano /opt/tomcat/webapps/host-manager/META-INF/context.xml
Remove the following lines:
  <Valve className="org.apache.catalina.valves.RemoteAddrValve"
         allow="127\.\d+\.\d+\.\d+|::1|0:0:0:0:0:0:0:1" />
Save and close the file when you are finished. You can now proceed to the next step.
Create a Systemd Unit File for Tomcat
Next, you will need to create a systemd unit file to manage the Tomcat service. You can create it with the following command:
nano /etc/systemd/system/tomcat.service
Add the following lines:
[Unit]
Description=Tomcat
After=network.target

[Service]
Type=forking

User=tomcat
Group=tomcat

Environment="JAVA_HOME=/usr/lib/jvm/java-1.11.0-openjdk-amd64"
Environment="JAVA_OPTS=-Djava.security.egd=file:///dev/urandom"
Environment="CATALINA_BASE=/opt/tomcat"
Environment="CATALINA_HOME=/opt/tomcat"
Environment="CATALINA_PID=/opt/tomcat/temp/tomcat.pid"
Environment="CATALINA_OPTS=-Xms512M -Xmx1024M -server -XX:+UseParallelGC"

ExecStart=/opt/tomcat/bin/startup.sh
ExecStop=/opt/tomcat/bin/shutdown.sh

[Install]
WantedBy=multi-user.target
Save and close the file then reload the systemd daemon to apply the changes:
systemctl daemon-reload
Next, start the Tomcat service and enable it to start at system reboot with the following command:
systemctl start tomcat
systemctl enable tomcat
You can now check the status of the Tomcat service using the following command:
systemctl status tomcat
You should get the following output:
? tomcat.service - Tomcat
   Loaded: loaded (/etc/systemd/system/tomcat.service; disabled; vendor preset: enabled)
   Active: active (running) since Thu 2021-07-01 04:58:39 UTC; 15s ago
  Process: 5706 ExecStart=/opt/tomcat/bin/startup.sh (code=exited, status=0/SUCCESS)
 Main PID: 5713 (java)
    Tasks: 29 (limit: 2359)
   Memory: 154.7M
   CGroup: /system.slice/tomcat.service
           ??5713 /usr/lib/jvm/java-1.11.0-openjdk-amd64/bin/java -Djava.util.logging.config.file=/opt/tomcat/conf/logging.properties -Djava.ut

Jul 01 04:58:39 tomcat systemd[1]: Starting Tomcat...
Jul 01 04:58:39 tomcat startup.sh[5706]: Tomcat started.
Jul 01 04:58:39 tomcat systemd[1]: Started Tomcat.
At this point, Tomcat is started and listening on port 8080. You can check it with the following command:
ss -antpl | grep 8080
You should get the following output:
LISTEN 0 100 *:8080 *:* users:(("java",pid=5713,fd=43))
Once you are done, you can proceed to the next step.
Configure Nginx for Tomcat
Next, it is recommended to use Nginx as a reverse proxy to access the Tomcat application.
First, install the Nginx web server using the following command:
apt-get install nginx -y
Once the Nginx is installed, create a new Nginx virtual host configuration file:
nano /etc/nginx/conf.d/tomcat.conf
Add the following lines:
server {
  listen 80;

  server_name    tomcat.example.com;
  access_log /var/log/nginx/access.log;
  error_log /var/log/nginx/error.log;

  location / {
        proxy_set_header X-Forwarded-Host $host;
        proxy_set_header X-Forwarded-Server $host;
        proxy_set_header X-Forwarded-For $proxy_add_x_forwarded_for;
        proxy_pass http://127.0.0.1:8080/;
  }
}
Save and close the file when you are finished then verify the Nginx for any syntax error with the following command:
nginx -t
You should get the following output:
nginx: the configuration file /etc/nginx/nginx.conf syntax is ok
nginx: configuration file /etc/nginx/nginx.conf test is successful
Next, restart the Nginx to apply the changes:
systemctl restart nginx
You can also check the status of the Nginx service using the following command:
systemctl status nginx
If everything is fine, you should see the following output:
? nginx.service - A high performance web server and a reverse proxy server
   Loaded: loaded (/lib/systemd/system/nginx.service; enabled; vendor preset: enabled)
   Active: active (running) since Thu 2021-07-01 05:00:32 UTC; 6s ago
     Docs: man:nginx(8)
  Process: 6322 ExecStartPre=/usr/sbin/nginx -t -q -g daemon on; master_process on; (code=exited, status=0/SUCCESS)
  Process: 6323 ExecStart=/usr/sbin/nginx -g daemon on; master_process on; (code=exited, status=0/SUCCESS)
 Main PID: 6324 (nginx)
    Tasks: 2 (limit: 2359)
   Memory: 2.7M
   CGroup: /system.slice/nginx.service
           ??6324 nginx: master process /usr/sbin/nginx -g daemon on; master_process on;
           ??6325 nginx: worker process

Jul 01 05:00:32 tomcat systemd[1]: Starting A high performance web server and a reverse proxy server...
Jul 01 05:00:32 tomcat systemd[1]: nginx.service: Failed to parse PID from file /run/nginx.pid: Invalid argument
Jul 01 05:00:32 tomcat systemd[1]: Started A high performance web server and a reverse proxy server.
Once you are finished, you can proceed to the next step.
Access Tomcat Application
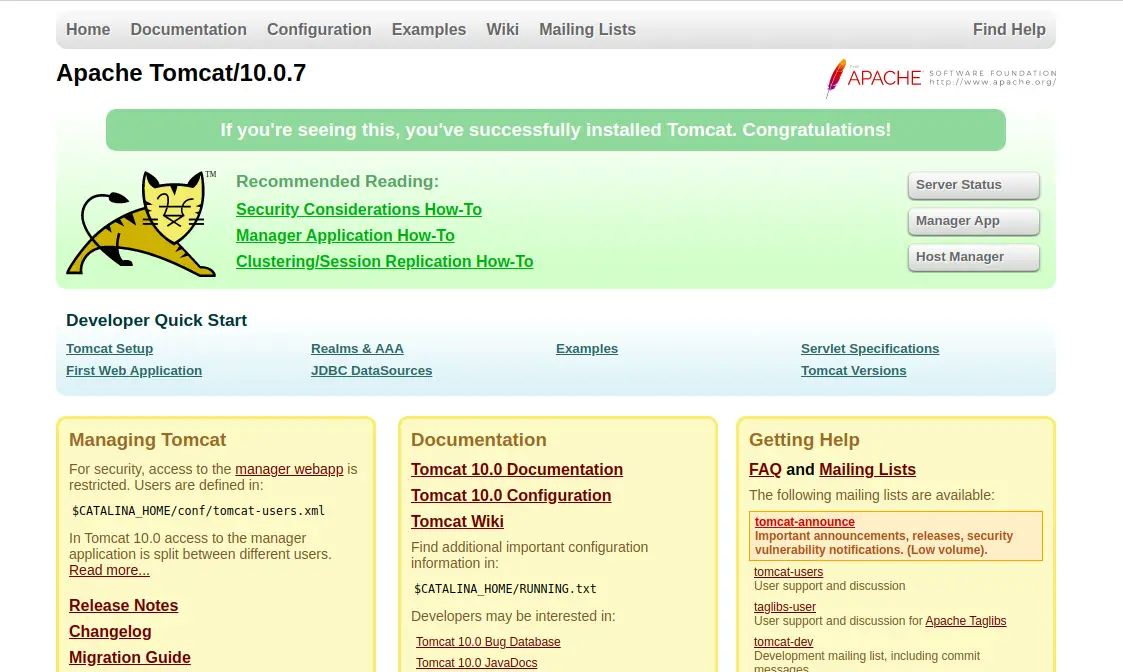
Now, open your web browser and access the Tomcat application using the URL http://tomcat.example.com. You will be redirected to the following page:
Click on the Manage App. You should see the Manager App login page:
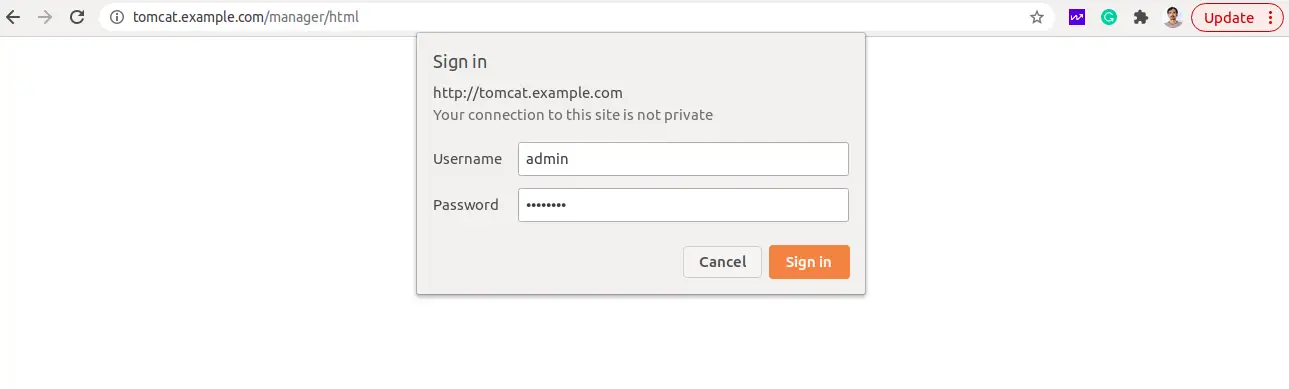
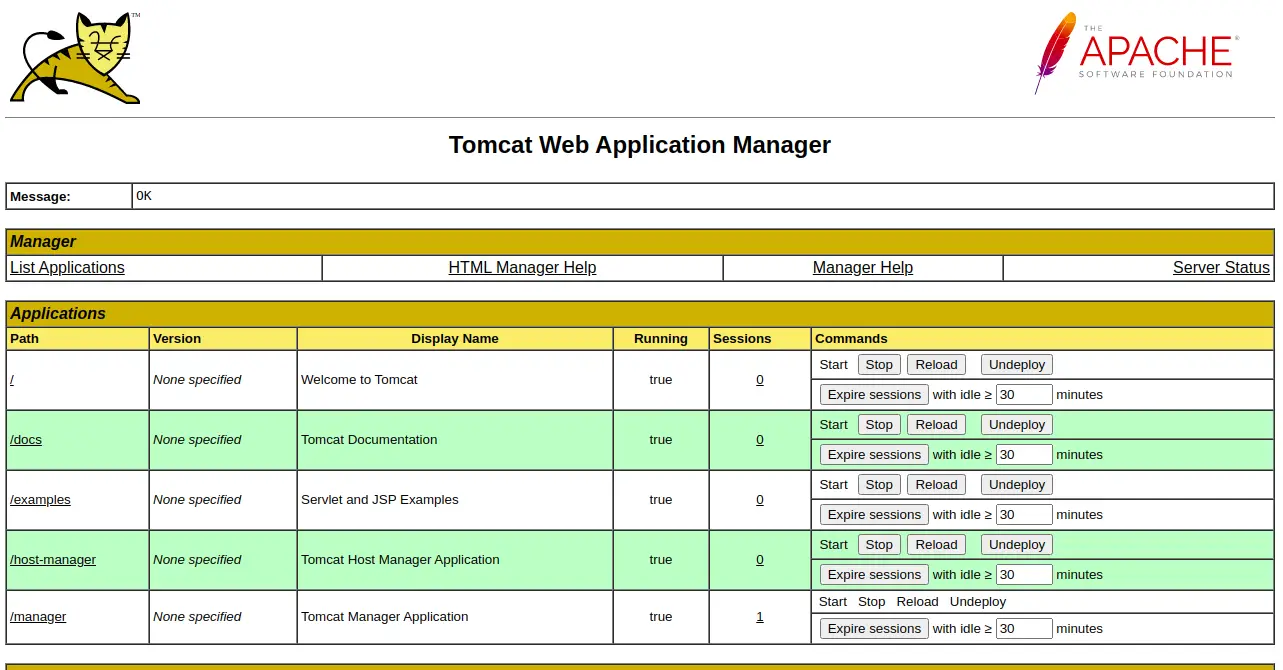
Provide your admin username, password and click on the Sign in button. You should see the Manager App dashboard on the following page:
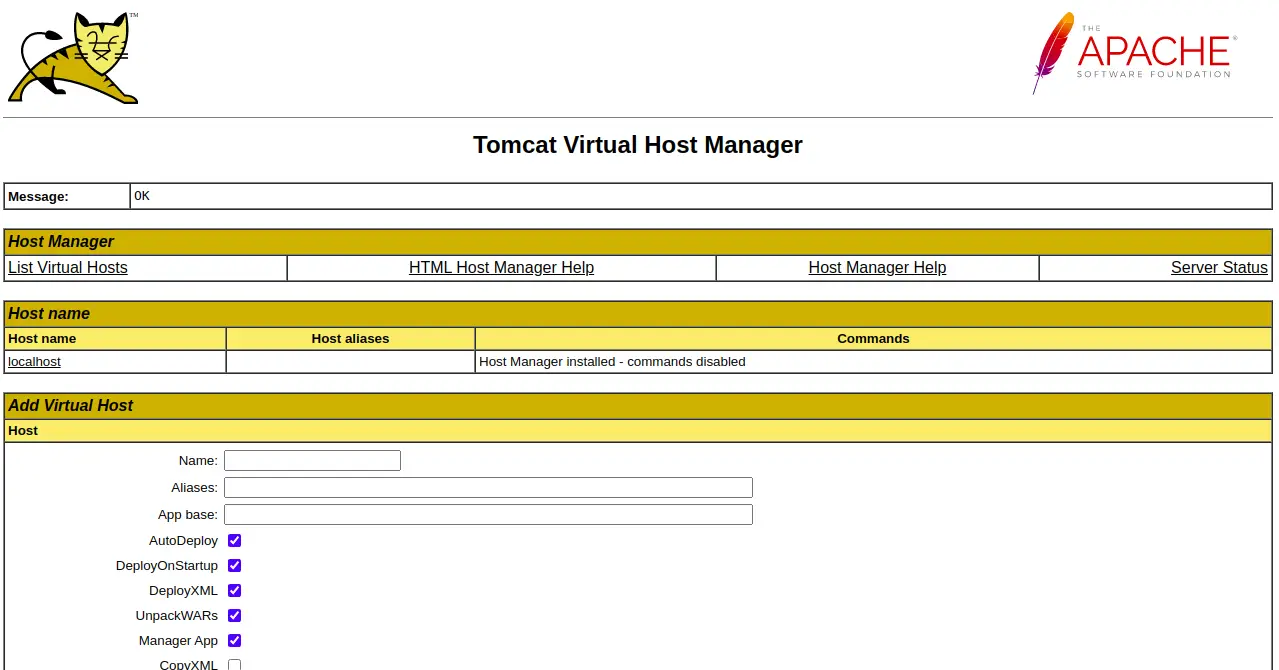
To access the Host Manager, click on the Host Manager from the Tomcat home page. You should see the Tomcat Host Manager login page:
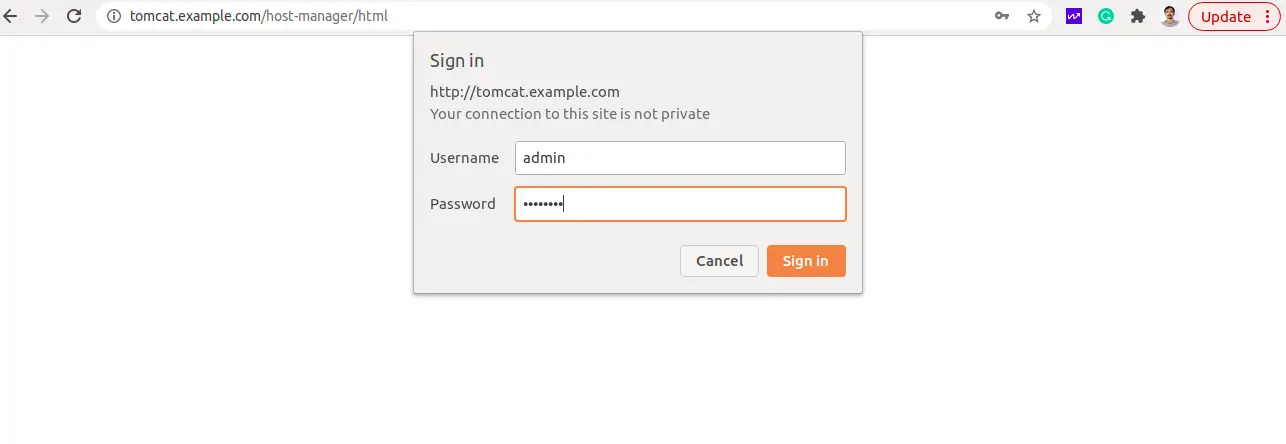
Provide your admin username, password and click on the Sign in button. You should see the Tomcat Host Manager dashboard on the following page:
Conclusion
Congratulations! you have successfully installed Apache Tomcat 10 on Debian 10 server. You can now create a Java application and host it using the Apache Tomcat. Feel free to ask me if you have any questions.

