How to Install Icinga 2 Monitoring Software on Debian 11
This tutorial exists for these OS versions
- Debian 12 (Bookworm)
- Debian 11 (Bullseye)
- Debian 10 (Buster)
- Debian 9 (Stretch)
On this page
Icinga2 is a free, open-source and one of the most popular network monitoring tools. It is written in PHP and C++, and allows you to monitor network resources, notifies outages and generates performance data for reporting. It is capable of monitoring various protocols including SMTP, POP3, HTTP, NNTP, ping, CPU load, disk usage, switches, routers, and more. It is made from two stacks Icinga2 and Icinga Web 2. Icinga2 is used as a monitoring server while Icinga Web 2 is the web interface to keep monitoring.
In this article, I will show you how to install the Icinga2 monitoring server on Debian 11.
Prerequisites
- A server running Debian 11.
- A root password is configured on the server.
Install LAMP Server
First, you will need to install the Apache web server, MariaDB, PHP and other required extensions to your server. You can install all of them with the following command:
apt-get install apache2 mariadb-server php libapache2-mod-php php-curl php-gd php-mbstring php-xml php-xmlrpc php-soap php-intl php-zip php-cli php-mysql php-common php-opcache php-pgsql php-gmp php-imagick -y
Once all the packages are installed, edit the php.ini file and change some settings:
nano /etc/php/7.4/apache2/php.ini
Change the following lines:
memory_limit = 256M
post_max_size = 64M
upload_max_filesize = 100M
max_execution_time = 300
default_charset = "UTF-8"
date.timezone = "Asia/Kolkata"
cgi.fix_pathinfo=0
Save and close the file then restart the Apache service to apply the changes:
systemctl restart apache2
Next, you will need to set a MariaDB root password and secure the installation. You can do it by running the following script:
mysql_secure_installation
Answer all the questions as shown below:
Enter current password for root (enter for none):
OK, successfully used password, moving on...
Set root password? [Y/n] Y
Remove anonymous users? [Y/n] Y
Disallow root login remotely? [Y/n] Y
Remove test database and access to it? [Y/n] Y
Reload privilege tables now? [Y/n] Y
Install Icinga2
By default, the Icinga2 package is included in the Debian 11 default repository. You can install it using the following command:
apt-get install icinga2 monitoring-plugins -y
Once all the packages are installed, start the Icinga2 and enable it to start at system reboot:
systemctl start icinga2
systemctl enable icinga2
To check the status of the Icinga2, run the following command:
systemctl status icinga2
Sample output:
? icinga2.service - Icinga host/service/network monitoring system
     Loaded: loaded (/lib/systemd/system/icinga2.service; enabled; vendor preset: enabled)
     Active: active (running) since Sun 2021-10-03 13:40:11 UTC; 27s ago
       Docs: https://icinga.com/docs/icinga2/latest/
    Process: 20727 ExecStartPre=/usr/lib/icinga2/prepare-dirs /usr/lib/icinga2/icinga2 (code=exited, status=0/SUCCESS)
   Main PID: 20734 (icinga2)
      Tasks: 15 (limit: 2341)
     Memory: 12.7M
        CPU: 1.769s
     CGroup: /system.slice/icinga2.service
             ??20734 /usr/lib/x86_64-linux-gnu/icinga2/sbin/icinga2 --no-stack-rlimit daemon -e
             ??20748 /usr/lib/x86_64-linux-gnu/icinga2/sbin/icinga2 --no-stack-rlimit daemon -e
             ??20751 /usr/lib/x86_64-linux-gnu/icinga2/sbin/icinga2 --no-stack-rlimit daemon -e
             ??21621 /usr/lib/nagios/plugins/check_ping -6 -H ::1 -c 200,15% -w 100,5%
             ??21622 /bin/ping -6 -n -U -w 10 -c 5 ::1

Oct 03 13:40:11 debian11 icinga2[20748]: [2021-10-03 13:40:11 +0000] information/ConfigItem: Instantiated 1 Endpoint.
Oct 03 13:40:11 debian11 icinga2[20748]: [2021-10-03 13:40:11 +0000] information/ConfigItem: Instantiated 1 FileLogger.
Oct 03 13:40:11 debian11 icinga2[20748]: [2021-10-03 13:40:11 +0000] information/ConfigItem: Instantiated 235 CheckCommands.
Oct 03 13:40:11 debian11 icinga2[20748]: [2021-10-03 13:40:11 +0000] information/ScriptGlobal: Dumping variables to file '/var/cache/icinga2/i>
Oct 03 13:40:11 debian11 systemd[1]: Started Icinga host/service/network monitoring system.
Oct 03 13:40:11 debian11 icinga2[20748]: [2021-10-03 13:40:11 +0000] information/ConfigItem: Triggering Start signal for config items
Oct 03 13:40:11 debian11 icinga2[20748]: [2021-10-03 13:40:11 +0000] information/FileLogger: 'main-log' started.
Oct 03 13:40:11 debian11 icinga2[20748]: [2021-10-03 13:40:11 +0000] information/NotificationComponent: 'notification' started.
Oct 03 13:40:11 debian11 icinga2[20748]: [2021-10-03 13:40:11 +0000] information/CheckerComponent: 'checker' started.
Oct 03 13:40:11 debian11 icinga2[20748]: [2021-10-03 13:40:11 +0000] information/ConfigItem: Activated all objects.
Next, you will need to install the MySQL plugin for Icinga2. You can install it using the following command:
apt-get install icinga2-ido-mysql -y
During the installation, you will be asked to enable Icinga 2's ido-mysql feature:
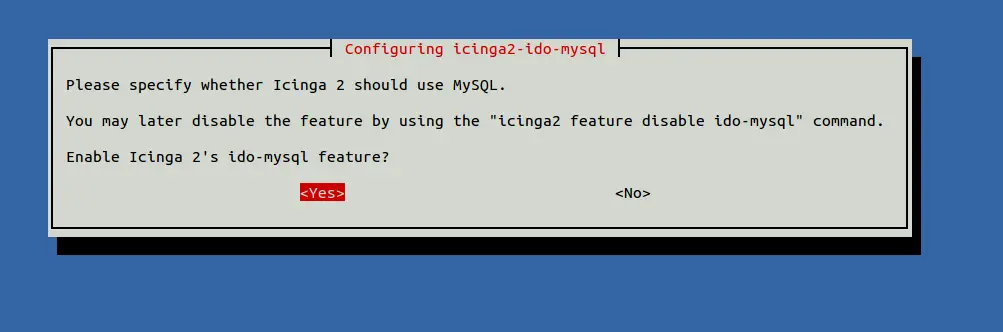
Select Yes and hit Enter. You will be asked to create a database for Icinga2.
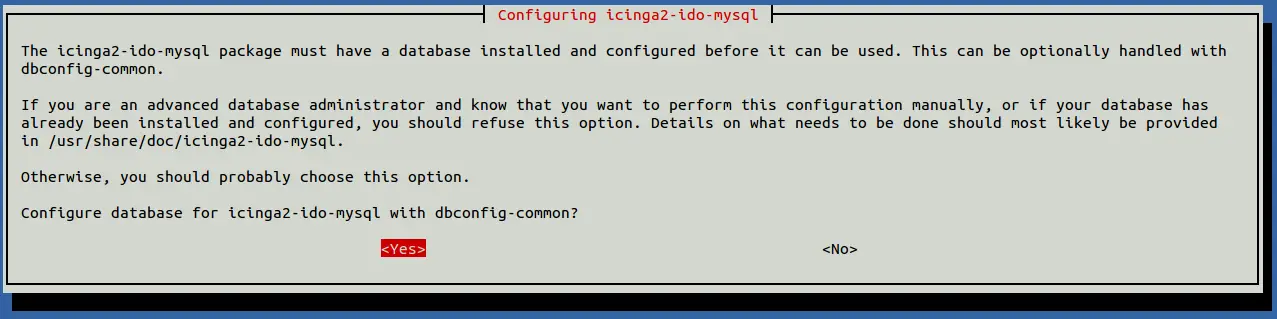
Select Yes and hit Enter. You will be asked to set the Icinga2 application password:
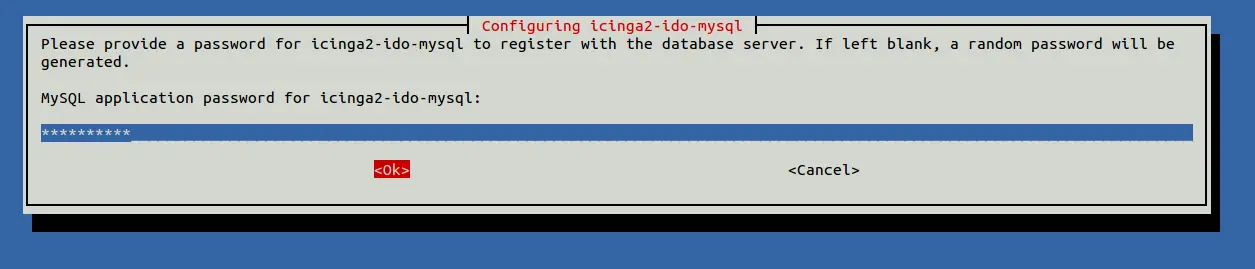
Provide your password and hit Enter to finish the installation.
This will create a database and user named icinga2 and set a password.
Note: Please remember the icinga2 database, user and password. You will require it during the web-based installation. Next, enable the ido-mysql module with the following command:
icinga2 feature enable ido-mysql
Finally, restart the Icinga2 service to apply the changes:
systemctl restart icinga2
Install and Configure Icinga Web 2
Icinga Web 2 provides a web interface to monitor Icinga2. You can install it with the following command:
apt-get install icingaweb2 icingacli -y
Once the installation is completed, you will need to create a database and user for Icinga Web 2.
First, log in to MariaDB with the following command:
mysql -u root -p
Once login, create a database and user with the following command:
MariaDB [(none)]> CREATE DATABASE icingaweb2;
MariaDB [(none)]> GRANT ALL PRIVILEGES ON icingaweb2.* TO 'icingaweb2'@'localhost' IDENTIFIED BY 'password';
Next, flush the privileges and exit from the MariaDB with the following command:
MariaDB [(none)]> FLUSH PRIVILEGES;
MariaDB [(none)]> EXIT;
Next, generate a secrete token with the following command:
icingacli setup token create
You should get the following output:
The newly generated setup token is: 73bb878b50a35df8
Access Icinga2 Web Interface
Now, open your web browser and access the Icinga2 web installation wizard using the URL http://your-server-ip/icingaweb2/setup. You should see the following page:
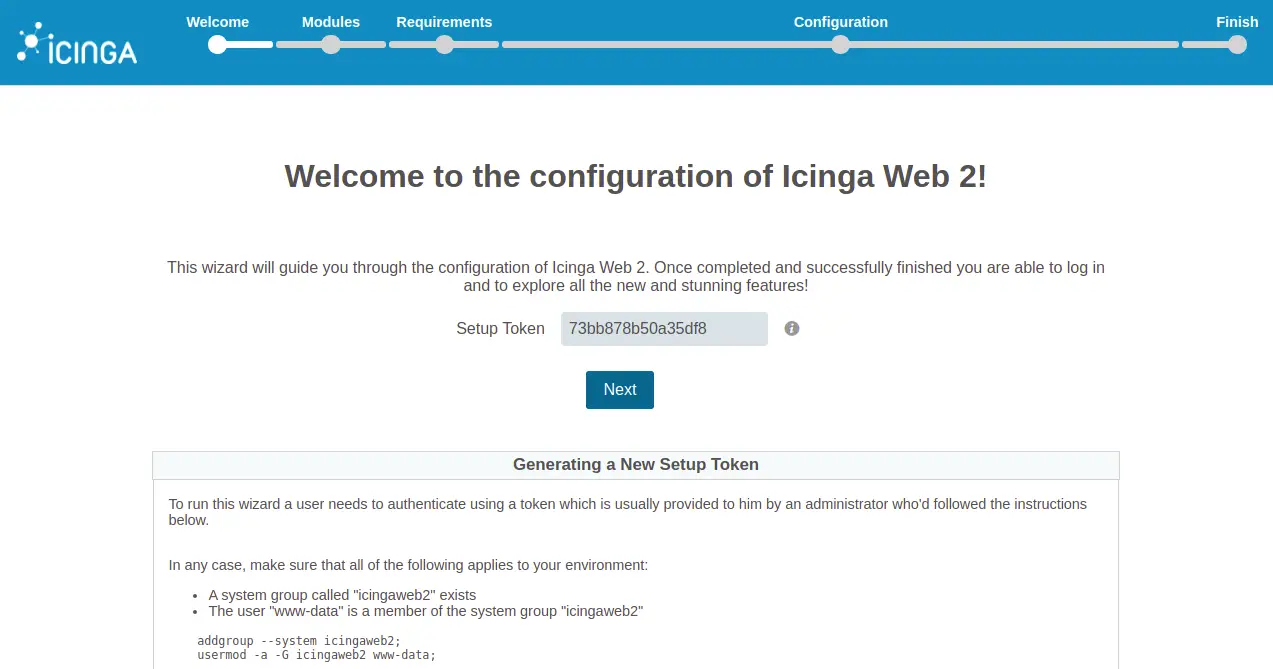
Provide your secrete token and click on the Next button. You should see the following page:
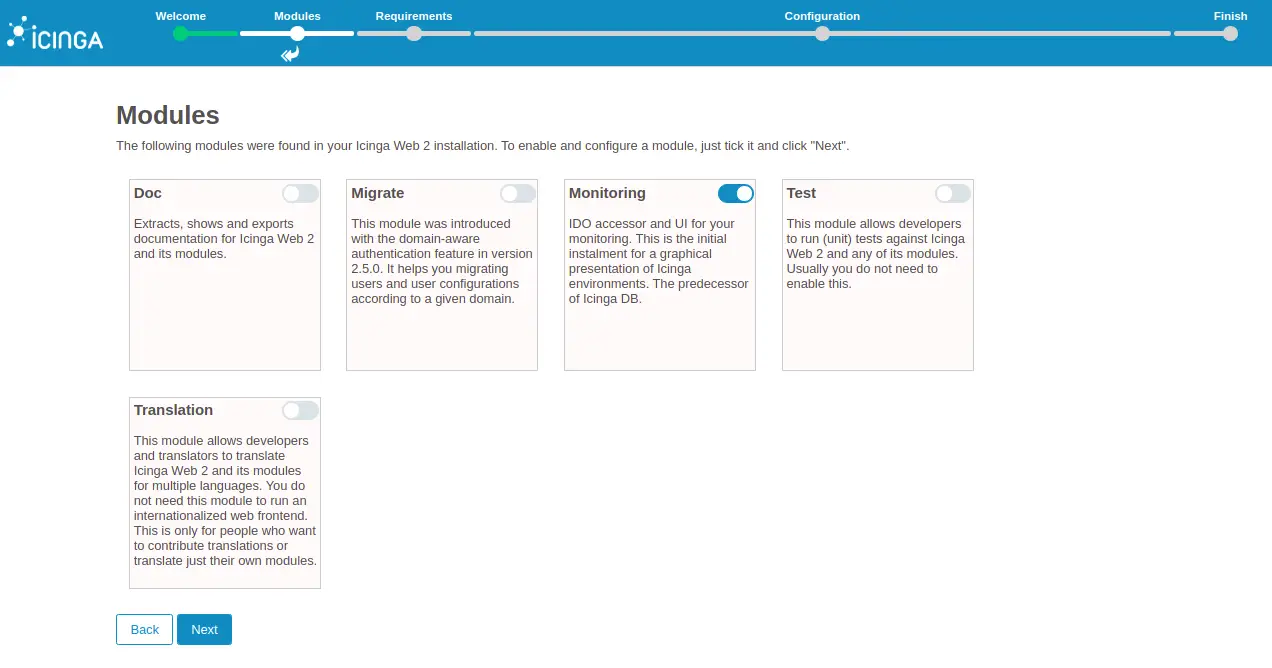
Select the Monitoring and click on the Next button. You should see the following page:
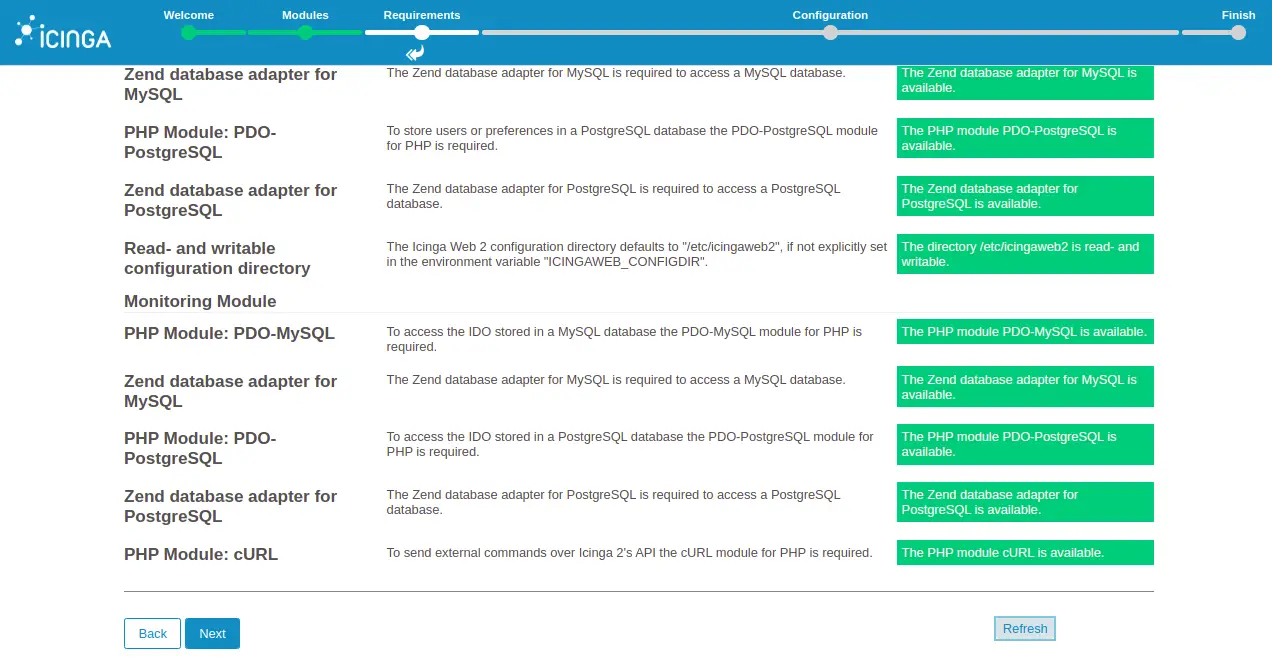
Make sure all PHP extensions are installed then click on the Next button. You should see the following page:
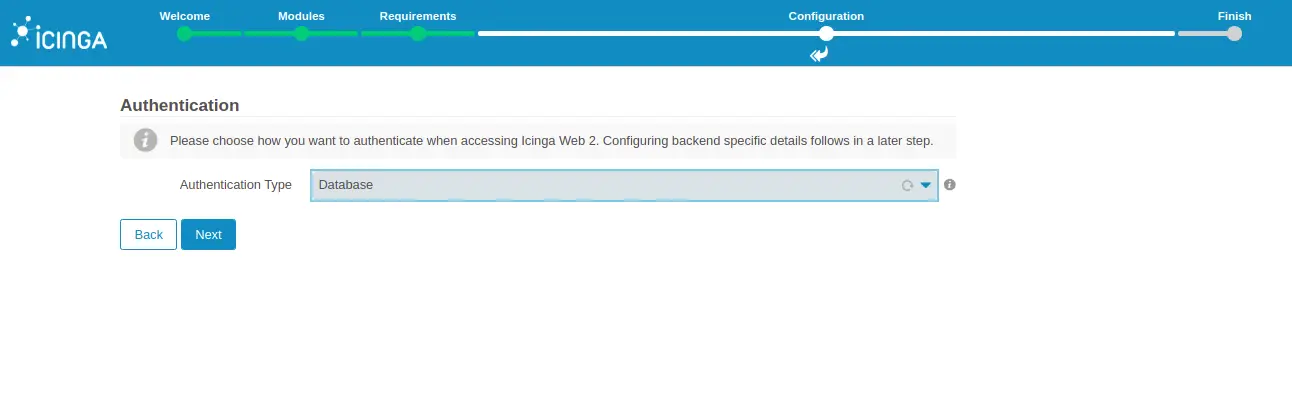
Select your authentication type and click on the Next button. You should see the following page:
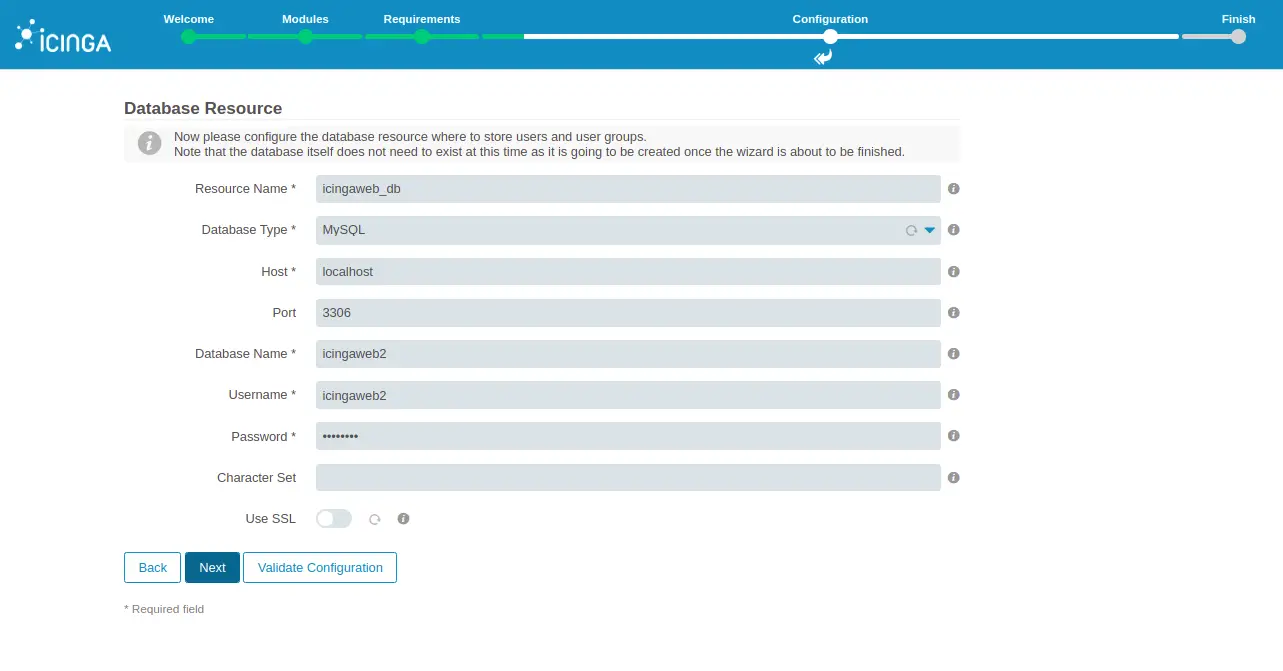
Provide your Icinga2 web database credentials and click on the Next button. You should see the following page:
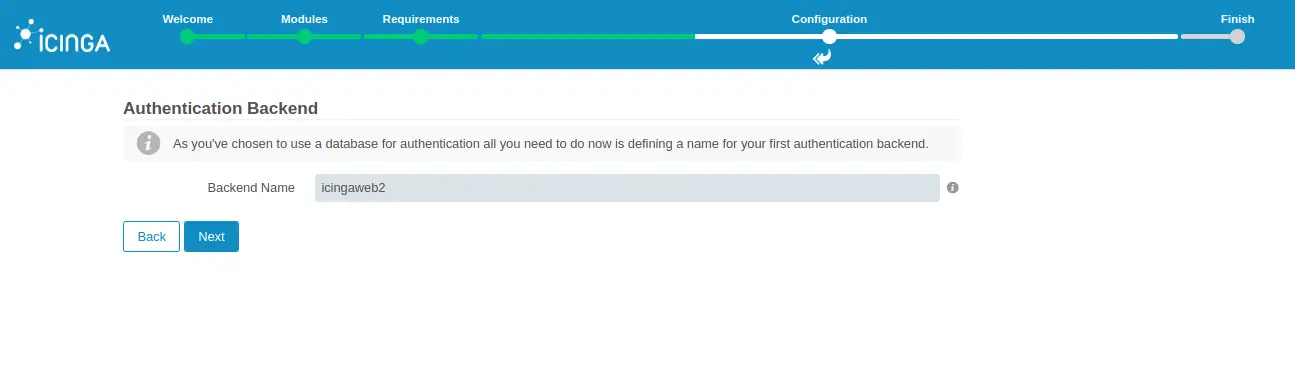
Select your backend name and click on the Next button. You should see the following page:
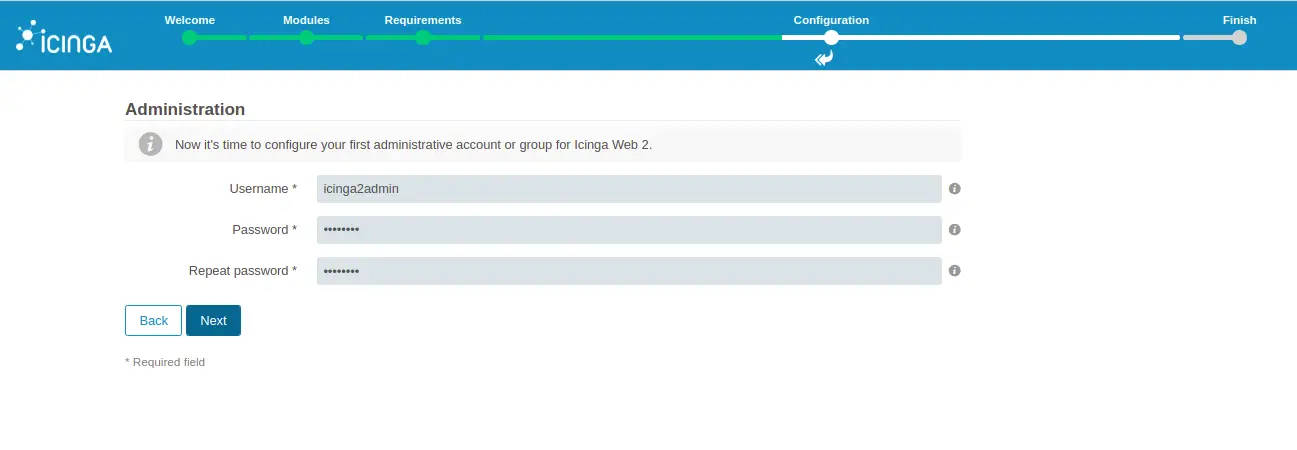
Provide your admin user and click on the Next button. You should see the following page:
Click on the Next button. You should see the following page:
Review all settings and click on the Next button. You will be redirected to the following page:
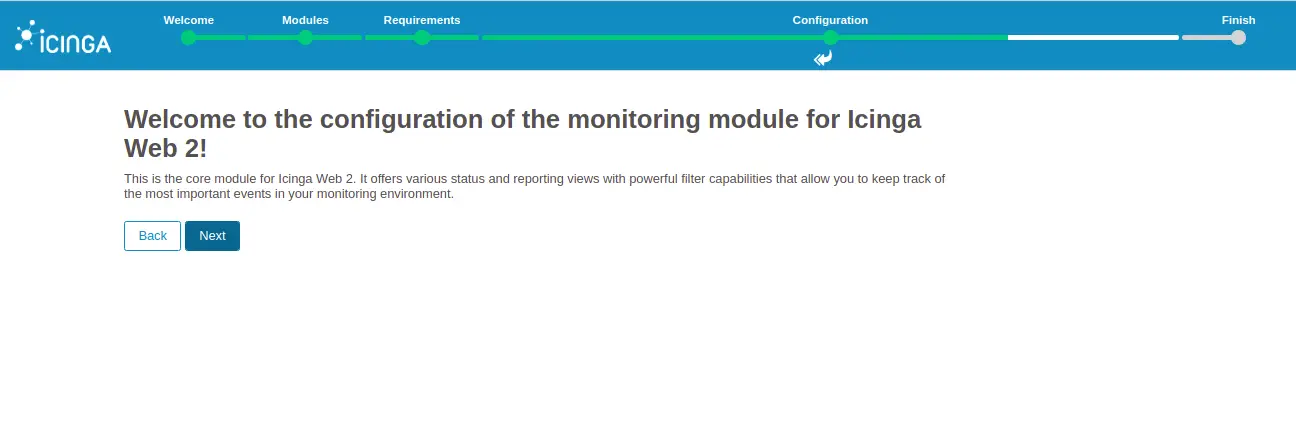
Click on the Next button. You should see the following page:
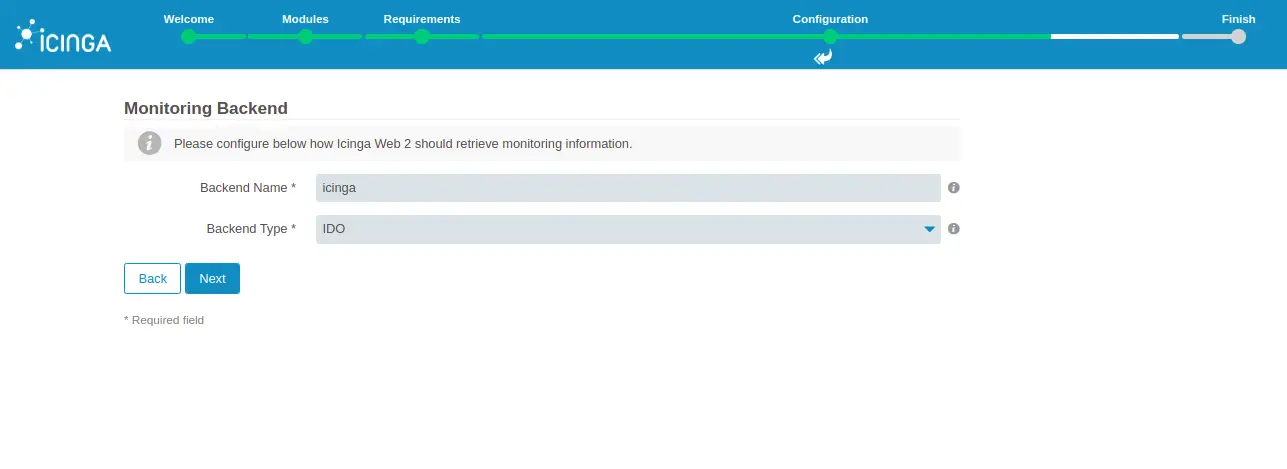
Select your backend name and click on the Next button. You should see the following page:
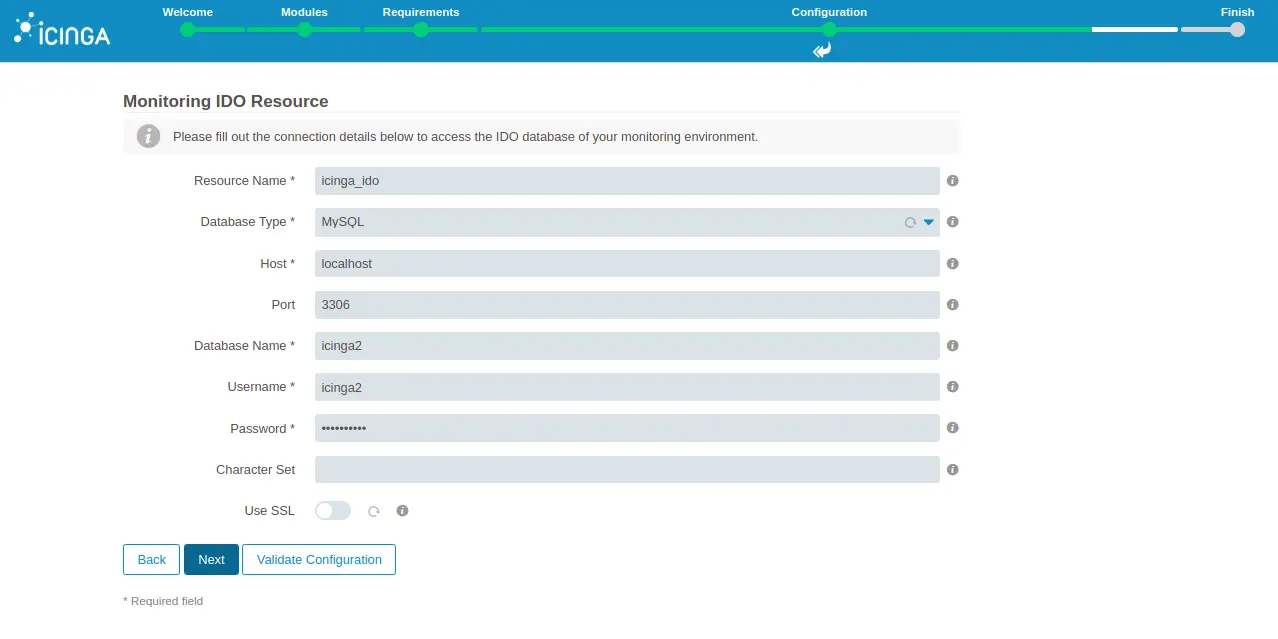
Provide your Icinga IDO database credentials and click on the Next button. You should see the following page:
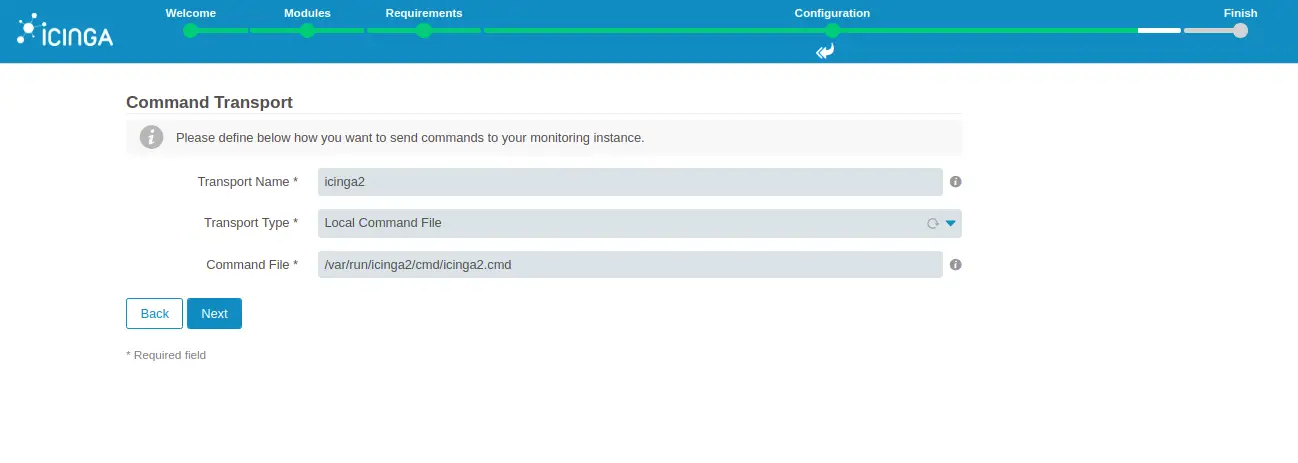
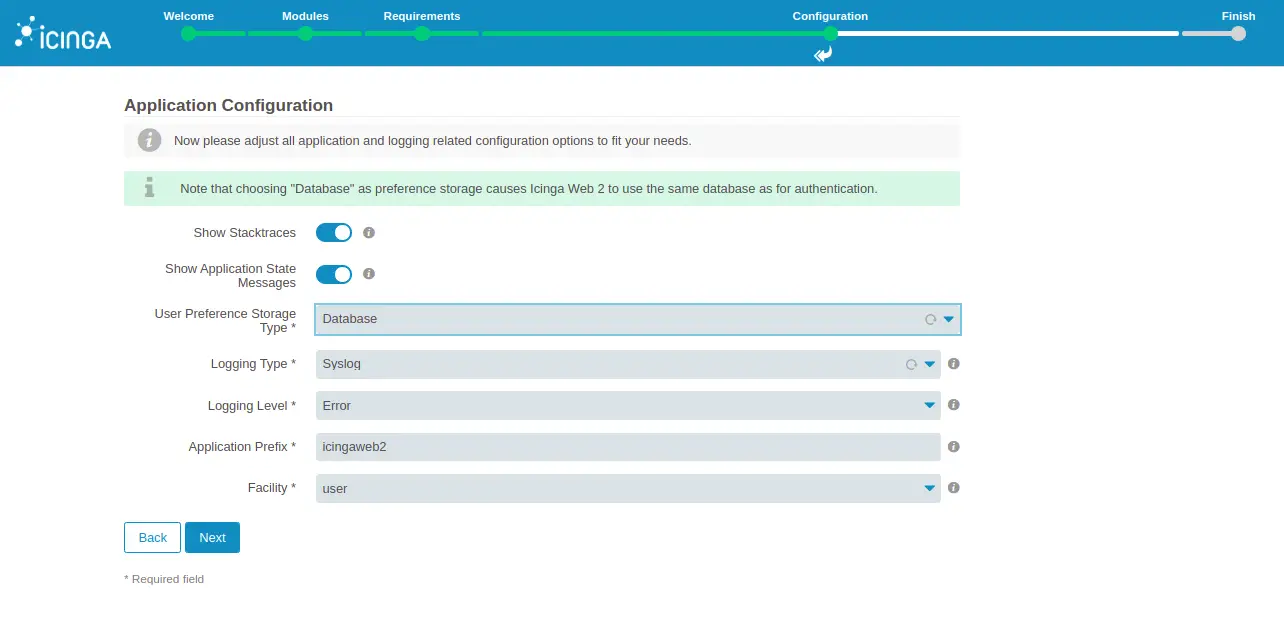
Select your prefered options and click on the Next button. You should see the following page:
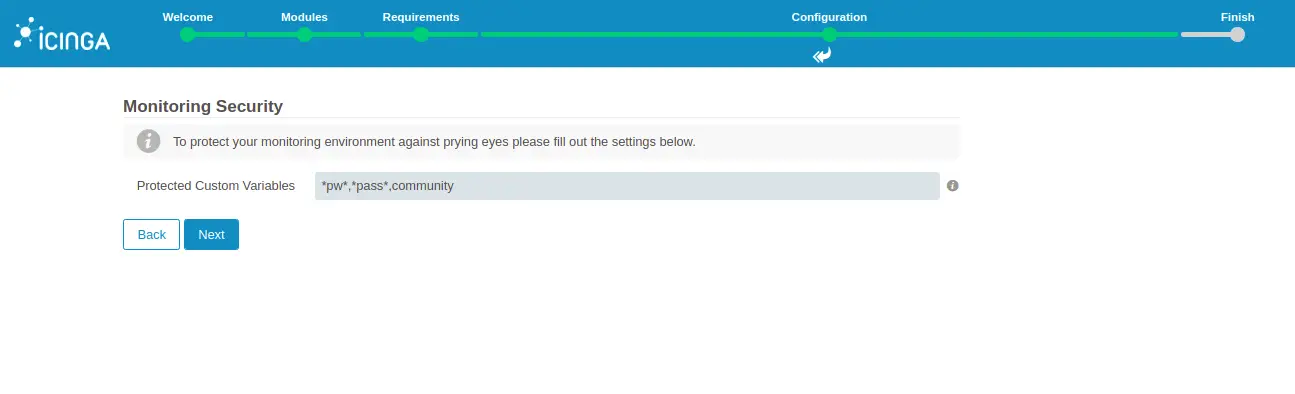
Select your monitoring security and click on the Next button. You should see the following page:
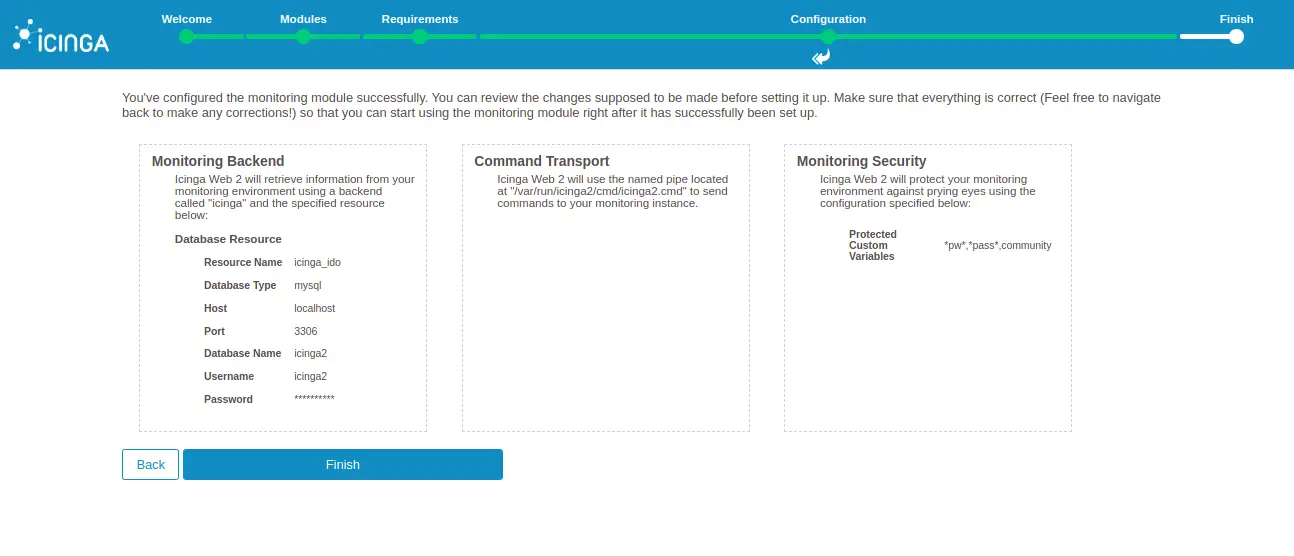
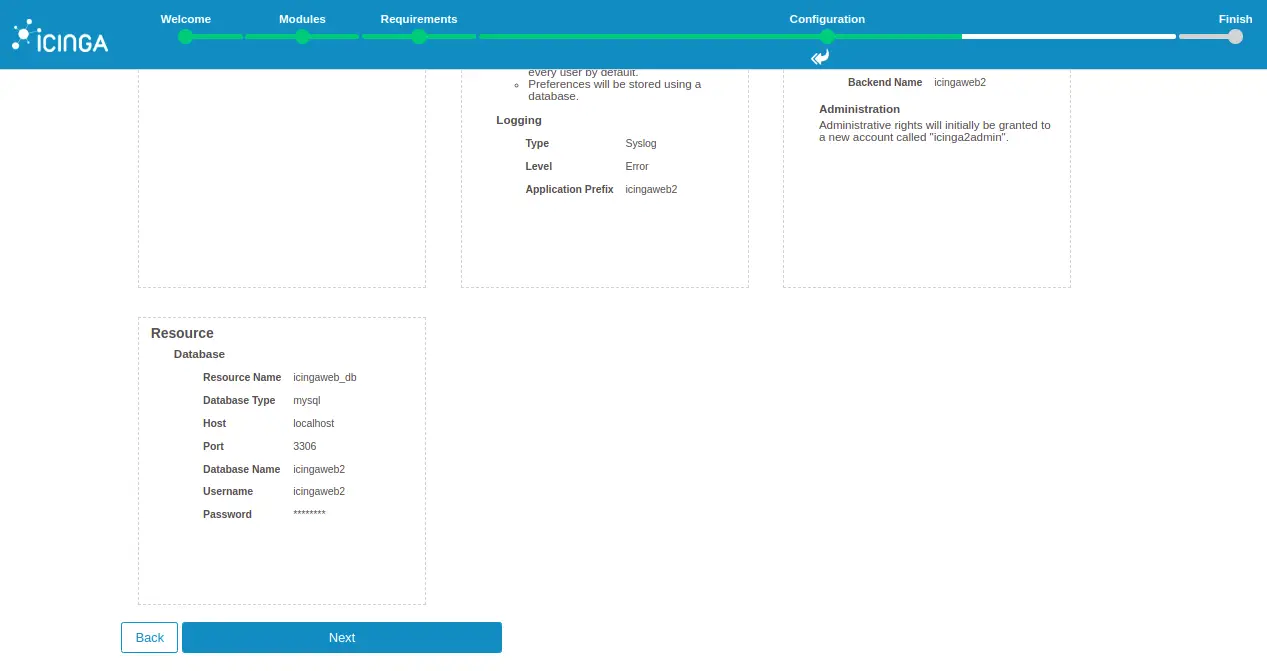
Review your configuration and click on the Finish button. You should see the following page:
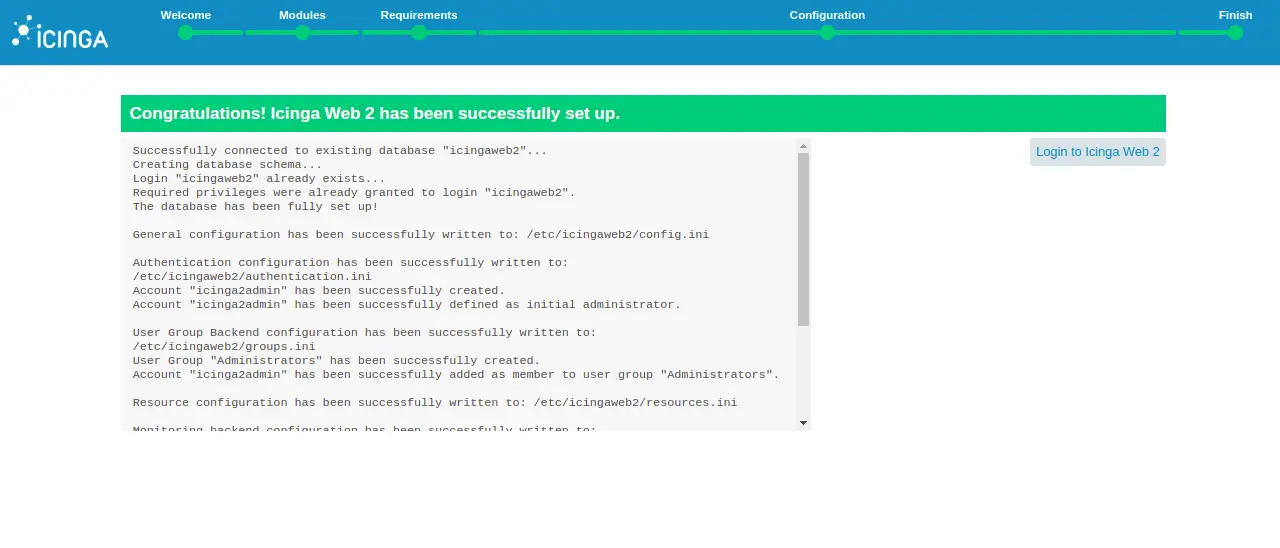
Click on the Login to Icinga Web 2. You should see the following page:
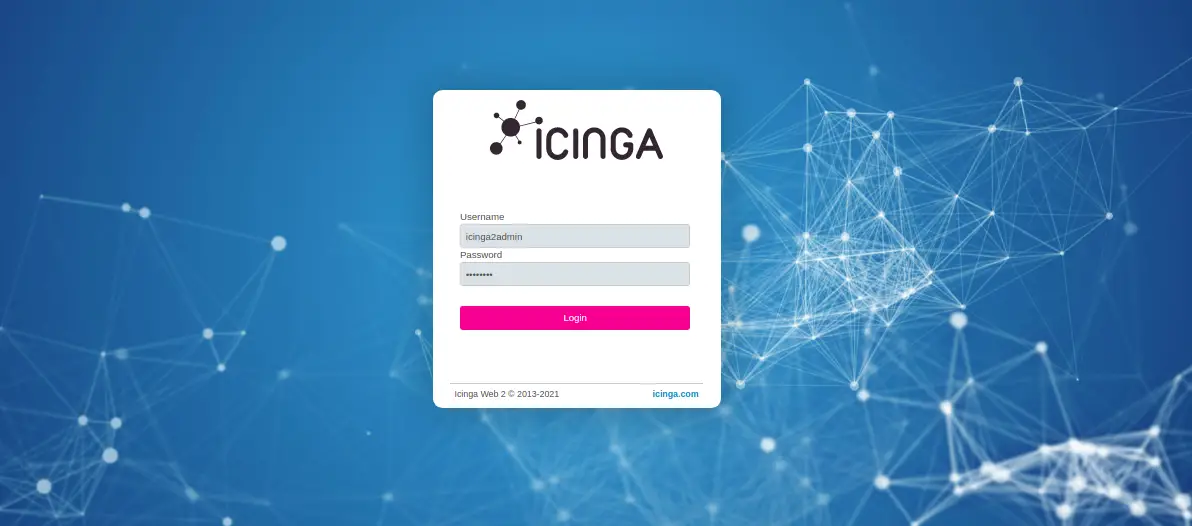
Provide your admin username, password and click on the Login button. You should see the following page:
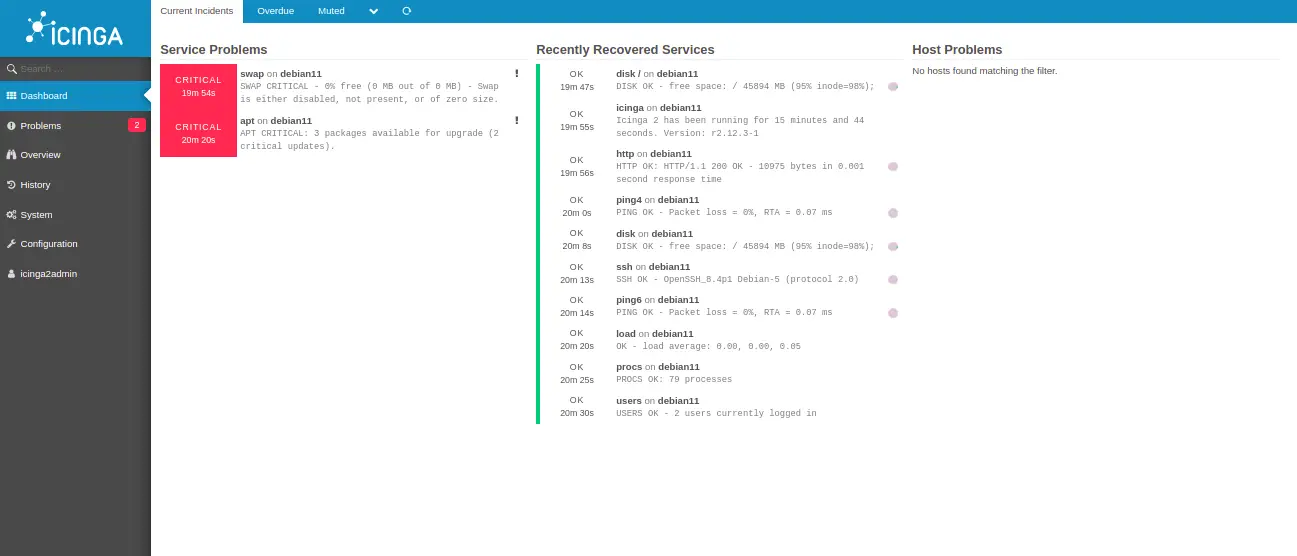
Conclusion
Congratulations! you have successfully installed and configured the Icinga2 monitoring server on Debian 11. You can now add remote hosts and start monitoring from the Icinga Web 2 dashboard.

