How to Install MediaWiki on Ubuntu 22.04
This tutorial exists for these OS versions
- Ubuntu 22.04 (Jammy Jellyfish)
- Ubuntu 18.04 (Bionic Beaver)
On this page
MediaWiki is a free and open-source wiki software that powers the biggest wiki sites on the internet such as Wikipedia and Wikimedia. It's extremely powerful, scalable, and extensible wiki software that offers feature-rich wiki implementations. MediaWiki is a web application developed in 2002, written mainly in PHP, and uses RDBMS such as MySQL and PostgreSQL for storing data.
MediaWiki also can be used as a collaboration and documentation platform. It helps you and your team to organize documentation and make it public for everyone. It also supports multilingual, which can be used to create a multilingual site. And it's very customizable wiki software so you can choose different themes and editors for your wiki.
In this tutorial, we will show you how to install MediaWiki on the Ubuntu 22.04 server with the LAMP Stack (Linux, Apache2, MariaDB, and PHP). This tutorial includes the basic configuration of MediaWiki, so in the end, you will have a fully functional wiki site.
Prerequisite
For this example, we need the following prerequisites:
- An Ubuntu 22.04 server.
- A non-root user with root/administrator privileges.
- A domain name pointed to the server IP address.
Installing LAMP Stack
In the first step, you will be installing the basic LAMP Stack on the ubuntu 22.04 server. In this example, you will be running the MediaWiki with the Apache2 web server.
Before you get started, you will need to install PHP 7.4 on your Ubuntu 22.04 server. The latest version of MediaWiki required PHP 7.4 and is not yet ready for the latest PHP 8.1. So you will need to set up a third-party repository on your Ubuntu system for installing PHP 7.4.
Run the following command to add the PHP 7.4 PPA repository to your system. This command also will automatically update and refresh all available repositories on your system.
sudo add-apt-repository ppa:ondrej/php -y
After all is completed, run the apt command below to install the LAMP Stack packages to the ubuntu 22.04 server.
sudo apt install apache2 mariadb-server imagemagick libapache2-mod-php7.4 php7.4 php7.4-common php7.4-intl php7.4-xml php7.4-curl php7.4-gd php7.4-mbstring php7.4-mysql php7.4-apcu
Input Y to confirm the installation and press ENTER to continue. And the LAMP Stack will begin.
After the LAMP Stack installation is finished, check and verify the Apache2 and MariaDB services using the following command. And you can see the Apache2 service is enabled and running.
sudo systemctl is-enabled apache2
sudo systemctl status apache2
For the MariaDB service, you can verify using the below command.
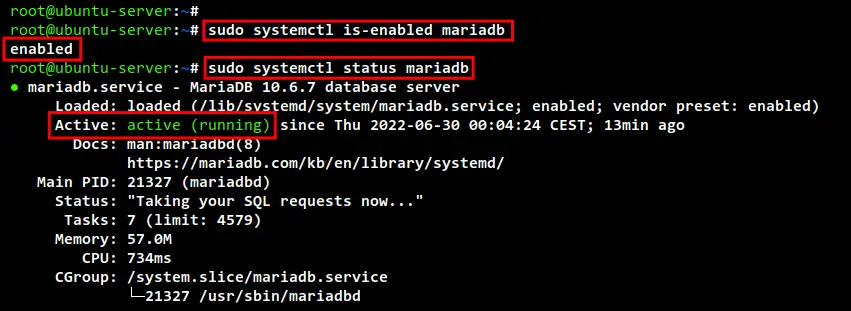
sudo systemctl is-enabled mariadb
sudo systemctl status mariadb
And on the following screenshot, you can see the MariaDB service is enabled, which will automatically be running at system startup. And the current status of the MariaDB service is running.
Configuring PHP for MediaWiki
After installing the LAMP Stack packages, you will now be configuring the PHP as requirements for the MediaWiki installation. This includes like configuration of "max_upload_filesize", "memory_limit", and "max_execution_time" of your PHP installation.
Edit the file "/etc/php/7.4/apache2/php.ini" using nano editor.
sudo nano /etc/php/7.4/apache2/php.ini
Change the default values of the following configuration like below.
upload_max_filesize = 80M
memory_limit = 512M
max_execution_time = 360
Save and close the file when you are done.
Lastly, run the command below to restart the apache2 service and apply new changes.
sudo systemctl restart apache2
Configuring MariaDB Database Server
After setting up the PHP installation, now it's time to set up the MariaDB server. This includes the configuration of the MariaDB root password and deployment, and also you will need to create a new MariaDB database and user for the MediaWiki installation.
Run the following command to start configuring the MariaDB deployment.
sudo mysql_secure_installation
Now you will be asked the following questions for the MariaDB configurations:
- The default MariaDB installation comes without a root password, press ENTER to continue.
- Input n to keep the default authentication method and not use the unix_socket authentication (this is for the MariaDB root user).
- Input Y to set up the MariaDB root password, then input the new password and repeat.
- Input Y to remove the default anonymous user.
- Input Y to disable the remote login for the MariaDB root user.
- Input Y to delete the default database "test" from your MariaDB installation.
- Lastly, input Y again to reload all tables privileges and apply new changes.
Now you have finished the basic configuration of MariaDB deployment.
Next, log in to the MariaDB shell as the root user using the following command.
sudo mysql -u root -p
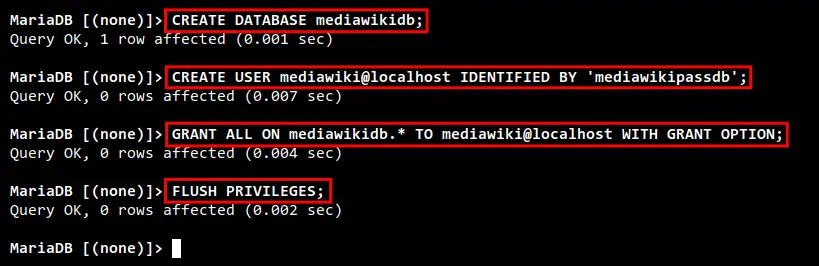
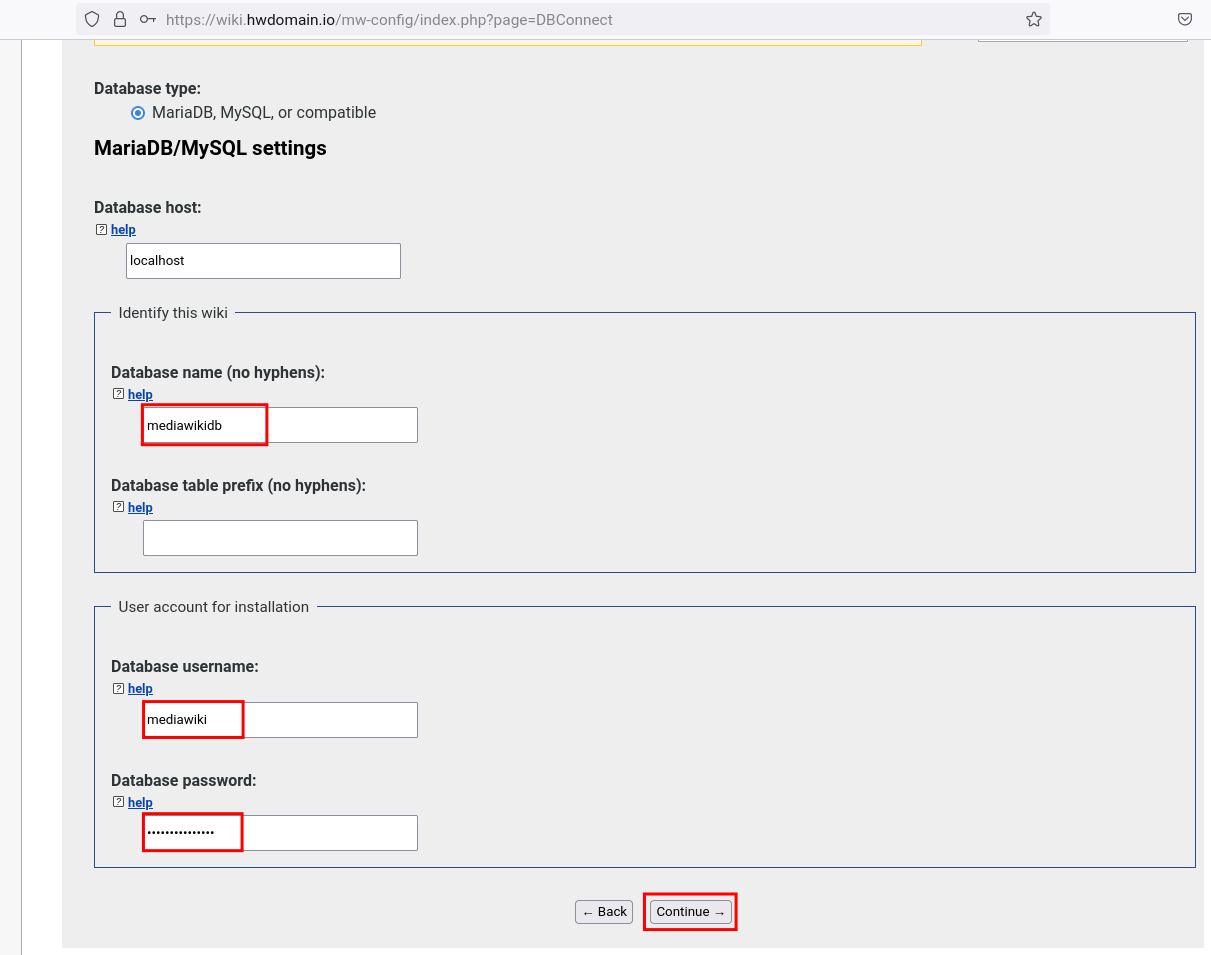
Now run the following MySQL/MariaDB queries to create a new database "mediawikidb" with the user "mediawiki" and the password "mediawikipassdb". This database and user will be used for storing MediaWiki data.
CREATE DATABASE mediawikidb;
CREATE USER mediawiki@localhost IDENTIFIED BY 'mediawikipassdb';
GRANT ALL ON mediawikidb.* TO mediawiki@localhost WITH GRANT OPTION;
FLUSH PRIVILEGES;
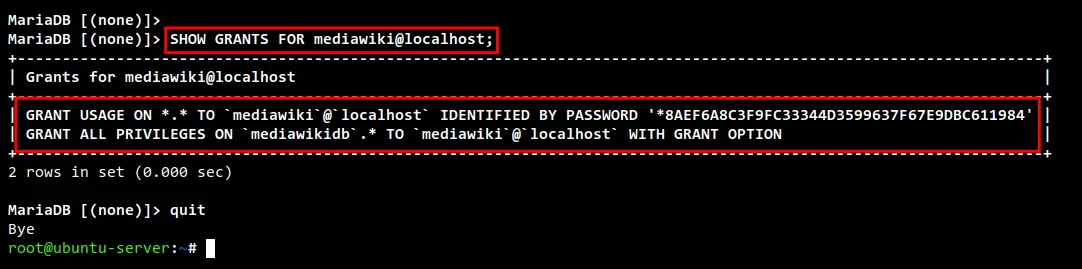
After that, run the query below to check the list of database access for the user "mediawiki@localhost" and exit from the MariaDB shell. Now be sure the MariaDB user "mediawiki@localhost" has access to the database "mediawikidb".
SHOW GRANTS FOR mediawiki@localhost;
quit
Downloading MediaWiki Source Code
You have now completed the basic configuration of LAMP Stack for the MediaWiki installation. It's time to download the MediaWiki source code to your Ubuntu machine.
Now go to the "/var/www/" directory and download the MediaWiki source code using the wget command as below. At the current time, the latest version of MediaWiki is v1.38.1. And you will get the file "mediawiki-1.38.1.tar.gz".
cd /var/www/
wget https://releases.wikimedia.org/mediawiki/1.38/mediawiki-1.38.1.tar.gz
Run the following command to extract the MediaWiki source code "mediawiki-1.38.1.tar.gz" and rename the extracted directory to the "mediawiki". So the MediaWiki installation directory will be "/var/www/mediawiki".
tar -xvzf mediawiki-*.tar.gz
mv mediawiki-*/ mediawiki/
Lastly, run the following command to change the ownership of the MediaWiki installation directory "/var/www/mediawiki" to the correct user "www-data" and the permission to "755".
sudo chown -R www-data:www-data /var/www/mediawiki
sudo chmod 755 /var/www/mediawiki
Setting Up Apache2 Virtual Host for MediaWiki
Now you will be setting up the Apache2 virtual host for the MediaWiki. In this example, the MediaWiki will be running with the domain name "wiki.hwdomain.io" and the secure SSL/HTTPS connection enabled on top of the Apache2 virtual host.
Before starting creating the virtual host configuration, run the following command to enable Apache2 modules rewrite and ssl.
sudo a2enmod rewrite ssl
Create a new virtual host configuration "/etc/apache2/sites-available/mediawiki.conf" using nano editor.
sudo nano /etc/apache2/sites-available/mediawiki.conf
Add the following configuration to the file. Also, do not forget to change the domain name and the path of SSL certificates.
<VirtualHost *:80>

    ServerName wiki.hwdomain.io
    ServerAdmin [email protected]

    # Redirect Requests to SSL
    Redirect permanent "/" "https://wiki.hwdomain.io/"

    ErrorLog ${APACHE_LOG_DIR}/wiki.hwdomain.io.error.log
    CustomLog ${APACHE_LOG_DIR}/wiki.hwdomain.io.access.log combined

</VirtualHost>

<IfModule mod_ssl.c>

    <VirtualHost _default_:443>

        ServerName wiki.hwdomain.io
        ServerAdmin [email protected]
        DocumentRoot /var/www/mediawiki

        # According MWiki Manual:Security
        php_flag register_globals off

        ErrorLog ${APACHE_LOG_DIR}/wiki.hwdomain.io.error.log
        CustomLog ${APACHE_LOG_DIR}/wiki.hwdomain.io.access.log combined

        SSLEngine on
        SSLCertificateFile /etc/letsencrypt/live/wiki.hwdomain.io/fullchain.pem
        SSLCertificateKeyFile /etc/letsencrypt/live/wiki.hwdomain.io/privkey.pem

        <FilesMatch "\.(cgi|shtml|phtml|php)$">
                SSLOptions +StdEnvVars
        </FilesMatch>

        <Directory /usr/lib/cgi-bin>
                SSLOptions +StdEnvVars
        </Directory>

        <Directory /var/www/mediawiki>
                Options None FollowSymLinks
                #Allow .htaccess
                AllowOverride All
                Require all granted
                <IfModule security2_module>
                        SecRuleEngine Off
                        # or disable only problematic rules
                </IfModule>
        </Directory>

        # According to MWiki Manual:Security
        <Directory /var/www/mediawiki/images>
                # Ignore .htaccess files
                AllowOverride None
                # Serve HTML as plaintext, don't execute SHTML
                AddType text/plain .html .htm .shtml .php .phtml .php5
                # Don't run arbitrary PHP code.
                php_admin_flag engine off
                # If you've other scripting languages, disable them too.
        </Directory>

        #According to MWiki Manual:Security
        <Directory /var/www/mediawiki/images/deleted>
                Deny from all
                AllowOverride AuthConfig Limit
                Require local
        </Directory>

    </VirtualHost>

</IfModule>
Save and close the file when you are done.
Next, activate the virtual host configuration "mediawiki.conf", then verify your Apache2 configuration. If you get the output message such as "Syntax OK", then your Apache2 configuration is correct.
sudo a2ensite mediawiki.conf
sudo apachectl configtest
Lastly, run the command below to restart the Apache2 service and apply new changes. Now you have completed the LAMP Stack configuration for the MediaWiki, and now you are ready to start the MediaWiki configuration.
sudo systemctl restart apache2
Starting MediaWiki installation
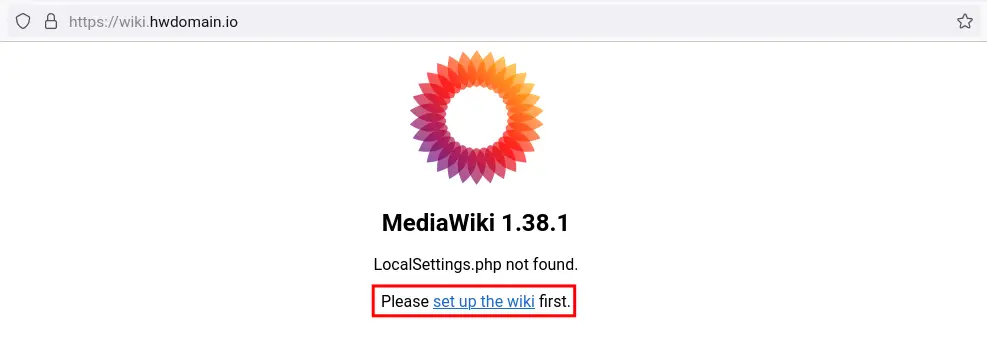
Open your web browser and type the MediaWiki installation domain name (i.e https://wiki.hwdomain.io/) on the address bar. Click the link "set up the wiki" to start configuring your MediaWiki installation.
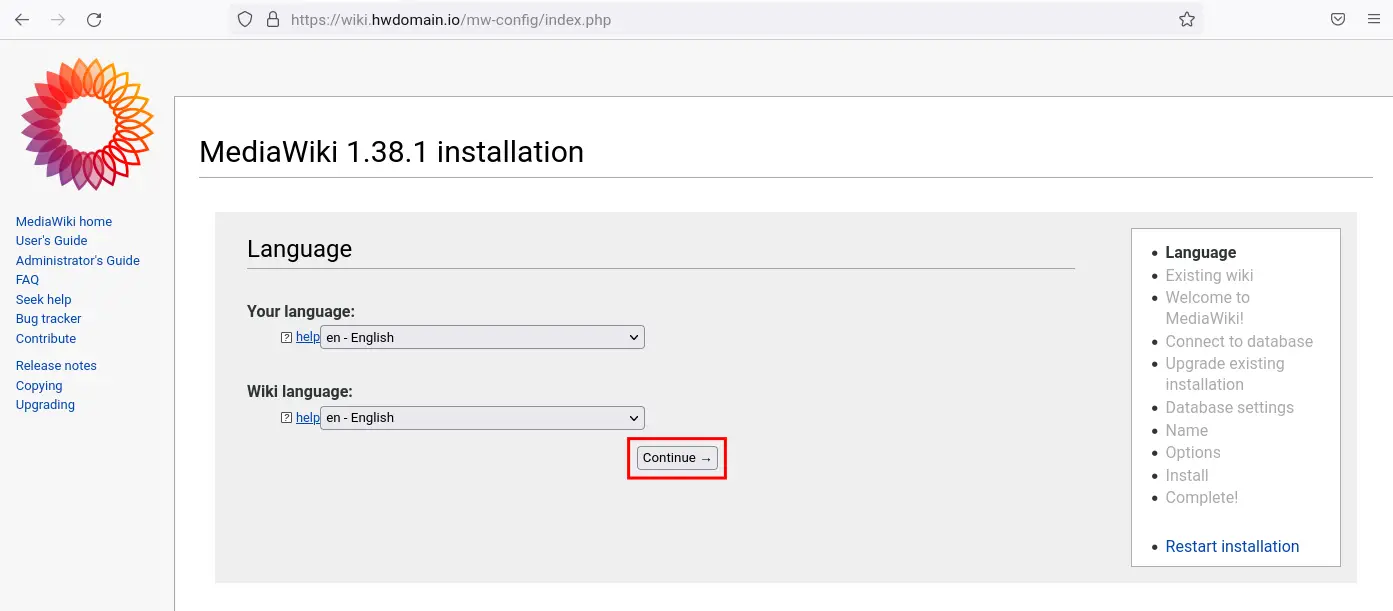
Choose the default language for your Wiki and click "Continue".
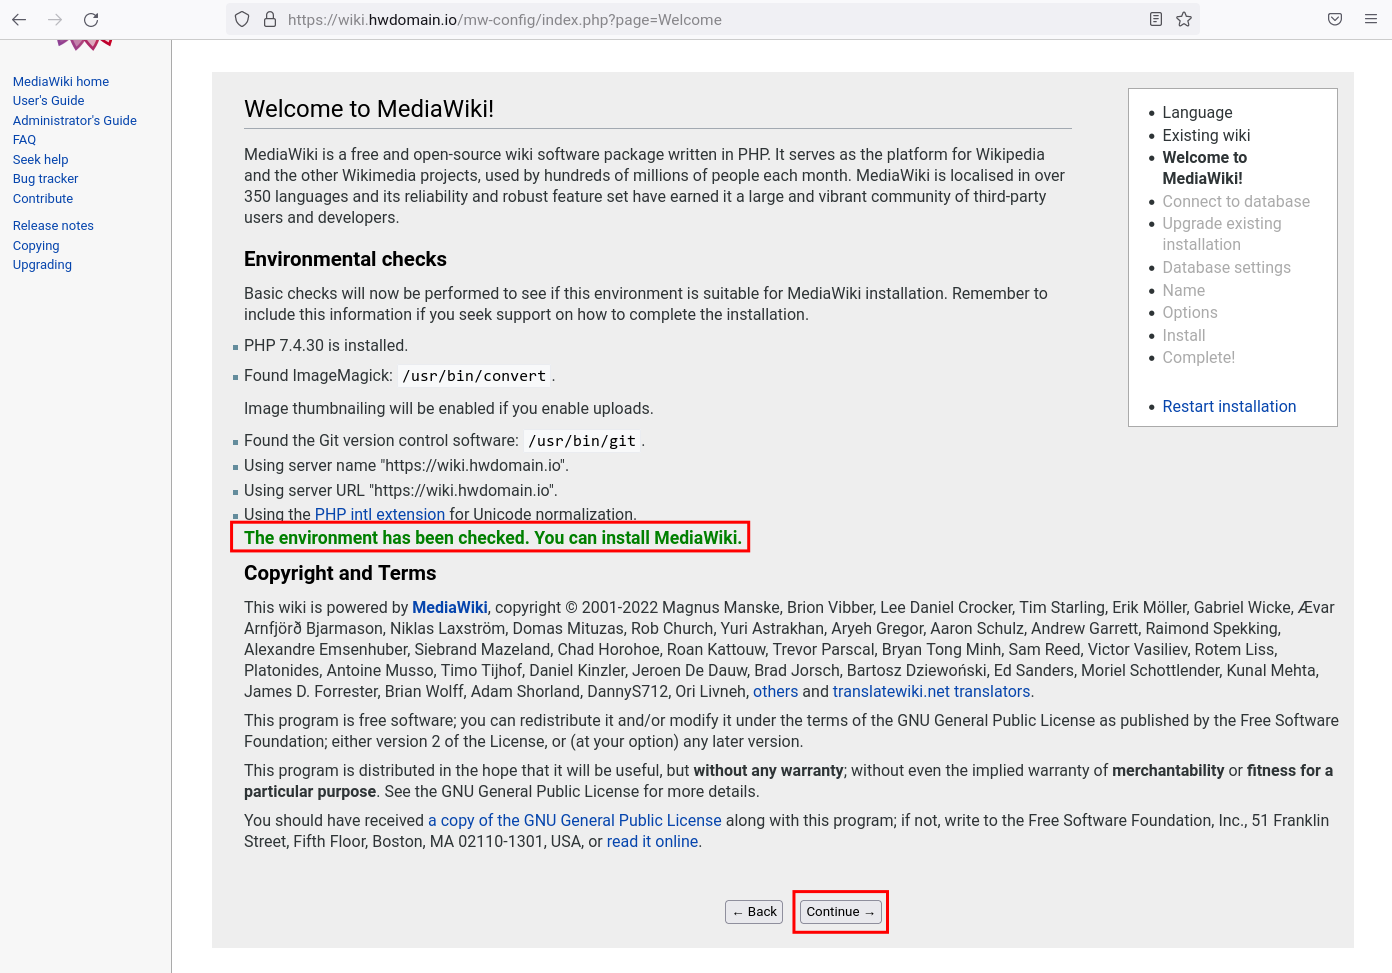
Now the MediaWiki installer will be checking all requirements for the installation. Be sure you get the message "The environment has been checked. You can install MediaWiki" on the screen, then click "Continue".
Input details MariaDB database and user for your MediaWiki and click "Continue" again.
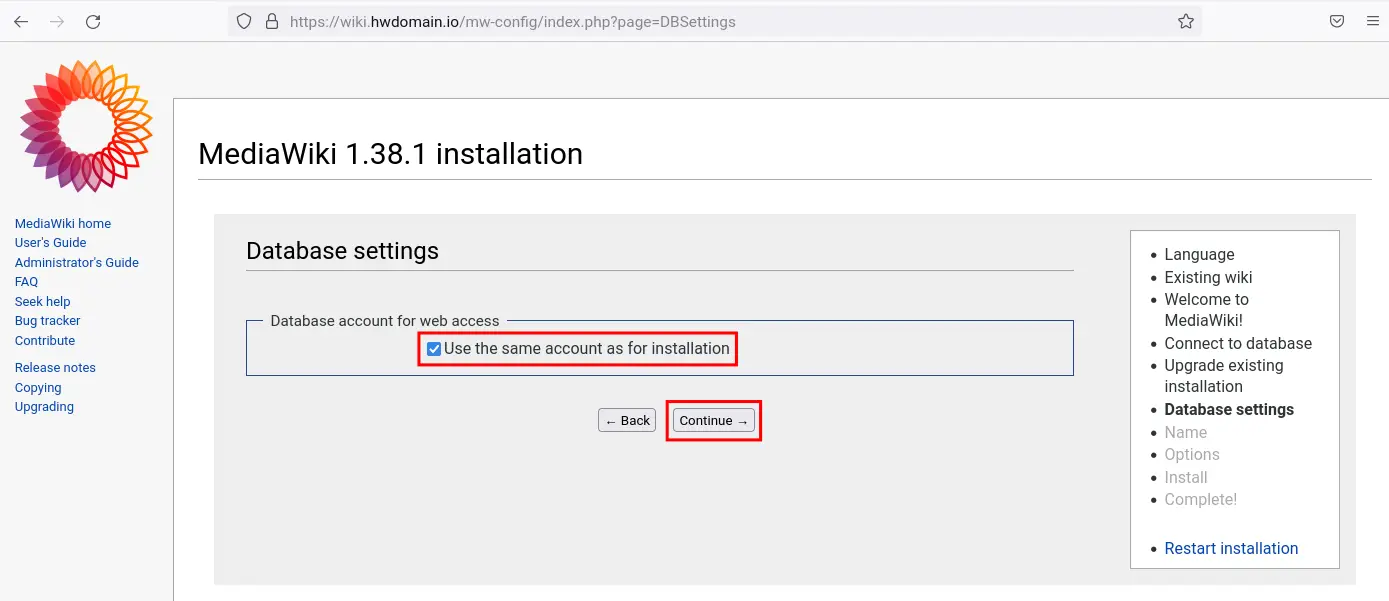
For the database settings, leave it as default and click "Continue".
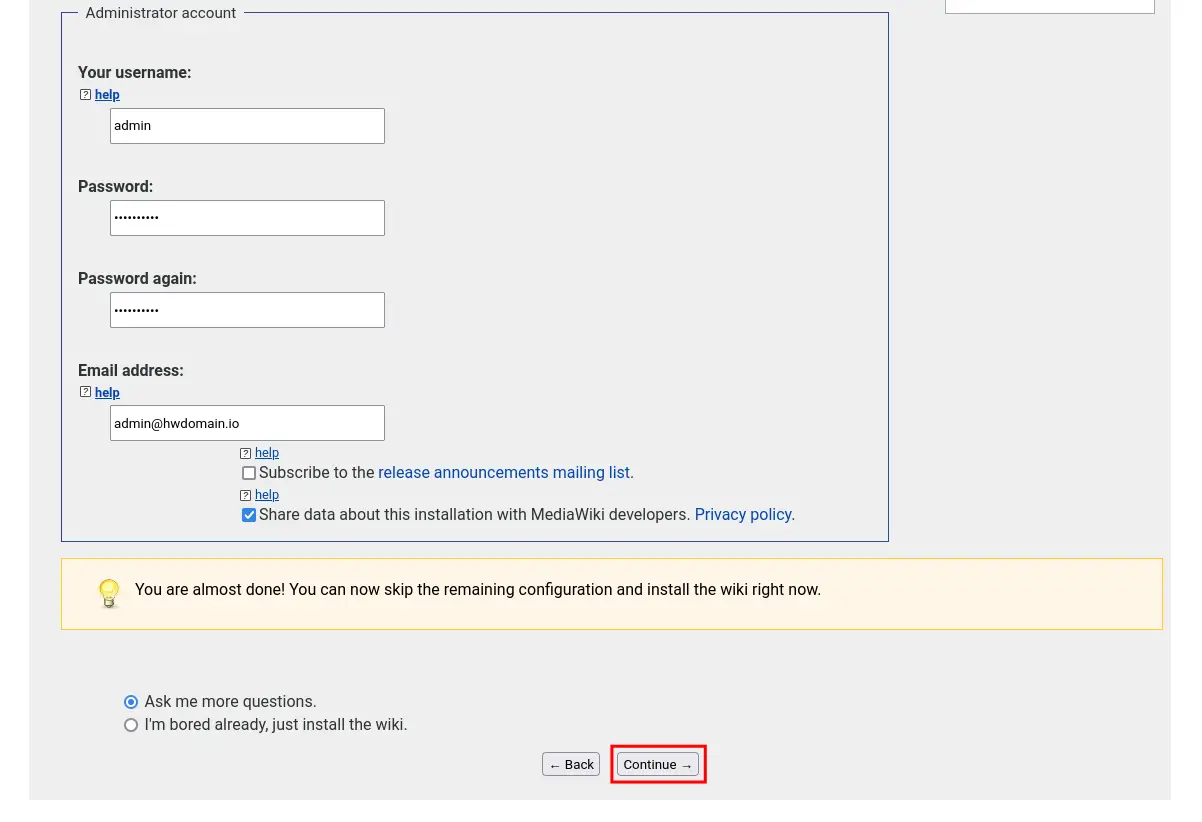
Now input the title of your wiki and input details admin user and password for your MediaWiki and click "Continue".
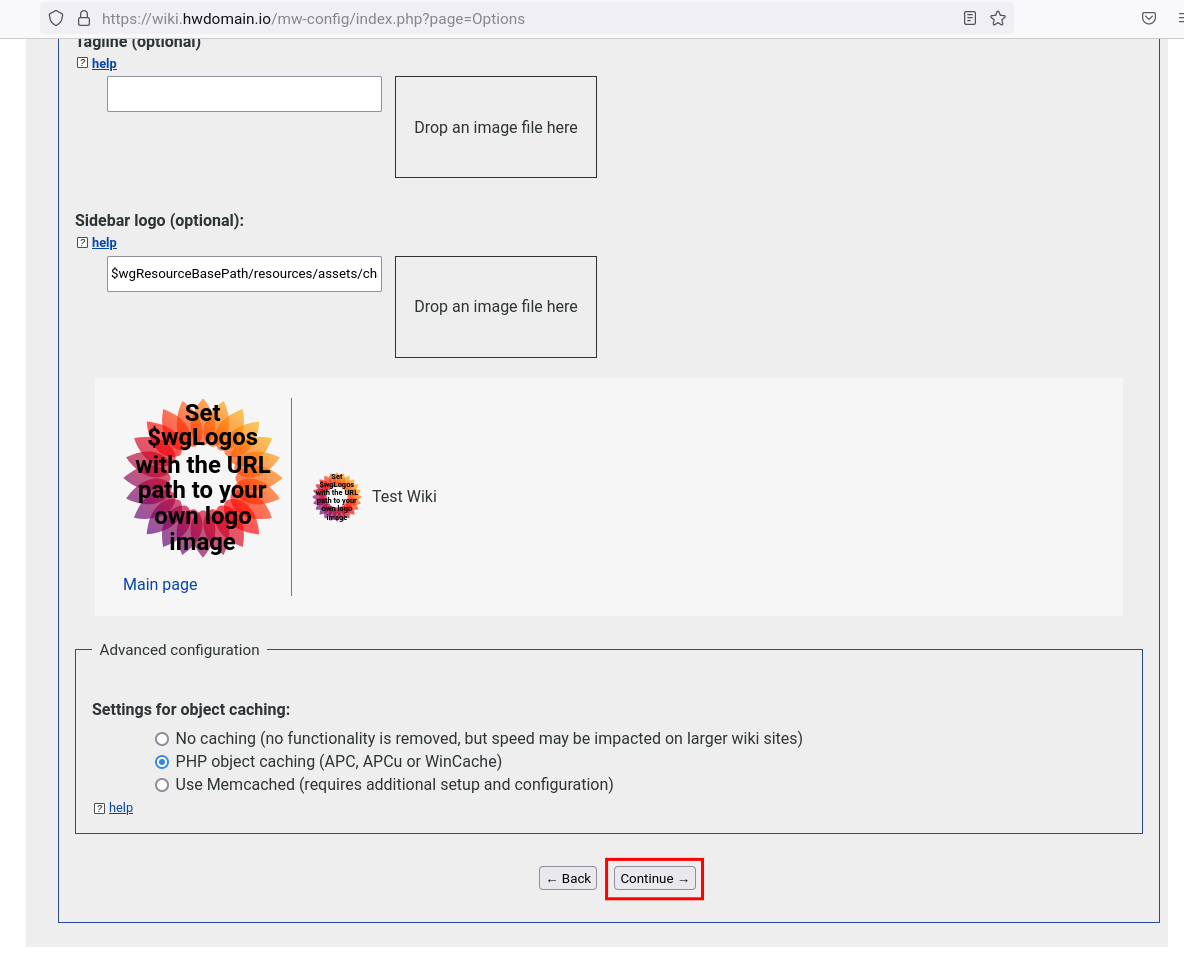
For the additional options/configurations for the MediaWiki, you can leave it as default and click "Continue".
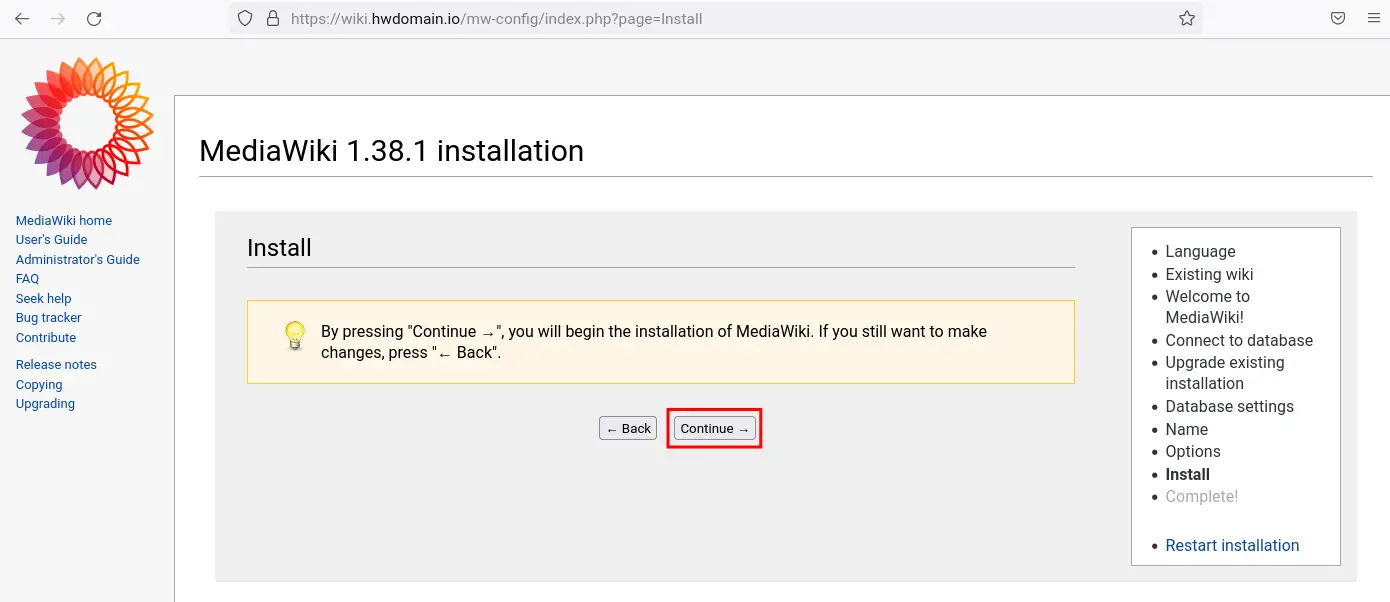
Click "Continue" again to confirm and start the MediaWiki installation.
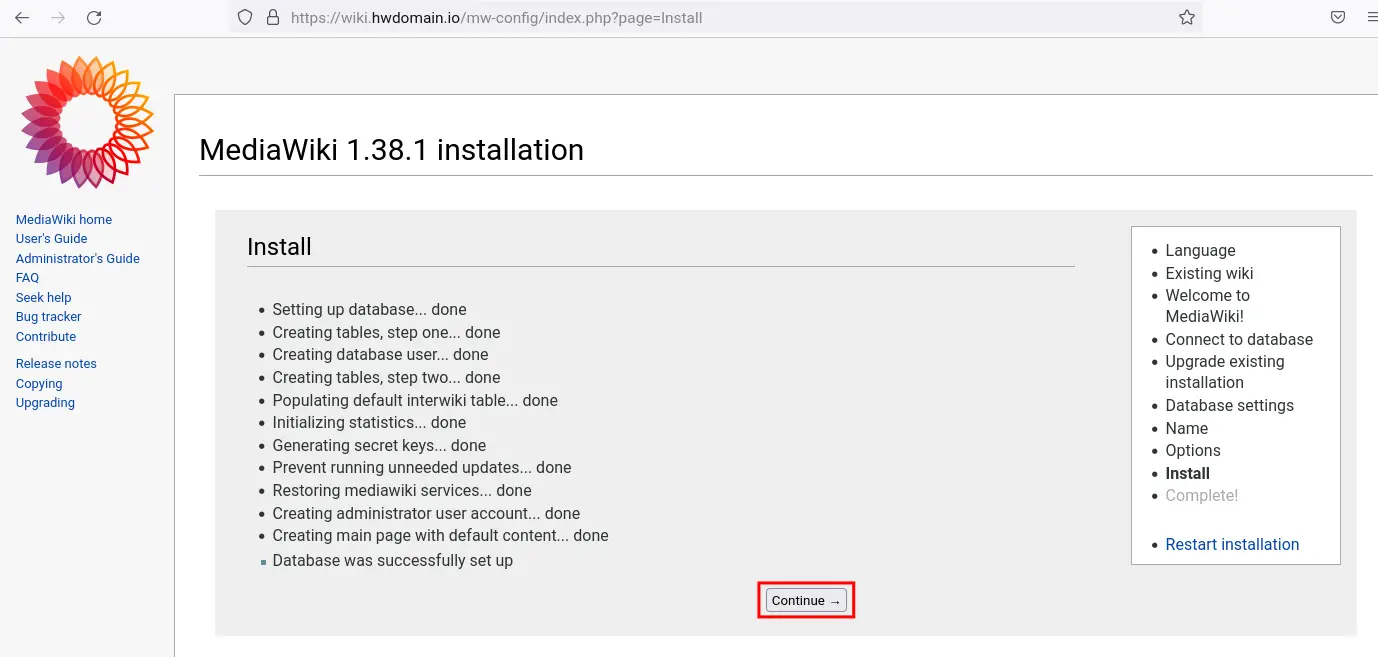
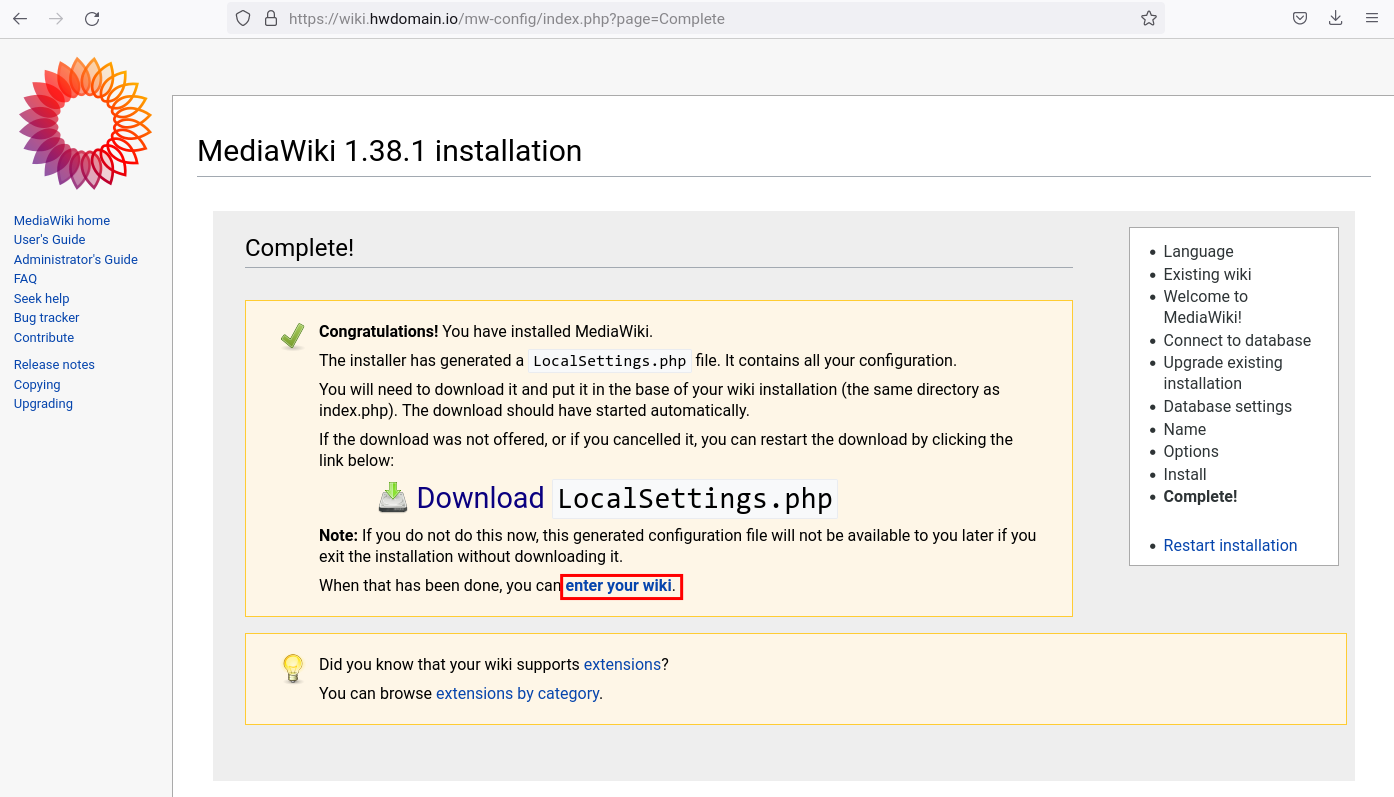
After MediaWiki installation is completed, click "Continue" again.
Now you will need to download the file "LocalSettings.php" file to your local machine and upload it to the MediaWiki server.
Another option, you can create a new file "/var/www/mediawiki/LocalSettings.php" using nano editor.
nano /var/www/mediawiki/LocalSettings.php
Add the script from the LocalSettings.php file on your local machine.
Now change the ownership of the file to the correct user "www-data".
sudo chown www-data:www-data /var/www/mediawiki/LocalSettings.php
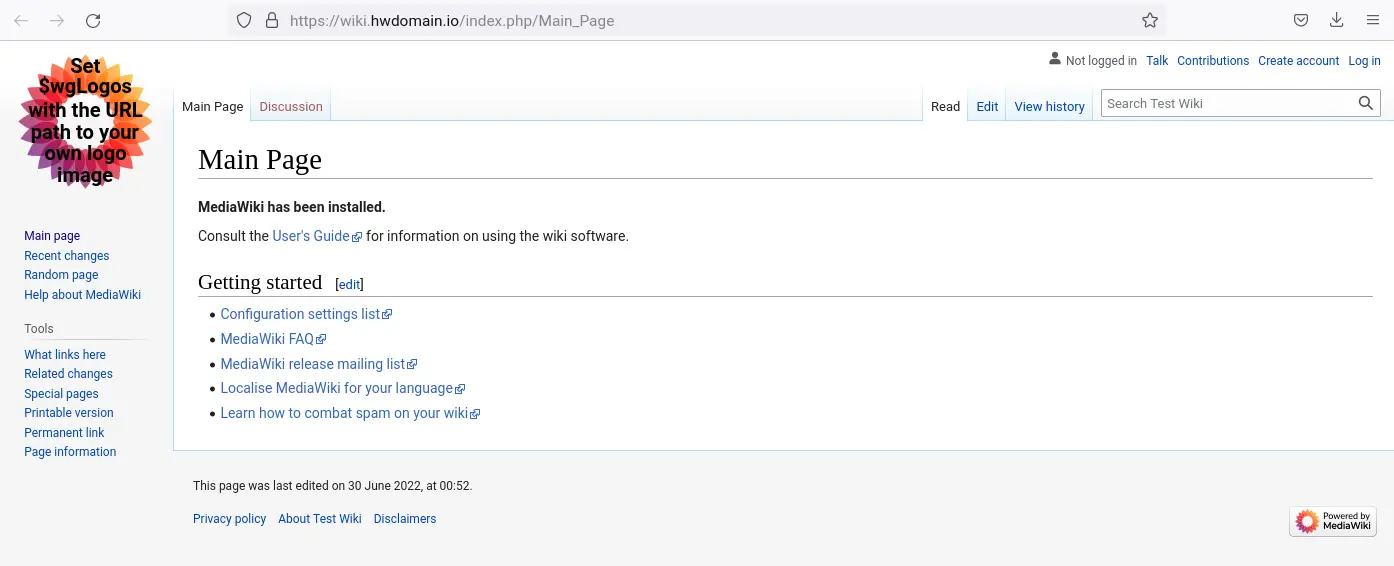
Now click the link "enter your wiki" to see the result of the installation.
And now you will get the default index page of your MediaWiki installation.
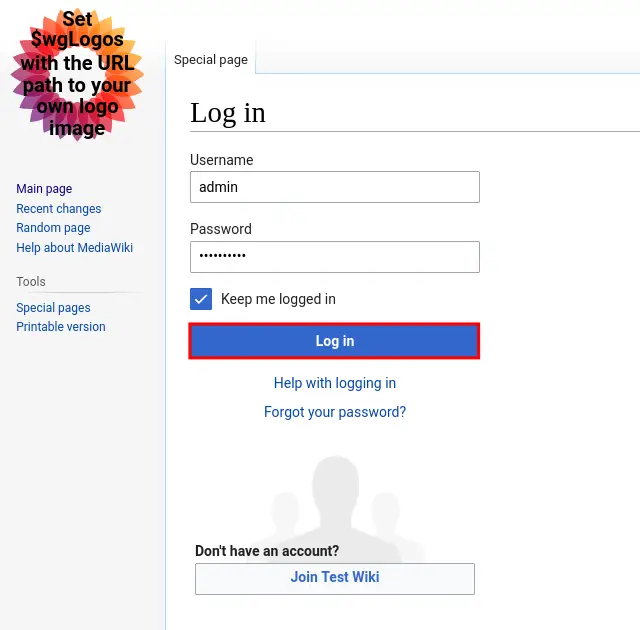
Now click the "Login" link on the top right, then input your admin user and password for your MediaWiki and click "Log in". And you should be logged into the MediaWiki.
Conclusion
Congratulation! you have now successfully installed MediaWiki on the Ubuntu 22.04 server with the LAMP Stack. With this type of installation, you have the MediaWiki running securely with HTTPS/SSL enabled on top of your MediaWiki installation.

