How to Install LibreNMS with Nginx on Ubuntu 22.04
This tutorial exists for these OS versions
On this page
LibreNMS is a free, open-source, and powerful network monitoring tool for Linux-based operating systems. It allows you to monitor all major operating systems as well as network devices including Cisco, Juniper, Foundry, FreeBSD, Brocade, and many more via a web browser. LibreNMS uses several network protocols like SNMP, ARP, CDP, FDP, LLDP, OSPF, and BGP to auto-discover all network operating systems and devices. It offers a wide range of features including, auto-discovery, API access, customizable alerts, automatic updates, and many more.
In this tutorial, we will show you step-by-step instructions on how to install LibreNMS on Ubuntu 22.04.
Prerequisites
- A server running Ubuntu 22.04.
- A root password is configured on your server.
Getting Started
First, it is recommended to update your system packages to the latest version. You can do it with the following command:
apt-get update -y
After updating all packages, install all the dependencies required for LibreNMS with the following command:
apt-get install rrdtool whois fping imagemagick graphviz mtr-tiny nmap python3-mysqldb snmp snmpd python3-pip python3-memcache mtr-tiny acl unzip git curl wget -y
Once all the dependencies are installed, you can proceed to the next step.
Install Nginx, PHP, and MariaDB Server
Next, you will need to install Nginx server, MariaDB server, PHP and other PHP extensions in your server. We will use the php fastcgi process manager (PHP-FPM). You can install all of them by running the following command:
apt-get install nginx mariadb-server php php-pear php-cgi php-common php-curl php-mbstring php-gd php-mysql php-bcmath php-imap php-json php-xml php-snmp php-fpm php-zip -y
After installing all the packages, you will need to set the timezone in your php.ini file.
nano /etc/php/8.1/fpm/php.ini
nano /etc/php/8.1/cli/php.ini
Define your system timezone as shown below:
date.timezone = UTC
Save and close the conf file when you are finished. Then, restart the PHP-FPM service to apply the changes:
systemctl restart php8.1-fpm
Once you are finished, you can proceed to the next step.
Create a LibreNMS Database
Next, you will need to create a database and user for LibreNMS.
First, log in to the MariaDB shell with the following command:
mysql
Once login, create a database and user with the following command:
MariaDB [(none)]> create database librenmsdb CHARACTER SET utf8 COLLATE utf8_unicode_ci;
MariaDB [(none)]> grant all privileges on librenmsdb.* to librenms@localhost IDENTIFIED by "password";
Next, flush the privileges and exit from the MariaDB shell with the following command:
MariaDB [(none)]> flush privileges;
MariaDB [(none)]> exit;
Next, edit the MariaDB configuration file and modify some recommended settings:
nano /etc/mysql/mariadb.conf.d/50-server.cnf
Add the following lines inside [mysqld] section:
innodb_file_per_table=1
sql-mode=""
lower_case_table_names=0
Save and close the file then restart the MariaDB service to apply the changes:
systemctl restart mariadb
At this point, your MariaDB is configured. You can now proceed to the next step.
Install and Configure LibreNMS
First, you will need to create a dedicated user for LibreNMS. You can add it with the following command:
useradd -r -M -d /opt/librenms librenms
Next, add the librenms user to the www-data group with the following command:
usermod -a -G librenms www-data
Next, change the directory to the /opt and download the latest version of LibreNMS with the following command:
cd /opt
git clone https://github.com/librenms/librenms.git librenms
Next, create a log file for LibreNMS with the following command:
touch /opt/librenms/logs/librenms.log
Next, copy the SNMP sample configuration file with the following command:
cp /opt/librenms/snmpd.conf.example /etc/snmp/snmpd.conf
Next, edit the snmpd.conf file:
nano /etc/snmp/snmpd.conf
Find the following line:
com2sec readonly default RANDOMSTRINGGOESHERE
And, replaced it with the following line:
com2sec readonly default mysnmpserverkey
Save and close the file then download the SNMP distro binary and copy it to the desired location:
curl -o distro https://raw.githubusercontent.com/librenms/librenms-agent/master/snmp/distro
chmod +x distro
mv distro /usr/bin/distro
Next, restart the SNMP service to apply the changes:
systemctl restart snmpd
Next, you will also need to copy LibreNMS cron and logrotate file to the desired location. You can copy them with the following command:
cp /opt/librenms/librenms.nonroot.cron /etc/cron.d/librenms
cp /opt/librenms/misc/librenms.logrotate /etc/logrotate.d/librenms
Next, change the directory to the librenms and install required dependencies using the following command:
cd /opt/librenms
./scripts/composer_wrapper.php install --no-dev
Once all the dependencies are installed, chaneg the ownership of librenms directory and give necessary permissions with the following command:
chown -R www-data:librenms /opt/librenms
chmod -R 775 /opt/librenms
setfacl -d -m g::rwx /opt/librenms/rrd /opt/librenms/logs /opt/librenms/bootstrap/cache/ /opt/librenms/storage/
setfacl -R -m g::rwx /opt/librenms/rrd /opt/librenms/logs /opt/librenms/bootstrap/cache/ /opt/librenms/storage/
Once you are finished, you can proceed to the next step.
Create Nginx Virtual Host for LibreNMS
Next, you will need to create an Nginx virtual host configuration file for LibreNMS. You can create it with the following command:
nano /etc/nginx/conf.d/librenms.conf
Add the following lines:
server {
 listen      80;
 server_name librenms.example.com;
 root        /opt/librenms/html;
 index       index.php;

 charset utf-8;
 gzip on;
 gzip_types text/css application/javascript text/javascript application/x-javascript image/svg+xml text/plain text/xsd text/xsl text/xml image/x-icon;
 location / {
  try_files $uri $uri/ /index.php?$query_string;
 }
 location /api/v0 {
  try_files $uri $uri/ /api_v0.php?$query_string;
 }
 location ~ \.php {
  include fastcgi.conf;
  fastcgi_split_path_info ^(.+\.php)(/.+)$;
  fastcgi_pass unix:/var/run/php/php8.1-fpm.sock;
 }
 location ~ /\.ht {
  deny all;
 }
}
Save and close the file then check the Nginx for any syntax error (nginx error) with the following command:
nginx -t
You should see the following output:
nginx: the configuration file /etc/nginx/nginx.conf syntax is ok
nginx: configuration file /etc/nginx/nginx.conf test is successful
we also want to restart PHP once to ensure that you do not get a "librenms 502 bad gateway", which might mean that php8.1-fpm is not started.
systemctl php8.1-fpm restart
Just to be sure, we will run a command to stop Apache2, just in case, it was installed on your system. So if the next command fails, then that#s perfectly fine as it just means you have only Nginx running as intended.
systemctl stop apache2
Now we restart the Nginx service to apply the changes:
systemctl restart nginx
You can also verify the Nginx service status using the following command:
systemctl status nginx
You should get the following output:
? nginx.service - A high performance web server and a reverse proxy server
     Loaded: loaded (/lib/systemd/system/nginx.service; enabled; vendor preset: enabled)
     Active: active (running) since Sat 2022-07-02 08:35:53 UTC; 8s ago
       Docs: man:nginx(8)
    Process: 49538 ExecStartPre=/usr/sbin/nginx -t -q -g daemon on; master_process on; (code=exited, status=0/SUCCESS)
    Process: 49539 ExecStart=/usr/sbin/nginx -g daemon on; master_process on; (code=exited, status=0/SUCCESS)
   Main PID: 49543 (nginx)
      Tasks: 3 (limit: 4579)
     Memory: 3.3M
        CPU: 43ms
     CGroup: /system.slice/nginx.service
             ??49543 "nginx: master process /usr/sbin/nginx -g daemon on; master_process on;"
             ??49544 "nginx: worker process" "" "" "" "" "" "" "" "" "" "" "" "" "" "" "" "" "" "" "" "" "" "" "" "" "" "" ""
             ??49545 "nginx: worker process" "" "" "" "" "" "" "" "" "" "" "" "" "" "" "" "" "" "" "" "" "" "" "" "" "" "" ""

Jul 02 08:35:53 ubuntu2204 systemd[1]: Starting A high performance web server and a reverse proxy server...
Jul 02 08:35:53 ubuntu2204 systemd[1]: Started A high performance web server and a reverse proxy server.
Once you are finished, you can proceed to the next step.
Access LibreNMS Web Interface
Now, open your web browser and type the URL http://librenms.example.com to access the LibreNMS. You will be redirected to the Pre-install check page:
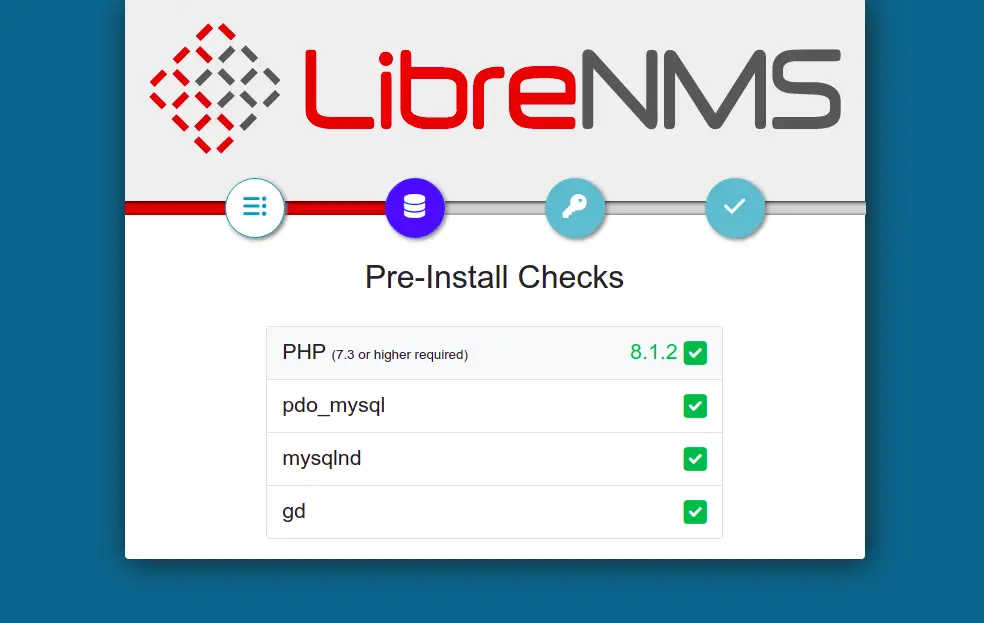
Make sure all the required extensions are installed then click on the Database settings. You should see the following page:

Provide your database username, database name, password, and click on the Check Credentials button. Once it's successful, you should see the following page:
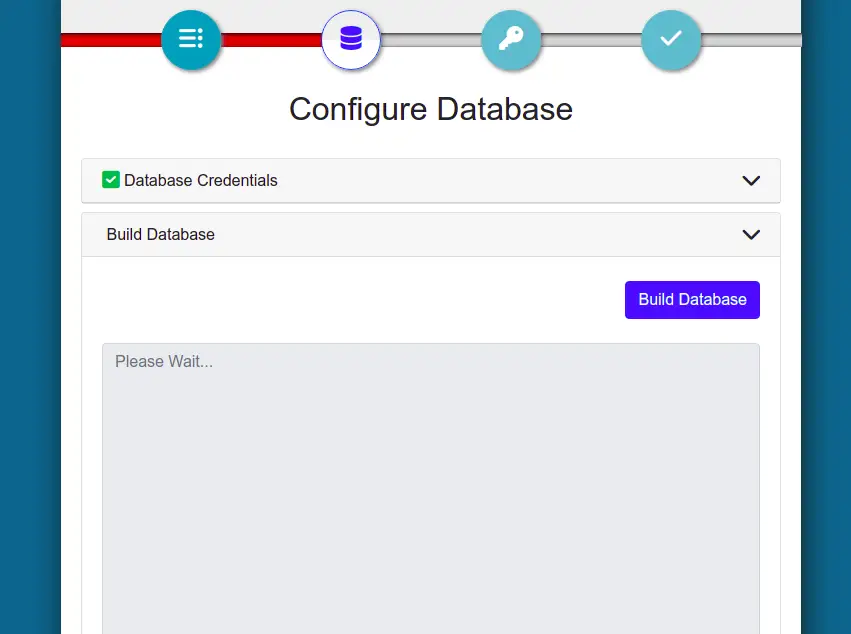
Now, click on the Build Database button. You should see the following page:
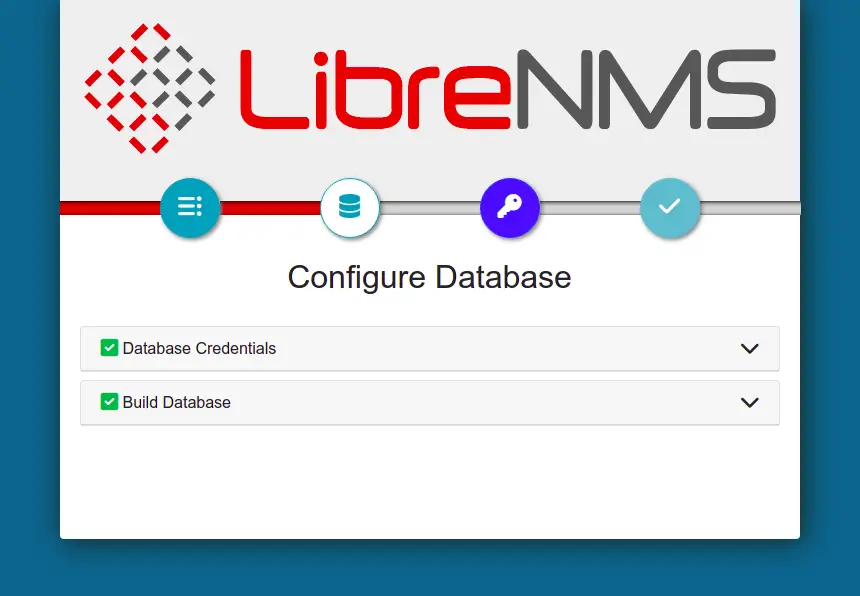
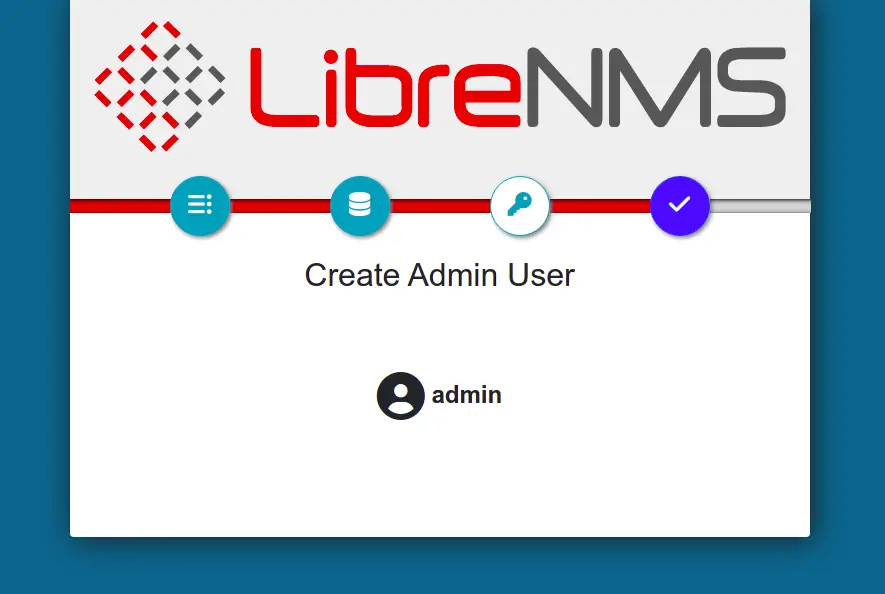
Next, click on the Admin user creation button. You should see the following page:
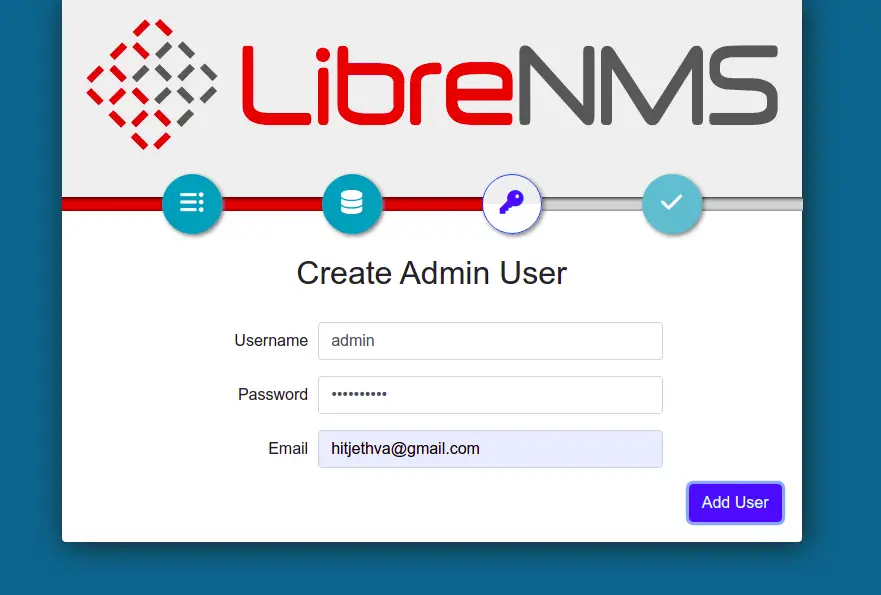
Provide your admin username, email, password, and click on the Add User button. You should see the following page:
Next, click on the Finish installation button. You should see the following page:

Next, click on the "validate your install". You should see the LibreNMS login page:
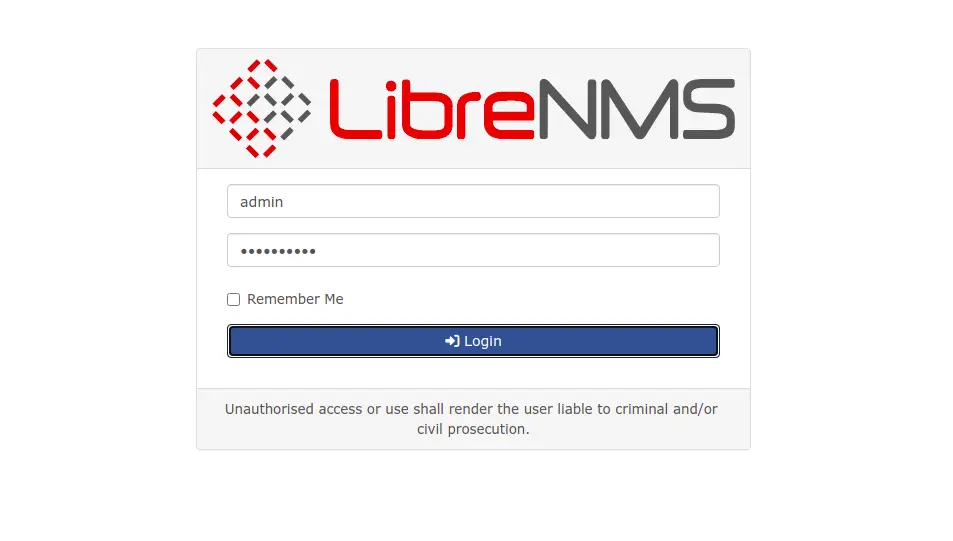
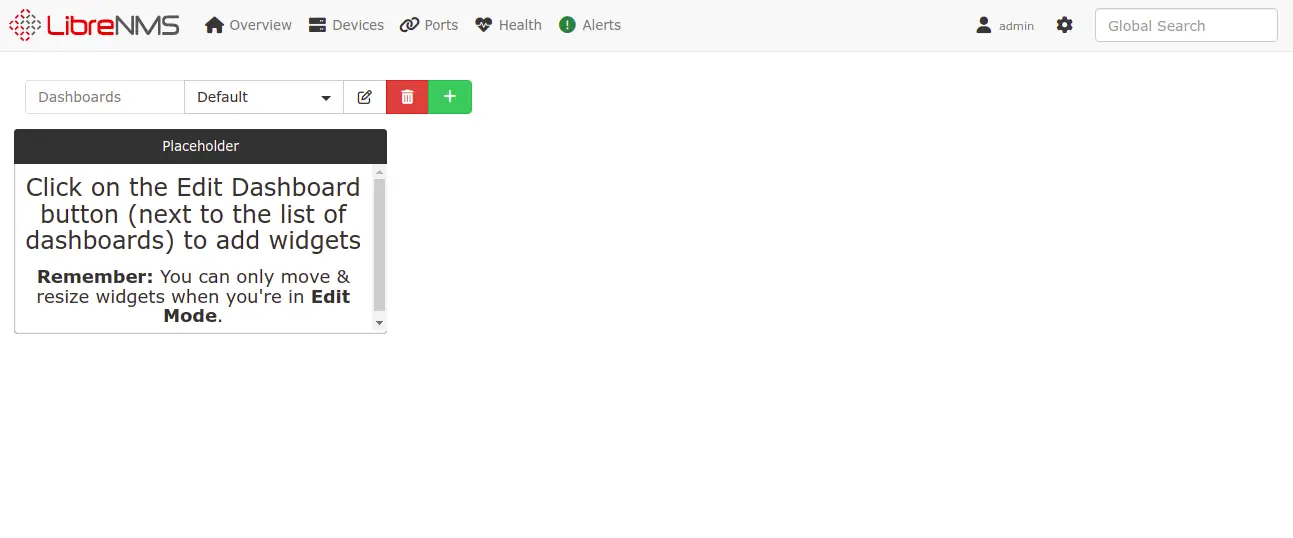
Provide your LibreNMS admin username, password and click on the Login button. You should see the LibreNMS dashboard:
Conclusion
Congratulations! you have successfully installed and configured LibreNMS on Ubuntu 22.04 server. You can now add a remote server or network device from the LibreNMS dashboard and start monitoring via the web browser. Feel free to ask me if you have any questions.

