Guide to Install Django Web Framework on Debian 12
This tutorial exists for these OS versions
- Debian 12 (Bookworm)
- Debian 11 (Bullseye)
- Debian 10 (Buster)
On this page
Django is a free and open source Python web framework used for developing dynamic websites and applications. It is used for the development of complex and database-driven Python applications.
Django follows the MVC (Model-View-Controller) architecture, which allows developers to write less code and create a new website in a short time. Django can be installed on any operating system that runs Python, including Windows, macOS, Linux/Unix and Solaris.
This guide will show you how to install the Django web framework on a Debian 12 server. You will start with Django by creating your first Django project using PostgreSQL as the default database, the Gunicorn WSGI server and Nginx as a reverse proxy.
Prerequisites
To get started, ensure you have the following:
- A Debian 12 machine.
- A non-root user with sudo administrator privileges.
Installing Dependencies
In the first step, you will install package dependencies for your Django web framework installation, this includes the following packages:
- PostgreSQL server: By default Django uses SQLite, and this example will show you how to use PostgreSQL as the database for your Django project.
- Supervisor: It's a process manager, and you will run your Django application with Gunicorn and Supervisor.
- Nginx web server: This example will show you how to use Nginx as a reverse proxy for your Django project. This allows your Django project accessible via a local domain name
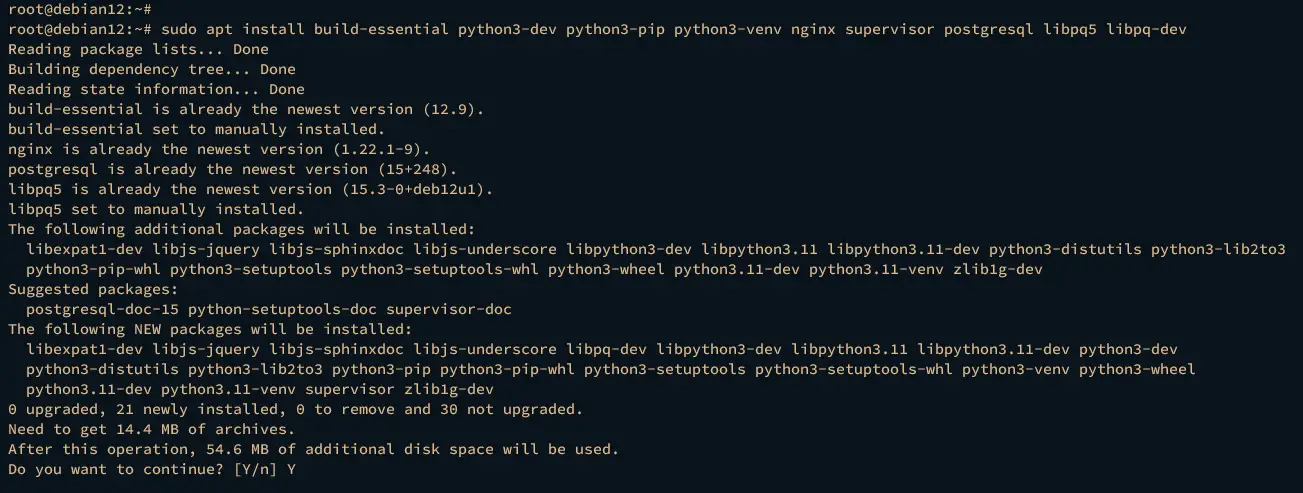
First, execute the apt command below to update and refresh your package index.
sudo apt update
Now install package dependencies such as Python virtual environment, pip package manager, PostgreSQL and libpq5 driver, Nginx and Supervisor.
sudo apt install build-essential python3-dev python3-pip python3-venv nginx supervisor postgresql libpq5 libpq-dev
Type y to confirm and proceed with the installation.
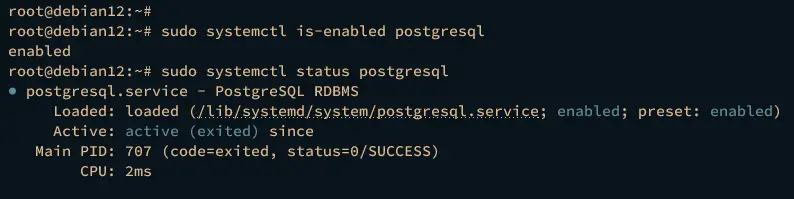
Once dependencies are installed, run the following commands to verify PostgreSQL, Nginx, and Supervisor services and ensure those services are running and enabled.
Check the PostgreSQL service using the command below.
sudo systemctl is-enabled postgresql
sudo systemctl status postgresql
If PostgreSQL is running and enabled, below the output you should get.
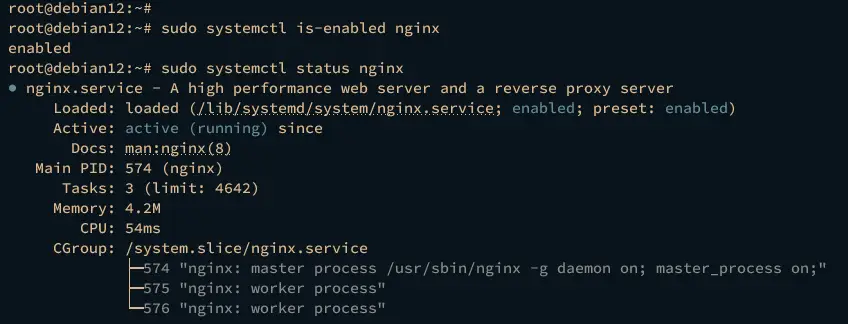
Check the Nginx service using the command below.
sudo systemctl is-enabled nginx
sudo systemctl status nginx
If Nginx is running and enabled, below is the output you should get.
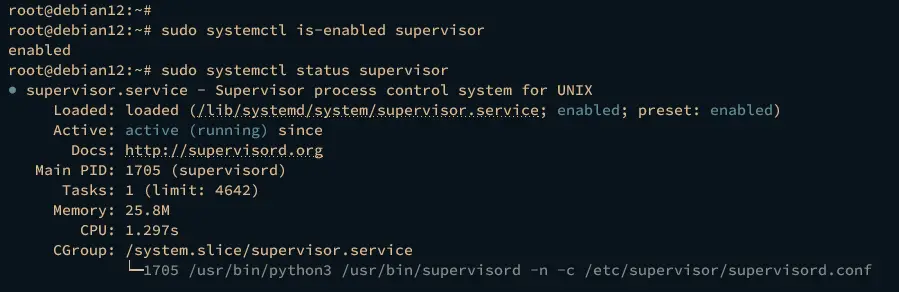
Lastly, check the Supervisor using the below command.
sudo systemctl is-enabled supervisor
sudo systemctl status supervisor
You should see the Supervisor is running and enabled.
Installing Django via Pip
The Django web framework can be installed in different ways, including manually via Git, via Pip Python package manager, or combined with an isolated environment with venv module and Pip. In this example, you will install Django via Pip package manager on the isolated Python environment.
Log in to your user via the command below.
su - username
Now create a new project directory ~/testdjango and move into it.
mkdir -p ~/testdjango; cd ~/testdjango
Next, run the following command to create a new Python virtual environment called venv in your current project directory.
python3 -m venv venv
Then activate it using the command below. Once the virtual environment is activated, your current prompt will become like (venv) bob@hostname:.
source venv/bin/activate

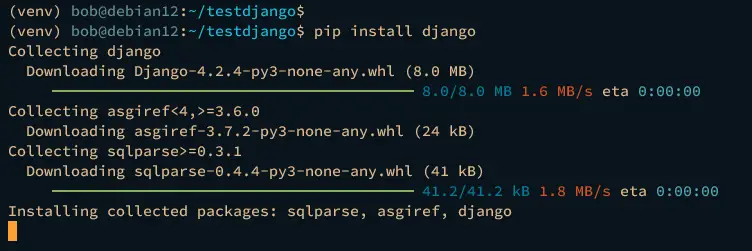
Within the venv virtual environment, execute the pip command below to install the Django web framework. This will install Django under your Python virtual environment, not system-wide.
pip install django

or

pip install django==4.2.4
Below the Django installation is running.
Verify your Django version once the installation is finished using the django-admin command below.
django-admin --version
The following output confirms Django 4.2.4 is installed within the venv virtual environment via Pip Python package manager.

Creating First Django Project
This section will teach you how to create the first Django project and use the PostgreSQL server as its default database. To achieve that, complete the following steps:
- Preparing database and user.
- Creating Django Project via django-admin.
- Migrating database and generating static files.
- Creating admin users and running Django.
Prepare Database and User
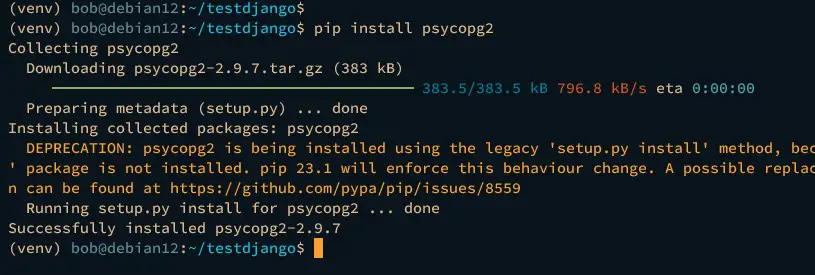
Run the pip command below to install the Python package psycopg2 to your virtual environment. This is the Python driver that will be used by Django for connecting to the PostgreSQL database server.
pip install psycopg2
exit
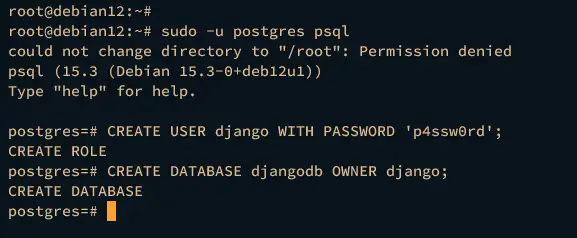
Now run the following command to log in to the PostgreSQL shell.
sudo -u postgres psql
Execute the following queries to create a new database and user for your Django project. The following example will create a new database djangodb, user django, and the password p4ssw0rd.
CREATE USER django WITH PASSWORD 'p4ssw0rd';
CREATE DATABASE djangodb OWNER django;
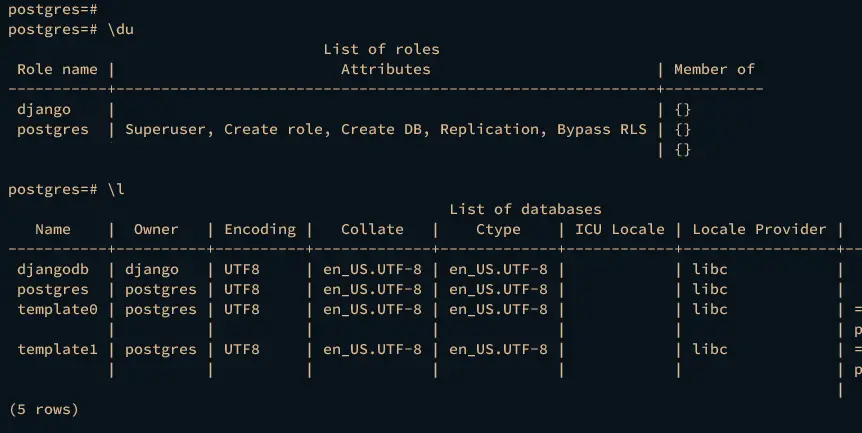
Next, run the following queries to verify the list database and user on your PostgreSQL server.
\du
\l
You should see the database djangodb and user django is created.
Type quit to exit from the PostgreSQL server.
Creating Django Project
Before creating the Django project, log in to your user and activate the venv virtual environment.
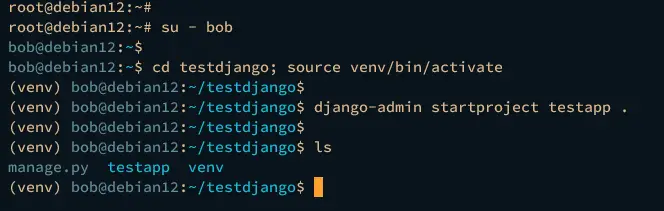
su - bob
cd testdjango; source venv/bin/activate
To create a new Django project, run the django-admin command below. In this case, you will create a new project testapp on your current working directory.
django-admin startproject testapp .
Once the project is created, the new directory testapp will be created on your working directory.
Next, run the following command to generate a random secret for your Django project. Be sure to copy the output, because you will be using it to secure your Django installation.
python3 -c 'from django.core.management.utils import get_random_secret_key; print(get_random_secret_key())'

Now use your preferred editor and open the testapp/settings.py file.
nano testapp/settings.py
At the top of the line, insert the following configuration.
import os
Insert your secret key into the SECRET_KEY parameter.
SECRET_KEY = 'fzahzbm*wrxoleqb0^-3%%tf^y!b6lsc5-c#2^@#s6gkyrl2ef'
Input your local IP address and local domain name to the ALLOWED_HOSTS parameter.
ALLOWED_HOSTS = ['127.0.0.1','192.168.10.15','first-django.dev']
Change the default database configuration with the PostgreSQL server details like this:
DATABASES = {
    'default': {
        'ENGINE': 'django.db.backends.postgresql_psycopg2',
        'NAME': 'djangodb',
        'USER': 'django',
        'PASSWORD': 'p4ssw0rd',
        'HOST': '127.0.0.1',
        'PORT': '5432',
    }
}
Lastly, add the STATIC_ROOT parameter to define a directory for storing static files.
STATIC_ROOT = os.path.join(BASE_DIR, "static/")
Save the file and exit the editor when finished.
Migrating Database and Generating Static Files
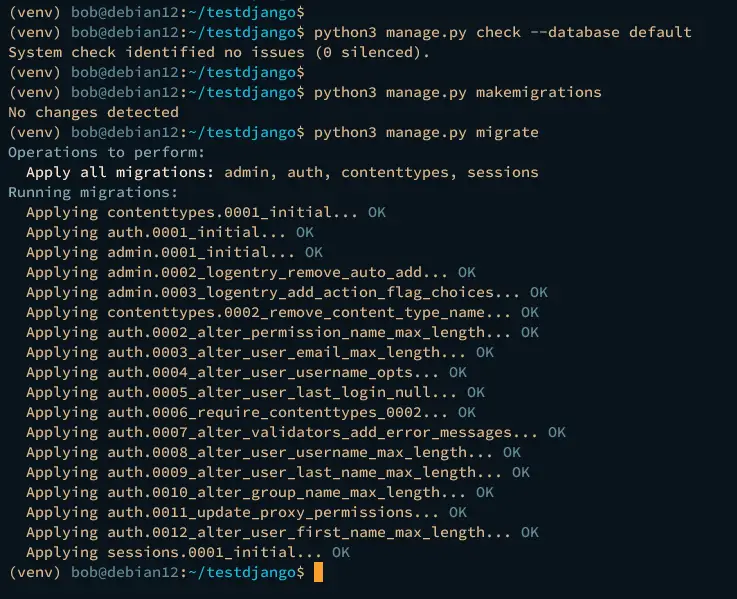
Before migrating the database, run the following command to ensure that you've proper database configuration.
python3 manage.py check --database default
If no error, run the following command to migrate the database.
python3 manage.py makemigrations
python3 manage.py migrate
If everything goes well, you should see the database migration process like this:
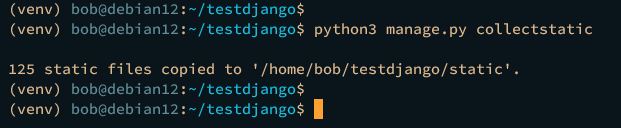
Lastly, run the following command to generate static files for your Django project. After the command is executed, the new directory static will be created and static files will be generated into it.
python3 manage.py collectstatic
Below is the output when generating static files.
Creating Admin User and Running Django
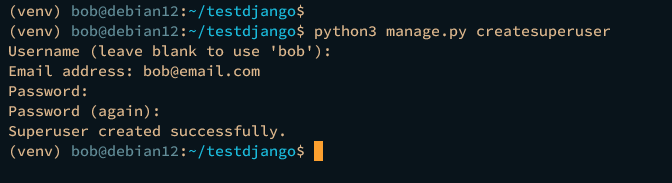
Run the following command to create the admin user for your Django project.
python3 manage.py createsuperuser
Input your email address and password when prompted.
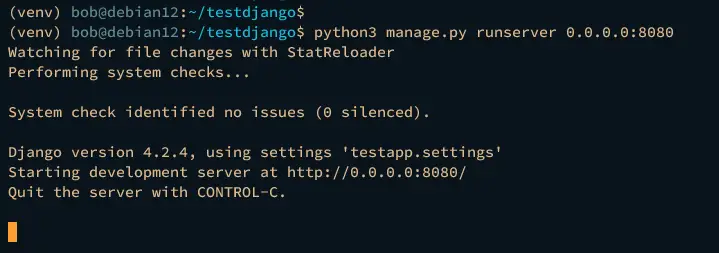
Once the admin user is created, run the command below to run your Django project.
python3 manage.py runserver 0.0.0.0:8080
After the command is executed, your Django project will be run on your local IP address on port 8080.
Now open your web browser and visit the server IP address followed by port 8080, http://192.168.10.15:8080/. If your Django installation is successful, you should see the default Django index.html page like the following:

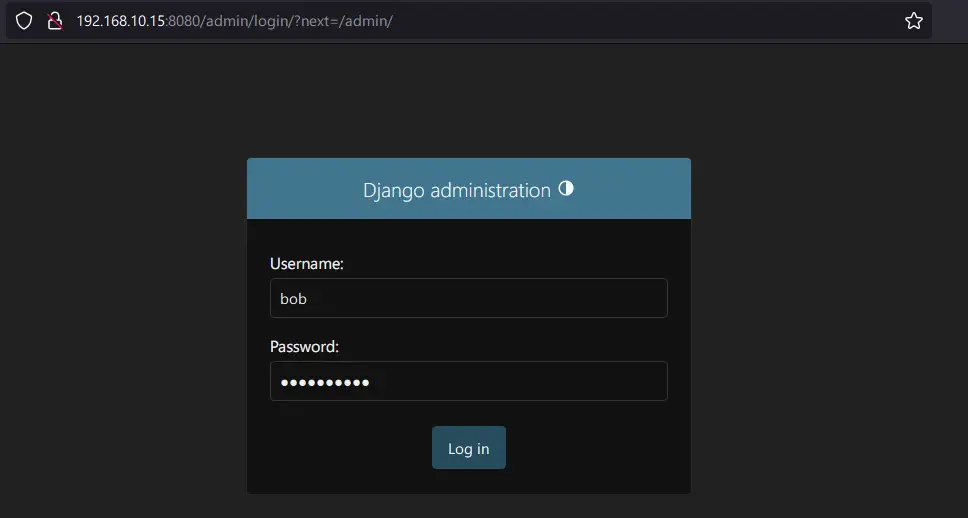
Now access your Django administration via URL path /admin, http://192.168.10.15:8080/admin. Input your Django admin user and password, then click Sign In.
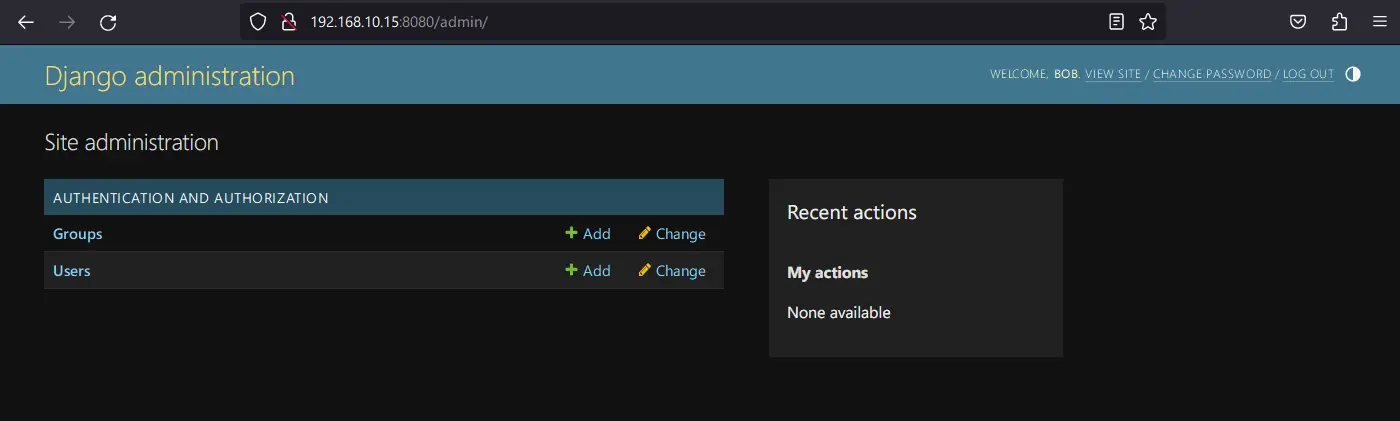
You should see an example of a Django user dashboard like this:
Press Ctrl+c to terminate the process.
Running Django with Gunicorn and Supervisor
At this point, you've finished the Django installation and created your first Django project. In the next step, you will configure Django to run in the background by utilizing the Gunicorn WSGI server and Supervisor process manager.
Installing Gunicorn
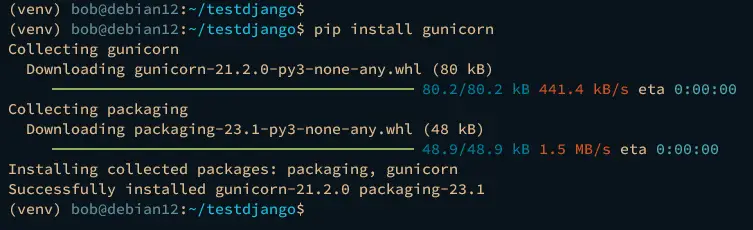
Within the venv virtual environment, execute the pip command below to install gunicorn.
pip install gunicorn
Now execute the following command to deactivate venv virtual environment and back to your root user.
deactivate
exit
Running Django with Gunicorn and Supervisor
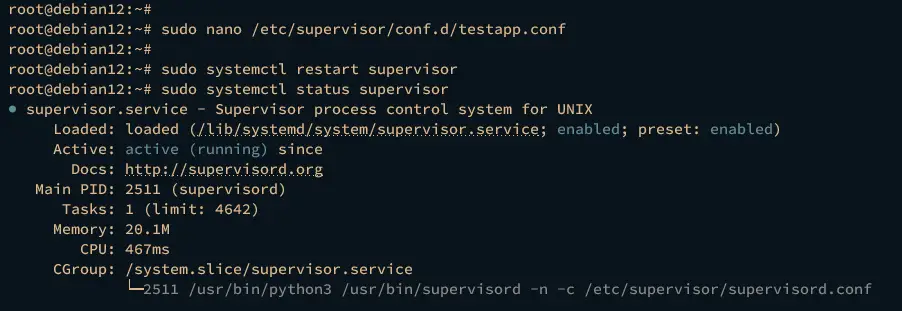
Create a new supervisor configuration /etc/supervisor/conf.d/testapp.conf using the following nano editor command.
sudo nano /etc/supervisor/conf.d/testapp.conf
Insert the following configuration and be sure to change the detailed information of the application name, the path of the project, and the user with your information. In this example, you will run your Django project under the UNIX socket /home/bob/testdjango/testapp.sock.
[program:testapp]
command=/bin/bash -c 'source /home/bob/testdjango/venv/bin/activate; gunicorn -t 3000 --workers 3 --bind unix:unix:/home/bob/testdjango/testapp.sock testapp.wsgi:application -w 2'
directory=/home/bob/testdjango
user=bob
group=www-data
autostart=true
autorestart=true
stdout_logfile=/home/bob/testdjango/testapp.log
stderr_logfile=/home/bob/testdjango/error.log
Save and exit the file when finished.
Lastly, run the following command to restart the supervisor service and apply the changes. Then, verify the supervisor's service to ensure that the service is running.
sudo systemctl restart supervisor
sudo systemctl status supervisor
Checking Django via Supervisorctl
Execute the supervisorctl command below to check the application status that running within the supervisor.
sudo supervisorctl status
You should see the testapp application is running on PID 2577.

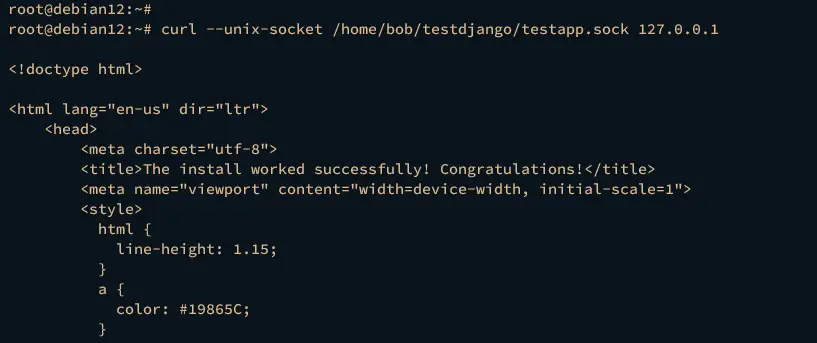
Lastly, check your Django application via the curl command below.
curl --unix-socket /home/bob/testdjango/testapp.sock 127.0.0.1
If everything goes well, you should see the source code of the index.html page of your Django project.
Configuring Nginx as a Reverse Proxy for Django
Now that your Django project is running in the background, the next step is to set up Nginx as a reverse proxy for Django. The following example will be using a local domain name.
Create a new Nginx server block configuration /etc/nginx/sites-available/django using the following nano editor.
sudo nano /etc/nginx/sites-available/django
Insert the following configuration and be sure to change the domain name in the server_name parameter.
server {
    listen 80;
    server_name first-django.dev;

    location = /favicon.ico { access_log off; log_not_found off; }
    try_files $uri @django;
    location /static {
        alias /home/bob/testdjango/static/;
    }

    location @django {
        proxy_set_header Host $http_host;
        proxy_set_header X-Real-IP $remote_addr;
        proxy_set_header X-Forwarded-For $proxy_add_x_forwarded_for;
        proxy_set_header X-Forwarded-Proto $scheme;
        proxy_pass http://unix:/home/bob/testdjango/testapp.sock;
    }
}
Save and exit the file when you're done.
Now run the following command to activate the /etc/nginx/sites-available/django server block, then verify Nginx syntax to ensure that you've proper syntax.
sudo ln -s /etc/nginx/sites-available/django /etc/nginx/sites-enabled/
sudo nginx -t
You should get the output syntax is ok - test is successful when you've proper Nginx syntax.
Lastly, restart your Nginx service by executing the following command and applying the changes that you've made.
sudo systemctl restart nginx
With this, your Django project is accessible via a local domain name.
On your local machine, edit the /etc/hosts file for Linux or C:\Windows\System32\drivers\etc\hosts for Windows. Then, define your server IP address and domain name like the following.
192.168.10.15 first-django.dev
Save and exit the file when finished.
Back to your web browser and visit your local domain name, you should see the default index.html page of your Django project.
Conclusion
In summary, by following this step-by-step guide, you've installed the Django web framework with PostgreSQL, Nginx, Gunicorn, and Supervisor on Debian 12. You've learned how to create a Django project with PostgreSQL as the default database and run Django with Gunicorn and Supervisor. You can now create and develop your application with Django.

