How to Install Apache Tomcat 10 with Nginx Reverse Proxy on Debian 12
Apache Tomcat or "Tomcat" is a free and open-source Java Servlet container for Java code and applications. It provides a "pure Java" HTTP server environment where Java code can run. Tomcat also implements JavaServer Pages, Java Expression Language, and WebSocket technologies.
In this guide, we'll show you how to install Apache Tomcat 10 on the Debian 12 server. you will also learn how to set up Nginx as a reverse proxy for Apache Tomcat.
Prerequisites
To get started, make sure you have the following:
- A Debian 12 server.
- A non-root user with administrator privileges.
Installing Java OpenJDK
Apache Tomcat is mainly written in Java, so before installing it, you must install Java on your system. In this example, you will install Java OpenJDK 17, which is available by default on the Debian repository.
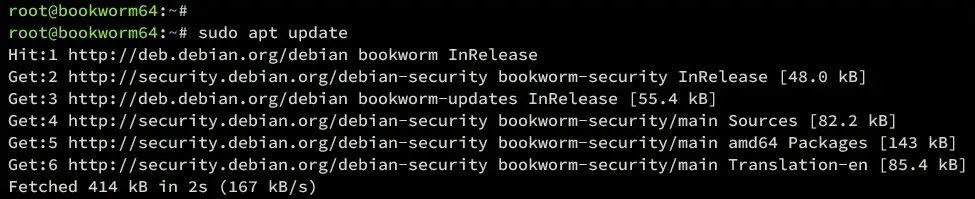
Before you start installing Java, update and refresh your Debian repository with the command below.
sudo apt update
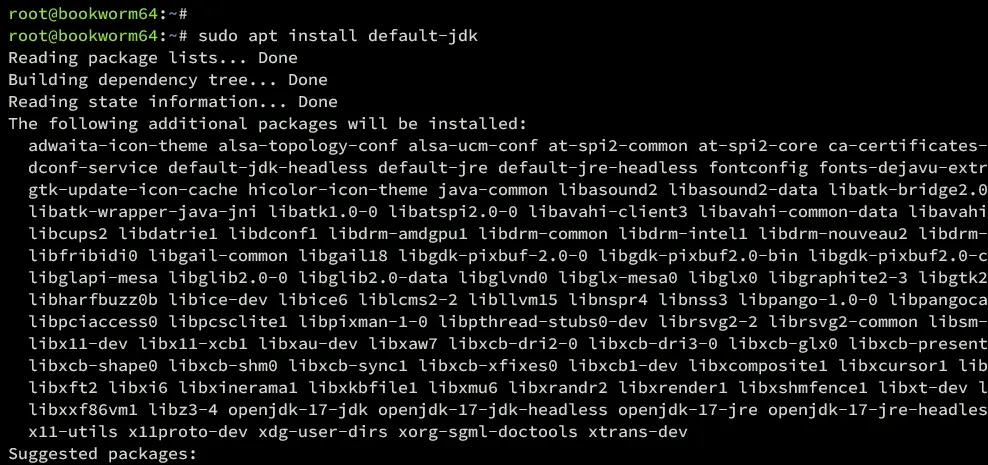
Now install the Java OpenJDK package to your Debian server using the following command. The default-jdk package refers to Java OpenJDK 17, which is the LTS version of Java.
sudo apt install default-jdk
Type y to confirm with the installation.
After installing Java, run the command below to verify your Java version. you will see that Java OpenJDK 17 is installed.
java --version

Installing Apache Tomcat via Repository
By default, the latest Debian 12 repository provides Apache Tomcat 10. If you need to install Apache Tomcat via APT, then this method is suitable for you.
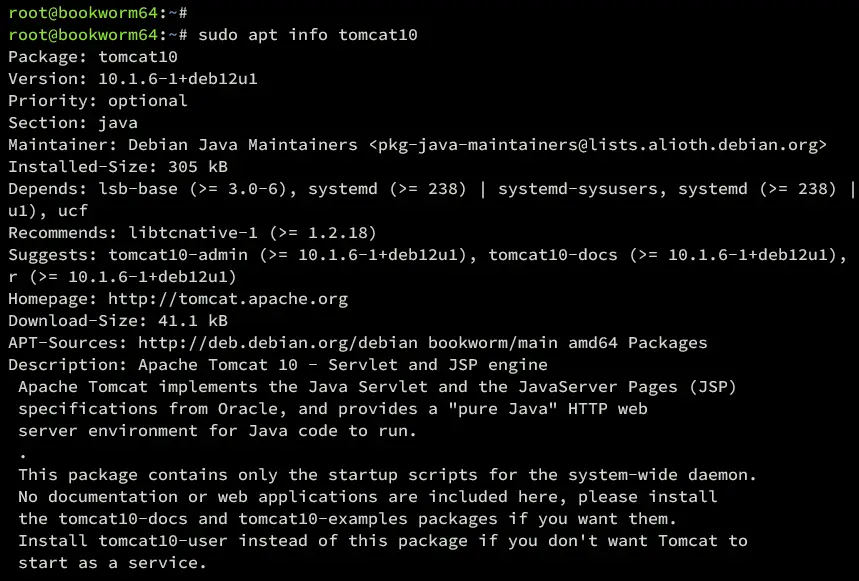
First, check the tomcat10 package using the command below.
sudo apt info tomcat10
In the following output, you can see that Apache Tomcat 10 is available on the main Debian repository, in the section of java.
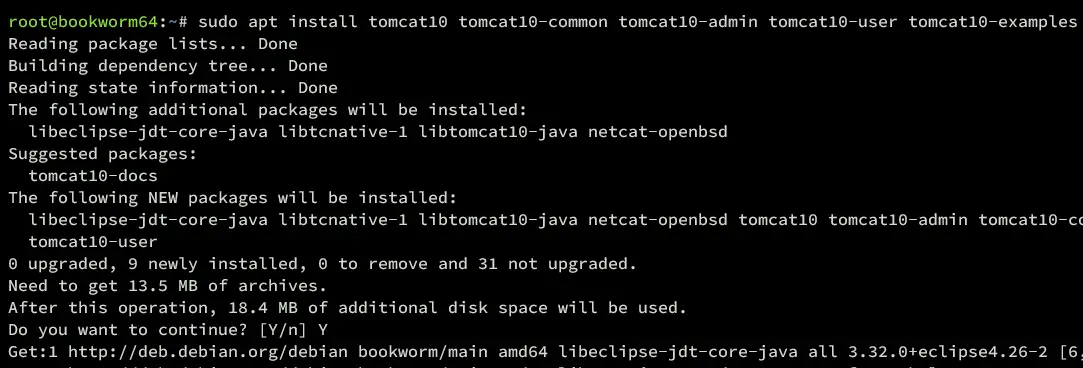
If you want to install Tomcat via APT, run the command below on your system. Type y to confirm the installation.
sudo apt install tomcat10 tomcat10-common tomcat10-admin tomcat10-user tomcat10-examples
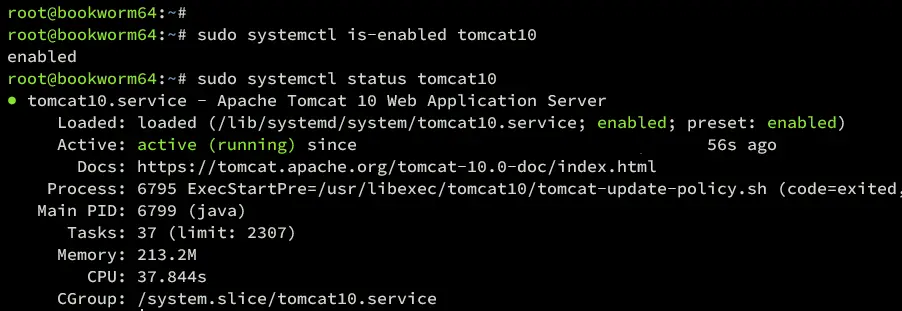
Once the installation is complete, the tomcat10 service should be running. Verify it with the command below.
sudo systemctl is-enabled tomcat10
sudo systemctl status tomcat10
If the tomcat10 service running, you should get the following output:
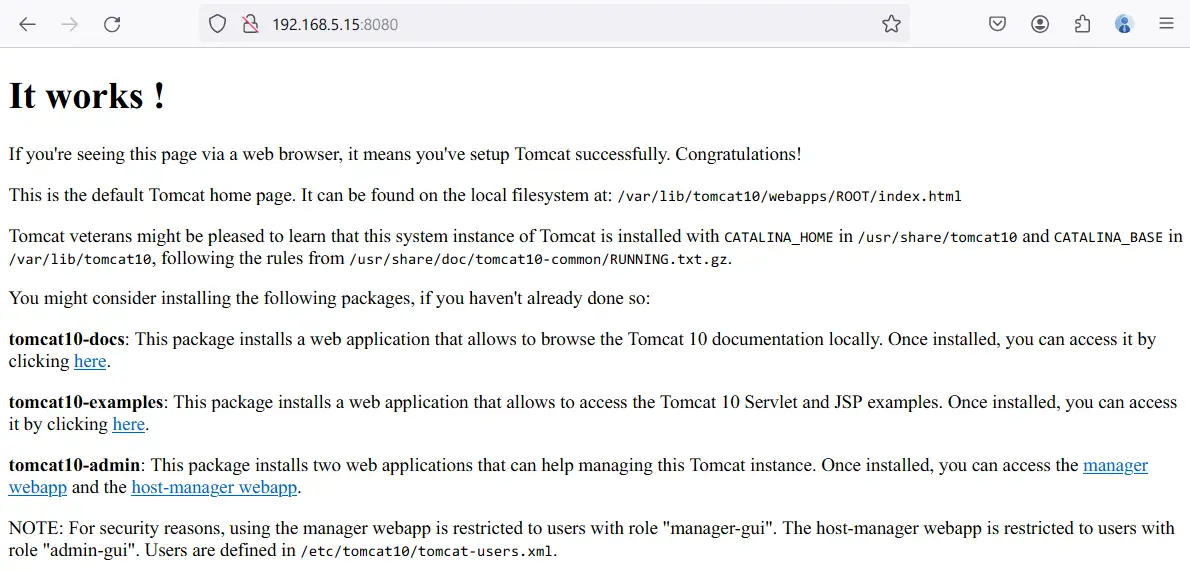
Lastly, open your web browser and visit the server IP address with the default Tomcat port 8080 http://192.168.5.15:8080/. If your installation is successful, you should get the default index page of Apache Tomcat 10.
Installing Tomcat via Binary
Now if you want to install the latest package of Apache Tomcat, you can install it via binary package. In this section, you will learn how to do it on your Debian server.
First, create a new system user tomcat with the command below.
sudo useradd -m -u -d /opt/tomcat -s /usr/sbin/nologin tomcat
Visit the Apache Tomcat download page and check the latest version of Tomcat. Then run the command below to download the latest Apache Tomcat version.
export VERSION=10.1.19
wget https://www-eu.apache.org/dist/tomcat/tomcat-10/v${VERSION}/bin/apache-tomcat-${VERSION}.tar.gz
Once downloaded, run the command below to create a new Apache Tomcat installation directory /opt/tomcat and extract the Tomcat binary package into it.
mkdir -p /opt/tomcat
sudo tar -xf apache-tomcat-${VERSION}.tar.gz -C /opt/tomcat
Now create a new symlink of the extracted Tomcat directory to /opt/tomcat/latest. Then, change the ownership of /opt/tomcat directory to the tomcat user.
sudo ln -s /opt/tomcat/apache-tomcat-${VERSION} /opt/tomcat/latest
sudo chown -R tomcat:tomcat /opt/tomcat
Next, create a new systemd service file /etc/systemd/system/tomcat.service using nano editor.
sudo nano /etc/systemd/system/tomcat.service
Paste the configuration below to set up the service file for Apache Tomcat.
[Unit]
Description=Tomcat 10 servlet container
After=network.target

[Service]
Type=forking

User=tomcat
Group=tomcat

Environment="JAVA_HOME=/usr/lib/jvm/default-java"
Environment="JAVA_OPTS=-Djava.security.egd=file:///dev/urandom -Djava.awt.headless=true"

Environment="CATALINA_BASE=/opt/tomcat/latest"
Environment="CATALINA_HOME=/opt/tomcat/latest"
Environment="CATALINA_PID=/opt/tomcat/latest/temp/tomcat.pid"
Environment="CATALINA_OPTS=-Xms512M -Xmx1024M -server -XX:+UseParallelGC"

ExecStart=/opt/tomcat/latest/bin/startup.sh
ExecStop=/opt/tomcat/latest/bin/shutdown.sh

[Install]
WantedBy=multi-user.target
Save the file and exit the editor.
Run the command below to reload the systemd manager, then start and enable the tomcat service.
sudo systemctl daemon-reload
sudo systemctl start tomcat
sudo systemctl enable tomcat

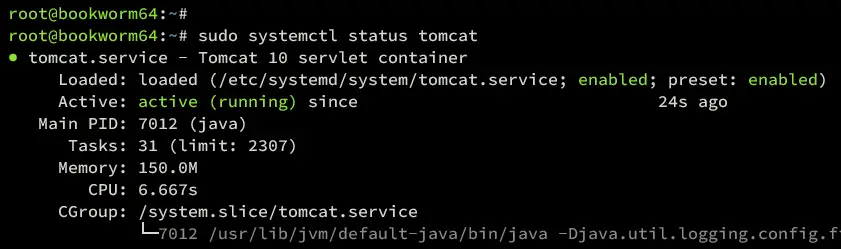
Once started, verify the tomcat service using the command below. Make sure that your Tomcat service is running like the following.
sudo systemctl status tomcat
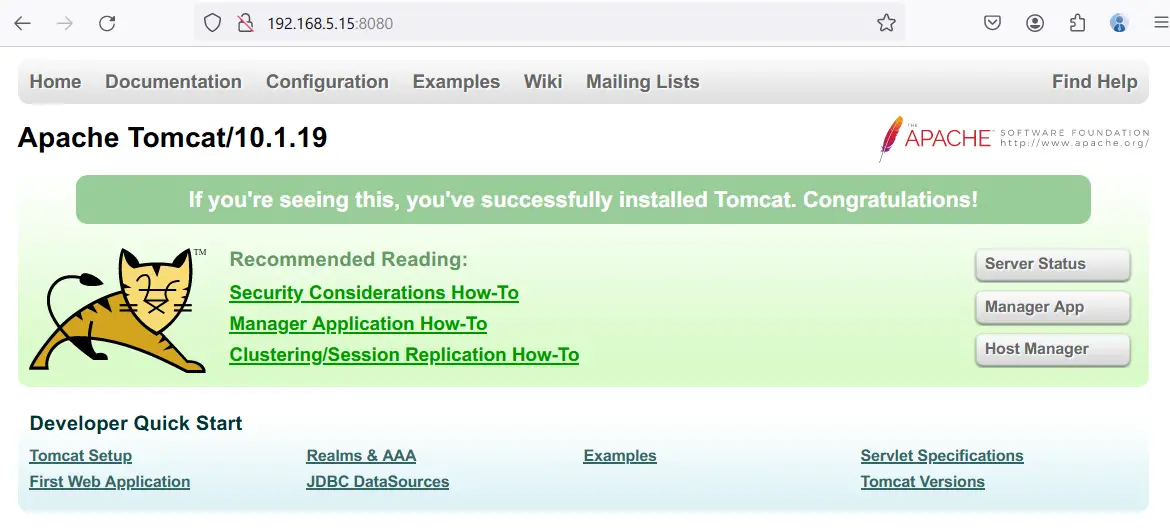
Lastly, open your web browser and visit http://192.168.5.15:8080/. If everything goes well, you should see the Apache Tomcat index page.
Creating Tomcat Administrator
At this point, you have installed Apache Tomcat on your Debian server. In the next step, you will set up authentication for Apache Tomcat and enable the Tomcat manager and host-manager.
To start, edit the Tomcat config file /etc/tomcat10/tomcat-users.xml using the following nano editor.
sudo nano /etc/tomcat10/tomcat-users.xml
Insert lines below between the 'tomcat-users' section. Make sure to change the default username admin and the password tomcatadmin with your credentials.
<tomcat-users>

<!--
user: admin pass: tomcatadmin
-->
<role rolename="manager-gui"/>
<role rolename="manager-script"/>
<role rolename="manager-jmx"/>
<role rolename="manager-status"/>
<role rolename="admin-gui"/>
<role rolename="admin-script"/>
<user username="admin" password="tomcatadmin" roles="manager-gui, manager-script, manager-jmx, manager-status, admin-gui, admin-script"/>

</tomcat-users>
Save and exit the file.
Now, open the config file for the Tomcat manager and host-manager using the nano editor.
sudo nano /usr/share/tomcat10-admin/host-manager/META-INF/context.xml
sudo nano /usr/share/tomcat10-admin/manager/META-INF/context.xml
Comment the line '<Valve className="org.apache.catalina.valves.RemoteAddrValve"' to allow access to the Tomcat manager and host-manager. By adding '<!-- .. -->', the configuration will be disabled or commented.
<!--
 <Valve className="org.apache.catalina.valves.RemoteAddrValve"
 allow="127\.\d+\.\d+\.\d+|::1|0:0:0:0:0:0:0:1" />
-->
Save the file and exit the editor.
Next, restart the tomcat service with the command below to apply the new Tomcat configuration.
sudo systemctl restart tomcat
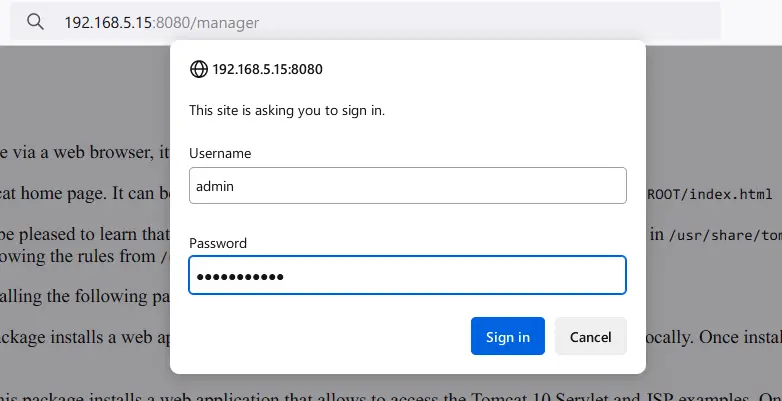
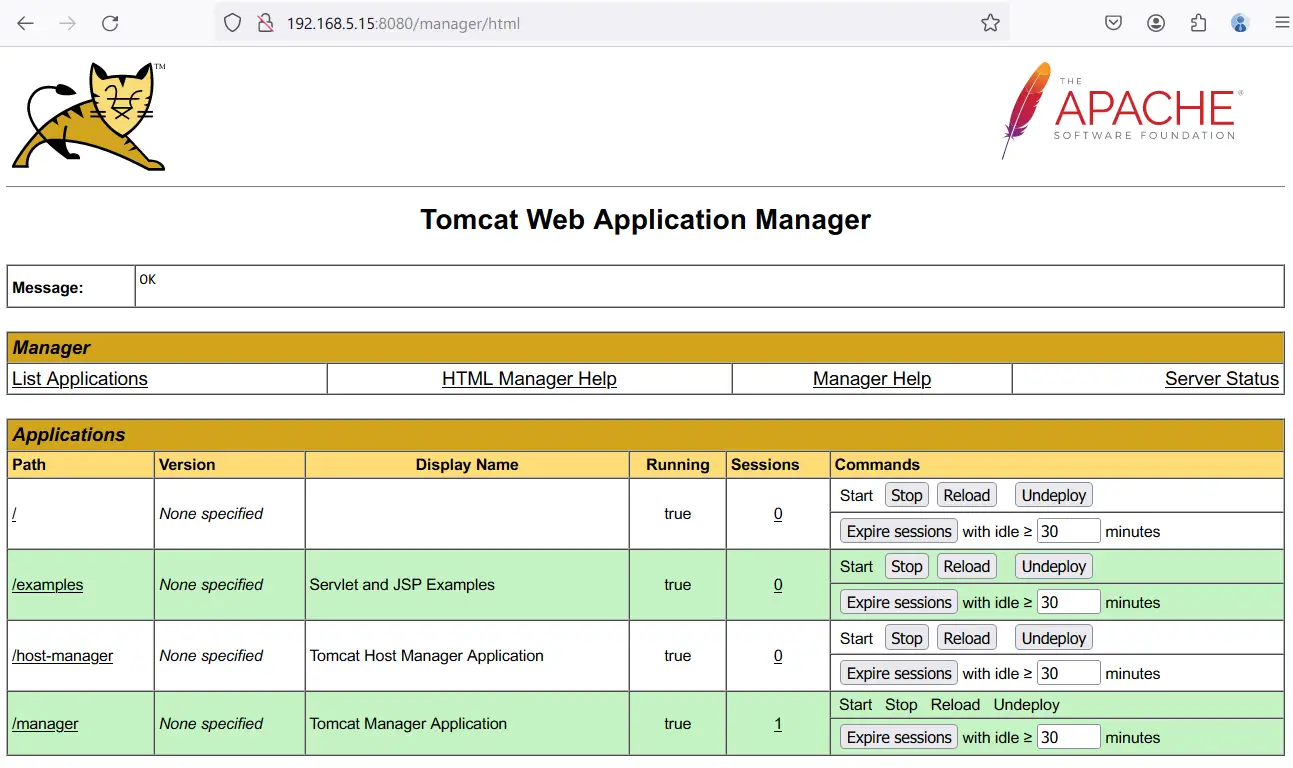
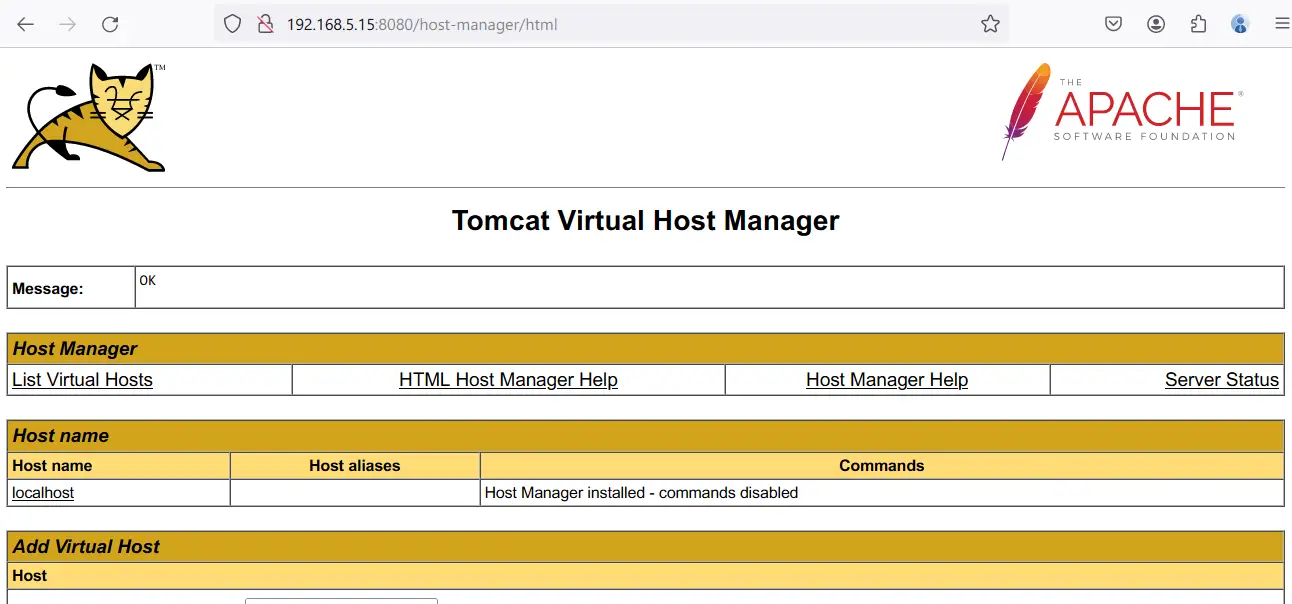
Lastly, visit http://192.168.5.15:8080/manager to access the Tomcat manager, and http://192.168.5.15:8080/host-manager to access the Tomcat host manager. Input your admin user and password when prompted and click Sign in.
If successful, you should see the Apache Tomcat manager dashboard.
For the Tomcat host-manager, below is what looks like:
Configuring Nginx as a Reverse Proxy
In this guide, you will run Apache Tomcat with Nginx as a reverse proxy. In this section, you will install nginx and set up a server block configuration as a reverse proxy for Tomcat that runs on port 8080.
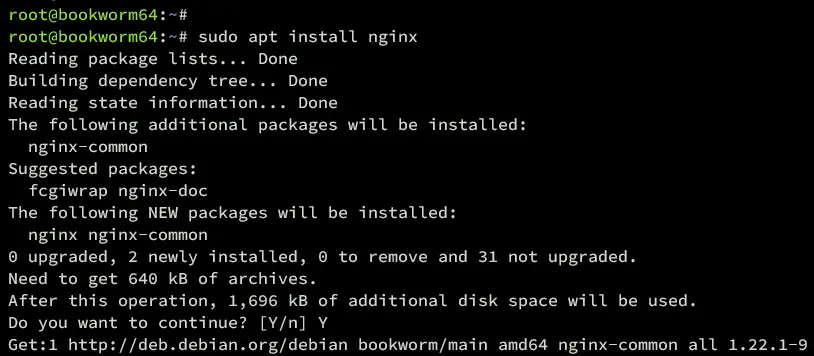
Run the command below to install Nginx to your system. Type y to confirm the installation.
sudo apt install nginx
Once installation is complete, create a new server block configuration /etc/nginx/sites-available/tomcat.conf using nano editor.
sudo nano /etc/nginx/sites-available/tomcat.conf
Add the configuration below to set up Nginx as a reverse proxy for Apache Tomcat.
server {
listen 80;

server_name tomcat.hwdomain.io;
access_log /var/log/nginx/tomcat-access.log;
error_log /var/log/nginx/tomcat-error.log;

location / {
proxy_set_header X-Forwarded-Host $host;
proxy_set_header X-Forwarded-Server $host;
proxy_set_header X-Forwarded-For $proxy_add_x_forwarded_for;
proxy_pass http://127.0.0.1:8080/;
}
}
Save and exit the file when done.
Now, activate the server block configuration and verify your Nginx syntax. If everything goes well, you should get an output such as 'test is successful - syntax is ok'.
sudo ln -s /etc/nginx/sites-available/tomcat.conf /etc/nginx/sites-enabled/
sudo nginx -t

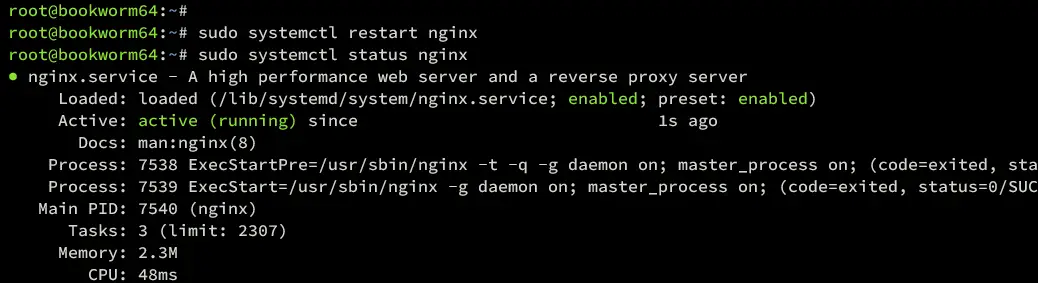
Next, restart the Nginx service to apply new changes and verify it to ensure the service is running.
sudo systemctl restart nginx
sudo systemctl status nginx
If Nginx is running, you should get the following output:
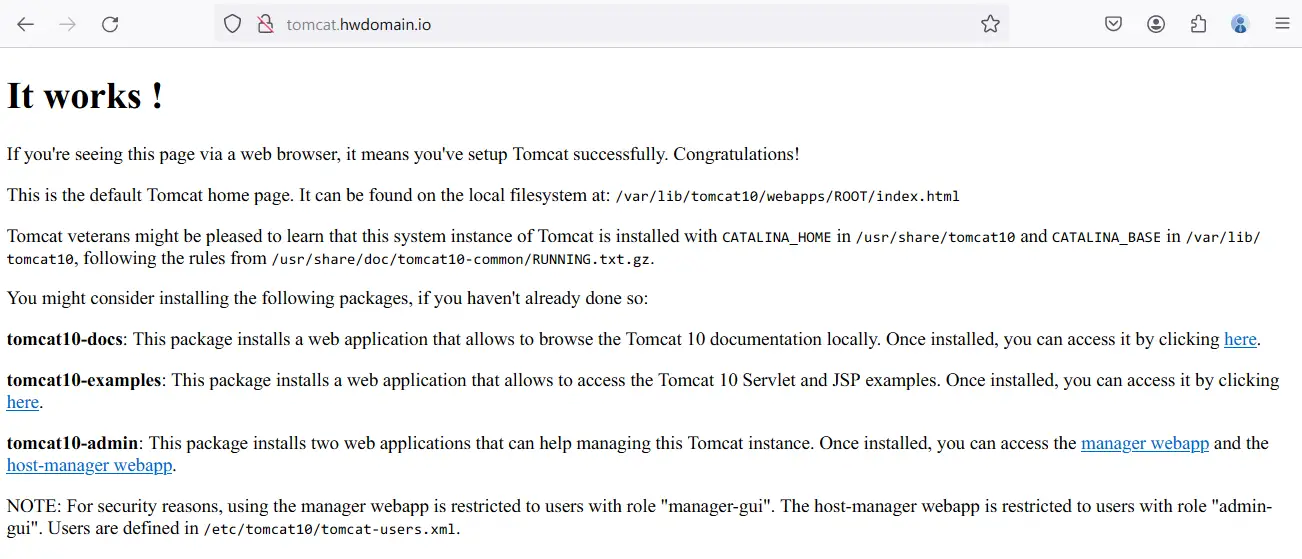
Lastly, back to your web browser and visit http://tomcat.hwdomain.io/. You should see the default index page of Apache Tomcat.
Conclusion
Congratulations! You have now installed Apache Tomcat 10 on Debian 12 server. You have learned two methods for installing Apache Tomcat, via APT repository and manually via binary package. In the end, you also have learned how to set up Nginx as a reverse proxy for your Tomcat installation.

