
Are you looking for more control over your precious photo and video collections but wary of relying on big public cloud services? Well, I’ve got just the thing for you! Let’s talk about Immich, a top-notch, secure, and self-hosted solution that puts you in the driver’s seat of managing your media.
What Is Immich?
Immich is a free and open-source application heavily inspired by Google Photos, designed to give you similar functionalities to cloud-based photo and video management services. Still, with a twist – it’s all under your control, on your own server. This means you have complete ownership and privacy over your precious moments, with no third-party access.
In other words, with Immich, you’re not sharing your moments with a big tech company; everything stays on your server. Plus, you can enjoy automatic backups, easy sharing, and advanced organization without worrying about privacy policies or data mining.
The beauty of Immich lies in its simplicity and power. It’s built with the user in mind, offering a sleek interface that makes navigating, viewing, and managing your photo and video collections effortless.
On top of that, it also offers native apps for both Apple and Android devices, ensuring you have all the tools at your fingertips to manage your digital memories without any hassle.
These features have catapulted the app’s popularity, making it the preferred choice for self-hosted enthusiasts looking to organize their personal photo and video collections efficiently.
I bet everything we’ve covered so far has piqued your interest, and for good reason! Before we dive into the installation process, though, there’s a crucial step we should pay attention to. Let’s take a moment to consider what you need to prepare before moving forward with the setup.
System Requirements
First, Immich is designed to run as a containerized app, so you’ll need to install Docker on the system where you plan to run it. But if you don’t have it – fear not; any of the following guides will significantly help you get it in minutes.
- How to Install Docker on Ubuntu 22.04
- How to Install Docker on Debian 12 (Bookworm)
- How to Install Docker on AlmaLinux / Rocky Linux
- How to Install Docker on Fedora
- How to Install Docker on Linux Mint 21
- How to Install Docker on Raspberry Pi
The other essential component is Docker Compose. Given that an Immich setup involves multiple separate containers Compose enables you to package them and run them together as a single application so that they can interact with each other.
If you haven’t, its installation is pretty simple. To install Docker Compose, type the following two commands:
sudo curl -L "https://github.com/docker/compose/releases/latest/download/docker-compose-linux-$(uname -m)" -o /usr/local/bin/docker-compose
sudo chmod +x /usr/local/bin/docker-composeCode language: JavaScript (javascript)
Finally, let’s look at the system requirements. Since Immich utilizes machine learning, which demands significant resources, the system you install it on must have the following:
- RAM: At least 4GB, preferred 6GB.
- CPU: At least 2 cores, preferred 4 cores.
However, our testing has indicated that Immich can operate on systems with limited resources, but the user experience in this case is far from desired. For this reason, we highly recommend ensuring your system meets the specified requirements to ensure a smooth and trouble-free experience.
Install Immich with Docker
The first step is to create the project directory in which our Docker Compose deployment file will be placed. Then switch to it; from here on, you need to execute all commands further down in this guide from that location.
mkdir immich
cd immich
Next, we must create a “docker-compose.yaml” file, like a blueprint for our Docker setup. This file will define the services, volumes, ports, etc., telling Docker Compose what to do and how to set up our Immich instance.
Open your favorite text editor and paste the following content into it:
nano docker-compose.yamlCode language: CSS (css)version: "3.8"
name: immich
services:
immich-server:
container_name: immich_server
image: ghcr.io/immich-app/immich-server:${IMMICH_VERSION:-release}
command: [ "start.sh", "immich" ]
volumes:
- ${UPLOAD_LOCATION}:/usr/src/app/upload
- /etc/localtime:/etc/localtime:ro
env_file:
- .env
ports:
- 2283:3001
depends_on:
- redis
- database
restart: always
immich-microservices:
container_name: immich_microservices
image: ghcr.io/immich-app/immich-server:${IMMICH_VERSION:-release}
command: [ "start.sh", "microservices" ]
volumes:
- ${UPLOAD_LOCATION}:/usr/src/app/upload
- /etc/localtime:/etc/localtime:ro
env_file:
- .env
depends_on:
- redis
- database
restart: always
immich-machine-learning:
container_name: immich_machine_learning
image: ghcr.io/immich-app/immich-machine-learning:${IMMICH_VERSION:-release}
volumes:
- model-cache:/cache
env_file:
- .env
restart: always
redis:
container_name: immich_redis
image: registry.hub.docker.com/library/redis:6.2-alpine@sha256:51d6c56749a4243096327e3fb964a48ed92254357108449cb6e23999c37773c5
restart: always
database:
container_name: immich_postgres
image: registry.hub.docker.com/tensorchord/pgvecto-rs:pg14-v0.2.0@sha256:90724186f0a3517cf6914295b5ab410db9ce23190a2d9d0b9dd6463e3fa298f0
environment:
POSTGRES_PASSWORD: ${DB_PASSWORD}
POSTGRES_USER: ${DB_USERNAME}
POSTGRES_DB: ${DB_DATABASE_NAME}
volumes:
- pgdata:/var/lib/postgresql/data
restart: always
volumes:
pgdata:
model-cache:Code language: PHP (php)Next, within the same folder, create a “.env” file and insert the content provided below into it.
nano .envCode language: CSS (css)UPLOAD_LOCATION=./library
IMMICH_VERSION=release
DB_PASSWORD=postgres_pass
# The values below this line do not need to be changed
######################################################
DB_HOSTNAME=immich_postgres
DB_USERNAME=postgres
DB_DATABASE_NAME=immich
REDIS_HOSTNAME=immich_redisCode language: PHP (php)As you can see, we use this “.env” file to define some key-value pairs that set environment variables for our Immich containers. In general, these variables are used to customize the behavior of Docker containers and Docker Compose applications.
The file we’re looking at lets us adjust three settings, with the key one is the “UPLOAD_LOCATION.” This tells Immich where to save our photos and videos. By default, it’ll create a folder called “.library” as a subdirectory in the current one. But you might want to think twice about this because of how much free space you have available on this disk partition.
In other words, if you have a collection of tens or even hundreds of gigabytes of photo and video files that you will transfer to Immich, you need to ensure that said directory is located on a partition in the file system with sufficient free disk space.
If that is the case, Immich allows you to specify another path here, for example, “UPLOAD_LOCATION=/mystorage/images.” You get the idea.
The “IMMICH_VERSION” setting allows you to select a specific Immich version. For example, “1.97 “. However, we recommend opting for the “release” Docker image tag to ensure you work with the most up-to-date version.
For the “DB_PASSWORD” variable, enter a randomly created string that will serve as the password for your PostgreSQL user during the initial deployment. It’s important to understand that you won’t use this password directly in future dealings with Immich. Instead, it’s used behind the scenes by our Docker Compose deployment.
For additional information, please check out this link for a quick reference of Immich’s environment variables.
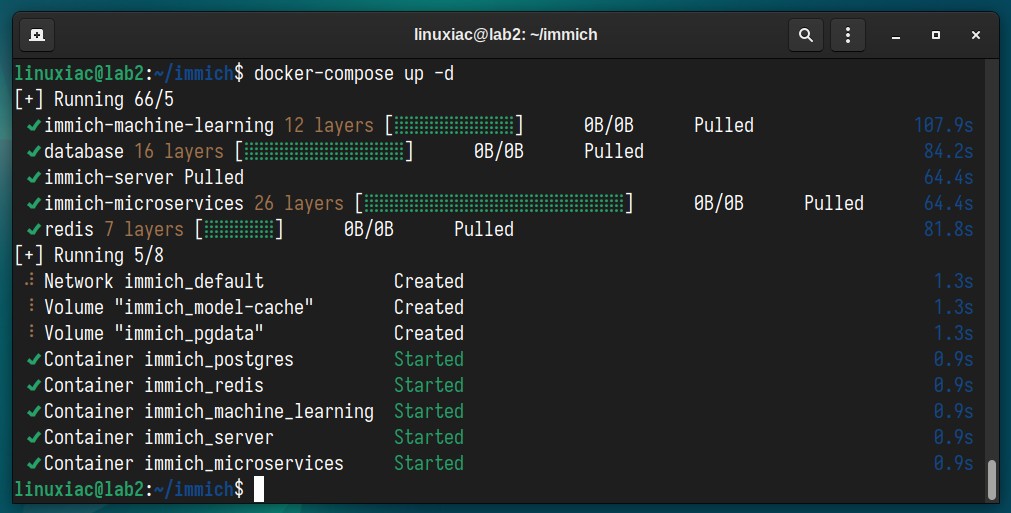
OK, everything is already prepared for the big moment. Execute the following command to start and run the Immich containers in the background:
docker-compose up -dThe Docker image will start downloading. At the end, you should see a screen similar to the one below, informing you that your Immich installation has been successfully deployed and all the containers are up and running.
Now, you have every reason to lean back and pat yourself for a mission accomplished. Successfully installing Immich using Docker Compose is no small feat, and I, too, join in extending my congratulations to you!
Post Install Steps
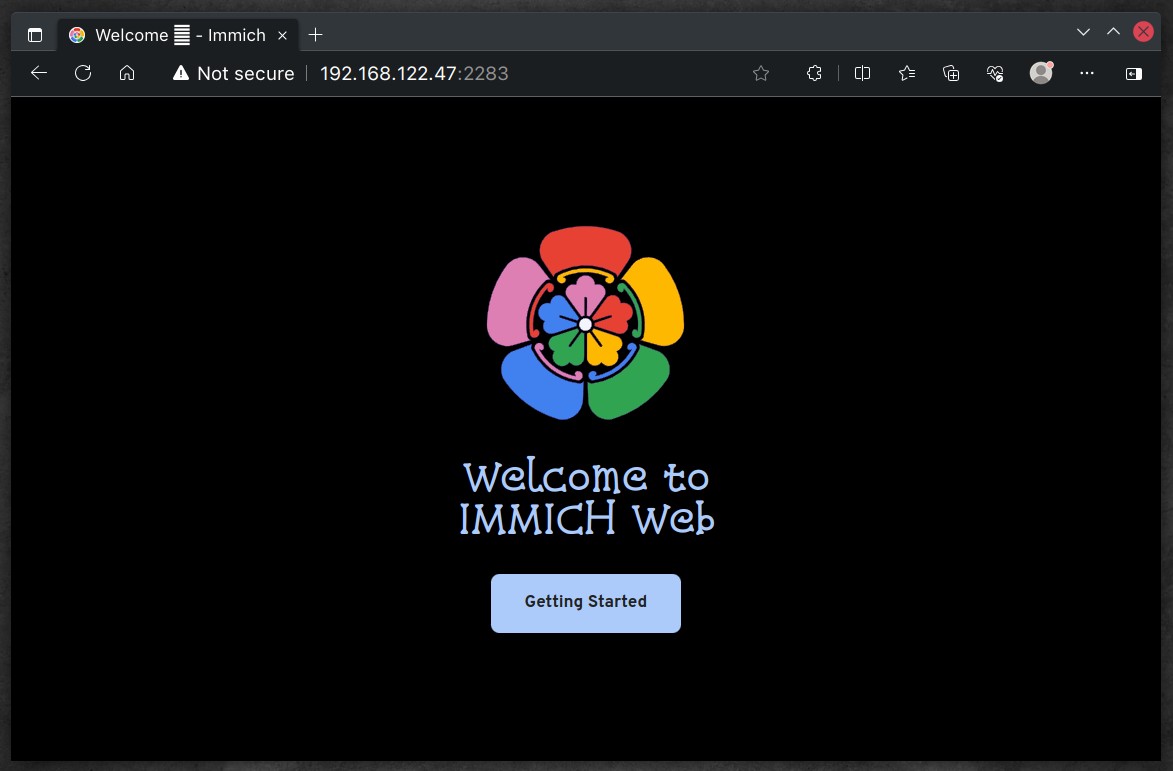
Now, you can access the Immich web-based UI by navigating to “http://your-server-ip:2283” in your web browser. If you are accessing it from the same machine the containers are running on, you can also use “http://localhost:2283.”
The Immich welcome screen will greet you. Hit the “Getting Started” button.
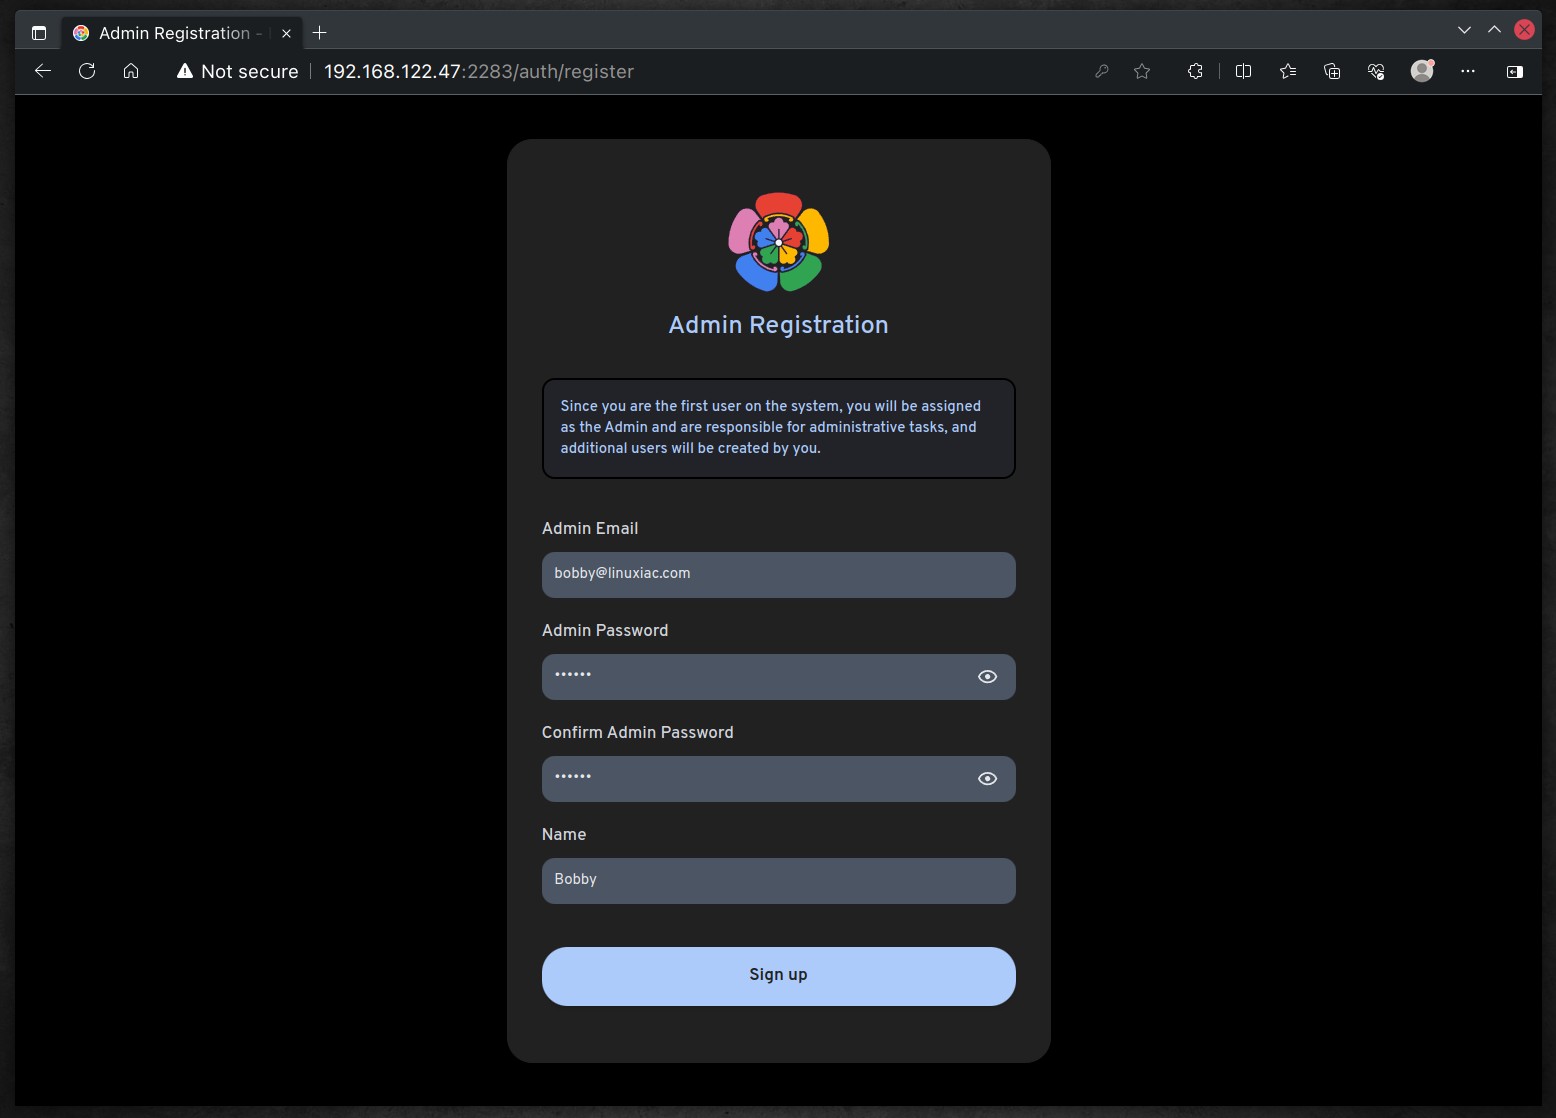
Next, you will be taken to a page to set up your initial Immich account, which will come with admin privileges. Fill in the fields and finalize your registration by clicking the “Sign up” button.
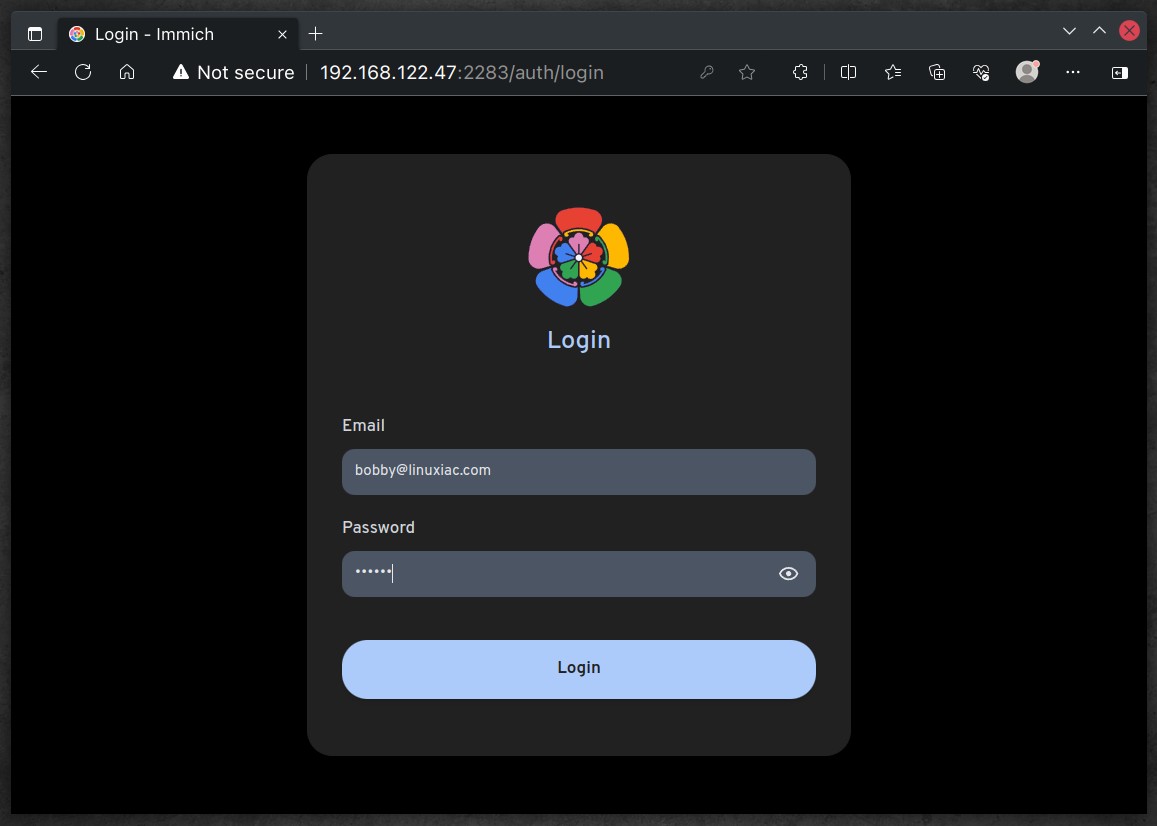
You will be automatically redirected to the login page. Enter the username and password you have set up, then click “Login.”
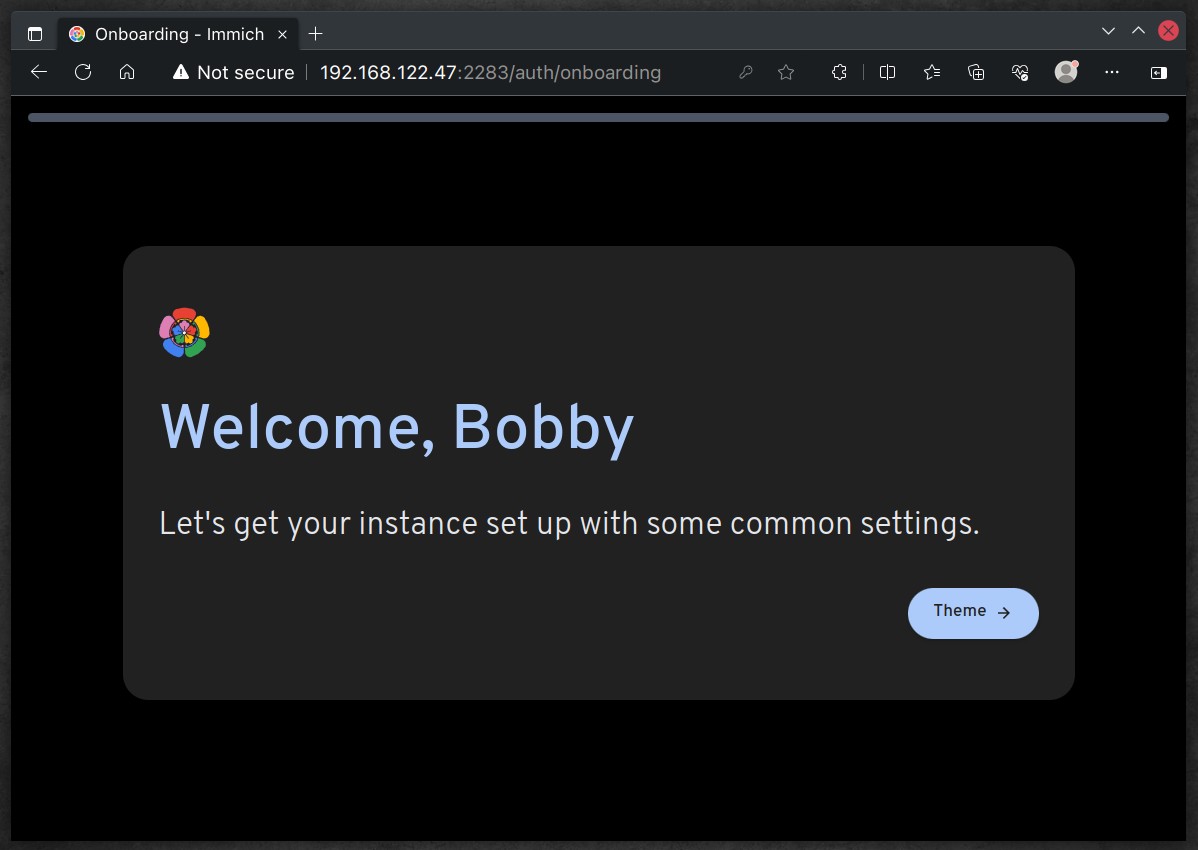
Following are three simple steps to configure your initial settings. Start by clicking on the “Theme” button.
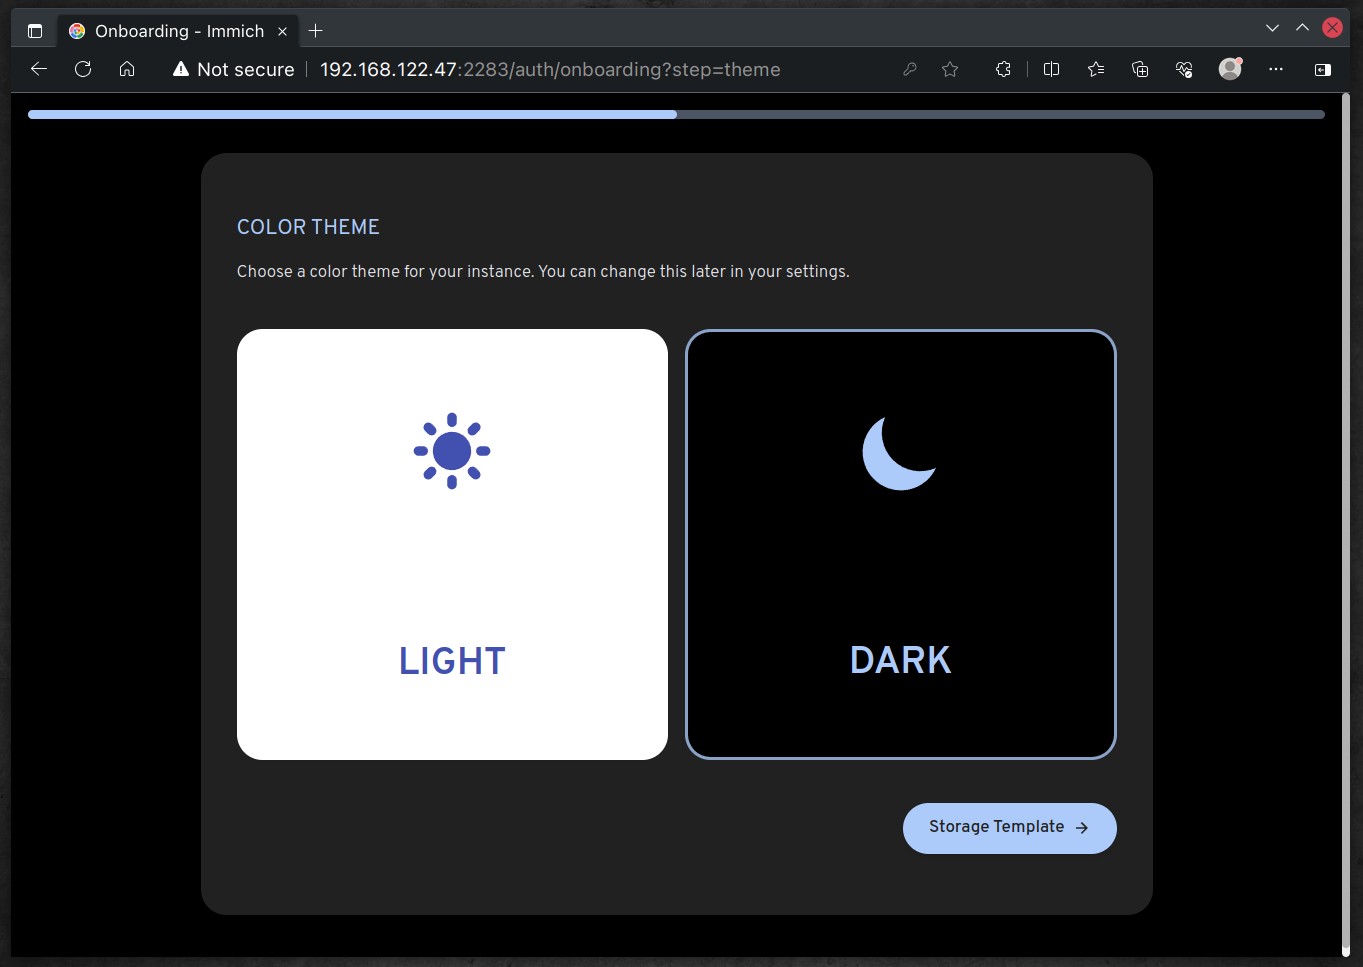
Choose your favorite color theme, either light or dark, based on your taste, and then click on the “Storage Template” button to move forward to the next step.
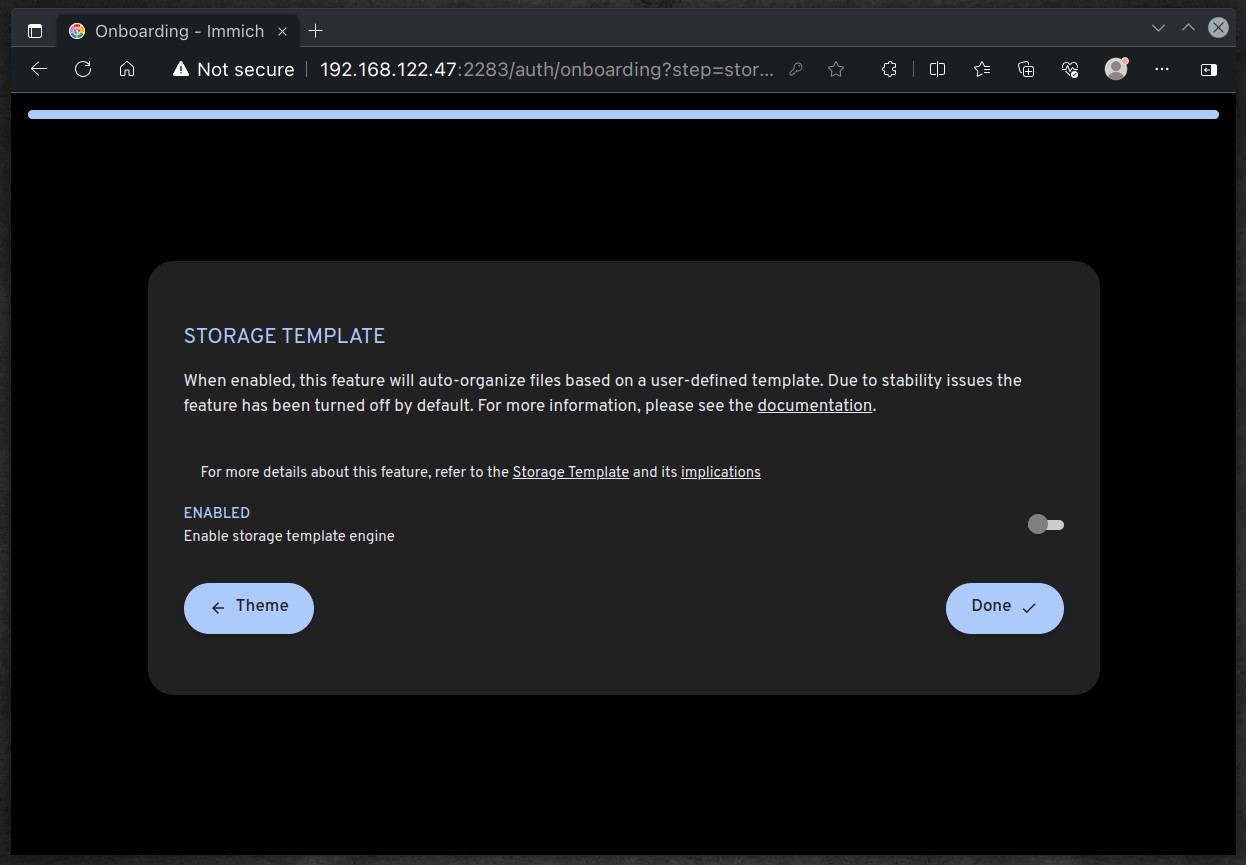
At this point, you can activate the feature known as a storage template. What is it? In short, this functionality in Immich allows users to customize how their photos and videos are stored on the server. This feature can include settings for file organization, naming conventions, and storage paths.
By utilizing storage templates, users can ensure their media files are organized to suit their needs, making it easier to manage and retrieve files.
Accept the default value for now, as you can adjust this setting later from the Immich admin menu. Click the “Done” button to save your changes.
Just like that, Immich gracefully unveils itself, eagerly waiting to be at your service. It’s all set to neatly organize and take care of your precious digital memories, whether photographs or video clips.
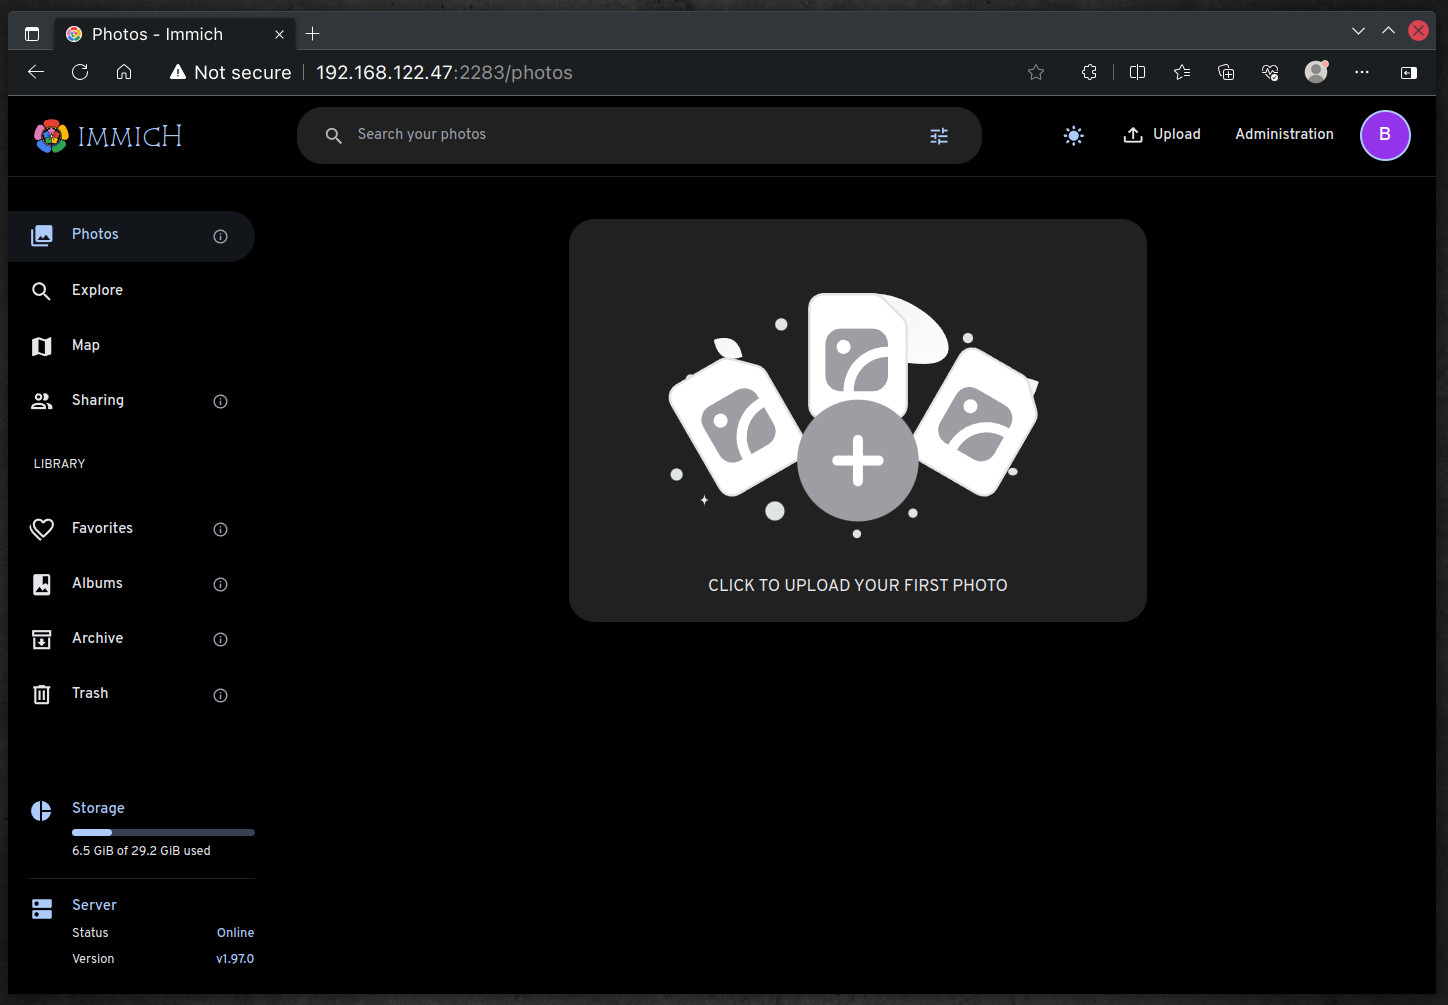
Upload Photos Locally to Immich
Here’s the moment you’ve been waiting for – moving your content to Immich! It’s a breeze to bring over files you already have. Just click the “Upload” button at the top right corner of the app’s UI, and you can easily transfer your files to Immich.
But what sets Immich apart is its seamless way of safeguarding your precious memories, such as photos and videos, from gadgets like your smartphone. Let’s dive into how you can easily do that.
Backup Images and Videos via Immich’s Mobile App
Our smartphones are the treasure chests where we keep our most cherished digital memories – photos and videos of loved ones, unforgettable places we’ve been, and so much more. This is where Immich steps in, ensuring all these precious moments are seamlessly transferred and stored.
It offers a user-friendly interface for us to enjoy these memories, but most importantly, Immich provides peace of mind by safeguarding them. Even if our phones meet an unfortunate end, we can rest assured that our digital treasures are safe and sound.
Depending on the operating system of the device you are using, download and install the corresponding application from the links below:
- Immich for Android devices (Google Play Store)
- Immich for iOS devices (Apple App Store)
Open the app, and in the “Server Endpoint URL” field, enter the address of the Immich server, adding “/api” at the end. For example, you should enter something like “http://192.168.122.47:2283/api “. Then, click on the “Next” button.
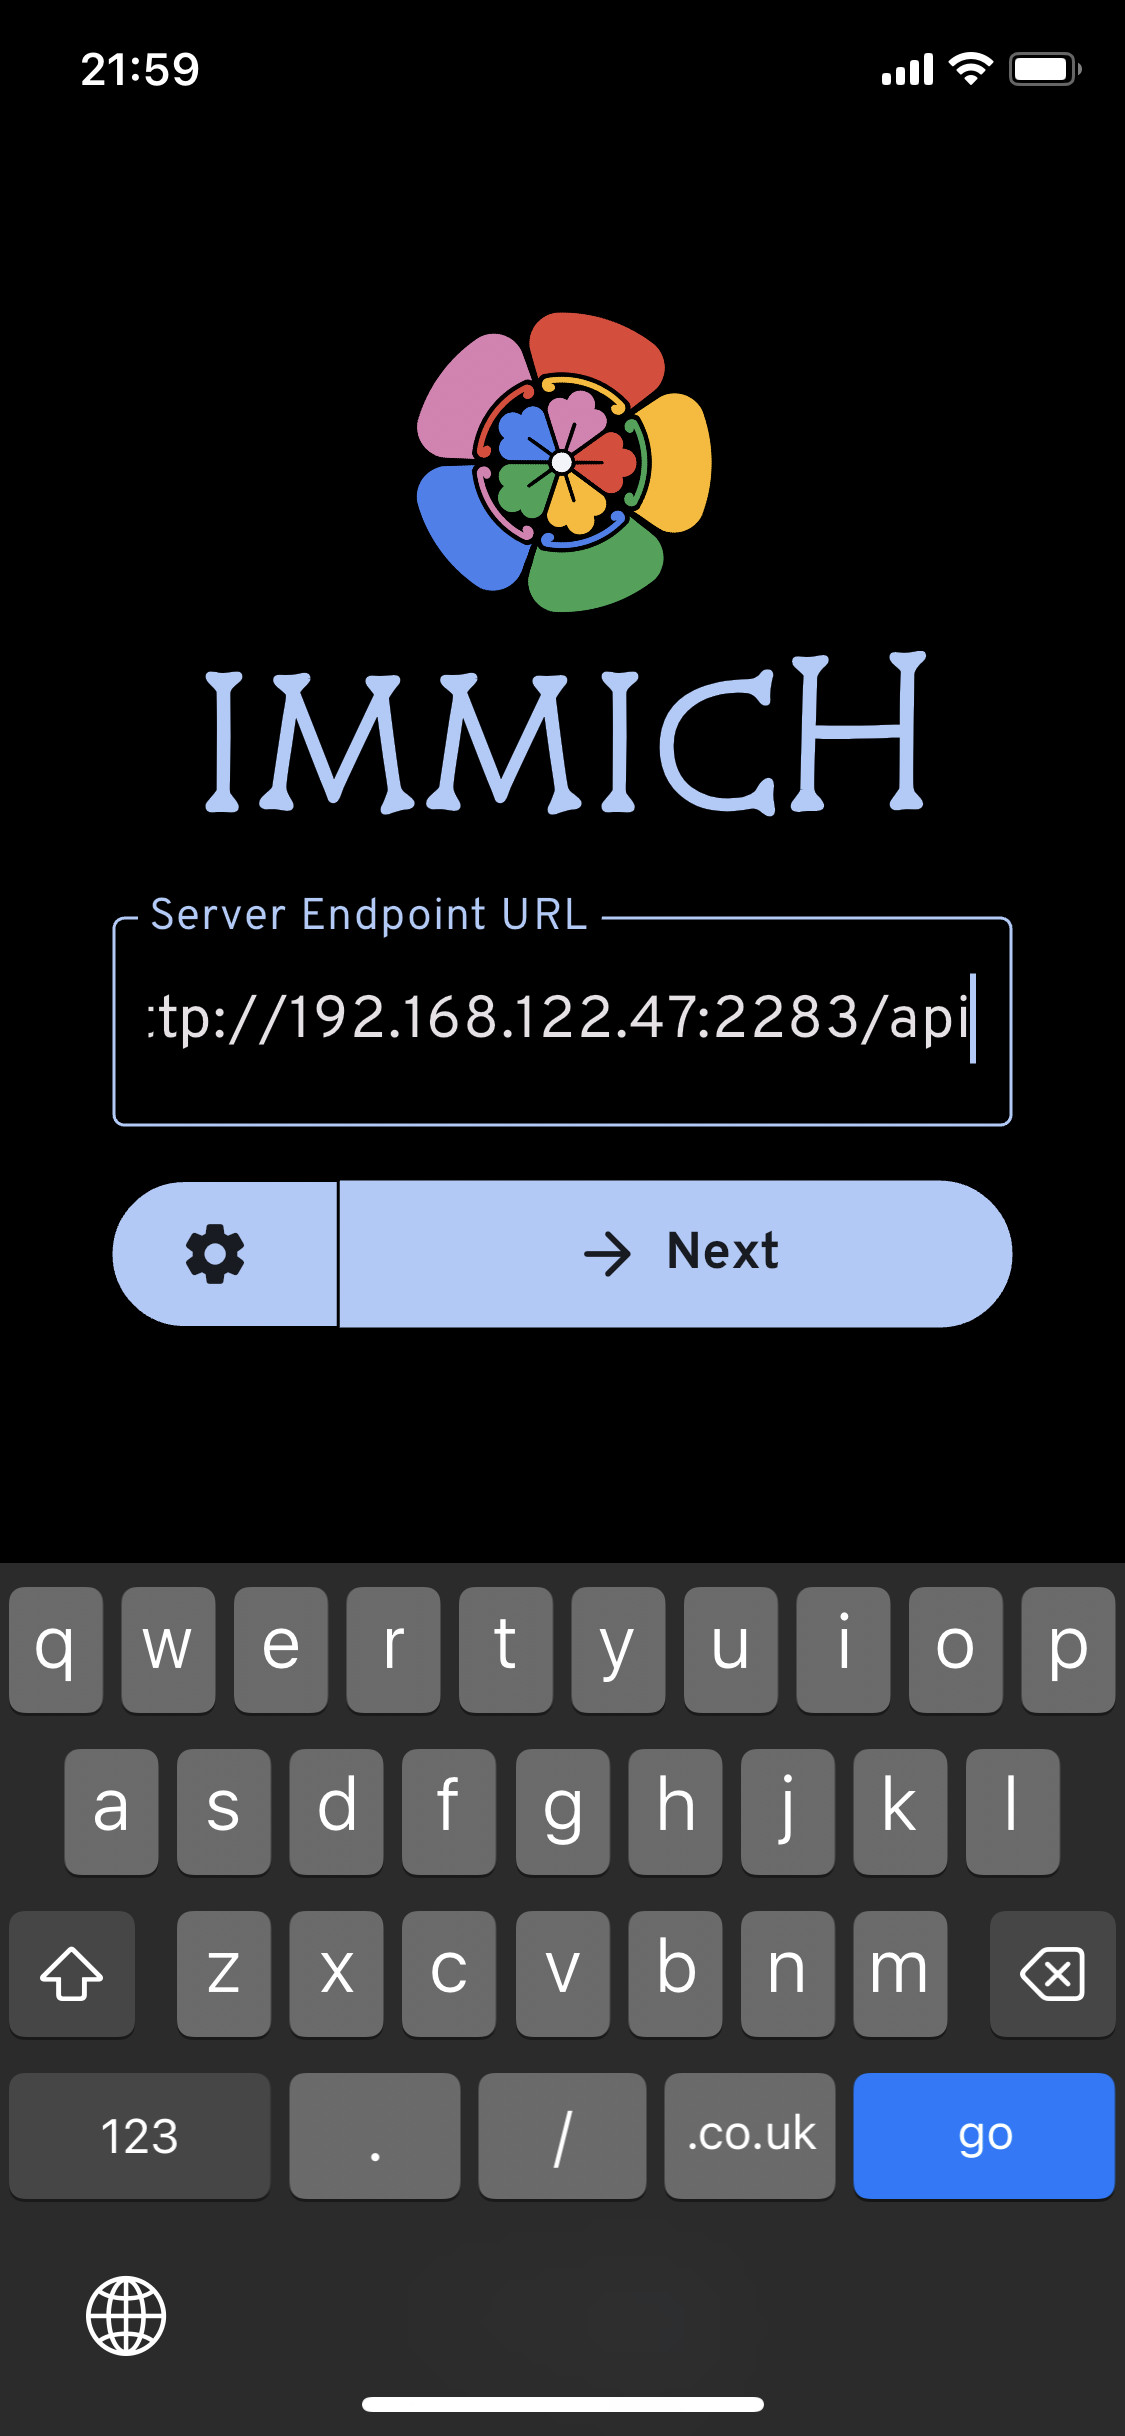
Needless to say, your mobile app must have network connectivity to the Immich server. While there are many approaches to achieve this, detailing them falls beyond the scope of this guide.
We’ll only mention that if the Immich server is on your home network and you want to access the application from a public Internet network, one option you might consider is using a VPN, such as WireGuard. So much for that.
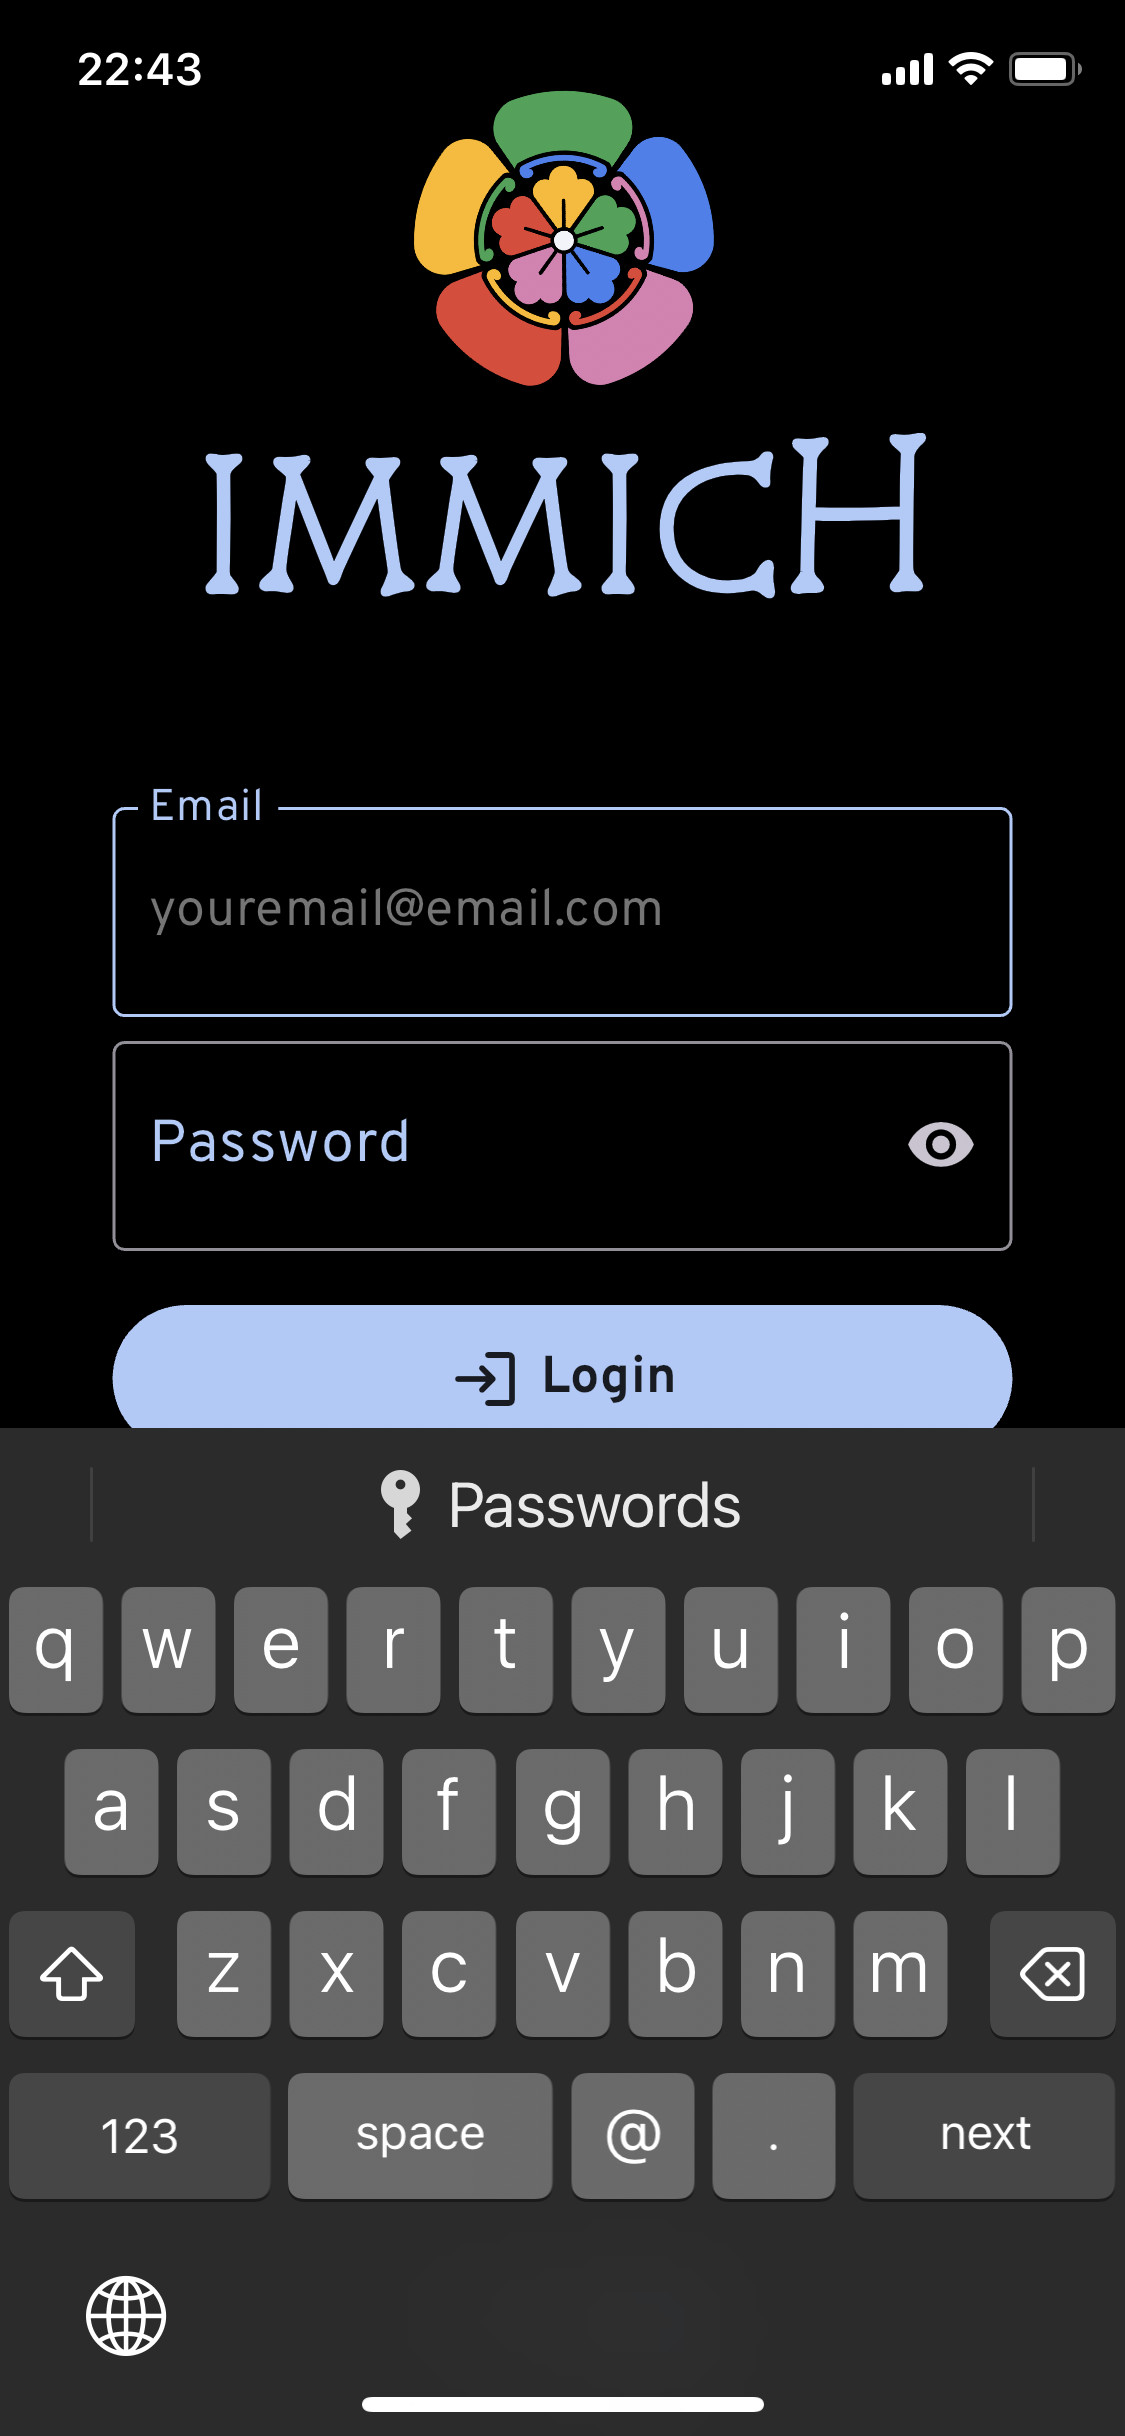
Once the connection is successfully established, you’ll be directed to a login page. Enter your username and password, then click the “Login” button to proceed.
Once logged in, click the cloud-shaped icon in the top right corner of the app.
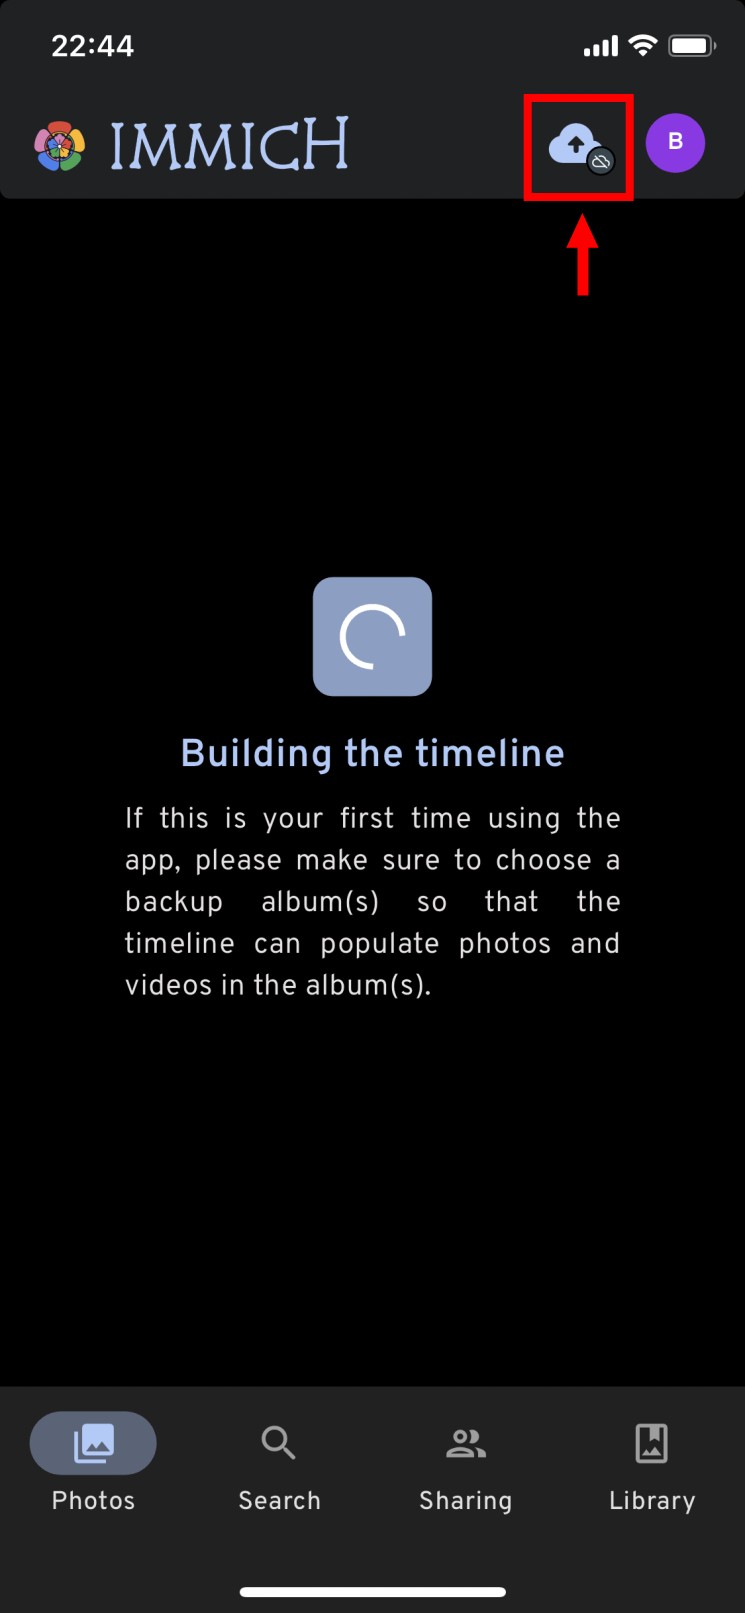
The app will ask permission to access your device’s photos and videos. Grant this permission.

Select the albums you want to transfer to Immich.

Scroll down to the bottom of the application and press the “Start Backup” button. Your files will begin uploading to the Immich server, allowing you to track the backup progress in real time.
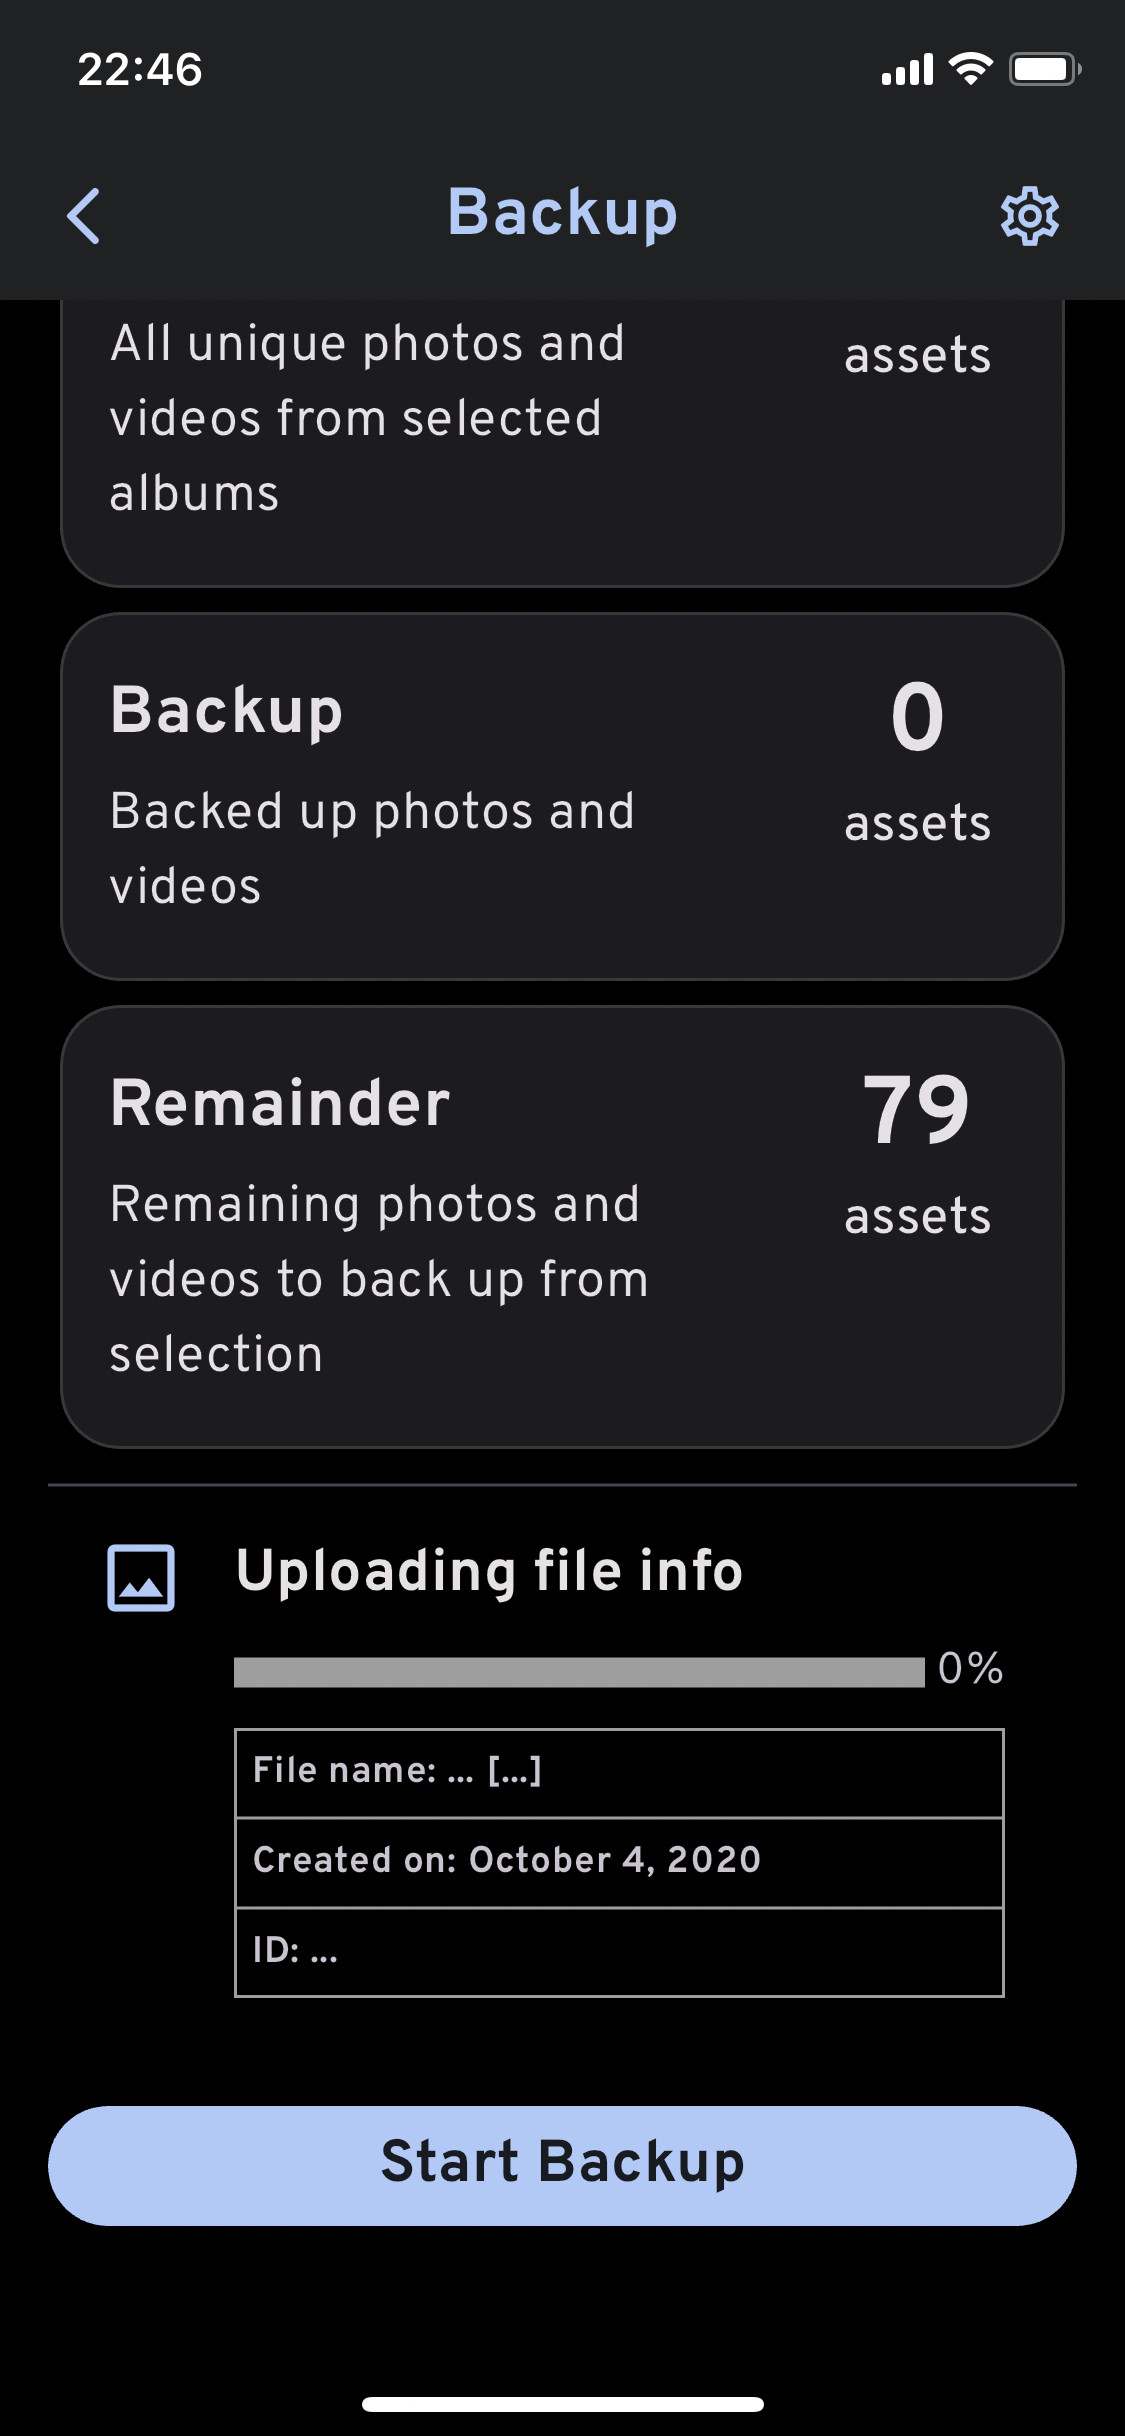
Once the transfer is complete, you can return to the Immich server and enjoy viewing your backed-up digital content.
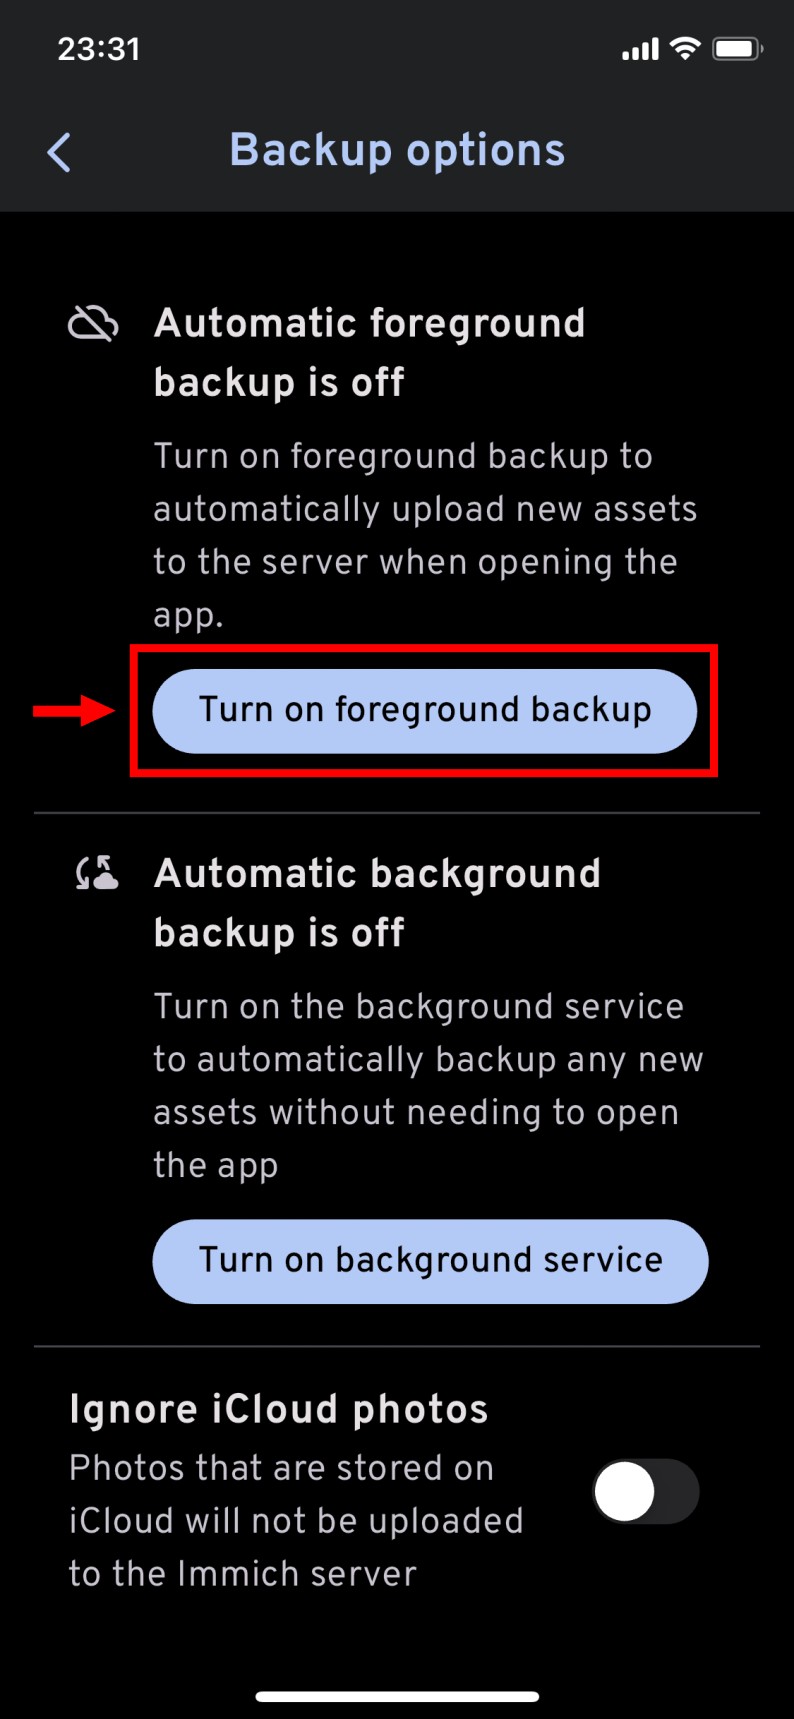
Additionally, we strongly recommend you enable a feature in the app to streamline your photo and video file transfers. Click on the gear icon at the top right corner and activate the “Turn on foreground backup” setting.
By doing so, the app will automatically upload any new files to the Immich server each time you open it, making the process effortless.
Bottom Line
And there you have it, a comprehensive guide to installing Immich using Docker, creating a safe haven for your cherished photo and video collections. With its user-friendly interface and robust features, Immich empowers you to manage your memories on your terms, free from the prying eyes of big tech companies.
Just a quick note – while our setup isn’t using HTTPS, we strongly suggest adding an extra layer of security for production use. How? Simply by putting Immich behind a reverse proxy such as Traefik, Nginx Proxy Manager, Caddy, etc., to enable HTTPS functionality.
We also highly recommend you check out our “How to Install and Use Docker Compose” guide to familiarize yourself with the basic Docker Compose commands and easily manage your new Immich deployment.
Furthermore, if you’re wondering, “OK, but how can I update the Immich containers when a new version comes out?” there’s no room for worry. We’ve got you covered! With the help of Watchtower and our detailed and easy-to-follow guide, “Watchtower: Automatically Update Docker Container Images,” you’ll always have the most up-to-date Immich version.
Finally, for more information, visit the project documentation or its website. Thank you for following along with our guide! Please let me know in the comments section below if you have any questions.


